This is an era of workflow automation that ensures all aspects of your business are consistently organized and helping you to achieve your goals. It eliminates most of the manual & human intervention requirements. So that you can increase your productivity by connecting multiple applications.
As we all know, Zapier is one of the most popular software that offers 2,000+ integration for moving information between applications for faster work and easier automation. It is best known for time saving and easy integration of apps. However, despite its popularity, Zapier isn’t the only show in town when it comes to automation services. Every one of us has different requirements and agendas. So if you are looking for the best & affordable automation tools that automate tasks just like Zapier in a much better way with some extra features, we are here for you.
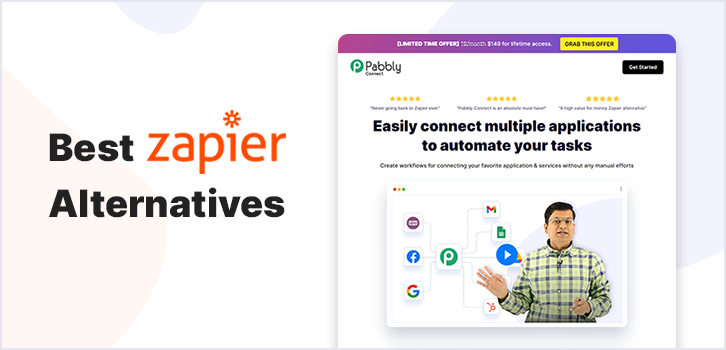
Here, in this article, to help you out we presented the 5 best Zapier alternatives that are much better than this service when compared to it. So, let’s have a quick view of the list of the 5 best Zapier substitutes that we are going to present in this piece of write-up.
A Quick Comparision Between Best Zapier Alternatives
Services | Pricing | No. of Tasks Per Month | No. of Workflows |
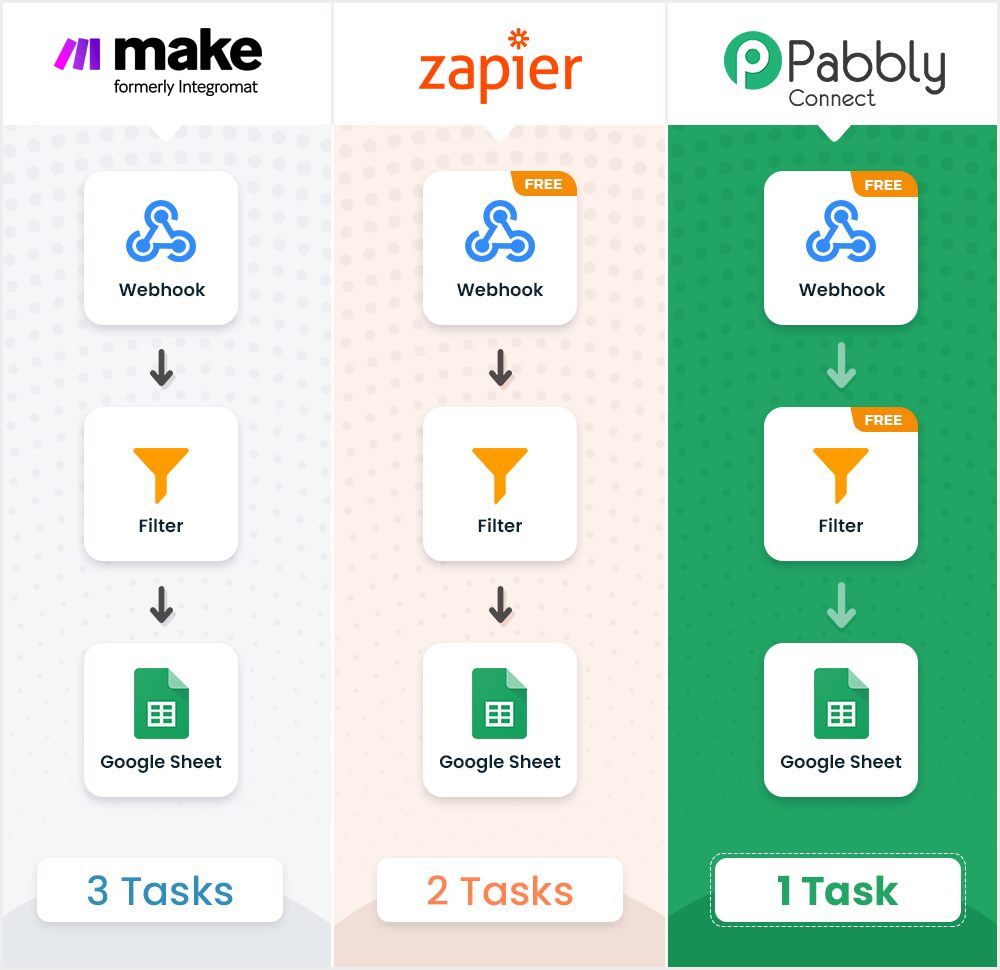
Pabbly Connect | $699 One Time Payment | 10,000 | Unlimited |
LeadBridge | $29/month | 6,000 | Unlimited |
Make (Formerly Integromat) | $9/month | 1,000 | Unlimited |
| Automate.io | $49/month | 10,000 | Limited |
| Microsoft Flow | $40 | Unlimited | Unlimited |
| Jitterbit | Contact Sales Team | 750 | Limited |
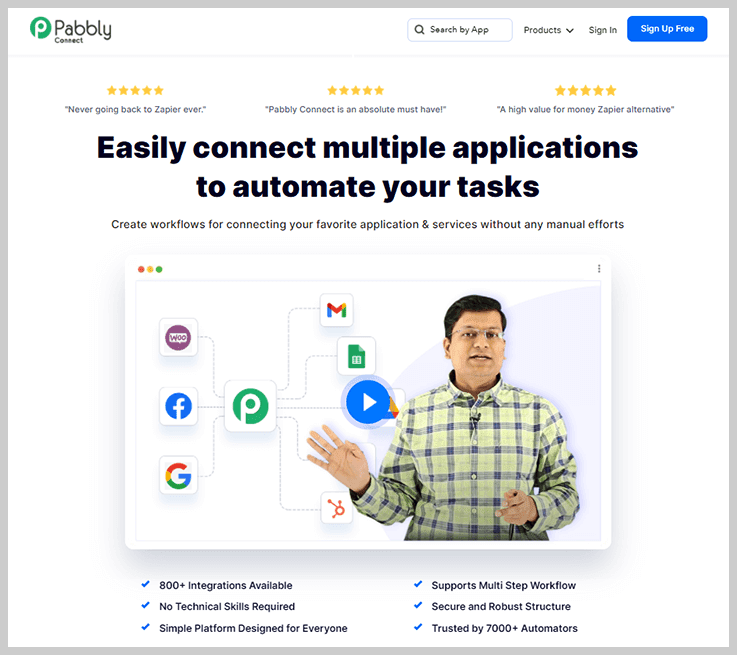
1. Pabbly Connect – Zapier Alternative at One Time Cost
“Pabbly Connect’s main aim is to save users time and effort by automating all your workflows. It is the only platform that allows you to access all the features even in the basic plan without any restrictions”
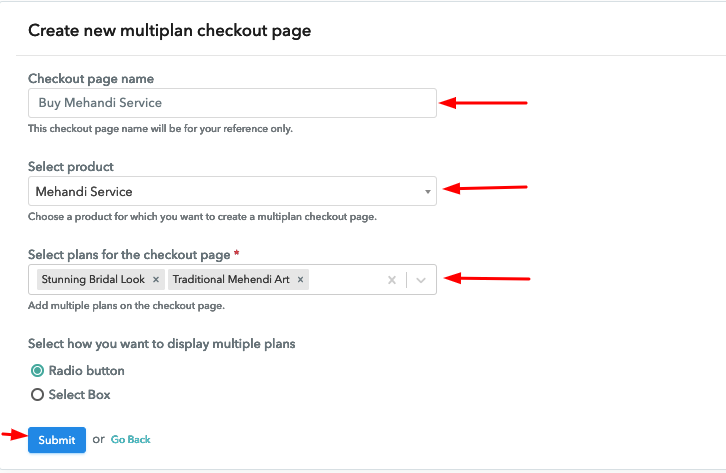
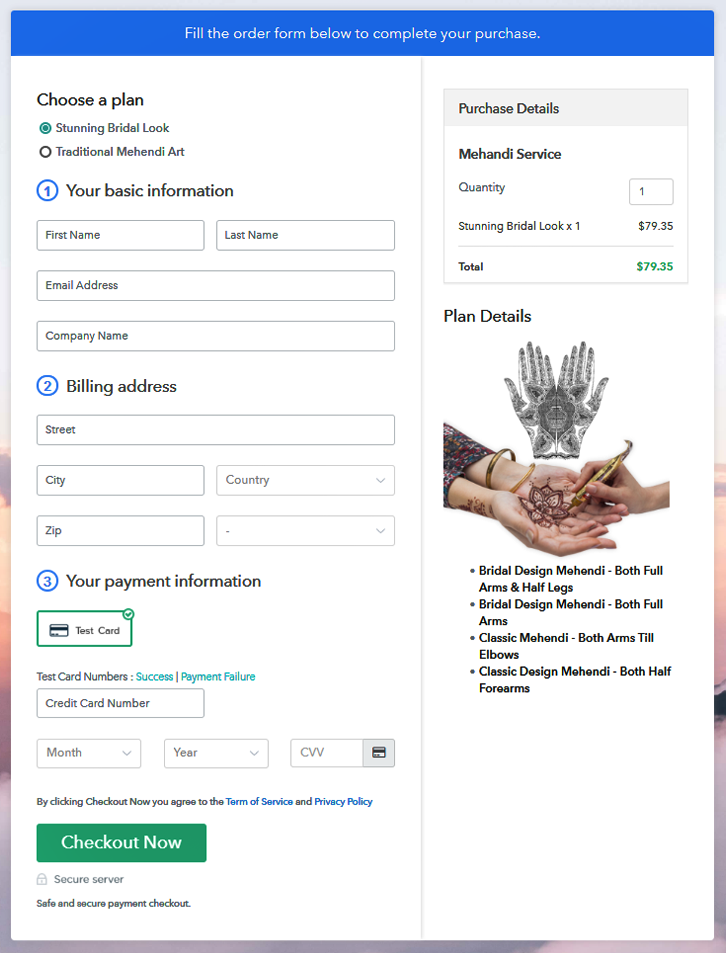
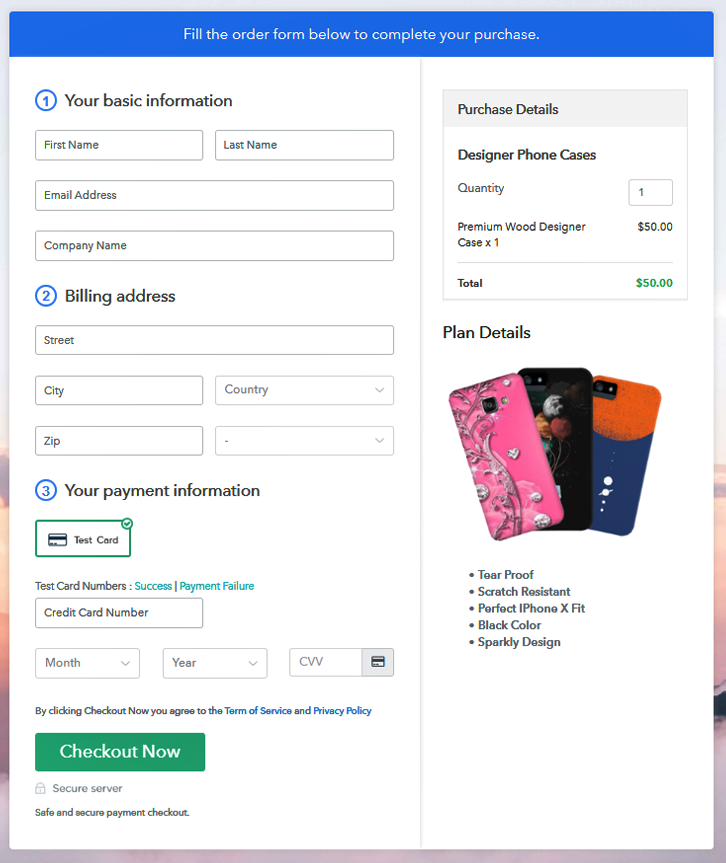
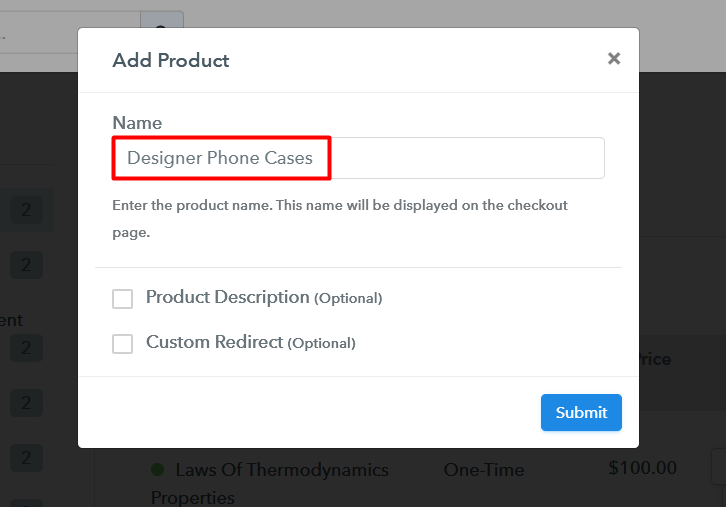
With Pabbly Connect, you create unlimited automated workflows by connecting your favorite apps and services according to your specific needs. Consequently, you can boost productivity in all aspects of work and life. Moreover, you can easily transfer the data between various applications by creating your own simple & multi-step workflows with conditional logic, filters, formatters, and much more. And you can do all this in just 3 simple steps. Firstly, you need to choose the authorized app you want to sync then set up the proceeding modules for the desired end result and Pabbly Connect will execute the task for you.
Apart from this, Pabbly Connect supports all the automated marketing sales, eCommerce, CRM, payment, and business processes. Pabbly Connect is extremely quick to set up, with a user-friendly drag-n-drop interface. You can easily streamline sales processes, automated email, and social campaigns, and set up cross-functional internal workflows with a bundle of triggers, actions, and scheduler within a matter of minutes.
Features
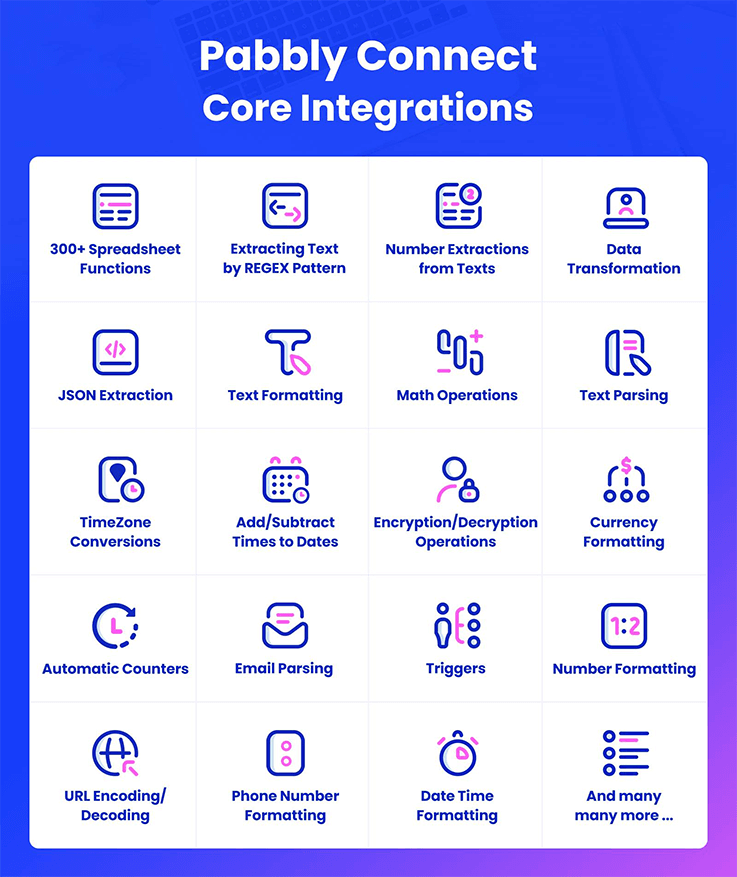
- Apps Integration – Pabbly Connect integrates with hundreds of apps and services. It also provides JSON, XML, HTML, FormData, Encoded form, and plain text for direct integration of apps. So that you can connect to almost any web service, depending upon the application’s API.
- Scheduler – This gives you the ability to perform a particular action at regular time intervals like a specified date, day, or time.
- Filters – Using the filter option, you can create complex workflows and apply the “If/Else” condition in your workflow. Besides this, you can also define the conditional or comparison functions such as Does not equal to, Contains String, Does not exist, Is Exist, and so on.
- Formatters – Quickly find the exact Excel functions such as numbers, dates, text, currency, percentage, aggregate, etc., and convert them into different formats.
- Unlimited Premium Apps – Connections to all apps and services are included in the basic Pabbly Connect plan like Facebook Lead Ads, Google Sheets, Gmail, Linkedin, Stripe, WordPress, Chargebee, Facebook Custom AudienceGravity Forms, etc.
- Path Router – Pabbly Connect has a path router that can split the actions into multiple paths for a single trigger so that you can perform several operations, set up filters, and direct your data to different streams based on the conditions you add.
Pricing
Pabbly Connect offers 4 pricing plans that are based on the number of tasks/operations including:
- Standard – The minimum price for the service is $10 which you get 12,000 tasks per month with all the features like unlimited workflow, instant triggers, multi-step calls, formatters, etc.
- Pro – Pay $20 per month for 24,000 tasks and get all the above-mentioned features.
- Ultimate – The pricing of this plan starts from $40/month and you get tasks ranging from 50,000 to 9,000,000 tasks per month.
Click Here For More Details
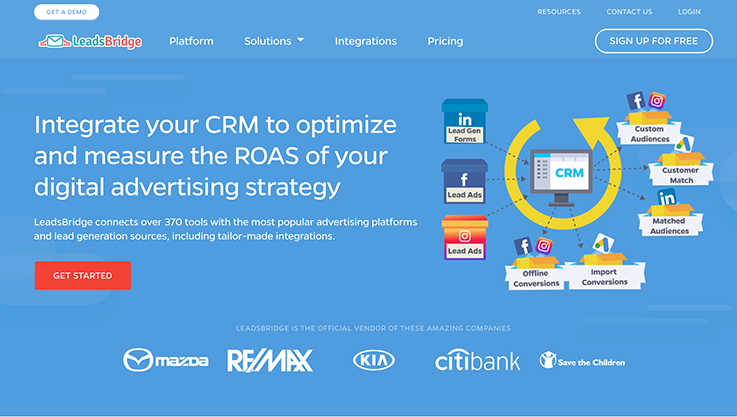
2. LeadsBridge – Automation Software
LeadsBridge is an iPaaS solution that enables companies to enhance their omnichannel strategy by orchestrating their business data. It fulfills your integration needs, focusing on bridging gaps between advertising platforms and sales funnels, and delivering tailor-made integrations made upon your business needs.
The LeadsBridge platform is suited for companies that want to streamline their advertising activities by integrating the marketing technology stack with Facebook & Instagram Ads, Google Ads, and LinkedIn Ads. With more than +370 out-of-the-box integrations available at the moment, you can easily connect your chosen software with your advertising platform, seamlessly synchronizing data for your marketing workflows.
Features
- Lead Sync- With LeadsBridge, you can automatically synchronize leads from Facebook Lead Ads, Google Lead Form Ads, LinkedIn Lead Gen forms with your favorite CRM, and Email Marketing software.
- Audience Targeting- Thanks to Audience Targeting, you will be able to automatically create the best audiences by syncing the CRM segments, email marketing contacts, or customer lists with Facebook, LinkedIn, and Google Ads, always being compliant with GDPR and other privacy laws.
- Online to Offline Tracking- This tool allows you to track your offline transactions and understand the performance of online campaigns. LeadsBridge offers this service on Facebook through Facebook Conversion API and on Google by using Google Offline Conversions.
- Platform to Platform- With LeadsBridge Platform to Platform technology, you can connect the company’s platforms through LeadsBridge to make teams more effective and get rid of data silo issues
- eCommerce Synchronization- It allows eCommerce companies to sync contacts and orders between your eCommerce tool and the most used advertising platforms including Facebook and Instagram.
- Tailor-Made integration- Provides tailored integrations for complex workflows. This is suitable for companies with unique needs that are not available on the integration list. LeadsBridge helps to integrate custom or internal CRM for such companies.
Pricing
LeadsBridge offers a free 7-day trial with four paid plans billed monthly or annually, starting at $29 for the self-service platform with real-time LeadSync and 1.5k leads/mo, up to Enterprise accounts starting at $699 per month with Custom Volumes. Plans vary in the maximum amount of integrations and synchronized units (leads, audiences, and conversions). All plans offer the GDPR (also for audiences) and CCPA Compliant to keep all customer data safe.
3. Make (Formerly Integromat) – Automation Software
The next one in our list is Make which is the affordable Zapier competitor. It lets you automate your process which takes up so much time and manpower to transfer & transform the data. It connects multiple apps, services, and devices with each other without having programming skills such as Google Drive, Facebook, Twitter, Slack, Dropbox, etc. You can also create simple or complicated automation tasks with multiple integrations. Moreover, Make has 1500 ready-to-use templates that help in scenarios setup.
Features
- You can view detailed information about each & every workflow like what data was processed and when it was processed. Besides, you can also turn the logging off if you don’t want to store any transmitted data.
- It comes with the most commonly used Excel functions like text, numbers, dates, lists, to sum up, some values, find out aggregate and percentage, etc.
- Make allows you to decide the starting point to begin processing your data from the past or from after activation.
- Easily duplicate the processed data with its built-in routers. Using this, you can divide the scenario into various routes for processing the data differently within each route.
- Use custom logics & filters to deal with unexpected exceptions, effectively. You can handle any exception by applying special commands or instructions during execution.
Pricing
- Free – As you register you get 1,000 operations and 100MB to transfer the data for free which you can use instantly.
- Basic – The minimum price for the service is $9 per month in which you get 10,000 operations and 1 GB of data.
- Standard – Buy a Standard plan at the cost of $29 per month and get 40,000 operations with 20 GB of data.
- Business – $99 per month for 150,000 operations and 70 GB data.
- Platinum – $299/month in which you get 800,000 operations and 220 GB data.
- Custom – If you need more than 800,000+ operations contact the Make sales team for pricing details.
4. Automate.io – Versatile Zapier Alternatives
Automate.io is the next Zapier alternative that helps you integrate various cloud-based apps to automate the marketing, sales, and business activities. With this, you can create simple or complex workflows (called Bots) or sync data between two apps without requiring any coding. Furthermore, you can send automated emails, monitor lead generation, manage social campaigns, track payments, and much more.
Features
- Compared to Zapier, Automate.io allows you to run three times more automated tasks per month.
- User-defined trigger events, business process automation, multiple data resources, automatic form filling, etc.
- Connect all leading cloud and SaaS applications using its Webhooks/Rest API.
- Save your time and efforts with its drag-drop functionality, automated data sync, configurable actions, and much more.
- Automate.io has a tremendous list of automated app integrations like Facebook lead ads, Salesforce, Zendesk, WooCommerce, Shopify, etc.
Pricing
- Free – You get a free trial of the paid membership with 250 actions per month and 5 bots.
- Startup – $49/month in which you get 10,000 actions/month and 50 bots.
- Growth – Get 30,000 actions and 100 bots at the pricing of $99 per month.
- Business – Pay $199 per month for 100,000 actions and 200 bots.
- Enterprise – With this plan, get 500,000 actions and unlimited bots. Apart from this, you’ll get all the advanced features of Automate.io such as multi-action bots, premium apps, auto-retry, excess actions, data controls, and team accounts at $399 per month.
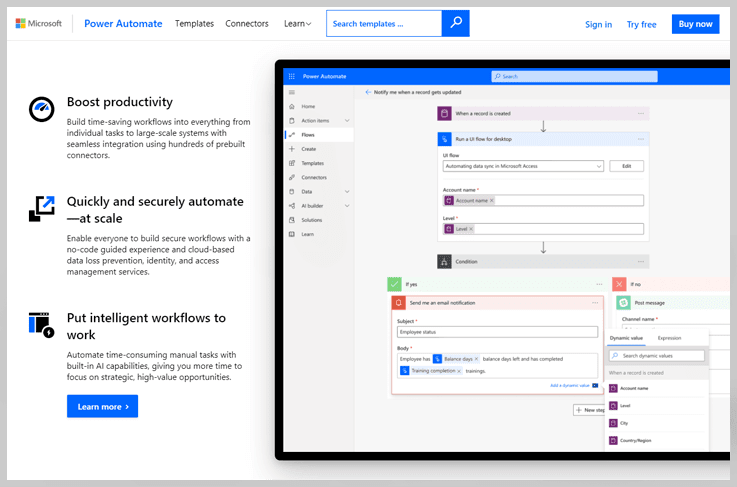
5. Microsoft Flow – Automate Workflow
Microsoft Flow is the next and fourth Zapier competitor that automates your workflow between various apps and services. It enables you to build secure workflows with cloud-based data loss prevention, identity, and access management services. Additionally, it provides numerous templates so that you can immediately start your automation work like file syncing, data collection, etc and it notifies you even for a small change.
Features
- Microsoft Flow has designed thousands of templates for sales, marketing, teaching, social media, email, etc., to help you quickly set up automation.
- It checks your apps for new information every 15 minutes and then runs automated flows if appropriate.
- You can monitor and manage your workflows from anywhere with Microsoft Flow mobile app for iOS, Android, and Windows
- Customizable & conditional flows, on-premise & cloud integrations, data filtering, and monitoring.
Pricing
Microsoft Flow gives free and two paid plans, according to the individual users and implementation flows
- Per-User Plan – You can create unlimited flows according to your needs at the pricing of $15 per user per month.
- Per-User Plan with Attended RPA – Along with unlimited flows, you can automate the legacy applications via API & RPA at $44 per month per user.
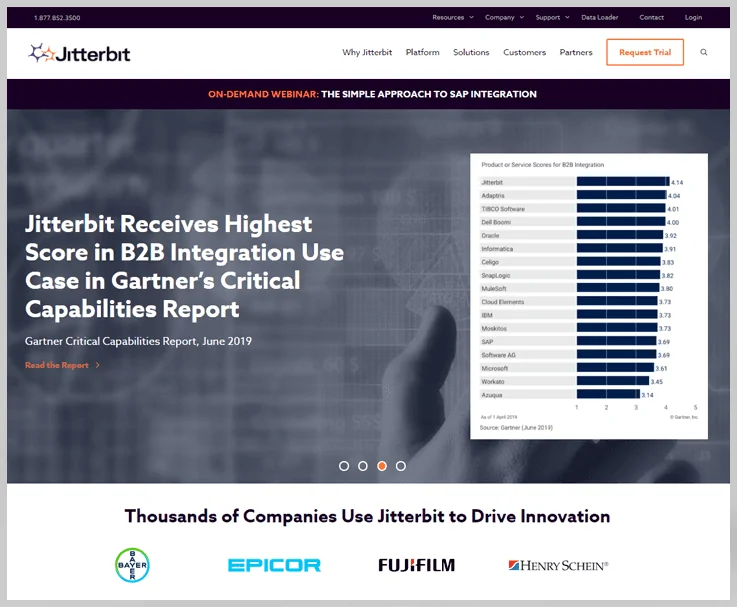
6. Jitterbit – iPaas Software
Jitterbit is an API transformation platform that makes it quicker and easier for businesses to exploit data from any source. This helps you to quickly connect SaaS, on-premises, and cloud applications to infuse intelligence into any business process. Furthermore, its graphical “No-Coding” approach accelerates, simplifies the configuration, management of on-premise, and cloud integration projects.
Features
- It employs high-performance parallel processing algorithms so that you can easily transfer large amounts of data with Jitterbit.
- This monitors your integration to spot problems and immediately notifies you if an error occurs.
- Jitterbit also provides the tools for data cleaning and intelligent reconstruction that reduce the hassle of cleaning and altering data between systems.
- Set your integrations to run on a schedule, triggered, or real-time and control it from anywhere, anytime
- With over 300 included formulas, you can map similar fields between your apps, and add business logic.
Pricing
Jitterbit offers custom pricing plans based on your business requirements. You just need to contact their sales team for pricing details.
Conclusion
No matter what industry you’re in, the integration of applications and the automation of workflows will effectively help you save time and increase personal and organizational efficiency.
Although Zapier may be the popular automation platform, it’s important to explore other options so you can make the best decision. Now that you’re familiar with numerous feature-rich alternatives, you can select the solution that works best for you and your business needs.
Have you tried any of the Zapier alternatives we mentioned? If so, please share your experience with us in the comments.
You May Also Like To Read: