Tired of searching for ways to Integrate Elementor Forms with Moosend using Pabbly Connect? Then, you have come to the right place, as in this article, we are going to use ‘Pabbly Connect’ as a switch between Elementor Multi-Step Forms and Moosend.
Well, we understand how tiring it is to add every single lead data one by one in Moosend manually whenever Elementor Forms gets filled. No wonder why you might be looking for ways to connect Elementor Forms with Moosend so that you can automate the whole process and save yourself from all the trouble.
Hence, here we have the perfect tool suggestion for you i.e, Pabbly Connect that can help you to integrate Elementor Forms to Moosend and transfer data between services in no time. Besides, Pabbly Connect offers you easy data transmission amid numerous applications. Plus, using this software, one can surely avoid monotonous tasks.
Apart from that, it also provides you various amazing features such as filters, path routers, formatters, and many more to ease-up the entire automation procedure without any coding skills. So, without wasting any of your time, lets go through the steps to Integrate Elementor Forms to Moosend.
Step 1: Sign up to Pabbly Connect

The process begins by doing sign up to Pabbly Connect that will further help in the Elementor Forms integration process. And for that, you need to enter all the details manually or else you can sign-up via Google account.
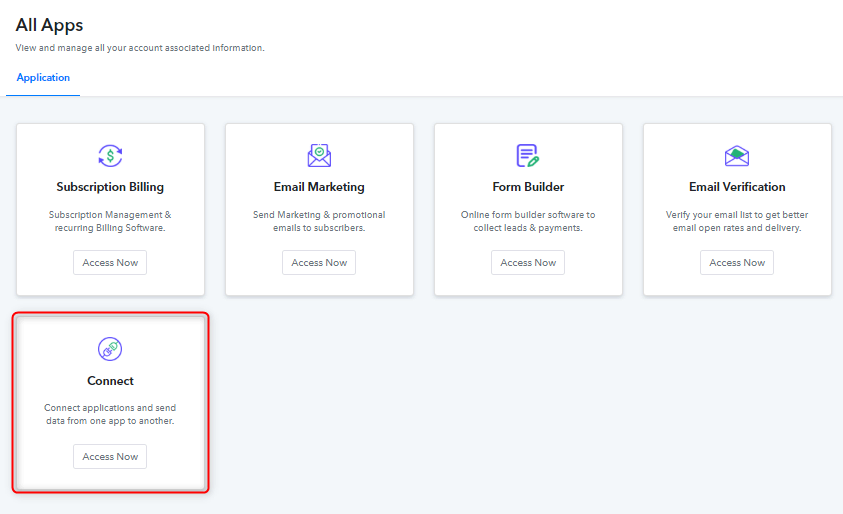
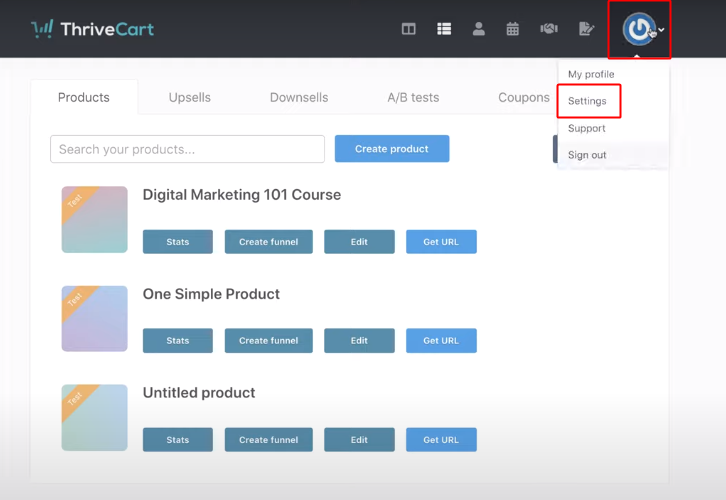
Step 2: Access Pabbly Connect

Once you complete the signup process, just click on the “Access Now” button of Connect (a service of Pabbly for automated integration & data transmission).
Step 3: Create a WorkFlow for Elementor Forms & Moosend Integration
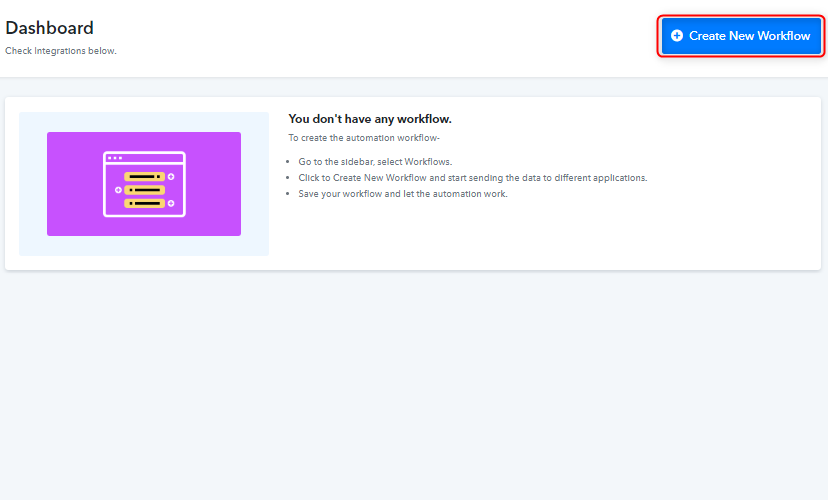
(a) Start with a New Workflow

Start with creating a workflow for your project by pressing the ‘Create New Workflow’ button.
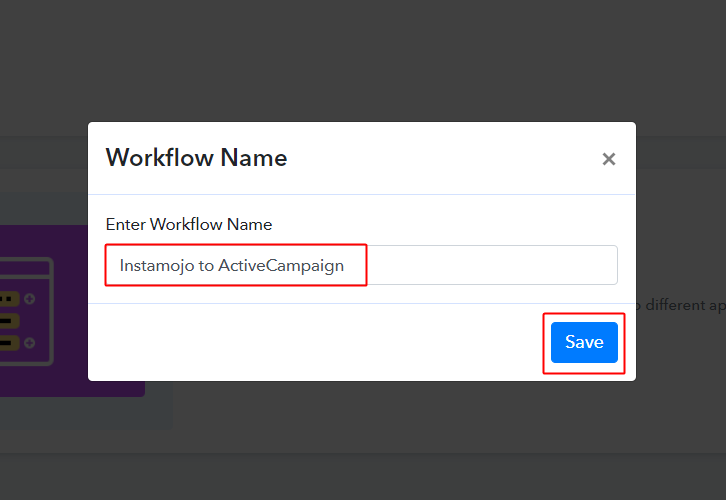
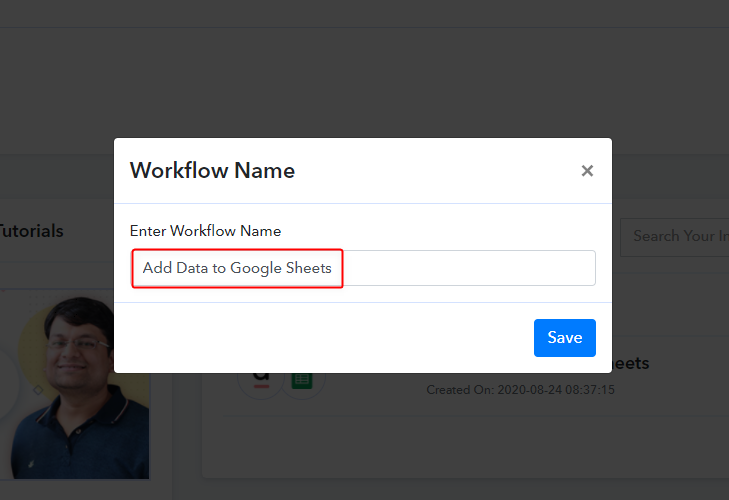
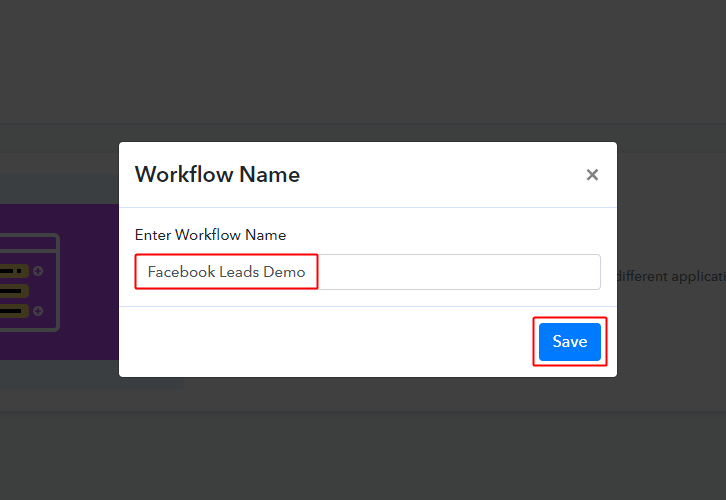
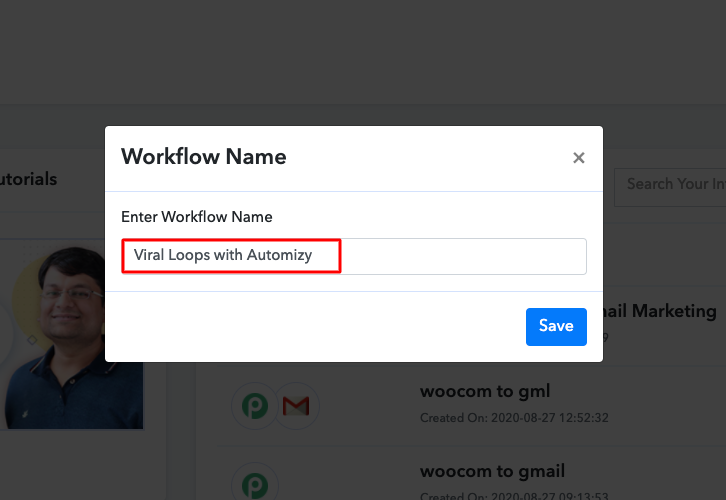
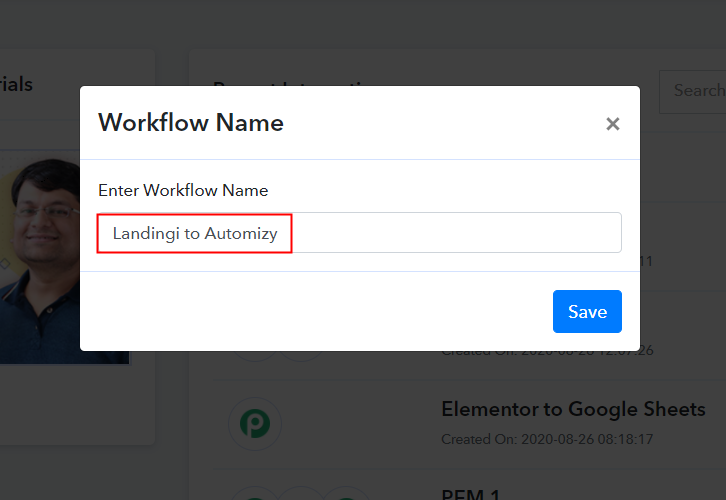
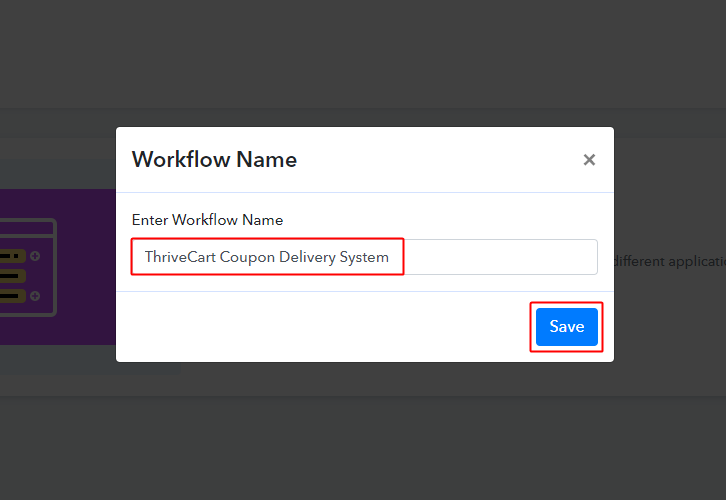
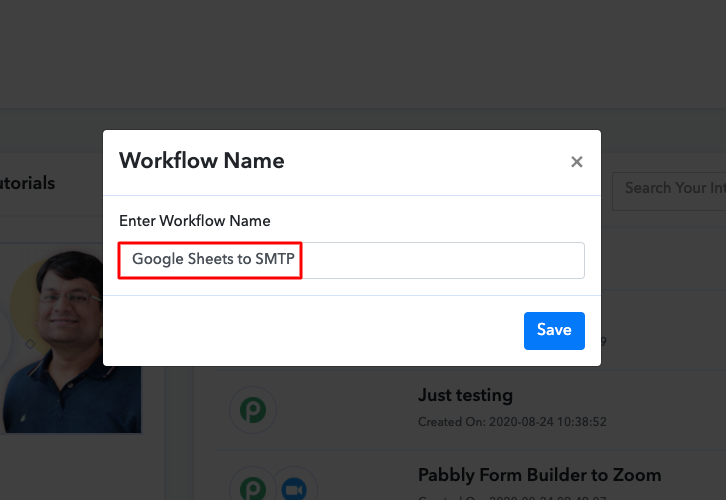
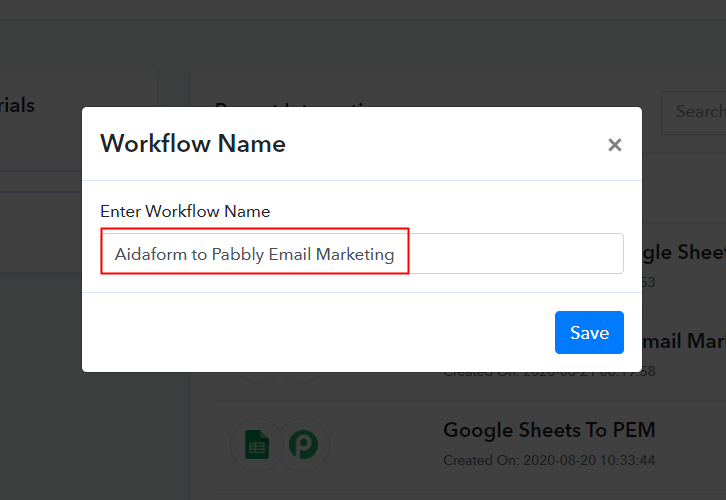
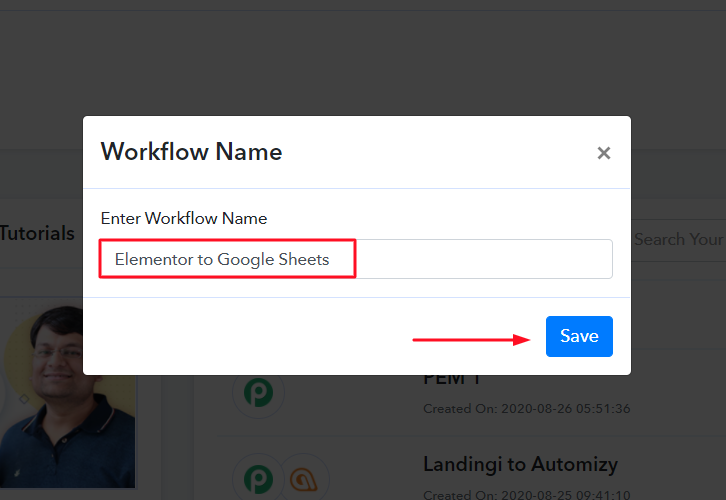
(b) Name the Workflow
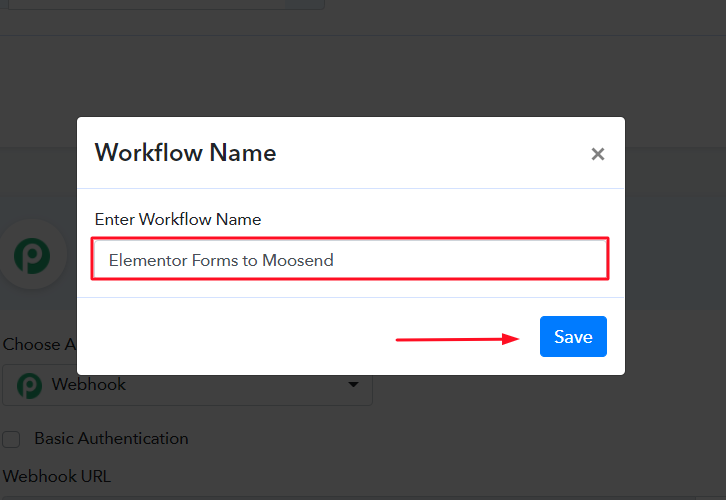
The following step is to add the name the workflow that is “Elementor Forms to Moosend”. Yet, you can always change the name of your workflow whenever you want to as per your needs.
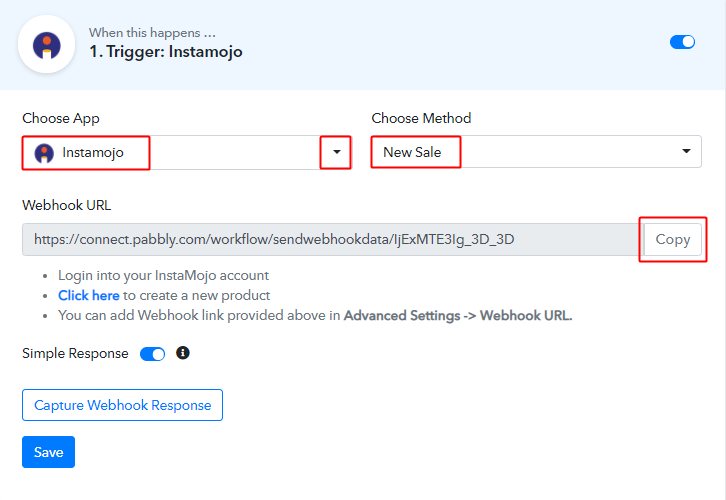
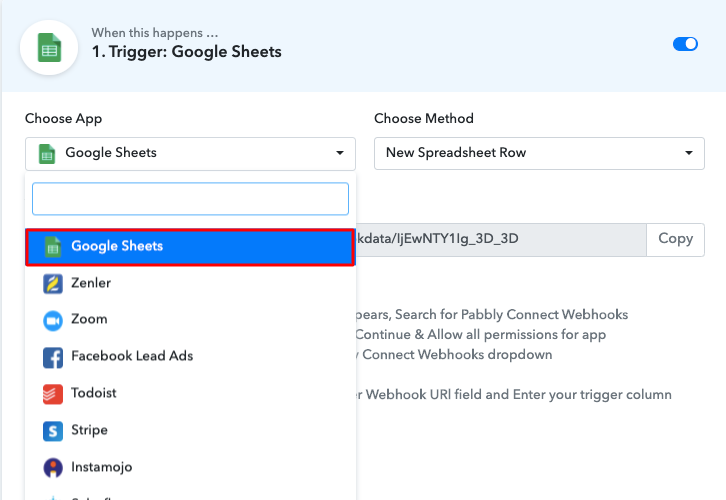
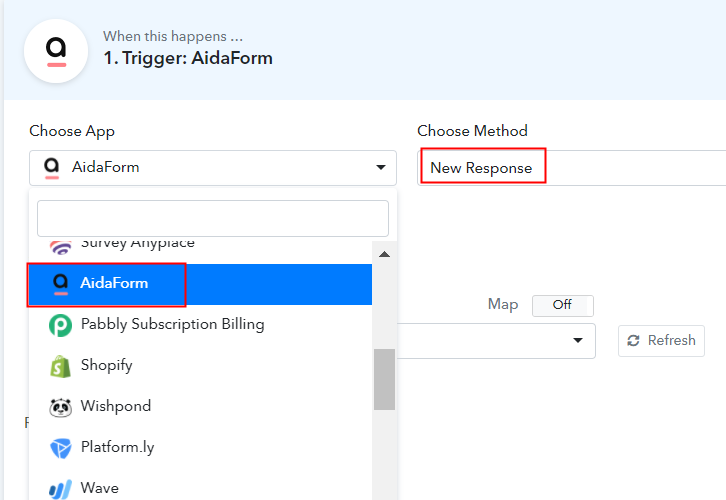
Step 4: Setting Trigger to Integrate Moosend with Elementor Forms
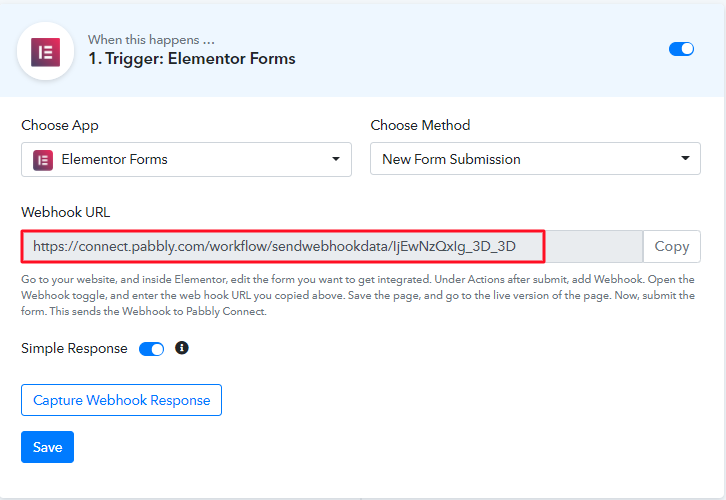
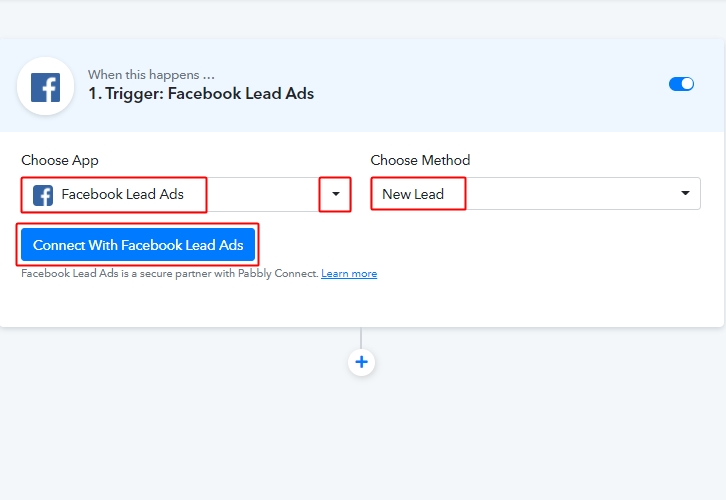
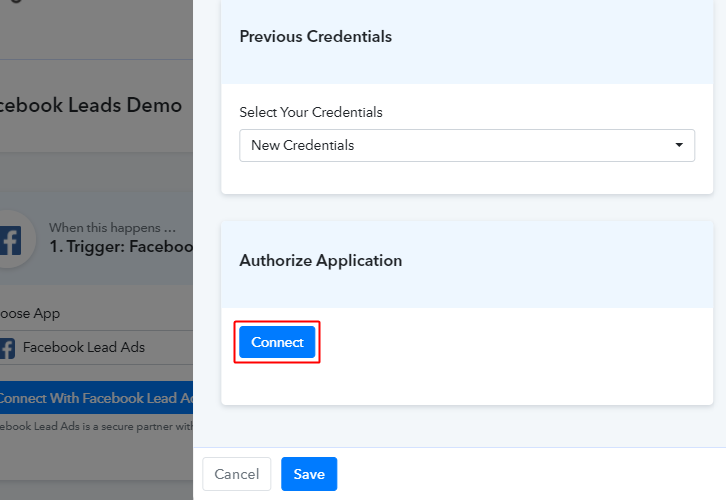
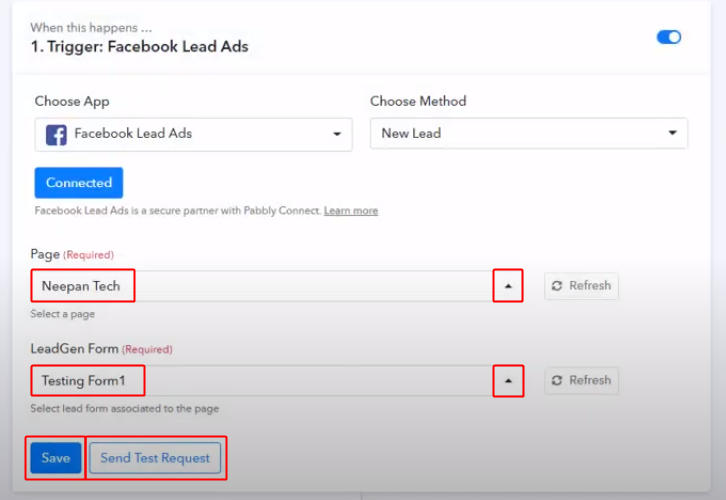
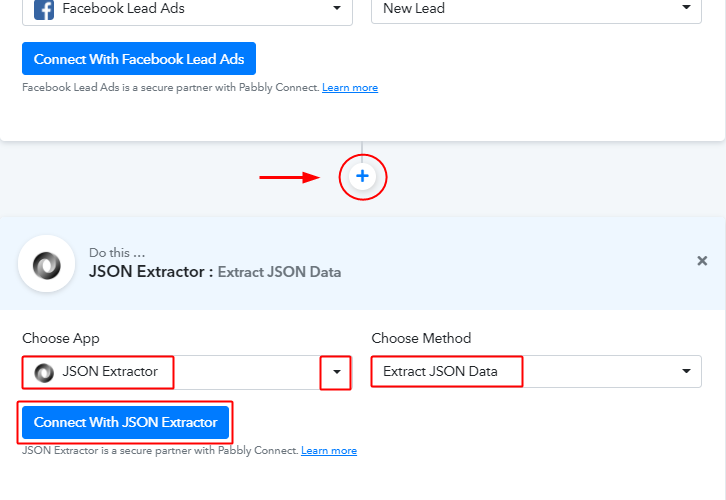
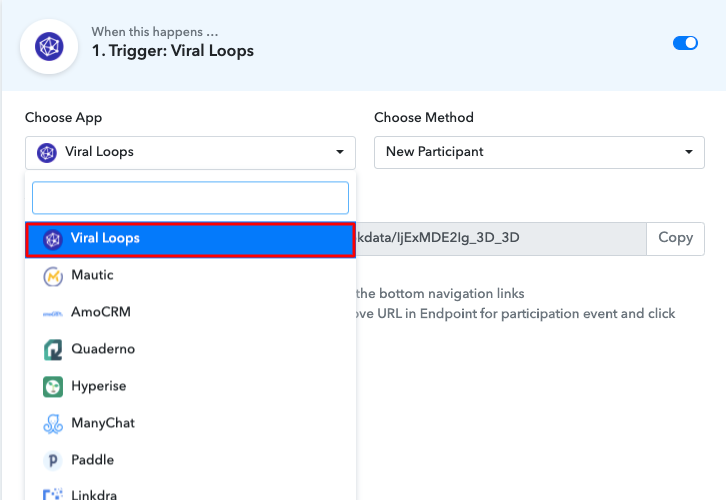
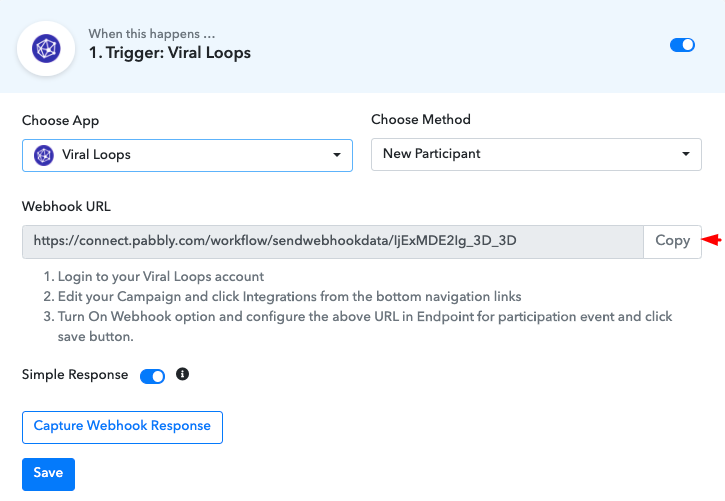
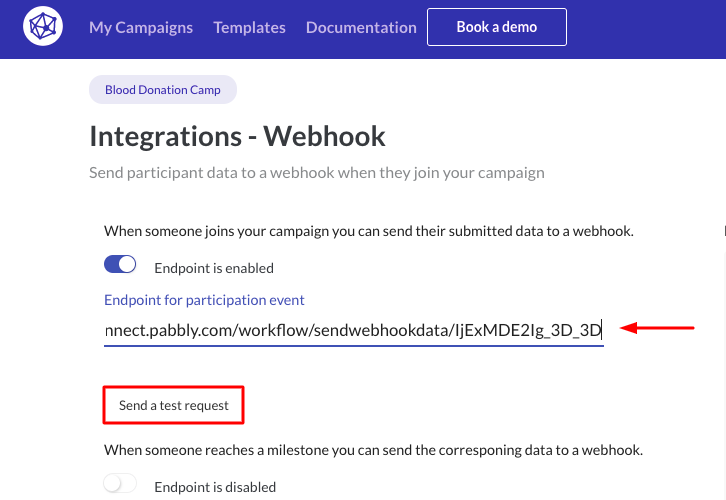
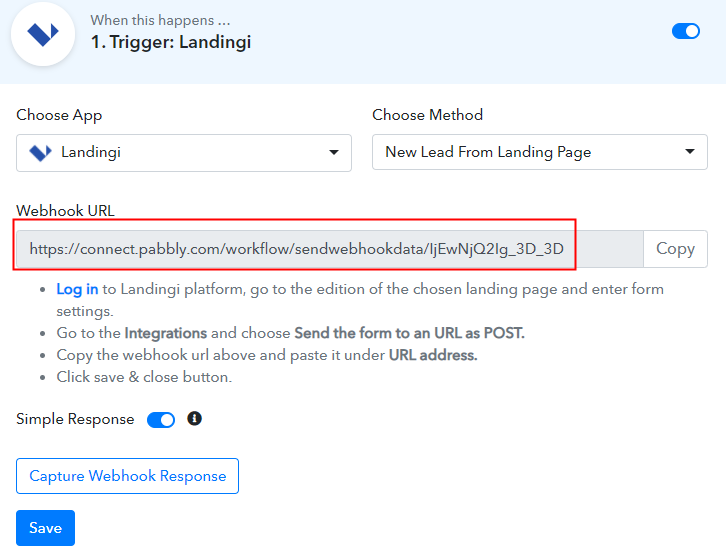
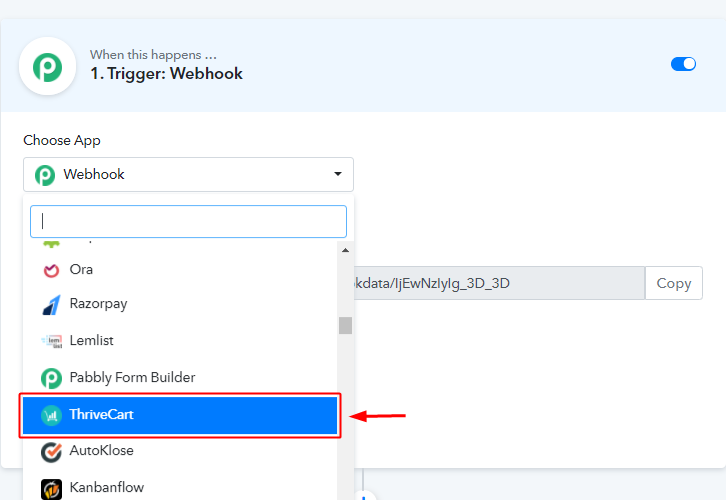
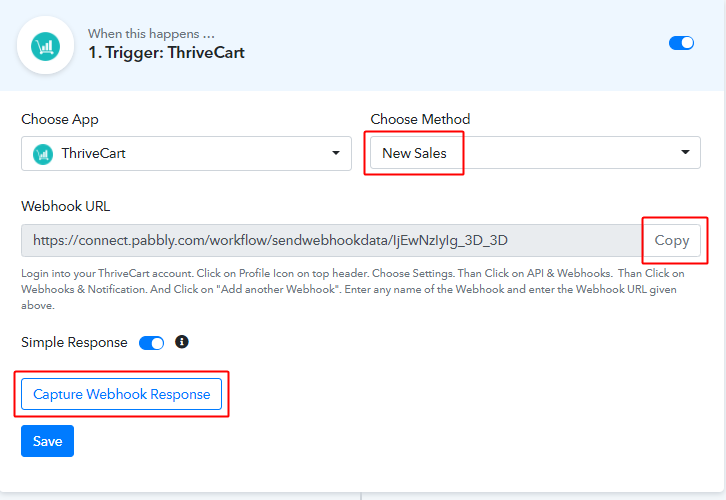
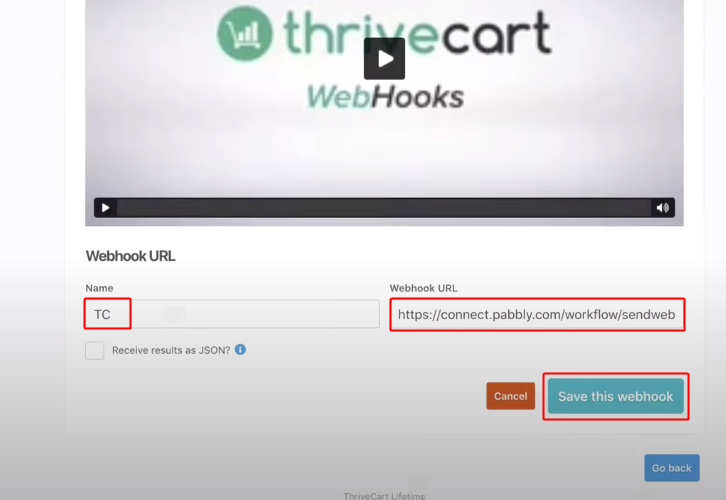
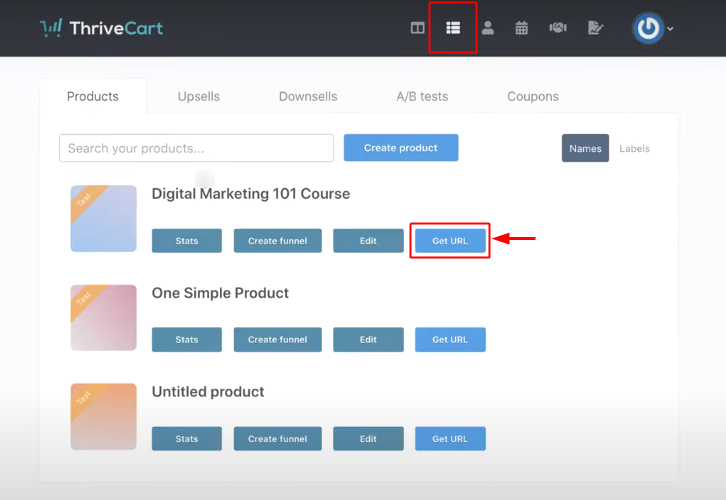
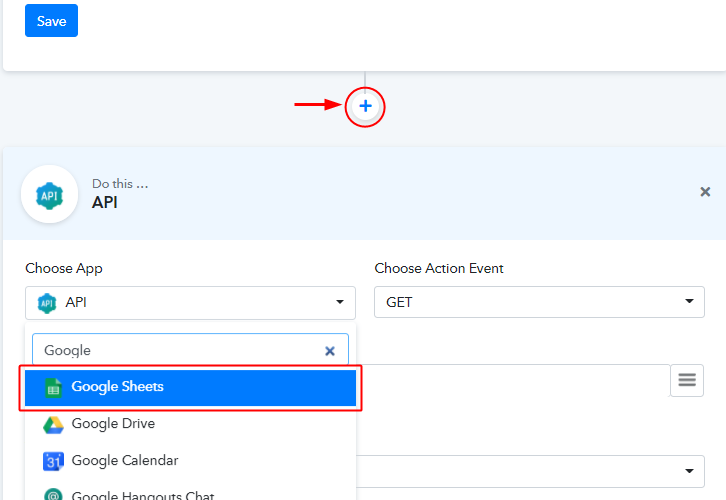
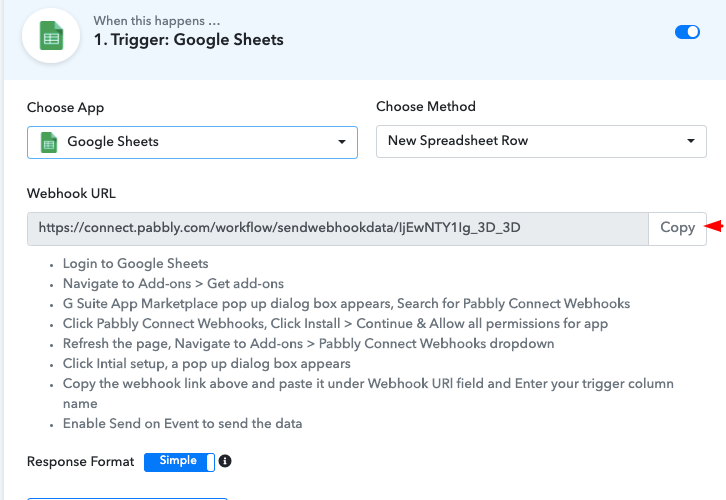
After the workflow is created, now you need to choose the application which you want to integrate, i.e, “Elementor Forms”. Then, simply copy the webhook URL. Using this trigger, now we can start the process of automation & integrated the first service with Pabbly Connect. Subsequently, just select the app that you want to integrate, in this case, i.e, Elementor Forms.
Step 5: Paste the Webhook URL in Elementor Forms
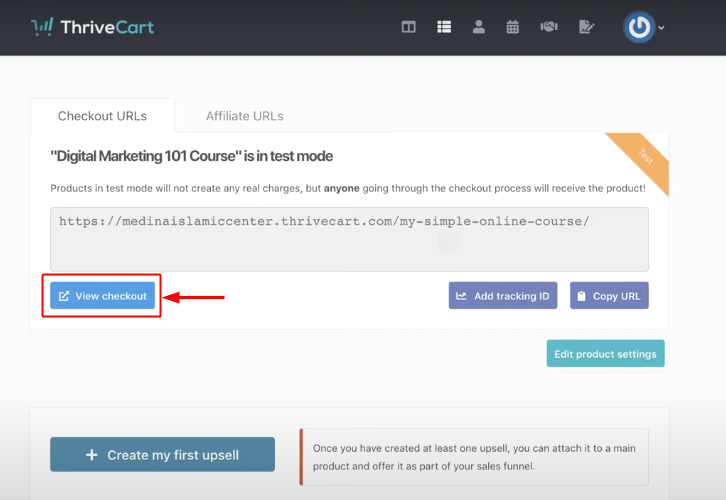
The next step is to paste the copied Webhook URL in your form builder dashboard and to do so, you need to first log in to the Elementor Forms.
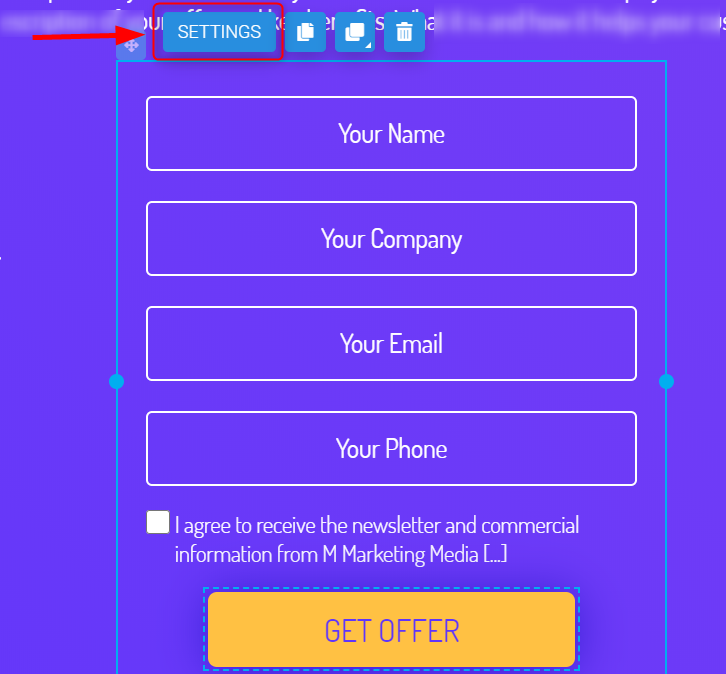
(a) Click on “Action After Submit”
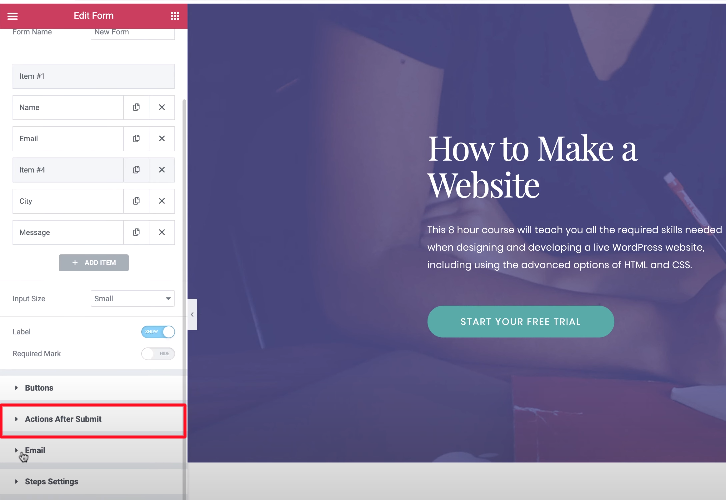
After entering the Elementor Forms dashboard, you need to create a form from scratch. And once the form is created, just hit the “Action After Submit” setting of the form.
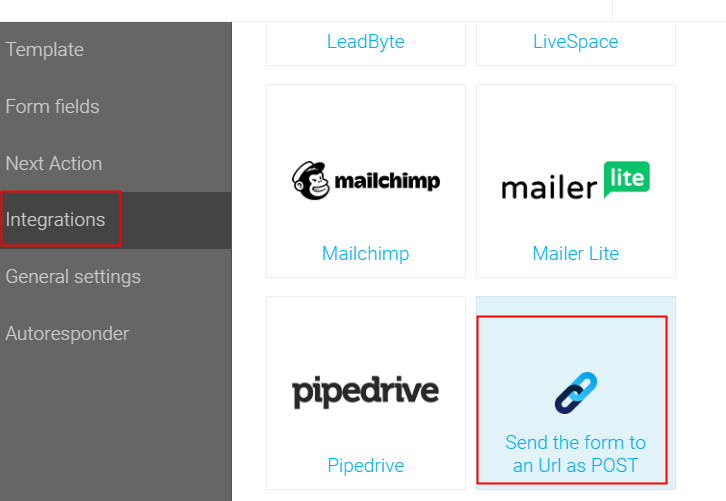
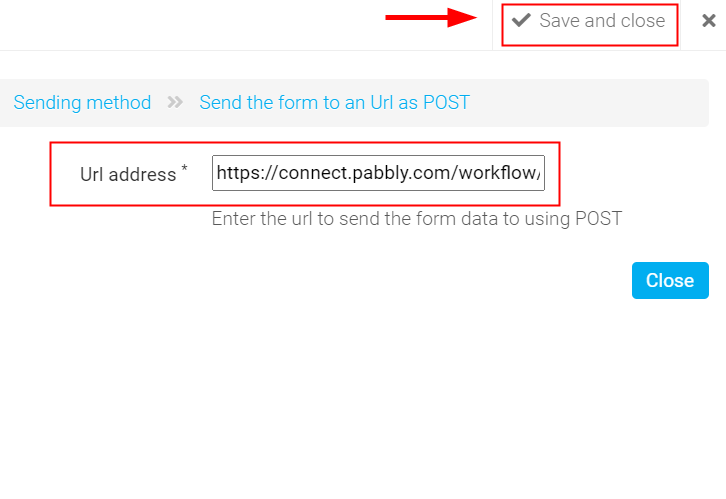
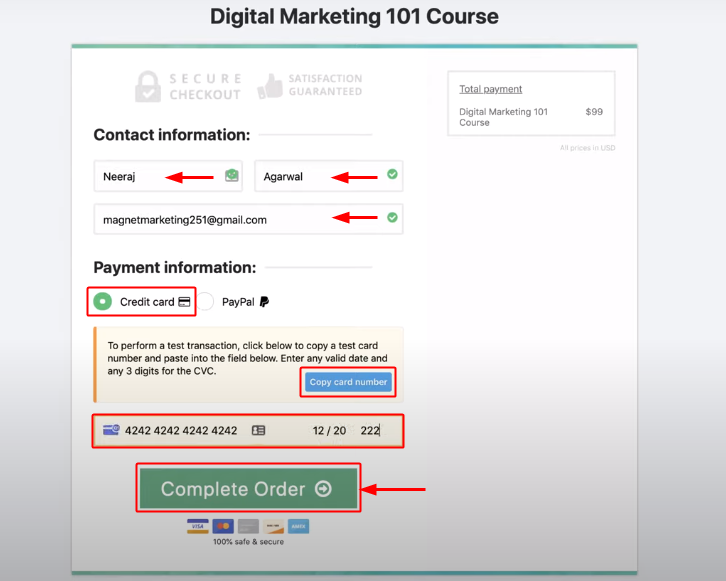
(b) Select Webhook Option & Paste Webhook URL
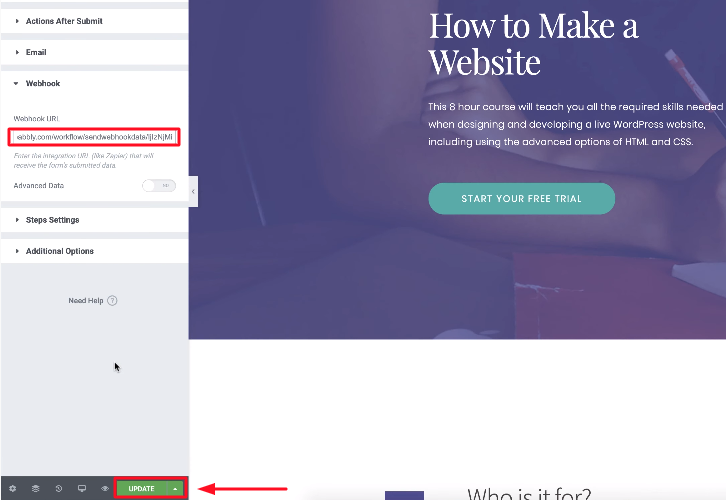
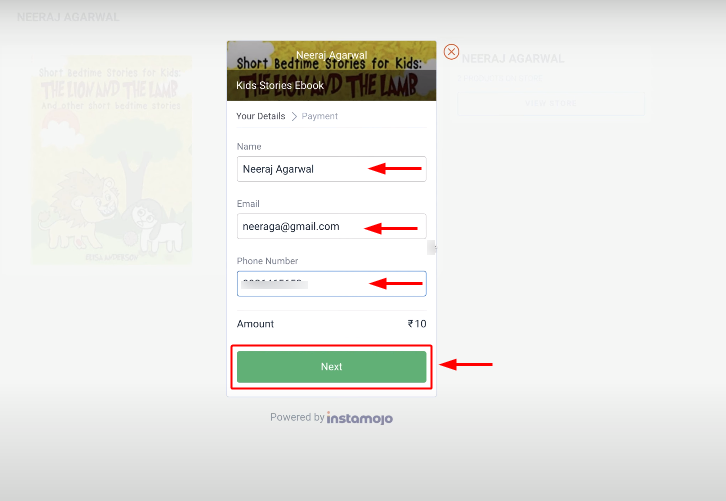
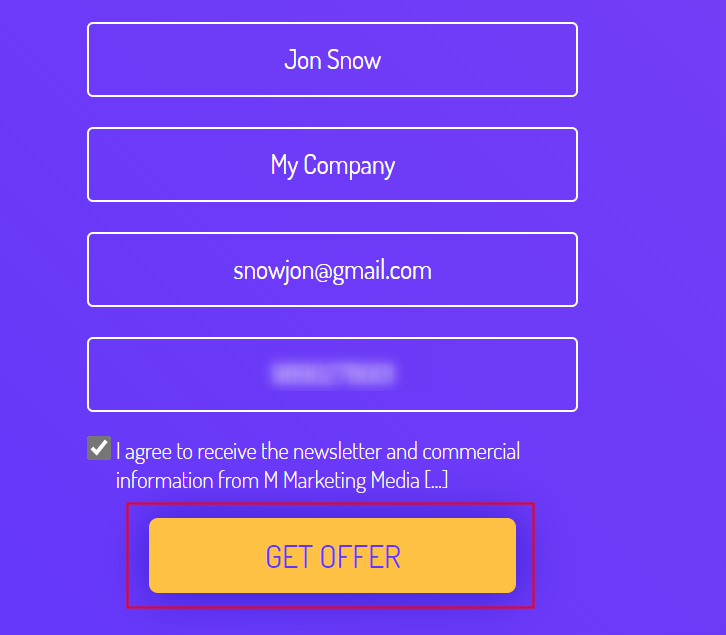
After that, you need to search the webhook option by typing in the search box and then click on the Webhook option. Once the webhook is opened, now you have to paste the copied URL. Then, just simply click on the “Update” button. Now, its time to test the form, and to do so you need to fill the details of the form that you have recently created.
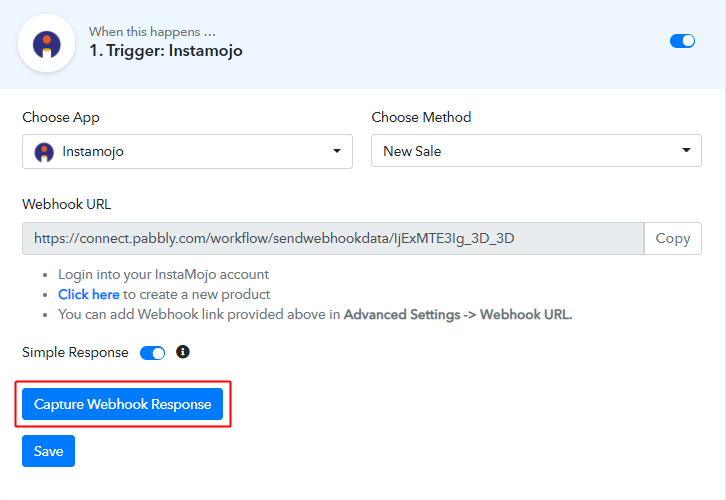
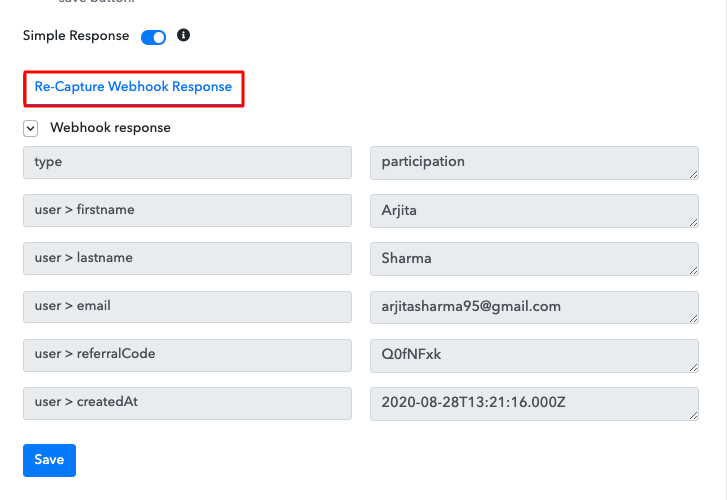
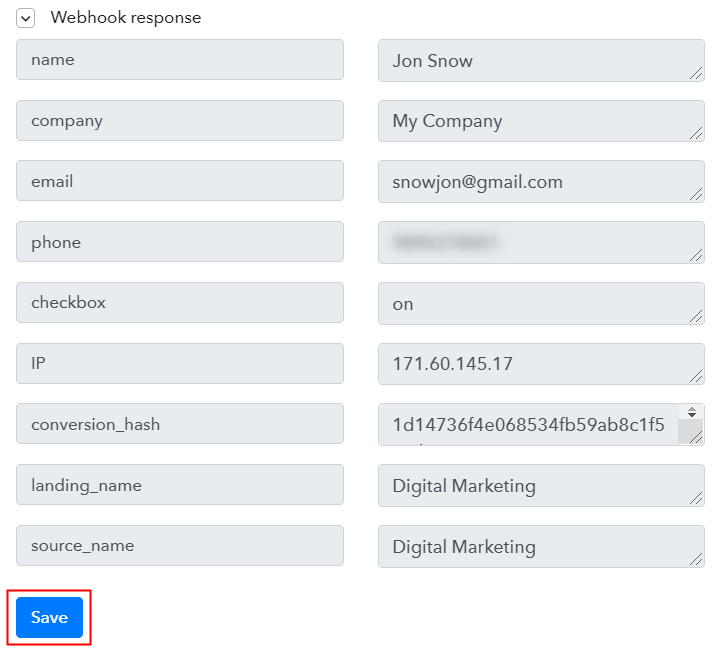
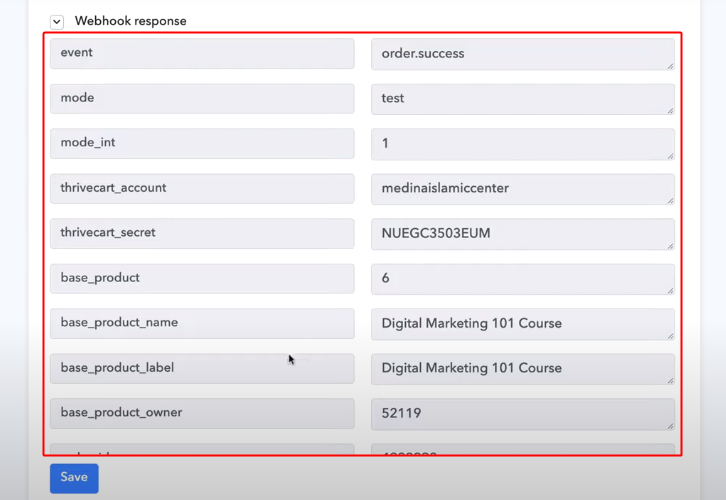
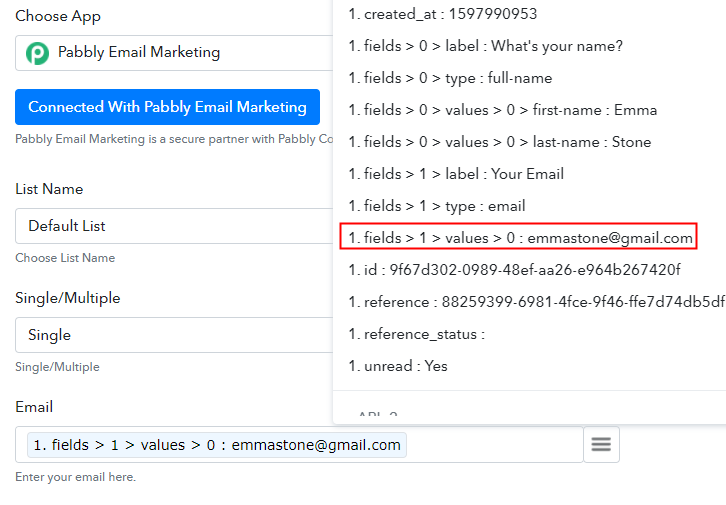
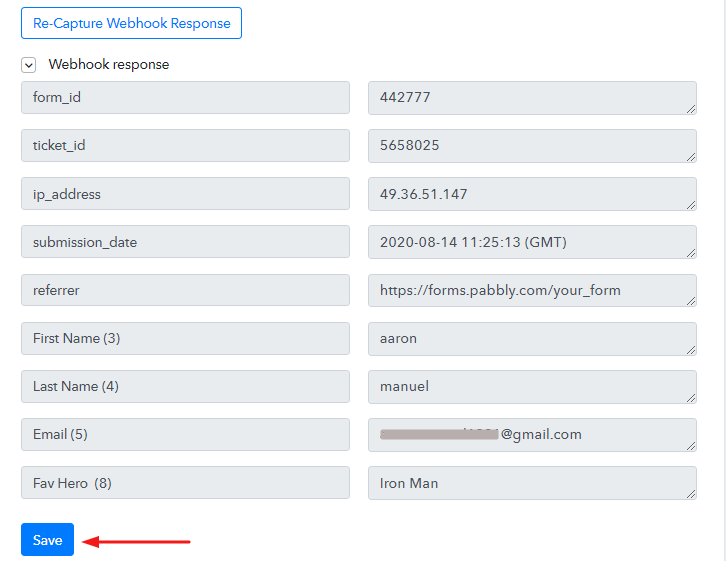
Step 6: Test the Submission in Pabbly Connect Dashboard
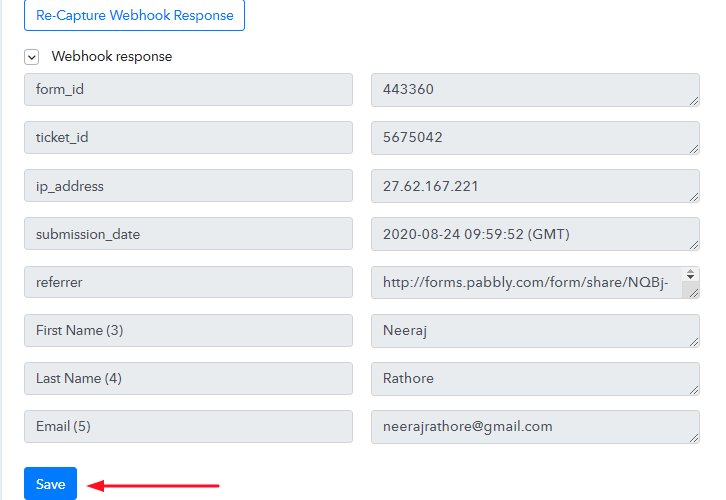
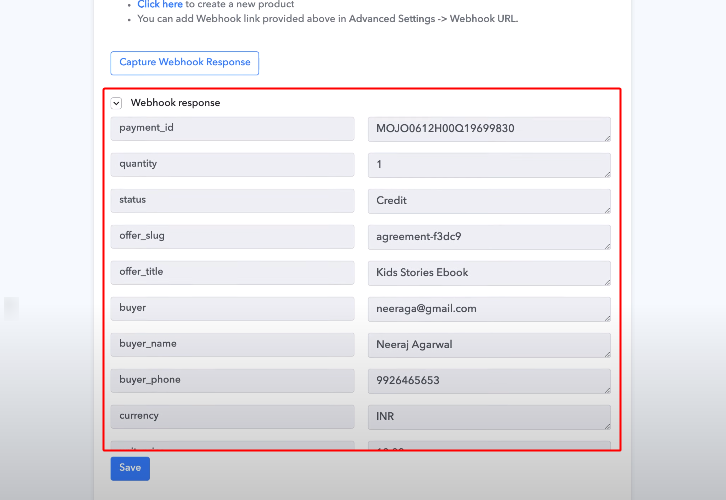
Once you fill out the form details your entry will appear in the “Pabbly Connect” dashboard. After clicking on the button “Capture Webhook Response”. Then, once it catches all the details of the form, simply click on the “Save” option.
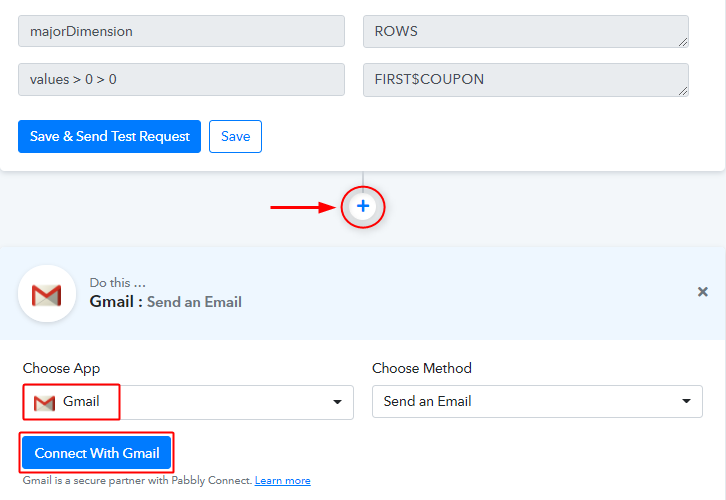
Step 7: Set-up an Action to Integrate Elementor Forms & Moosend
Once the trigger is all set & working as expected, now its time to start defining an action for completing the Pabbly Subscription Billing & Moosend integration.
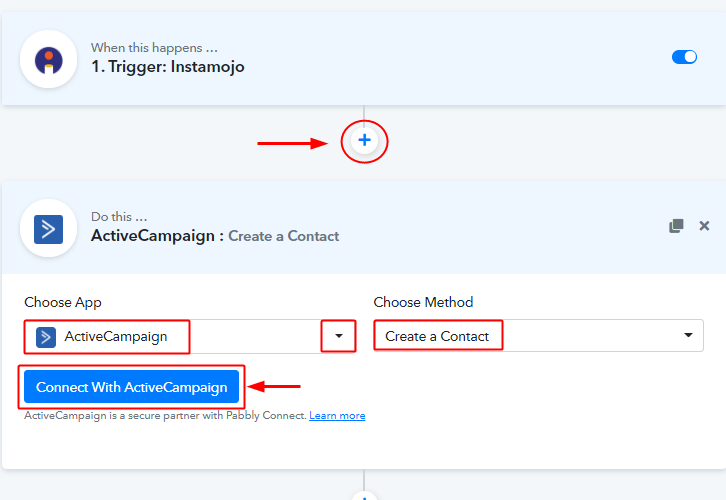
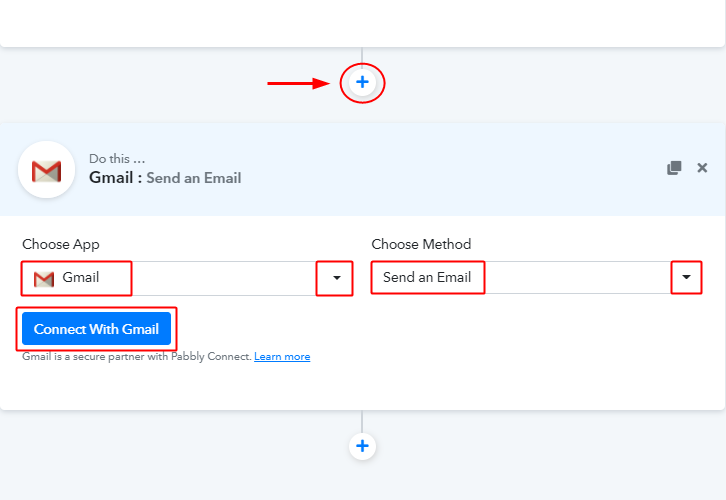
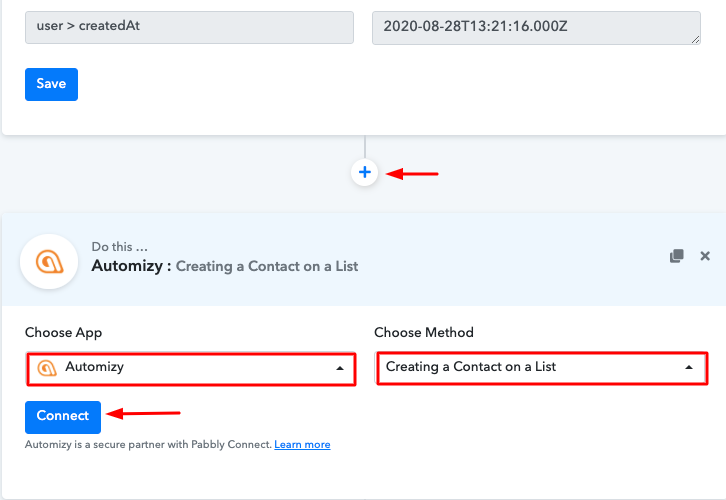
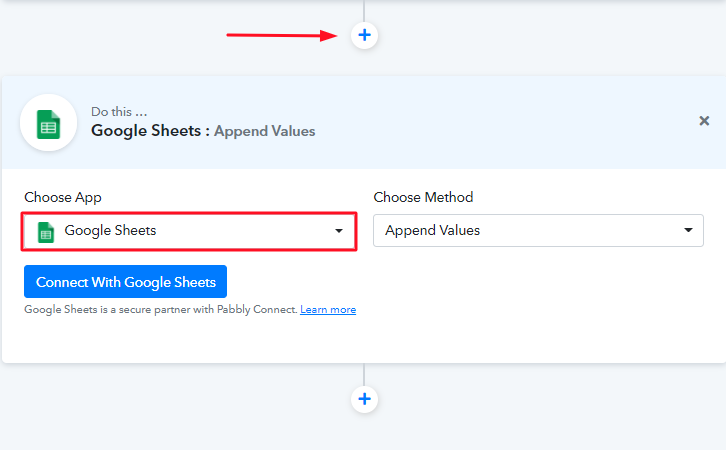
(a) Add an Action
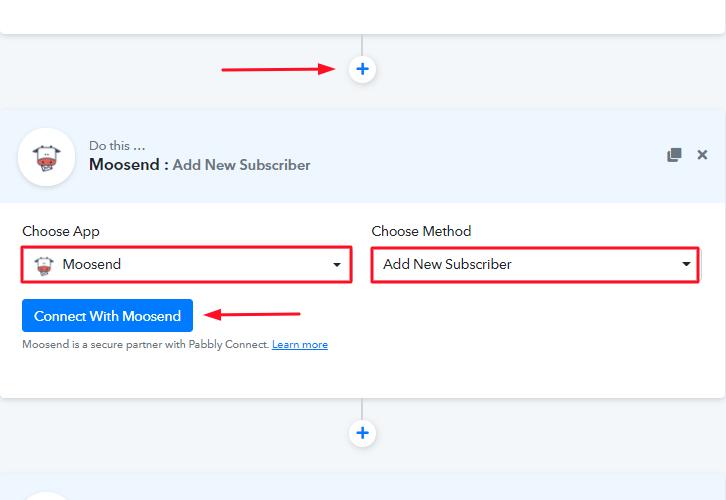
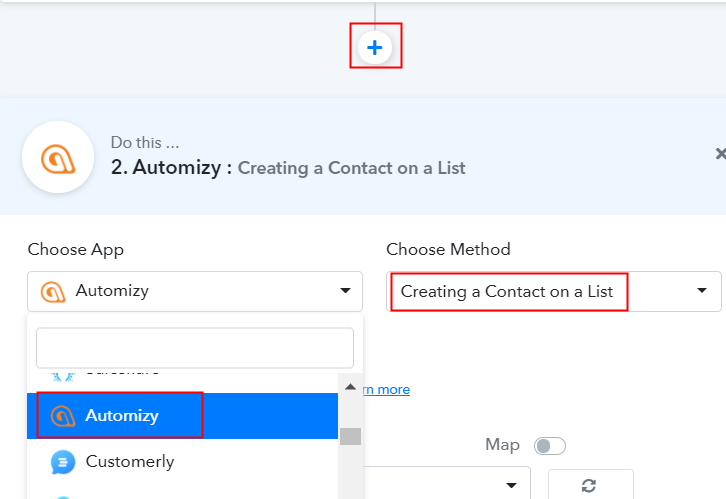
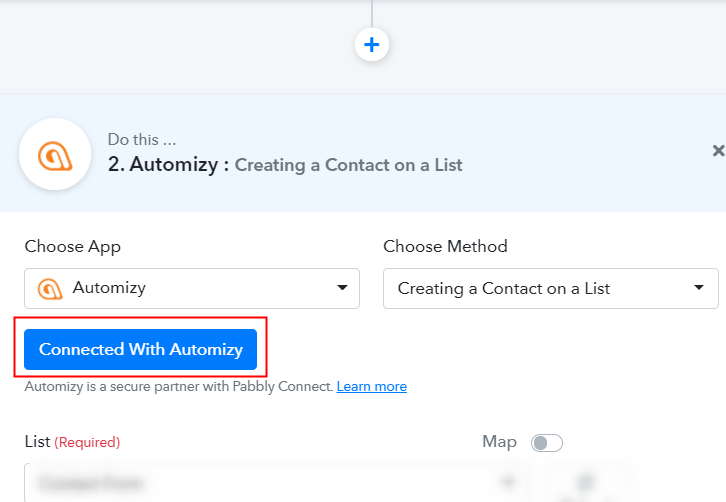
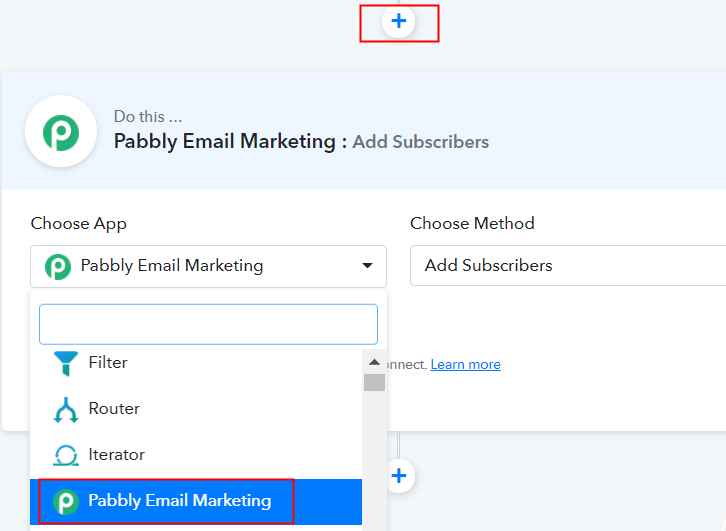
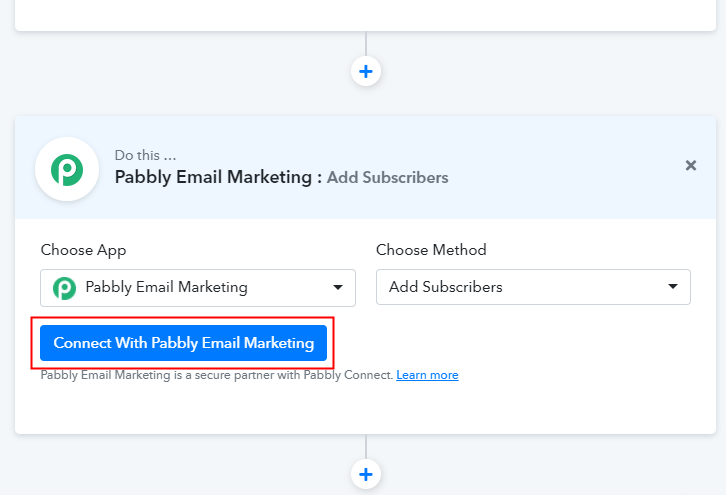
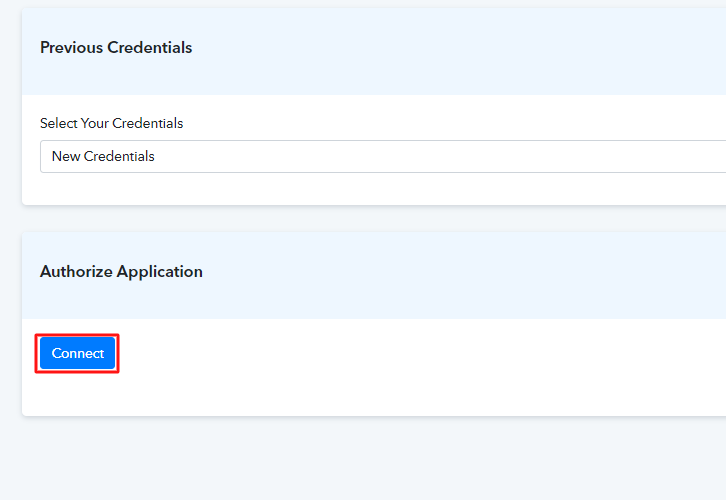
First of all, click the ‘+’ button and choose an app for integration here i.e, ‘Moosend’ from the drop-down list. After making a choice for the app to integrate, make sure for the method to be as ‘Add New Subscriber’. Then simply hit the ‘Connect to Moosend’ button available which will slide open the window from the right side, asking for an API key.
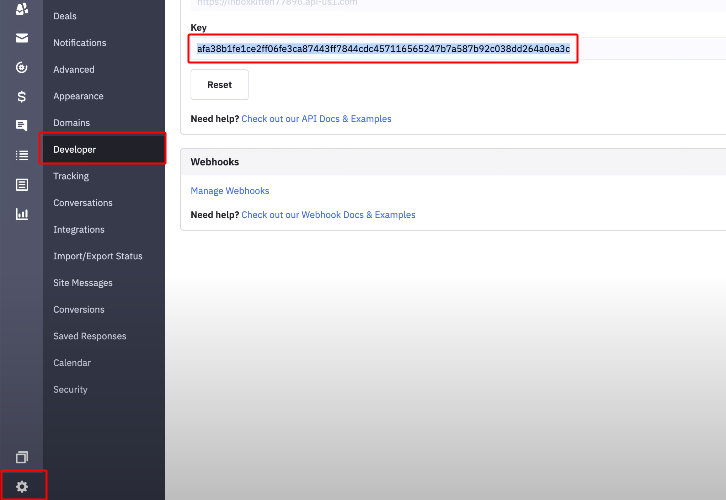
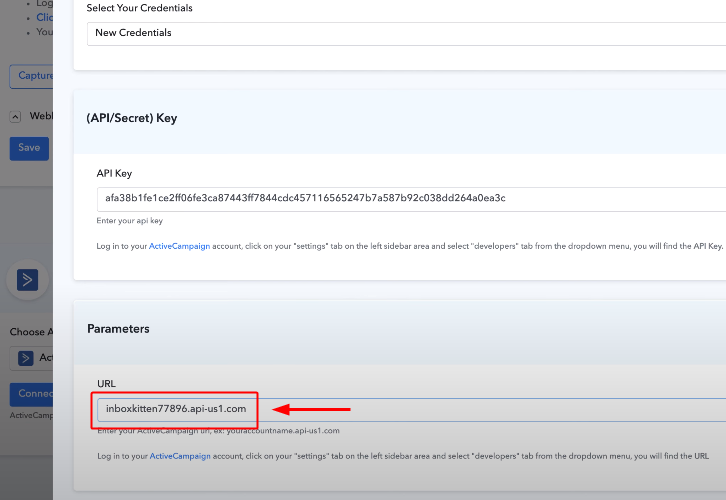
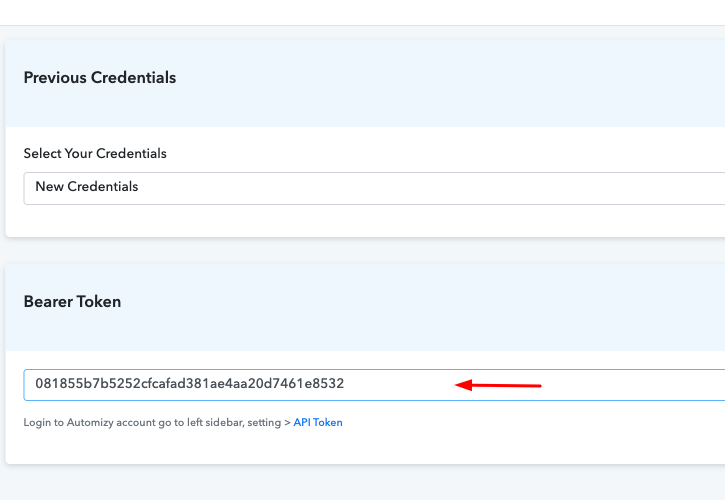
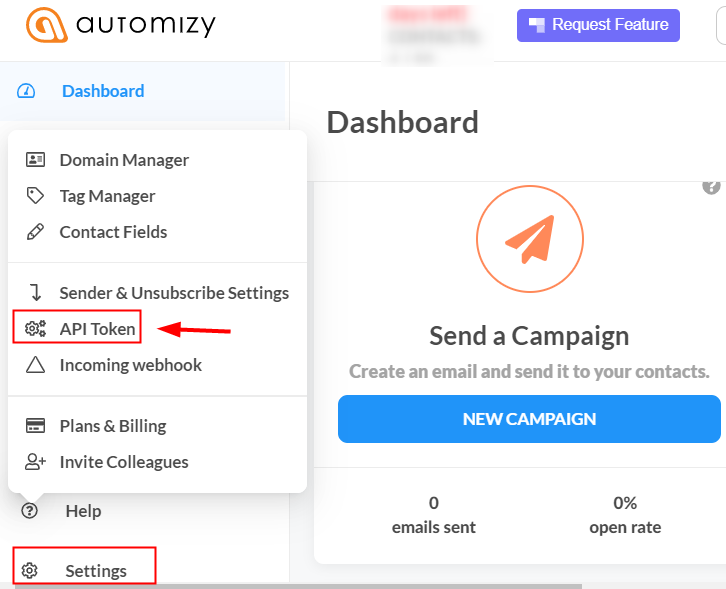
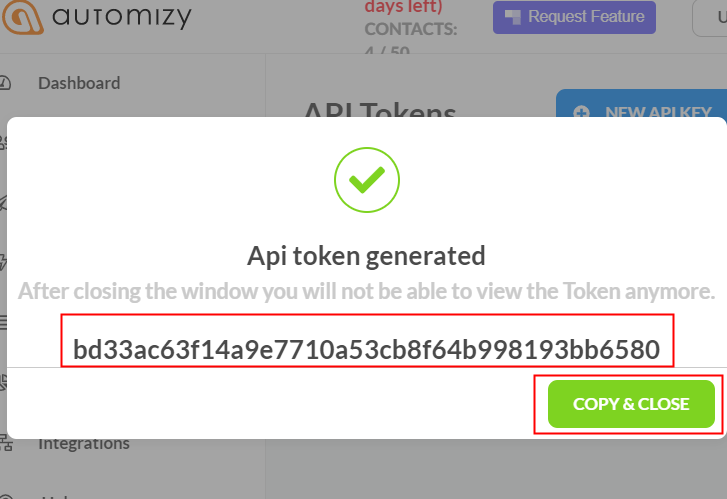
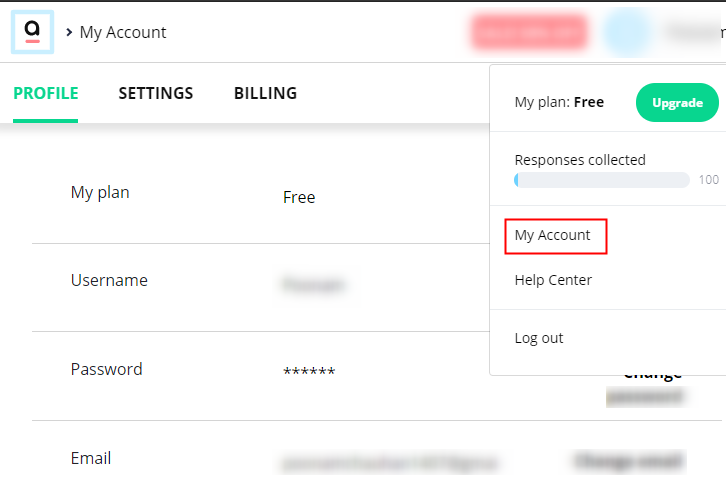
(b) Copy Moosend API Key
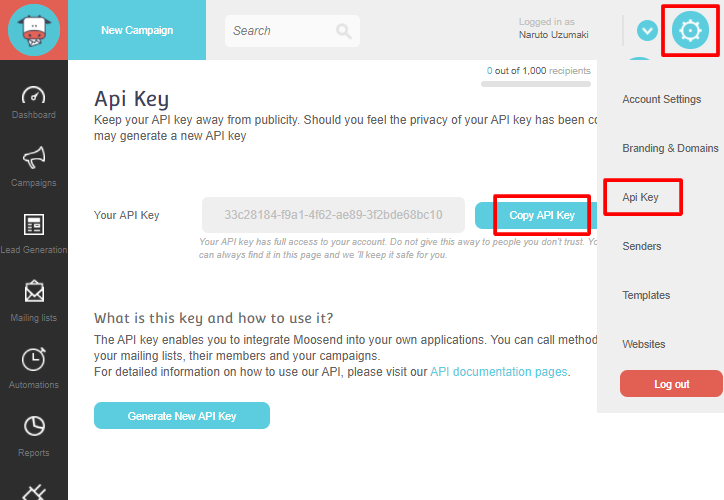
In order to get a Moosend API key, you need to go to your Moosend account. After that, just click the gear icon on the top-right corner, a drop-down menu will open up. Now, select the ‘API Key’ option from the list & a page containing API key will open up. Ultimately, press the ‘Copy API Key’ button and the key will get copied.
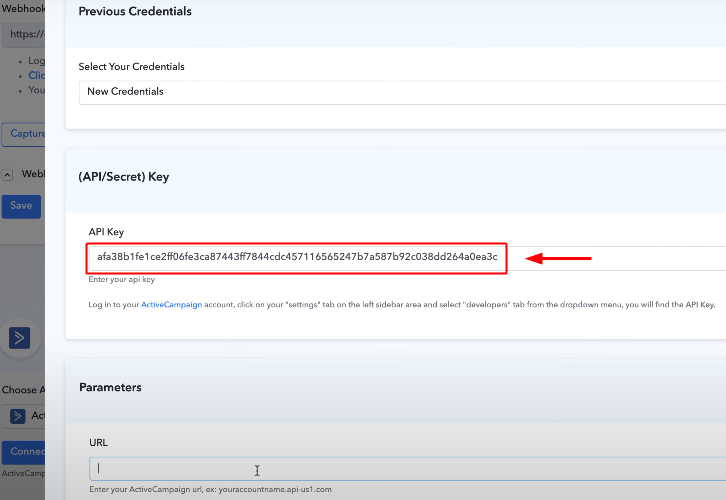
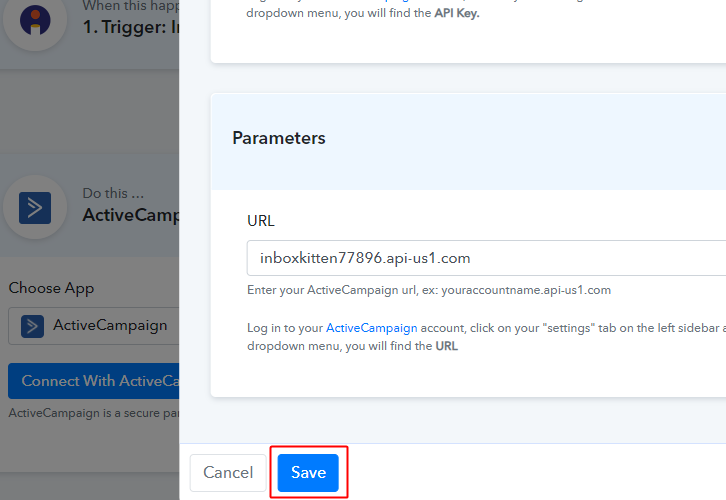
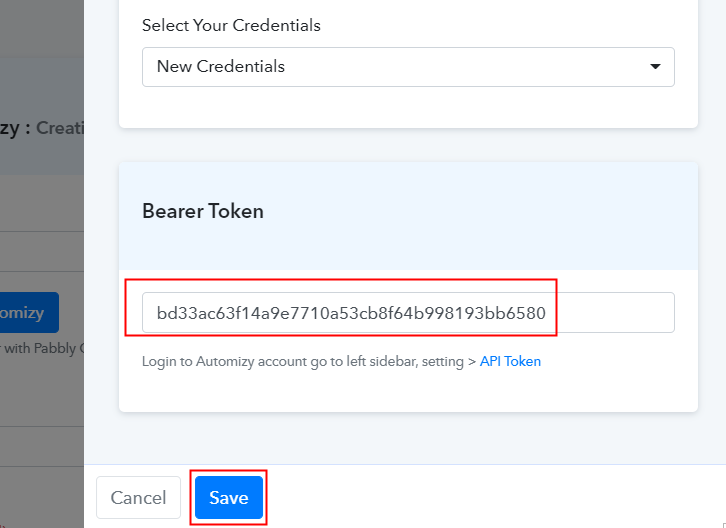
(c) Paste the Moosend API in Pabbly Connect Action
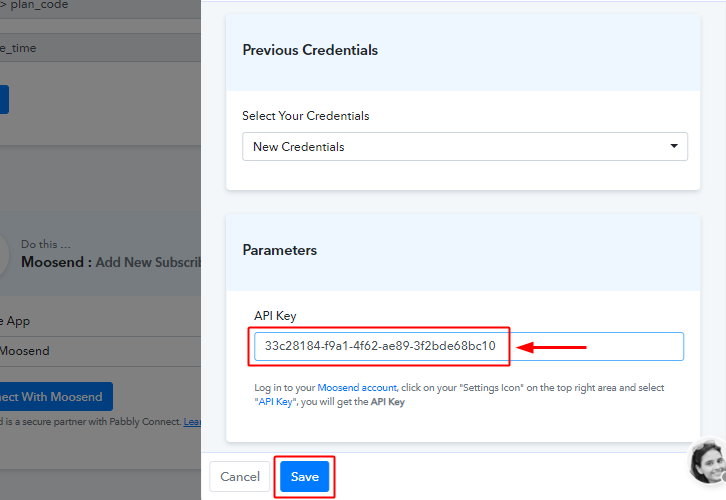
Return to the Pabbly Connect and paste the copied key in the API key text area.
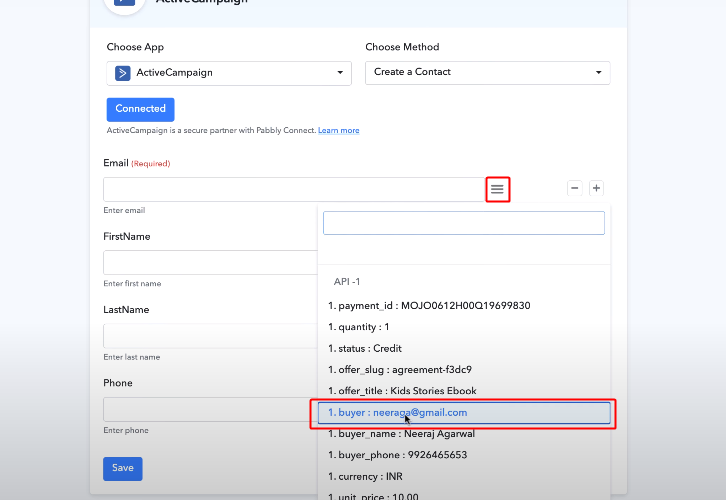
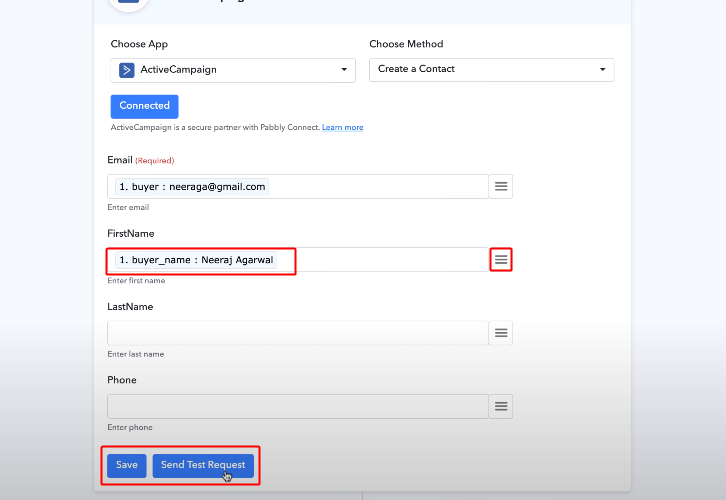
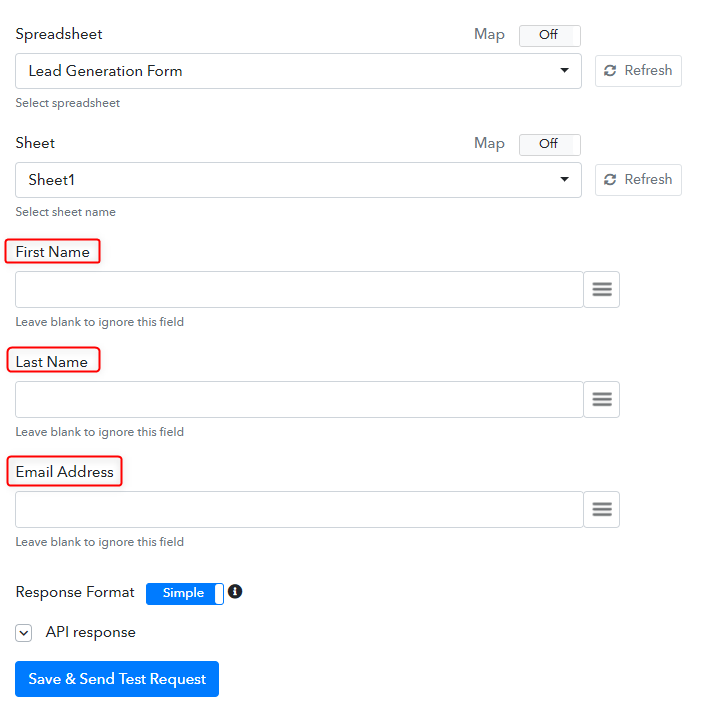
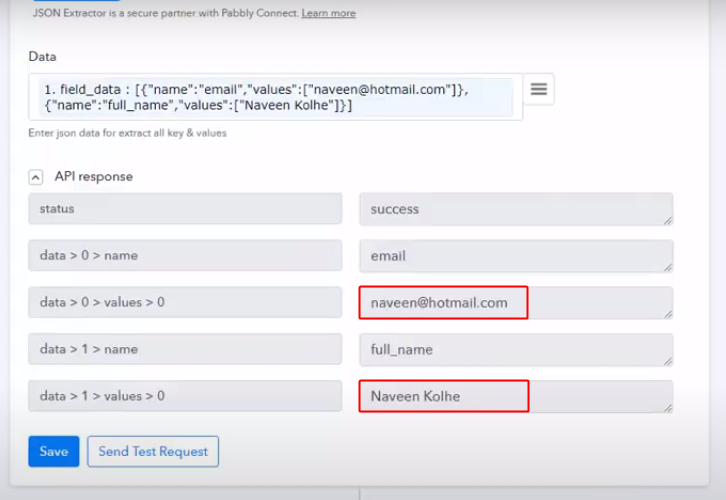
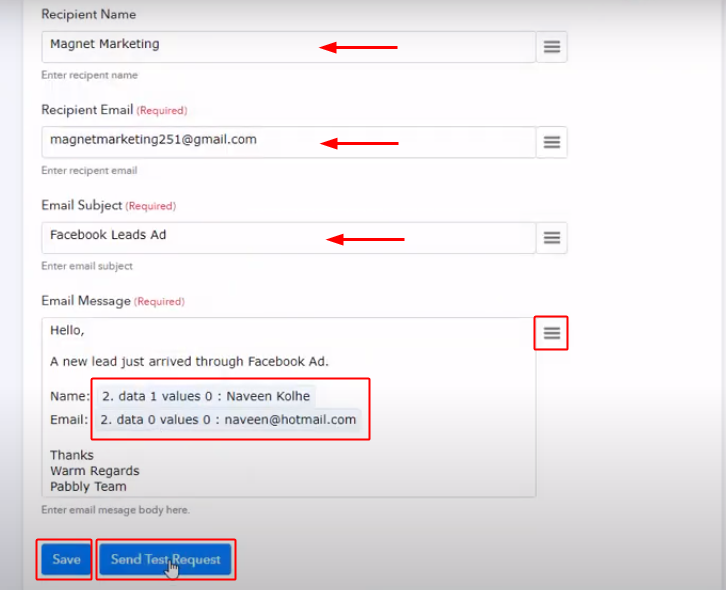
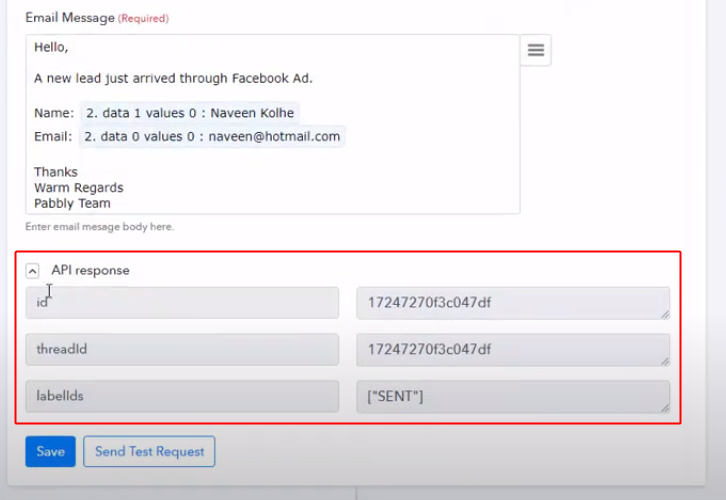
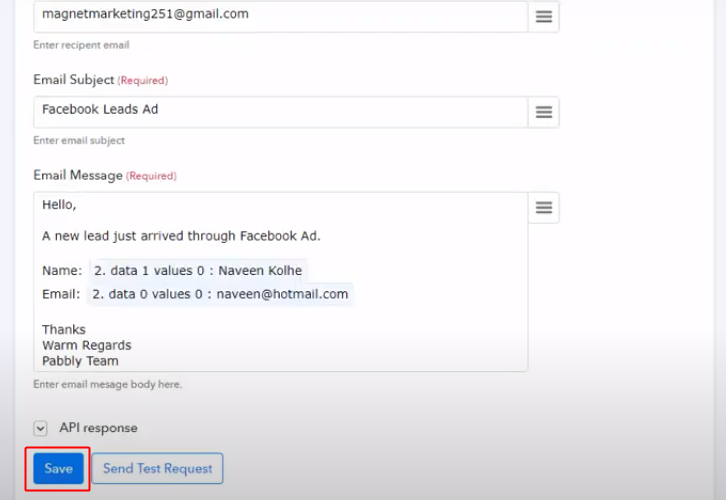
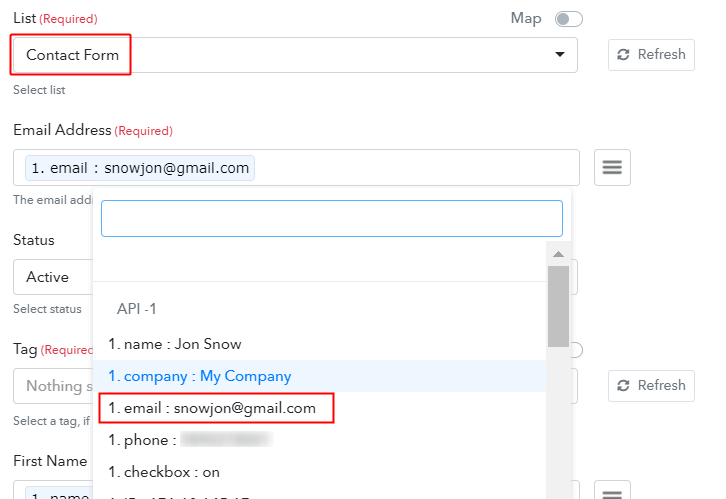
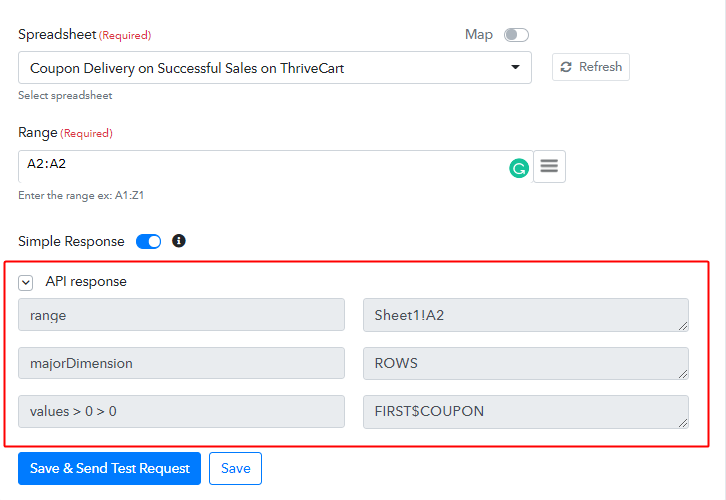
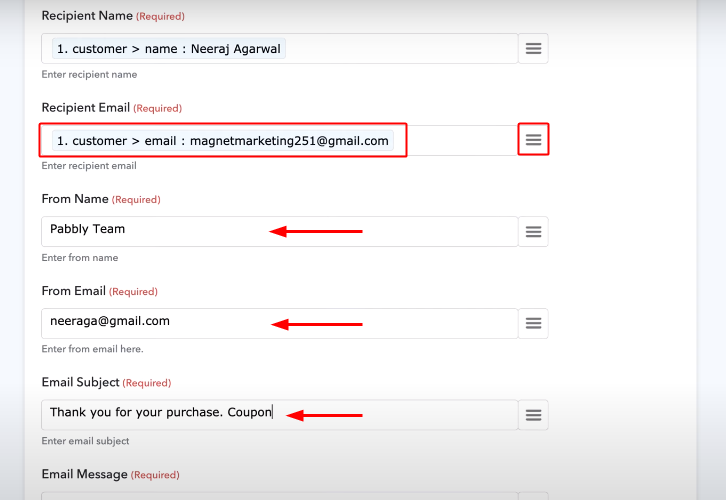
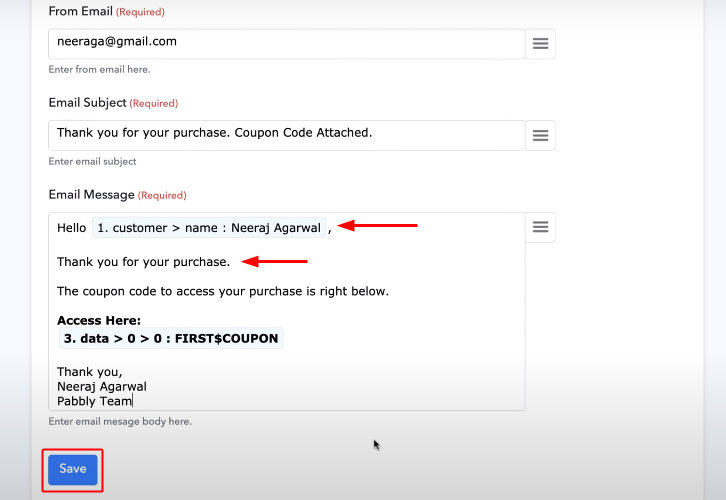
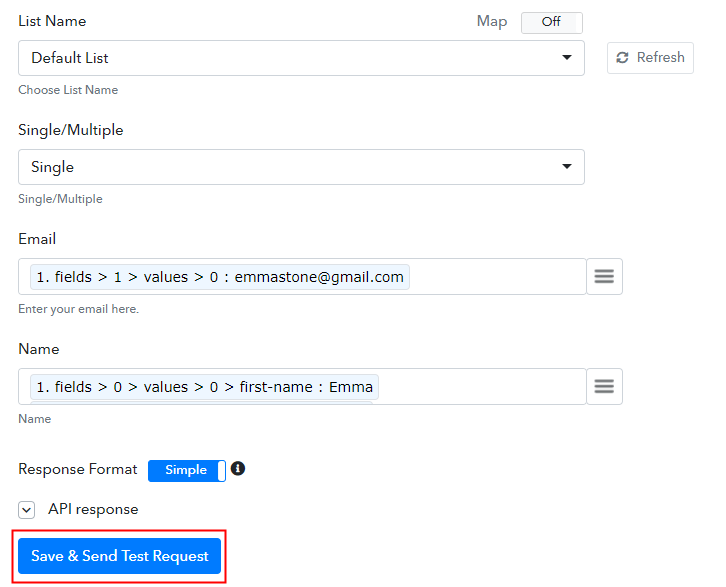
Step 8: Fill up All the Fields
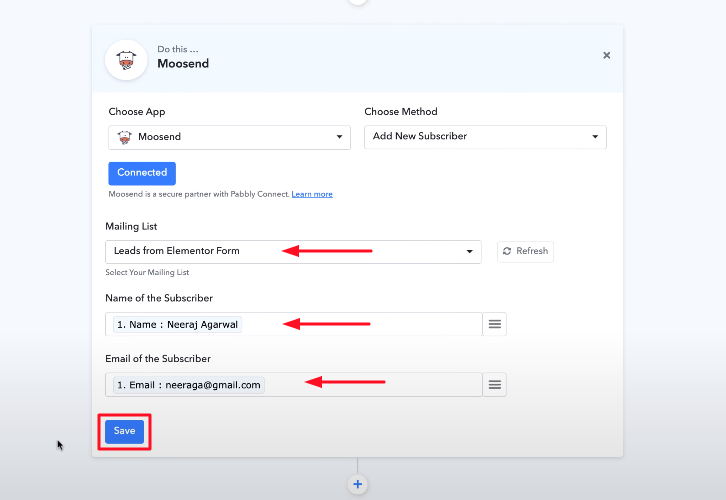
In this step, you need to map the response by selecting the values you want to send to the Moosend account. Just map the response and hit the “Save” button.
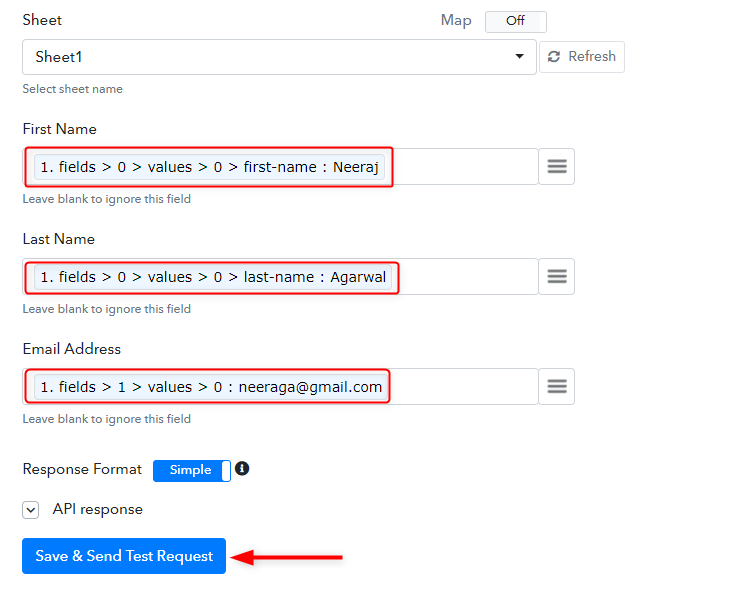
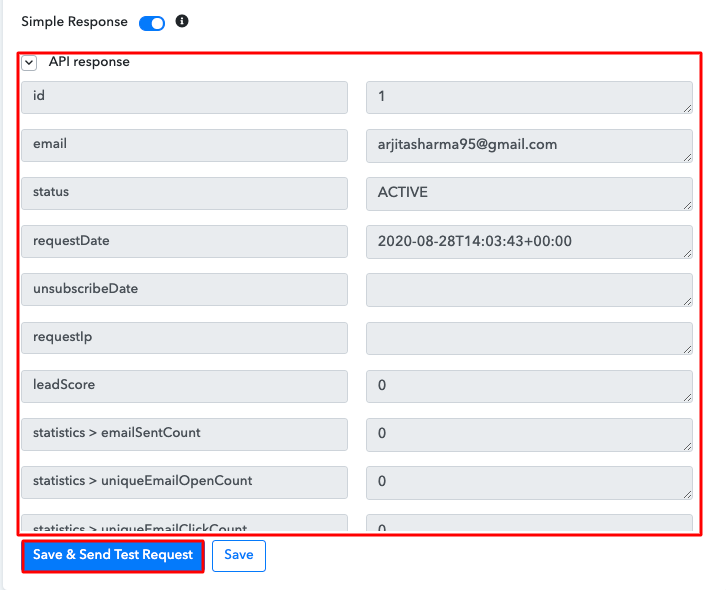
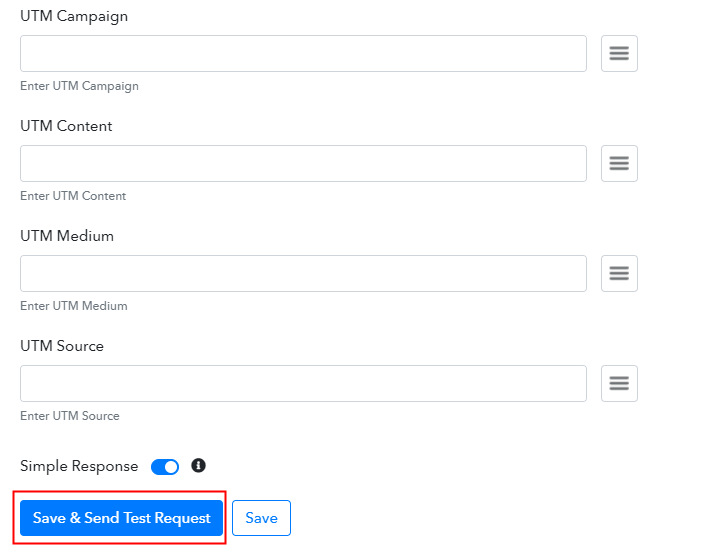
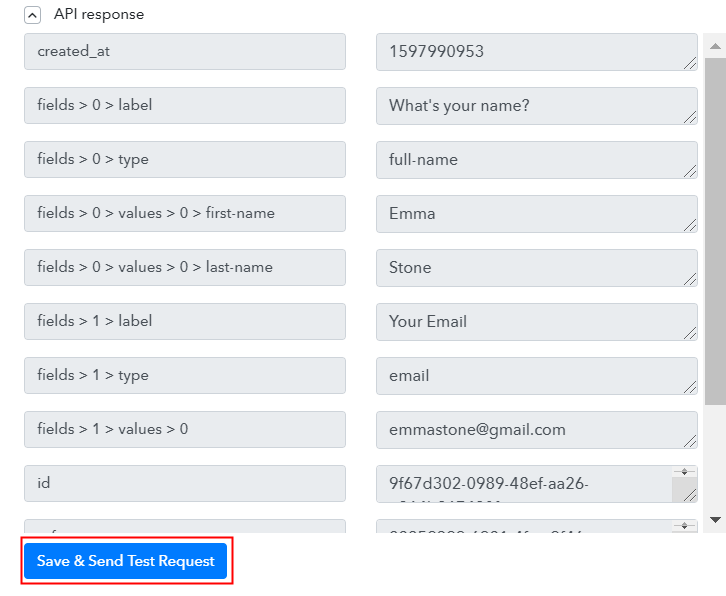
Step 9: Send Test Request to Moosend
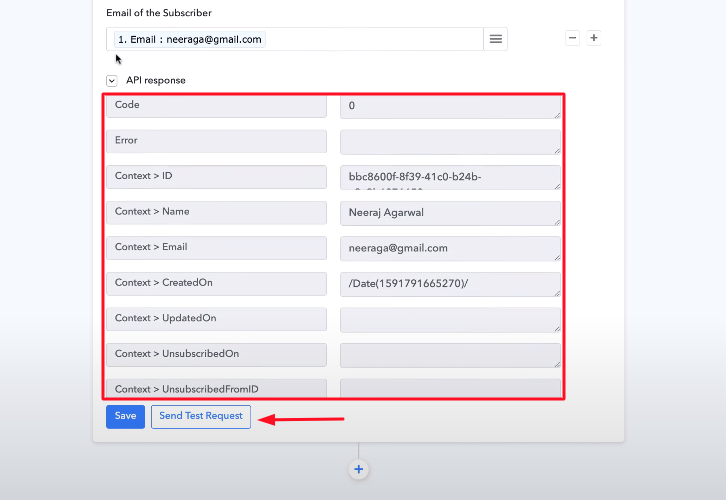
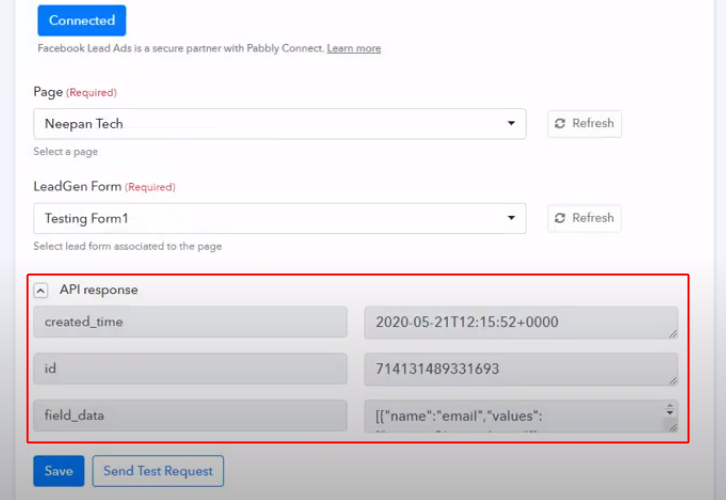
Once you click on the save button, you will see a button stating “Send Test Request”. Just click on that button to send the test request to Moosend. And once the request is send, you can see the API response that has been captured in the image.
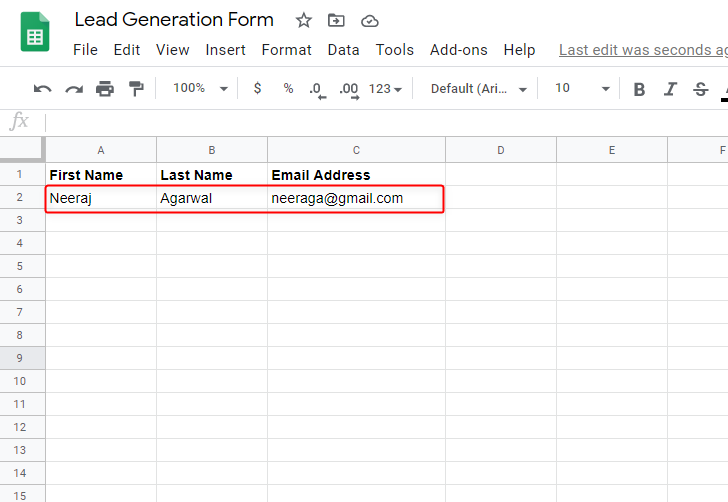
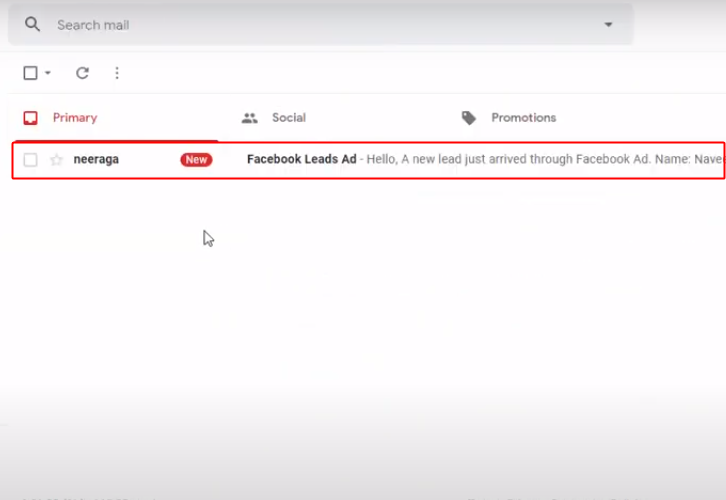
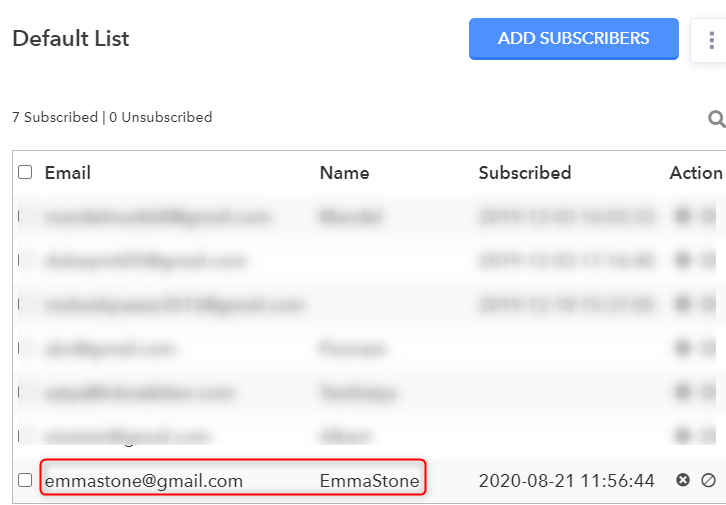
Step 10: Check Moosend
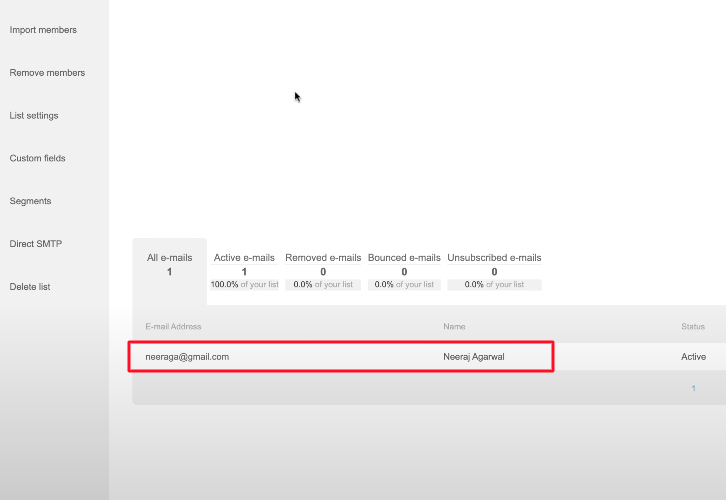
Now, go back to Moosend and refresh the page. Voila! all the details are now visible on Moosend. FYI, you only have to do this procedure once and now whenever someone is going to fill the Elementor Form, you will get the data directly on Moosend all because on Pabbly Connect integration.
Conclusion –
There you Go! Now you know all the steps that you need to follow for integrating Elementor Forms with Moosend. So, what are you waiting for? Go ahead and integrate your Elementor Forms with Moosend using Pabbly Connect and save yourself from all the hassle of manual work. Besides, if you have any queries or suggestions, don’t forget to write it in the comment section below. We will get back to you as soon as possible.