This article holds the step by step procedure towards the most frequently asked use case i.e, How to automatically deliver coupon codes on successful sales? Well, we can do this by using Pabbly Connect and whenever someone buys something from any shopping cart software automatically receives a coupon via email.
Sellers use to offer coupons to increase sales and want to automate the coupon sending process based on certain conditions. In here, I’m taking a simple example for sending different coupons on every successful purchase.
Pabbly Connect works much like a switch in between services. You can define simple trigger condition and associated actions to automate a task. In this particular case, I’m going to put all the coupons in a Google Sheet and whenever a sale happens in ThriveCart, I’ll send an email through Gmail containing the coupon code.
The process is pretty simple but requires a simple strategy to carry out. Now, I hope the whole idea is pretty clear to you. So, let’s jump onto the step by step procedure to automatically deliver coupon codes on successful sales using Pabbly Connect.
Step 1: Sign up to Pabbly Connect

To get started, visit the official website of Pabbly and click ‘Sign-Up Free‘ button to sign-up for Pabbly Connect. On the next page redirect, either make use of an existing Google account or do fill out the registration form details manually.
Step 2: Access Pabbly Connect

Once you successfully sign up, click on the ‘Access Now’ button next to ‘Connect’.
Step 3: Create a New WorkFlow
(a) Click over the Create New Workflow Button

Start with creating a workflow to integrate Pabbly Subscription Billing & Moosend and hit the ‘Create New Workflow’ button.
(b) Name the Workflow
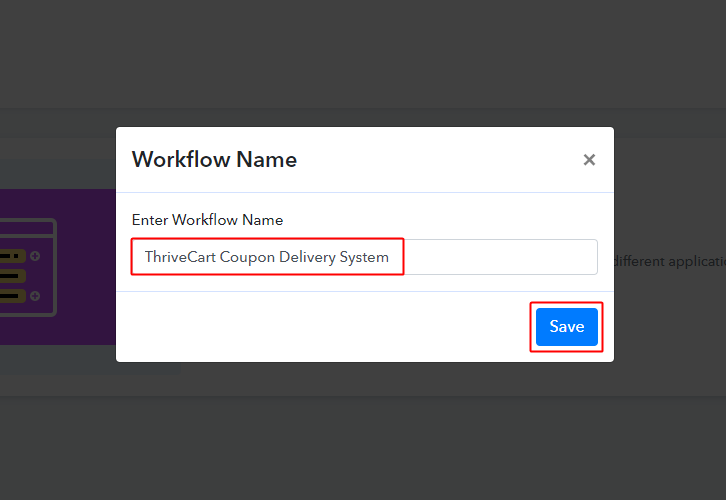
Name the Workflow as per your need and hit the ‘Save’ button.
Step 4: Set-up A Trigger to Automatically Deliver Coupon Codes on Successful Sales
(a) Select Application to Integrate
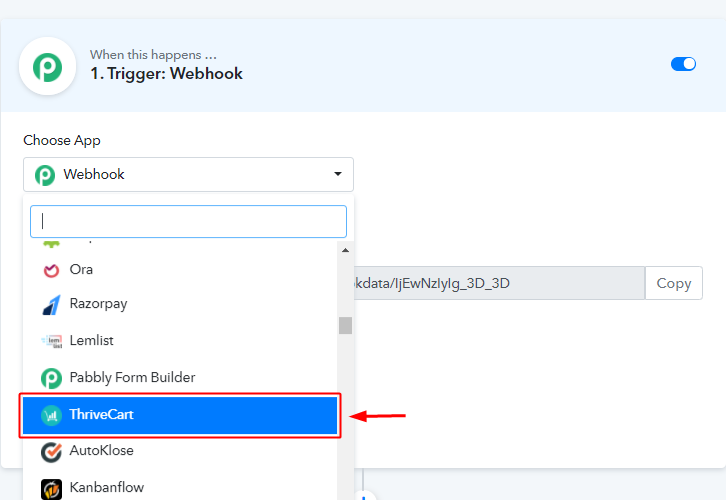
Once you name a workflow & save it a trigger window will appear. Select the ‘ThriveCart’ app to integrate.
(b) Check Method, Copy the Webhook URL & Capture Webhook Response
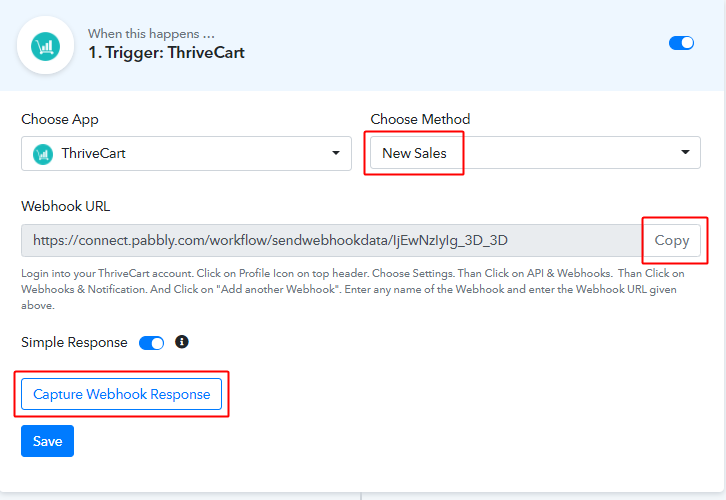
When you select ‘ThriveCart app’ the window loads all its methods. Now, check for the method to be ‘New Sales’.
This trigger window will also carry a webhook URL. Click the ‘Copy’ button right next to the URL.
Lastly, click the ‘Capture Webhook Response’ button.
(c) Go to Your ThriveCart Account & Access Settings
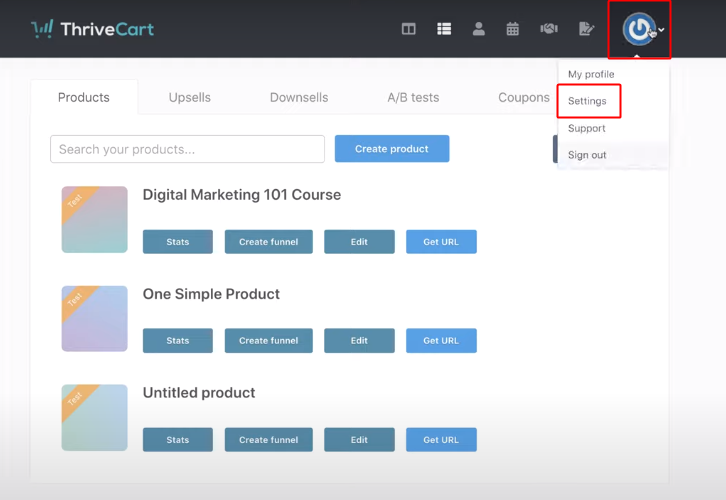
Now, to go forward in setting up the trigger, you must paste the copied Pabbly Connect Webhook URL in ThriveCart Webhook. So, go to your ThriveCart account, press the power button icon on the top-right corner and click on the ‘Settings’ option in the drop-down menu.
(d) Inside Settings Click over API & Webhooks
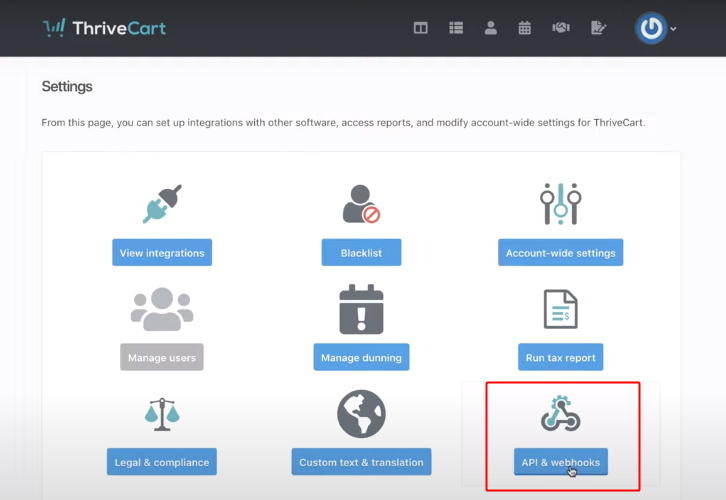
When you click over settings a page will open up containing various ThriveCart settings. Select the ‘API & Webhooks’ setting in here.
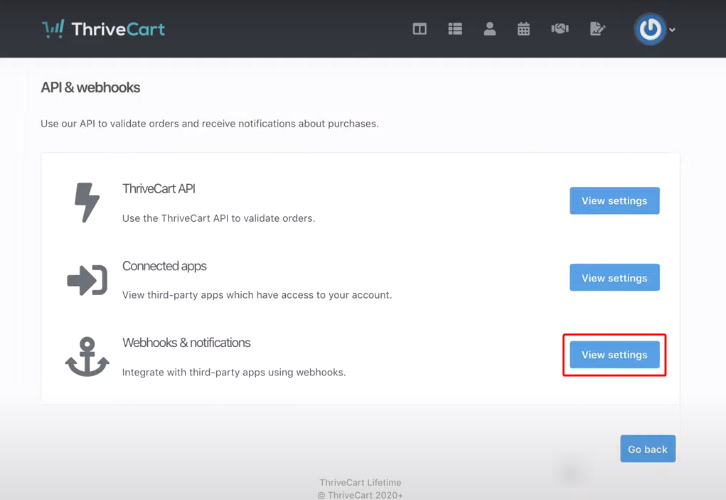
(e) ClickView Settings next to Webhooks & Notifications
(f) Create New Webhook on ThriveCart
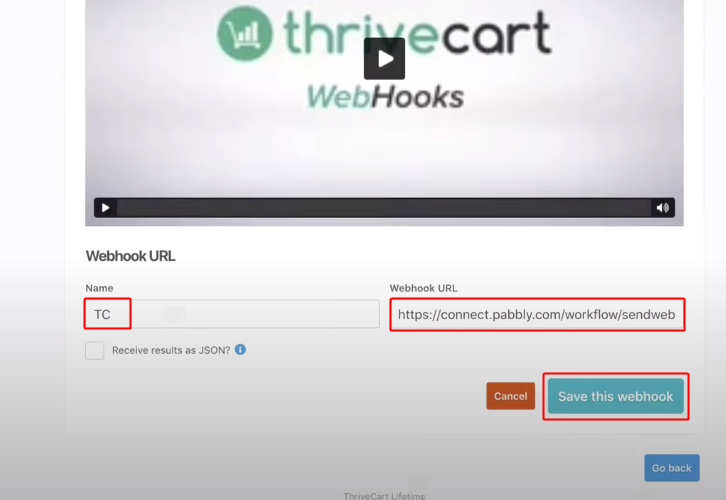
Click the ‘Create Webhook’ button.
Enter a name for the Webhook, paste the copied webhook URL of Pabbly Connect trigger and hit the ‘Save this webhook’ button.
Step 5: Run Test Purchase to Check the Trigger Response
(a) Go to ThriveCart Product > Get URL
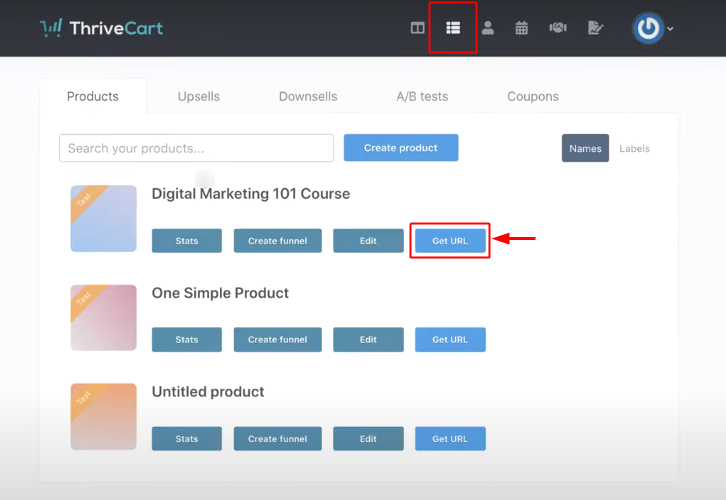
Now, click the product icon present in the horizontal menu bar and click the ‘Get URL’ button of a product.
(b) Click on View Checkout
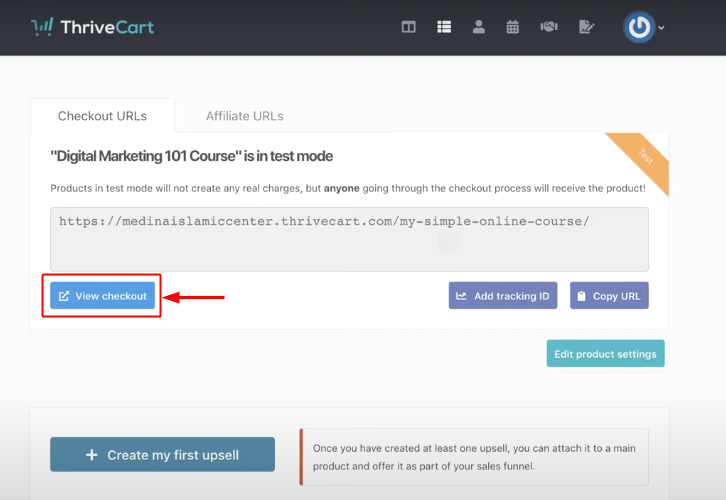
In the next page that opens up click the ‘View checkout’ button.
(c) Fill ThriveCart Test Checkout
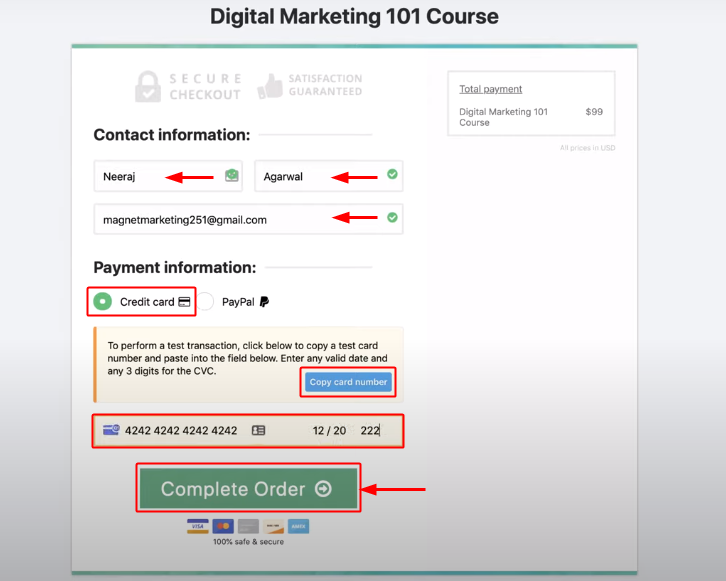
Fill in all the required entries in the checkout page and complete the order.
(d) Acknowledge the Checkout Response in Pabbly Connect
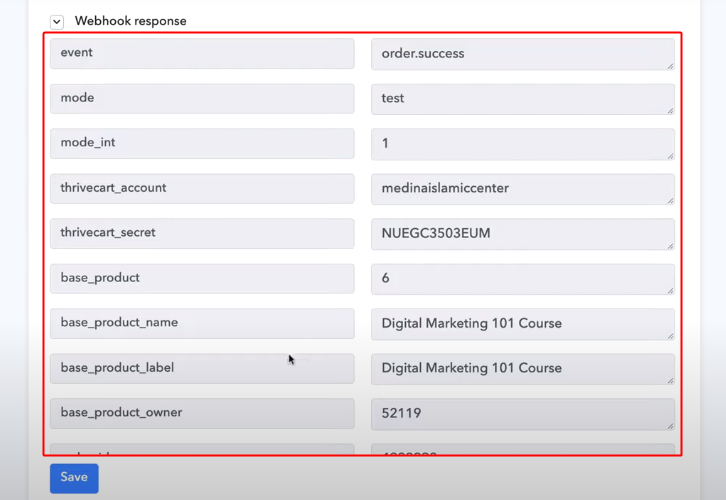
You can see the response of filling the ThriveCard checkout page in the Pabbly Connect Webhook trigger.
Step 6: Set Up an Action to Automatically Deliver Coupon Codes on Successful Sales
Till now, we’ve set-up a trigger successfully and to automatically deliver coupon codes on successful sales, we must set-up the associated action. For this, I’ve created a Google Sheet and placed all the coupon codes to send in it. So, we’ll integrate the Google Sheets more further.
(a) Click the Plus Button & Select App for Integration as Google Sheets
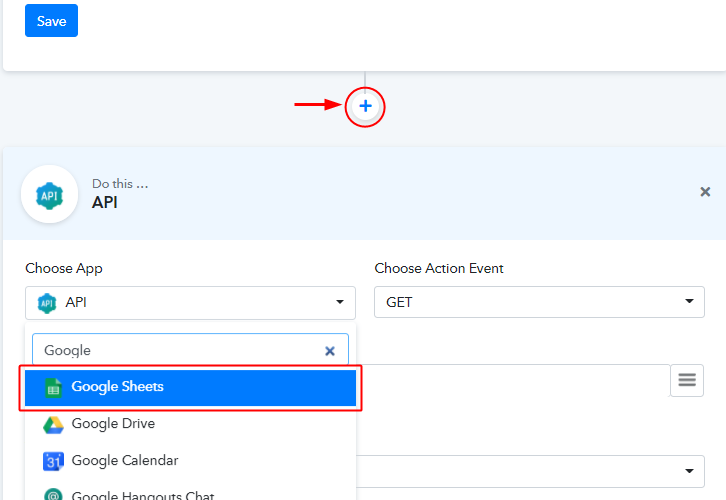
(b) Check the Method and Connect
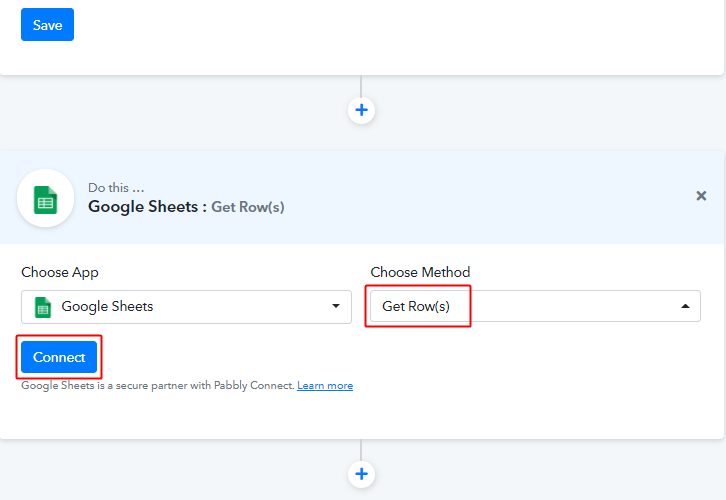
Once you select ‘Google Sheets’ in the app choice, make sure to select the method to be ‘Get Row(s)’ and then strike ‘Connect’.
(c) Authorize a Google Account
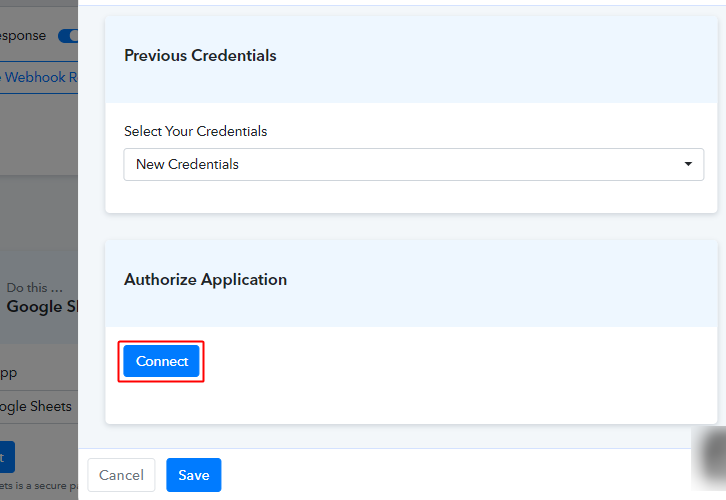
To connect a Google Sheet, you must authorize a Google account in which your sheet is residing.
(d) Select the Sheet & Send Test Request
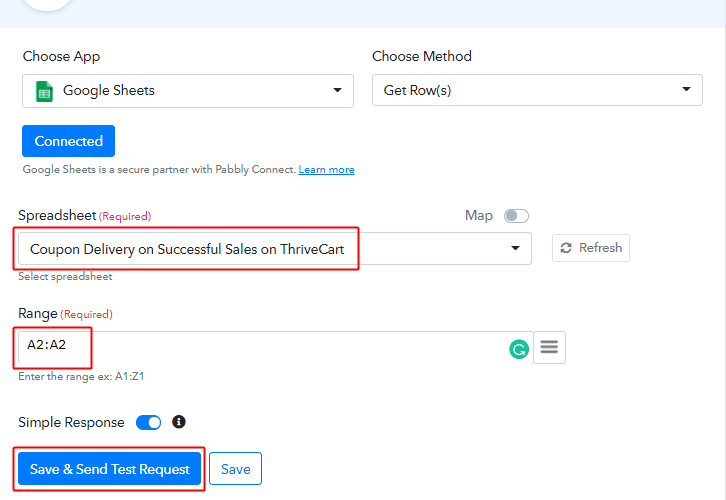
Once you authorize an account, all the sheets within got populated automatically. So, choose the sheet in which you’ve stored all the coupon codes to send.
Select a range as the row position that you want to send.
Lastly, hit the ‘Save & Send Test Request’ button.
(e) Observe the Google Sheets API Response
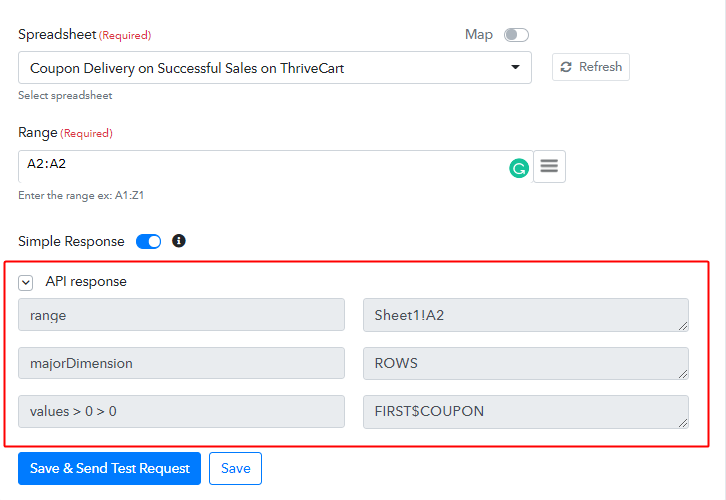
When you send a test request to the sheet the values that you have set in the range will be brought.
Now, I’m going to send an email to the customer who has filled the checkout page. So, I’ll send an email to the customer containing the coupon code.
I’m using Gmail here but you can also choose any bulk email marketing service too such as Pabbly Email Marketing, Moosend etc.
(f) Select App To Integrate as Gmail
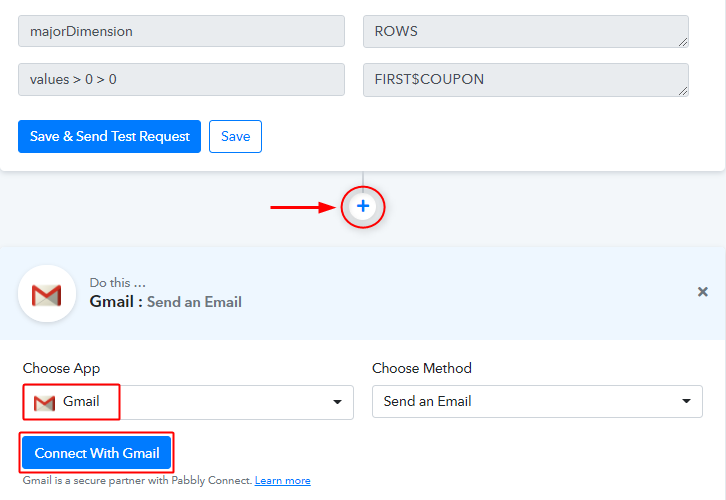
First, click the plus button and then select the ‘Gamil’ app from the Choose App drop-down.
(g) Authorize Gmail Account
Just like the Google sheets authorization, you can authorize a Gmail account for the Gmail integration as well.
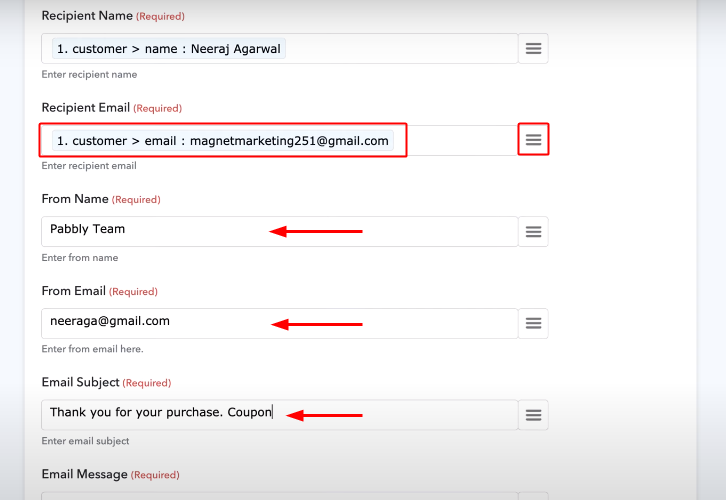
(h) Map Keys & Values to Automatically Deliver Coupon Codes on Successful Sales

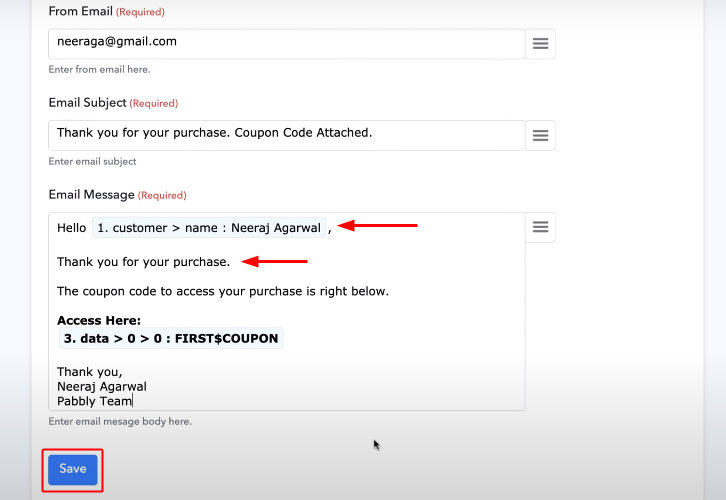
(i) Map & fill all the other values
(j) Save the Email Settings
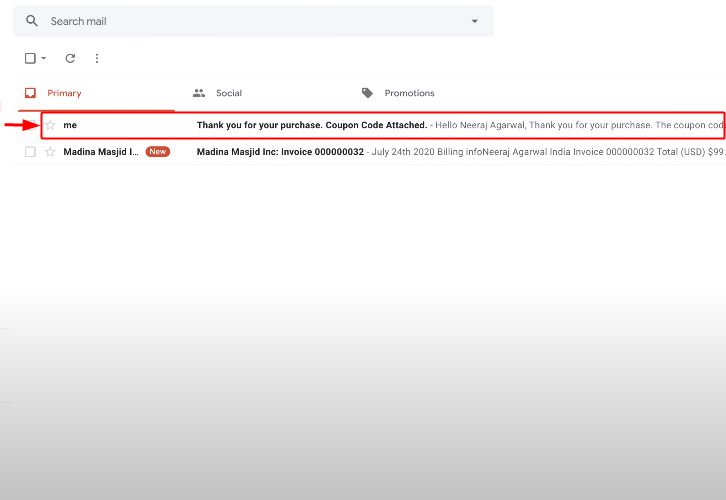
(k) Check the Email Sent
Step 7: Integrate a Number Formatter
Up to this point on, you can definitely see that the workflow is working fine but a single row will be sent every time from the Google Sheet. Resulting in sending a single coupon code again and again. So, what we need to do is simply add-up something to the workflow which can append the value of the Google Sheet range.
(a) Click the Plus Button Present Next to the Trigger
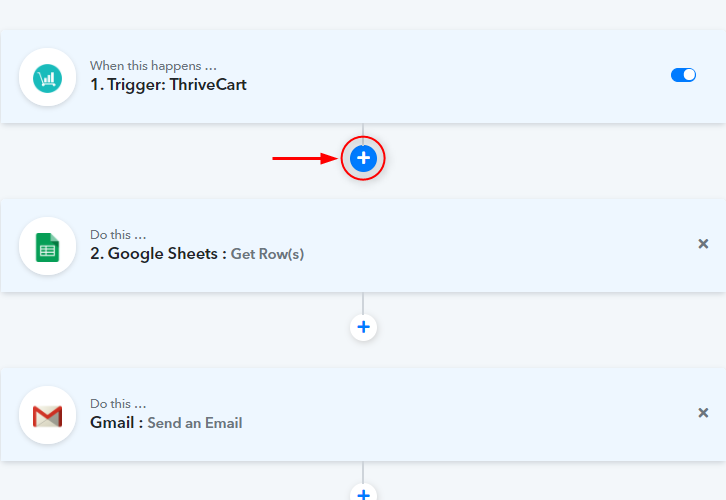
Press the ‘+’ button that is in the middle of the first ThriveCart trigger and Google Sheets action.
(b) Select App for Integration as Number Formatter
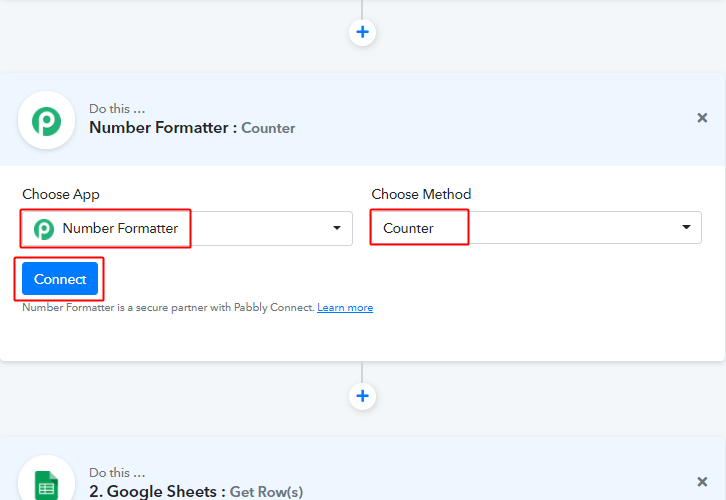
Choose the app to integrate as ‘Number Formatter’, the method as ‘Counter’ and hit the ‘Connect’ button.
(c) Number Formatter Settings
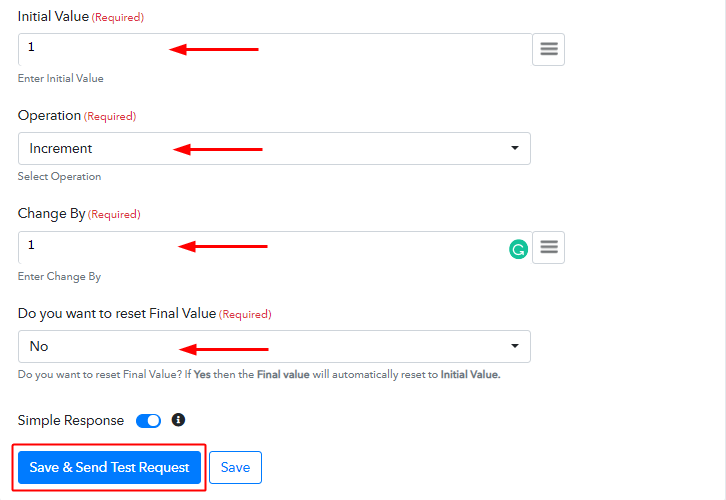
After pressing the ‘Connect’ button the Number Formatter will asks for some settings. Put ‘1’ in the Initial Value field, and ‘1’ in the Change By field. Observe the other two values to be as shown in the image.
(d) Observe the Number Formatter Response

Observe the app response and save it.
Step 8: Reload the Page/Workflow
As we’ve added a step in between the workflow and the values haven’t traversed through the entire workflow. We must reload this workflow page.
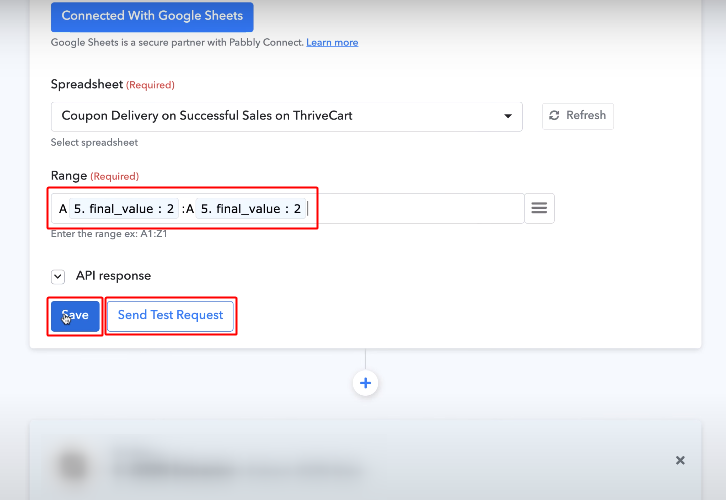
Step 9: Fix the Google Sheet Range
Replace both the Range Values and Save
Wind-up
This was all the steps involved in the procedure to automatically deliver coupon codes on successful sales. You can test whether the workflow is working properly or not by filling out the associated checkout page multiple times. Observe the flow by checking out the email that’s sent.
For any further queries, do comment below we’ll be happy to help!


