Searching for ways to Integrate Pabbly Form Builder to Zoom Meeting Registrant? Then, look no further, as here you will get a step by step guide to do so.
Isn’t it very hectic to fill each and every single Zoom Meeting Registrants manually whenever a form gets filled in the Pabbly Form Builder? No doubt, why you might be searching for ways to integrate Pabbly Form Builder with Zoom Meeting Registrants to automate the whole procedure and save yourself from all the hassle.
Therefore, here we have the perfect tool suggestion for you i.e, Pabbly Connect that can help you integrate Pabbly Form Builder to Zoom Meeting Registrants and transfer data between services in no time. Pabbly Connect is a software that can basically pine multiple applications through a single common interface.
Thus, here I am going to show you all the steps that you need to follow to complete your automation in real time. So, without wasting any of your time, let me take you through the steps.
Step 1: Sign up to Pabbly Connect

First of all, you need to sign up to Pabbly Connect that will further help you in all the integration processes. Either you can fill out all the details manually or else you can sign-up via your Google account.
Try Pabbly Connect for FREE
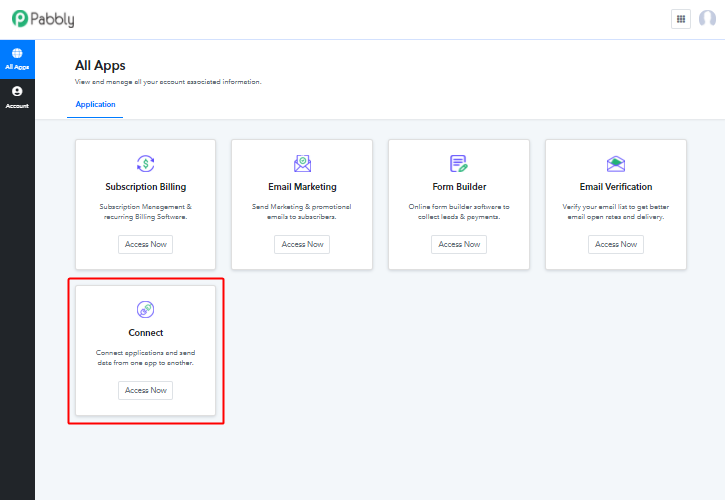
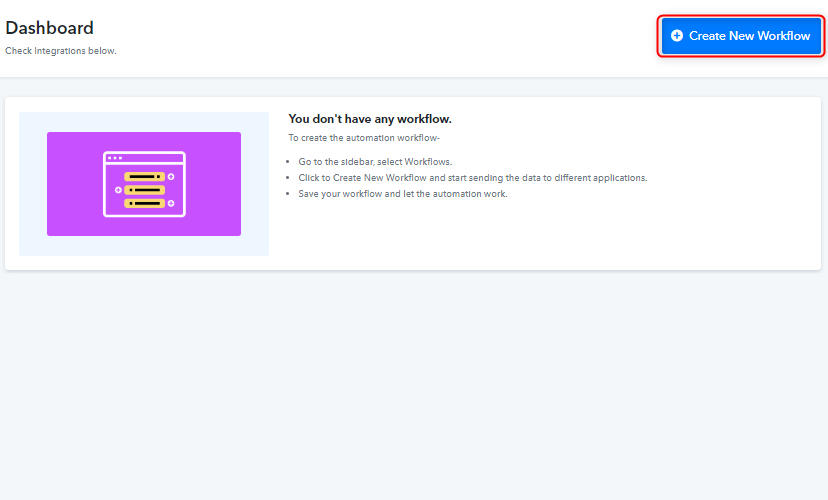
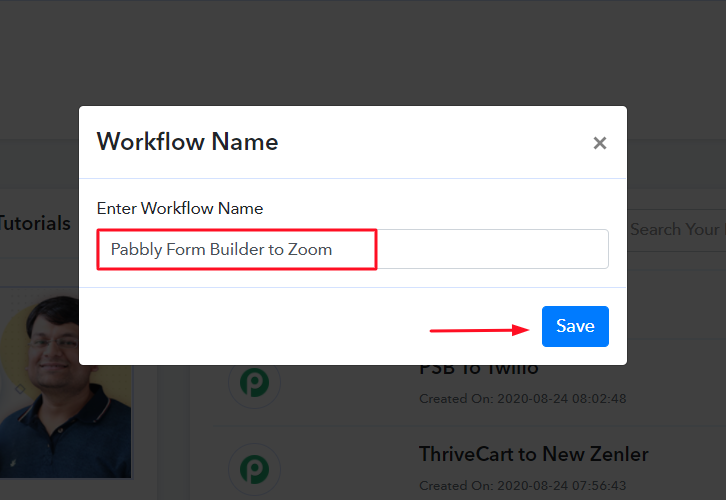
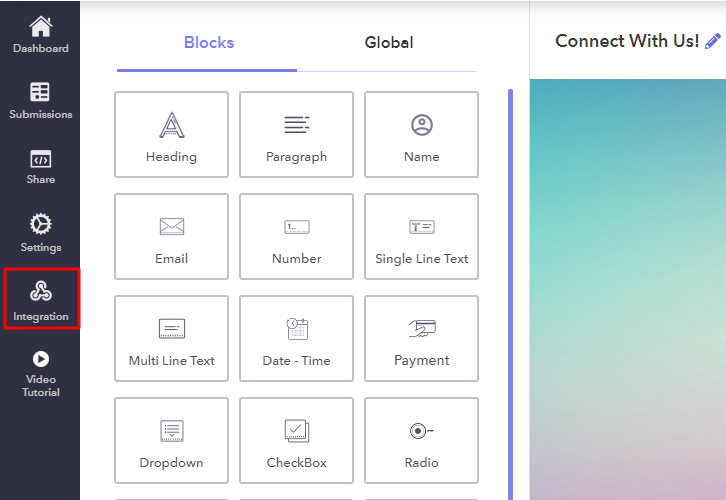
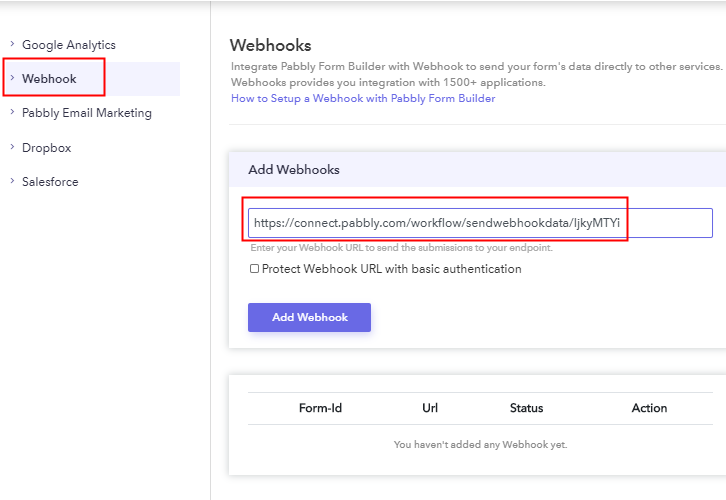
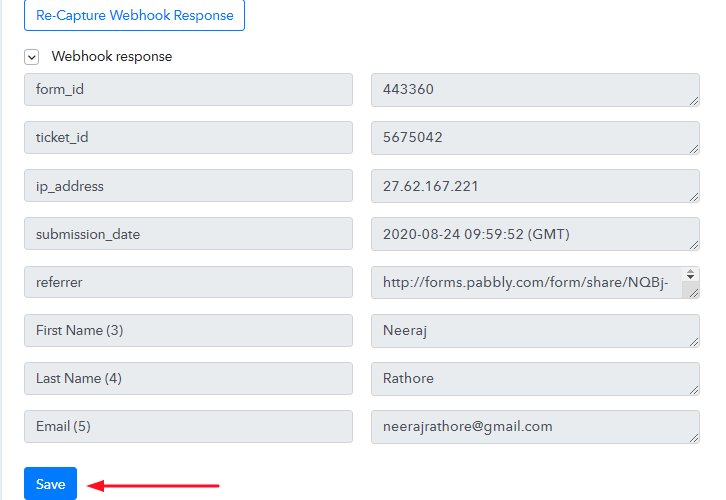
Once you complete the signup process, now its time to access Connect (a service of Pabbly for automated integration & data transmission). Instantly, start with creating a workflow for your project by clicking on the ‘Create New Workflow’ button. Subsequently, add the name the workflow i.e, “Pabbly Form Builder to Zoom Meeting Registrants”. Even though you can also change the name of your workflow anytime you wish to as per your requirements. After creating the workflow, the following step is to choose the application which you want to integrate, i.e, “Pabbly Form Builder”.After that, you need to copy the webhook URL. With the help of this trigger, we can initiate the process of automation and integrated the first service with Pabbly Connect for further data transfer. Consequently, now its time to go the app that you wish to integrate, in this case, i.e, Pabbly Form Builder. The subsequent step is to paste the copied Webhook URL in your form builder dashboard in order to connect with Pabbly Form Builder. After entering the dashboard of Pabbly Form Builder, now its time to create a form from scratch or else just select pre-built templates provided in the dashboard. For example, here I am going to use the pre-built template i.e, “Connect With Us”.And, the very next step is to just click on the “Integration” setting of the form. Afterward, you need to press on the Webhook option where you have to paste the copied URL. Moreover, now its time to test the form, and for that, you need to enter the details of the form that you have recently created. After filling up the form details your entry will appear in the “Pabbly Connect” dashboard. Just tap on the “Save” option. Consequently, in order to connect the Pabbly Form Builder to Zoom Meeting Registrants, simply hit the “(+)” button. And, select Zoom Meeting Registrants from the choose app option & select “Add Meeting Registrants” from the choose method option. After that, just hit the button named “Connect”. The succeeding step is to connect with Zoom Meeting Registrants by clicking on the “Connect” button. After pressing the ‘Connect ‘ button, a window will pop-up asking you to select/fill a Google Account to which you want to connect the Zoom Meeting Registrants and Pabbly Connect. After connecting your Zoom Meeting Registrants, now its time to fill up the required fields one by one so that it can be registered in Zoom Meeting Registrant. Furthermore, once you fill up all the details, just hit the “Save & Send Test Request” button in order to complete the whole procedure. Voila! As you can see that, all the form details are now visible in your Zoom Meeting Registrants and your automation is now set. There you go! See how easy it is to integrate Pabbly Form Builder to Zoom Meeting Registrants using Pabbly Connect. All you need to do is follow all the above-mentioned steps once and your integration is ready to roll. Now, whenever someone is going to fill the form your Zoom Meeting Registrant will get updated automatically. Isn’t it amazing? So, don’t wait anymore and sign in to Pabbly Connect to get hassle-free work experience.Step 2: Access Pabbly Connect
Step 3: Create a WorkFlow for Pabbly Form Builder Integration
(a) Start with a New Workflow
(b) Name the Workflow
Step 4: Setting Trigger
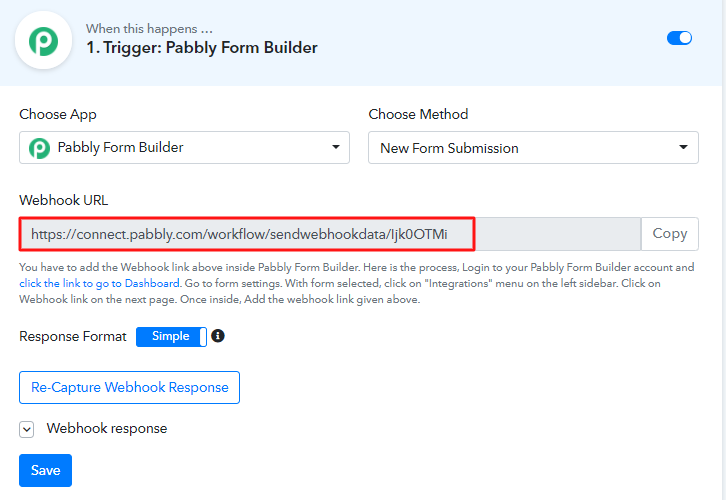
Step 5: Paste the Webhook URL in Pabbly Form Builder
(a) Click on Integration Setting
(c) Select Webhook Option & Paste Webhook URL
Step 6: Test the Submission in Pabbly Connect Dashboard
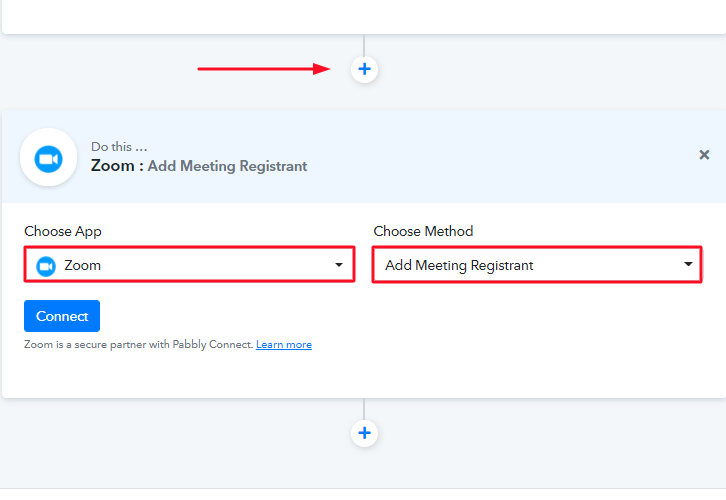
Step 7: Set Action to Integrate Pabbly Form Builder & Zoom
(a) Select Zoom Meeting Registrants
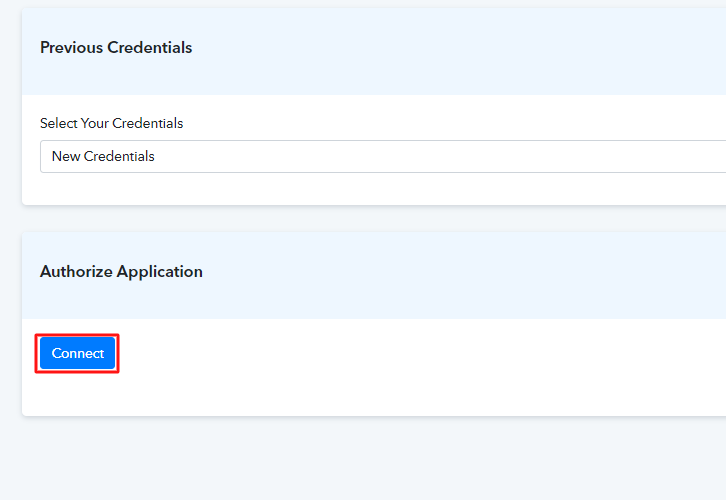
(b) Click on “Connect”
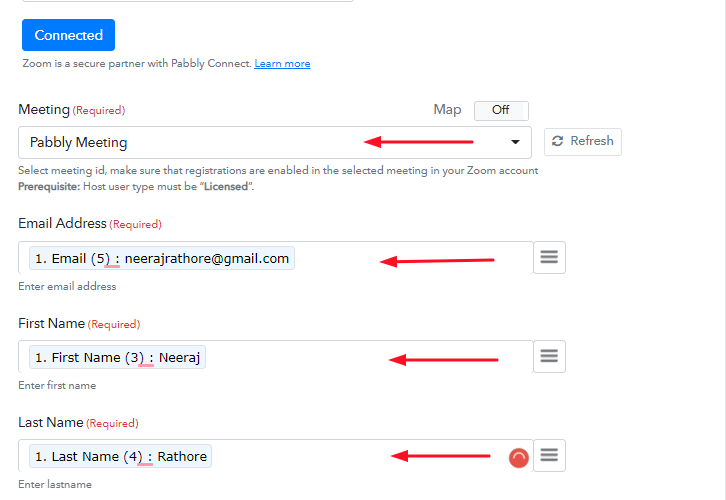
Step 8: Fill up All the Fields
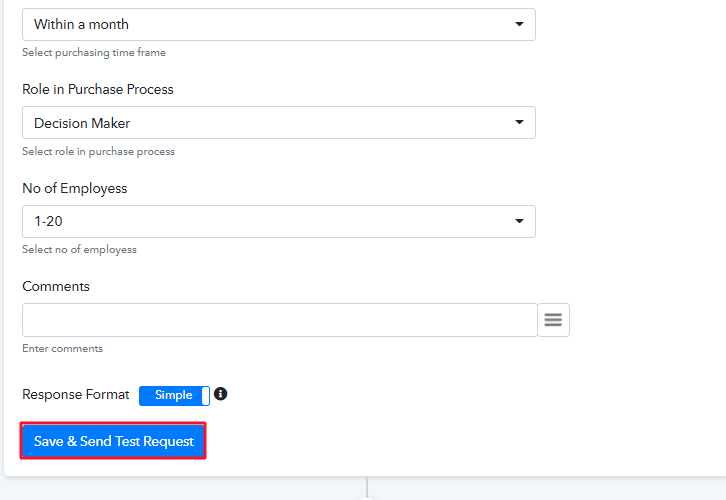
Step 9: Save & Send Test Request
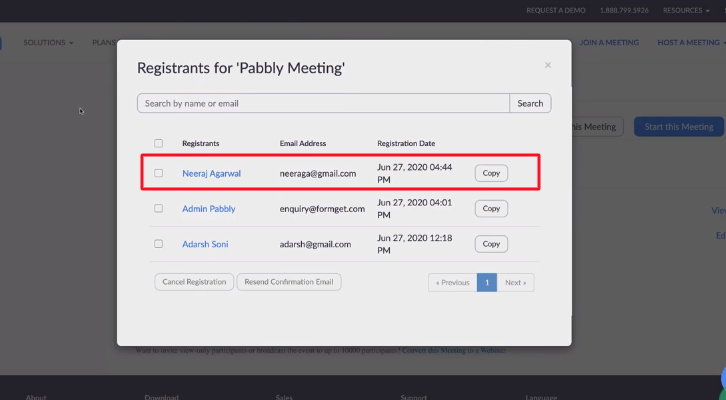
Step 10: Check the Zoom Meeting Registrants
Conclusion –
You May Also Like to Read –


