Watch Step By Step Video Tutorial Below
1. Accessing Pabbly Connect for Integration
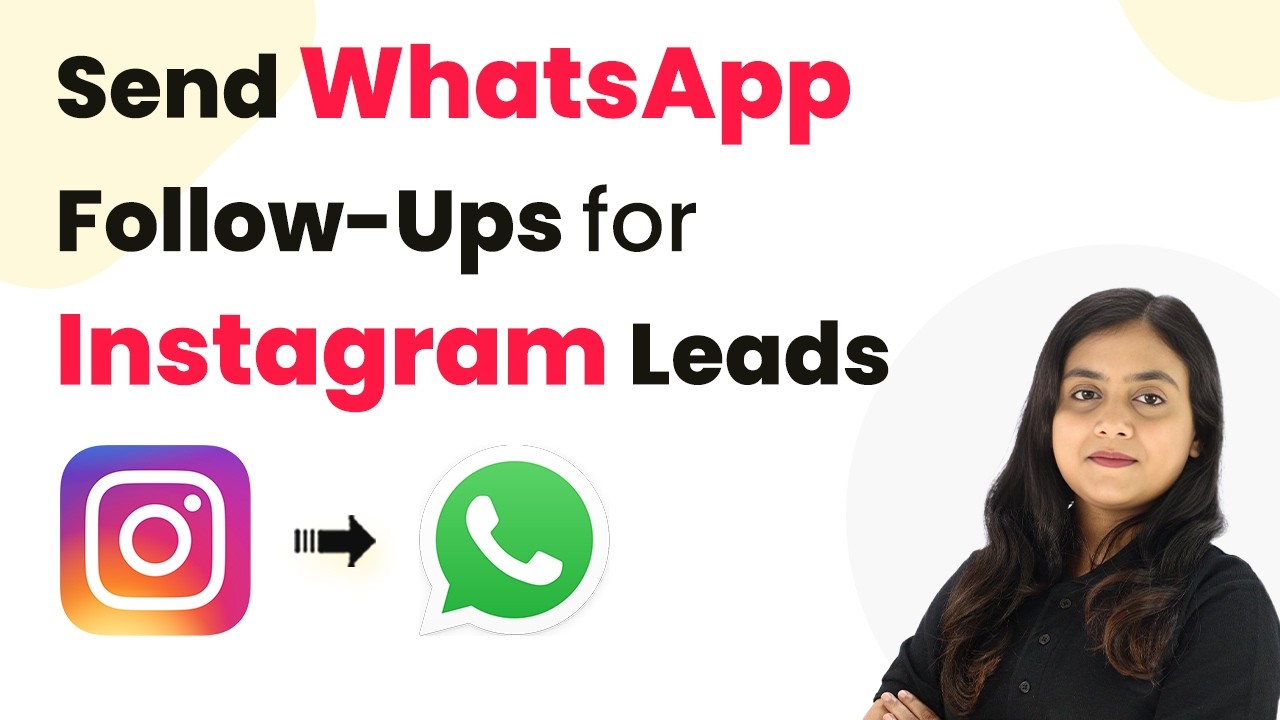
To start integrating WhatsApp with Instagram leads, first, access Pabbly Connect. Visit pabby.com/connect to reach the platform’s landing page. If it’s your first time, you can sign up for free and receive 100 tasks each month to test the integration.
Once logged in, you can create your automation. Pabbly Connect allows you to connect various applications seamlessly, ensuring that your WhatsApp messages are sent automatically when a new lead is generated on Instagram.
2. Creating the Workflow in Pabbly Connect
After accessing Pabbly Connect, you will need to create a new workflow. Click on “Create Workflow” and select Instagram Lead Ads as your trigger. This step is essential as it defines the event that will initiate the automation.
- Select Instagram Lead Ads as the trigger app.
- Choose “New Lead” as the trigger event.
- Connect your Instagram account to Pabbly Connect.
Once the trigger is set, you will need to connect your Facebook page linked to your Instagram account. This is crucial for the integration to work properly as Instagram ads are managed through Facebook.
3. Generating New Leads for Testing
With the workflow created, it’s time to test the integration by generating a new lead. Use the Meta Lead Ads Testing Tool to create a dummy lead. This step ensures that the connection between Instagram and Pabbly Connect is functioning correctly.
- Select your Facebook page and lead form.
- Fill in the lead details such as name, email, and phone number.
- Submit the form to generate the lead.
After submitting, check Pabbly Connect to see if the lead data has been captured successfully. This confirms that your Instagram lead ads are now integrated with Pabbly Connect.
4. Sending WhatsApp Messages Using Pabbly Connect
Now that your leads are being captured, the next step is to send WhatsApp messages. In Pabbly Connect, add a new action step and select WhatsApp Cloud API. This integration will allow you to send automated messages to your leads.
To set up the WhatsApp action, you need to provide the following:
- WhatsApp Business Account ID
- Phone Number ID
- Token for authentication
Once these details are entered, map the phone number and message fields to the data collected from the Instagram lead. This ensures that each lead receives a personalized message automatically.
5. Testing the Integration and Finalizing Setup
With everything set up, it’s time to test the integration. Click on the “Save and Send Test Request” button in Pabbly Connect to send a WhatsApp message to the lead. This action will confirm that the entire workflow is functioning as intended.
After testing, you should receive a WhatsApp message on the specified phone number. This message will include a personalized greeting and information about your service. If successful, your integration is complete, and you can now automate follow-ups for new leads through WhatsApp.
Using Pabbly Connect, you can streamline your customer engagement process, ensuring that every new lead is promptly contacted via WhatsApp, increasing the chances of conversion.
Conclusion
In this tutorial, we explored how to integrate WhatsApp with Instagram leads using Pabbly Connect. By automating the process, you can ensure timely communication with potential customers, enhancing your business’s efficiency and engagement.