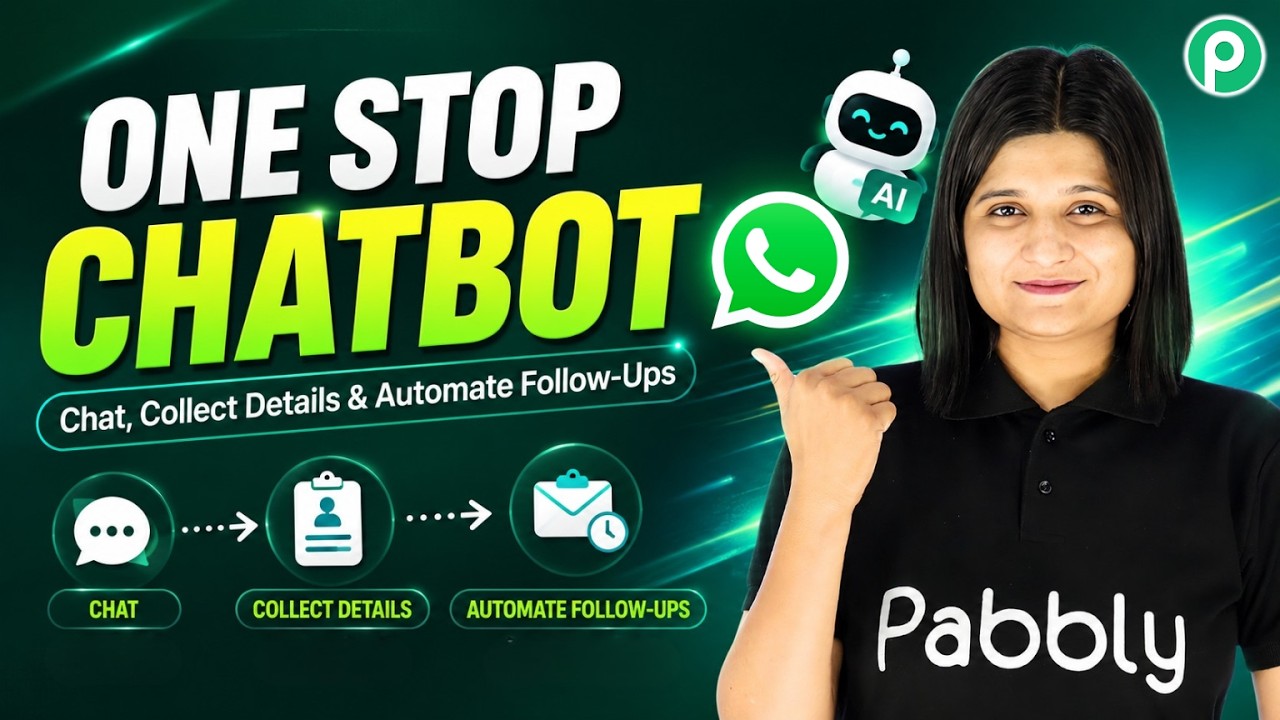
One-Stop WhatsApp AI Chatbot | Chat, Collect Details & Automate Follow-Ups

Watch Step By Step Video Tutorial Below


1. Accessing Pabbly Chatflow to Create Your Chatbot

To start creating your WhatsApp chatbot, first, access Pabbly Chatflow by navigating to www.pabbly.com/chatflow in your browser. This platform will serve as the central hub for your chatbot integration, allowing you to automate conversations effectively.

Once on the site, sign in using the options provided. If you are a new user, you can sign up for free, which grants you some credits to test the features of Pabbly Chatflow. Existing users should click on the sign-in option to proceed to the dashboard where all Pabbly applications are displayed.


2. Setting Up Your WhatsApp Chatbot in Pabbly Chatflow

To create your WhatsApp chatbot, select the Pabbly Chatflow app from the dashboard. Here, you can manage your flows and set up the WhatsApp number to be used. Click on the ‘Add WhatsApp Number’ option to connect your WhatsApp account.

  • Select the preferred method to connect your WhatsApp.
  • Use either the WhatsApp collect option or a manual token.
  • Follow the prompts to complete the connection.

This connection is essential for your chatbot to interact with users on WhatsApp. After setting up the WhatsApp number, you can proceed to create a flow by clicking on the ‘Flows’ option on the left side of the dashboard.


3. Creating the Chatbot Flow in Pabbly Chatflow

In this step, you will create the flow for your WhatsApp chatbot using Pabbly Chatflow. Click on ‘Add Flow’ and name your flow, like ‘Chat Collect Details and Automate Follow-ups’. This name will help you identify the flow later.

Next, set up the trigger event. Choose the ‘Keyword Regex Match’ option, which allows the chatbot to respond when a user sends a specific keyword, such as “hey”. You can add multiple keywords to trigger different responses.

  • Define the keywords that will trigger the chatbot.
  • Utilize the Regex feature for advanced keyword matching.
  • Ensure to save your settings before proceeding.

Once the trigger is set, you can start adding responses by dragging and dropping content types like text buttons or media messages within your flow.


4. Collecting User Details and Sending Follow-ups

Once your flow is established, you can begin collecting user details using Pabbly Chatflow. Utilize the question box feature to ask for user information such as name, email, and feedback. Each question must have a corresponding contact custom field to save the responses.

For instance, if you ask for a user’s name, ensure you create a contact custom field labeled “Full Name”. This setup will allow the information to be stored correctly in your database.

  • Create a contact custom field for each question asked.
  • Ensure the format is selected for each response.
  • Map the collected data to your Google Sheets for easy access.

This process not only collects user information but also allows you to send personalized messages back to users using the data captured.


5. Integrating User Data with Google Sheets

To finalize the setup, you will integrate the collected user data with Google Sheets through Pabbly Chatflow. After collecting user details, you need to set up an API request that sends this data to your Google Sheets.

In the API request settings, select the POST method and enter the webhook URL generated from Pabbly Connect. This URL is essential for transferring data from your chatbot to Google Sheets.

  • Copy the webhook URL from Pabbly Connect and paste it into the API request.
  • Map each user detail to the corresponding fields in Google Sheets.
  • Test the integration to ensure data is sent correctly.

Once this integration is complete, you can send a confirmation message back to the user, informing them that their details have been successfully saved.


Conclusion

This tutorial demonstrates how to create a WhatsApp chatbot using Pabbly Chatflow to automate conversations, collect user details, and integrate with Google Sheets. By following these steps, you can enhance user engagement and streamline data collection for your business.
Master WhatsApp Chatbot Automation in 10 Minutes 🔥

Watch Step By Step Video Tutorial Below


1. Accessing Pabbly Connect for Integration

To start integrating Pabi, And I, URL, Start, Word, Box, and Make, first access Pabbly Connect. This platform allows seamless integration between these applications.

Navigate to the Pabbly Connect website and log in. If you are a new user, you can sign up for a free account. Once logged in, you will be directed to the dashboard where you can create and manage your integrations.


2. Creating an Integration Workflow in Pabbly Connect

After accessing Pabbly Connect, the next step is to create a new workflow. Click on the “Create Workflow” button. This will allow you to set up the integration process.

  • Select the trigger application, which is Pabi.
  • Choose the action event, e.g., “New Message Received”.
  • Connect your Pabi account by entering the required credentials.

Once you have set up the trigger, you can proceed to define the action that will take place in the other applications, such as sending messages or updating records.


3. Setting Up Action Steps with Pabbly Connect

Next, configure the action steps in your workflow. This is where Pabbly Connect shines by allowing you to connect multiple applications. Choose the next application, such as And I, and select the action you want, like “Send Message”.

Ensure that you map the data fields correctly. For example, map the message body from Pabi to the message field in And I. This ensures that the information flows correctly between the applications.

  • Select the relevant fields from the Pabi trigger.
  • Map these fields to the corresponding fields in And I.
  • Test the integration to ensure everything works as expected.

After testing, you can save the workflow and ensure it runs automatically whenever the trigger event occurs.


4. Finalizing the Integration with Pabbly Connect

Once you have completed the setup, it’s time to finalize the integration using Pabbly Connect. Review all the steps to ensure accuracy. This includes double-checking the mapped fields and ensuring that all applications are connected properly.

Next, activate the workflow. This action will enable the integration to run continuously. You can monitor the workflow’s performance from the Pabbly Connect dashboard.

  • Monitor the activity logs for any errors or issues.
  • Adjust settings as necessary to optimize performance.
  • Celebrate the successful integration of Pabi, And I, URL, Start, Word, Box, and Make!

With your integration finalized, you can now utilize the full potential of these applications working together seamlessly through Pabbly Connect.


5. Utilizing Your Integration for Maximum Efficiency

Now that you have integrated Pabi, And I, URL, Start, Word, Box, and Make using Pabbly Connect, it’s time to utilize this integration effectively. Start by testing different scenarios to see how well the applications communicate with each other.

Encourage team members to provide feedback on the integration process. This will help identify any areas for improvement. Use the automation features of Pabbly Connect to enhance your workflow efficiency further.


Conclusion

In conclusion, integrating Pabi, And I, URL, Start, Word, Box, and Make using Pabbly Connect can significantly streamline your workflows. By following the steps outlined in this tutorial, you can create effective automated processes that save time and enhance productivity.

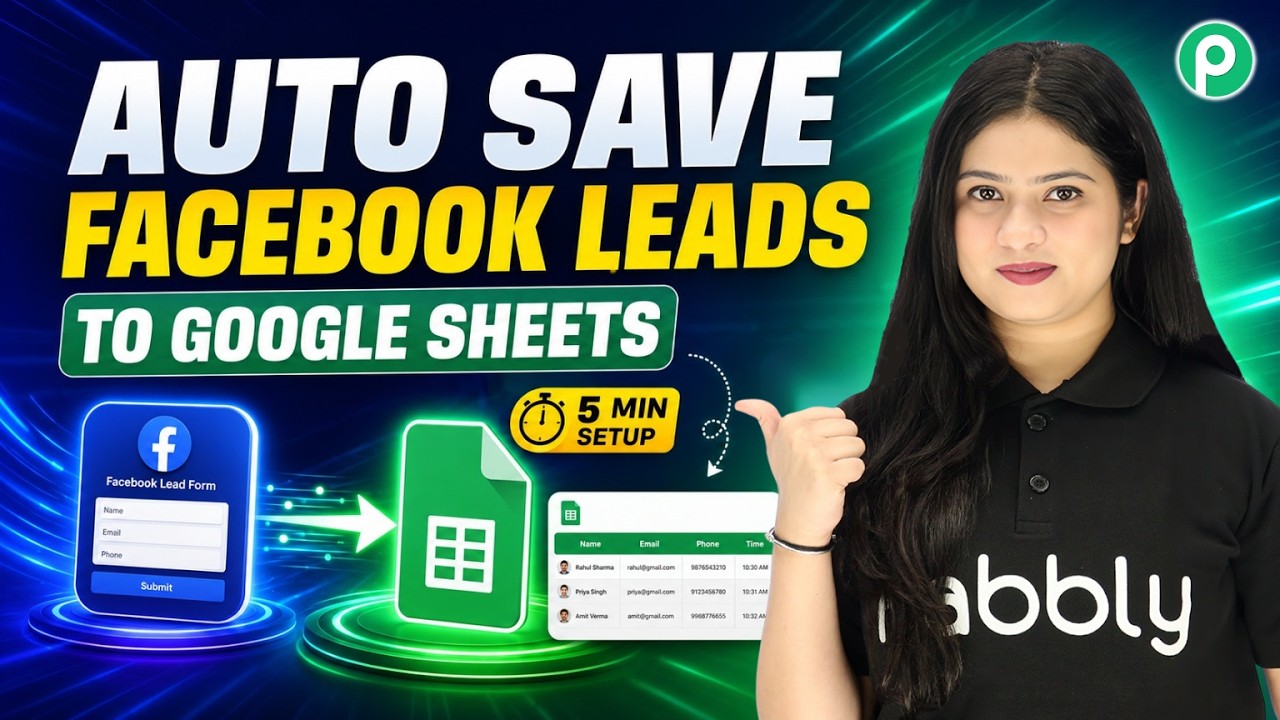
Add Facebook Leads to Google Sheets in Real Time (5-Minute Setup) #trending #facebookads

Watch Step By Step Video Tutorial Below


1. Access Pabbly Connect for Integration

To start using Pabbly Connect, first visit the Pabbly website and sign up for a free account. This platform will enable you to automate the integration between Facebook Lead Ads and Google Sheets.

Once signed in, you can access the dashboard where you will set up your automation. This is where you will create the workflow that captures leads automatically from Facebook and adds them to Google Sheets.


2. Setting Up Facebook Lead Ads in Pabbly Connect

In this step, you will connect your Facebook Lead Ads to Pabbly Connect. Start by selecting Facebook as the trigger application. You need to choose the specific Facebook page and the lead ad form from which you want to capture leads.

  • Select your Facebook page.
  • Choose the lead ad form you created.
  • Click on the “Save and Send Test Request” button.

After this, Pabbly Connect will capture a test lead from your Facebook Lead Ads. This step is crucial to ensure that the connection is established successfully and that the data is being pulled correctly.


3. Connecting Google Sheets to Capture Leads

Now that you have set up Facebook Lead Ads, the next step is to connect Google Sheets with Pabbly Connect. Select Google Sheets as your action application.

  • Choose the action event “Add a New Row”.
  • Select the spreadsheet and specific sheet where you want to store the leads.
  • Map the fields from the Facebook lead to the corresponding columns in Google Sheets.

Mapping is essential as it ensures that the correct data from the leads is recorded in the appropriate columns. After mapping, click “Save and Send Test Request” to verify that the data is being recorded accurately in your Google Sheets.


4. Finalizing Your Automation with Pabbly Connect

Once both connections are established, it’s time to finalize your automation in Pabbly Connect. You will see an overview of your workflow, including both the Facebook Lead Ads and Google Sheets connections.

Ensure everything is set up correctly. You can now relax, as every time a new lead submits the form, their details will automatically populate in your Google Sheets without any manual effort.


5. Exploring More Integrations with Pabbly Connect

Pabbly Connect allows you to create various automations beyond just Facebook Lead Ads and Google Sheets. You can integrate other applications like WhatsApp, Gmail, and even AI services like Bola AI.

This flexibility enables you to streamline your business processes further. You can send notifications via WhatsApp or email your team directly from your Google Sheets data.


Conclusion

In this tutorial, we learned how to automate the integration of Facebook Lead Ads with Google Sheets using Pabbly Connect. This process ensures that all your leads are captured automatically and stored in one place, making it easier to manage and follow up on them.

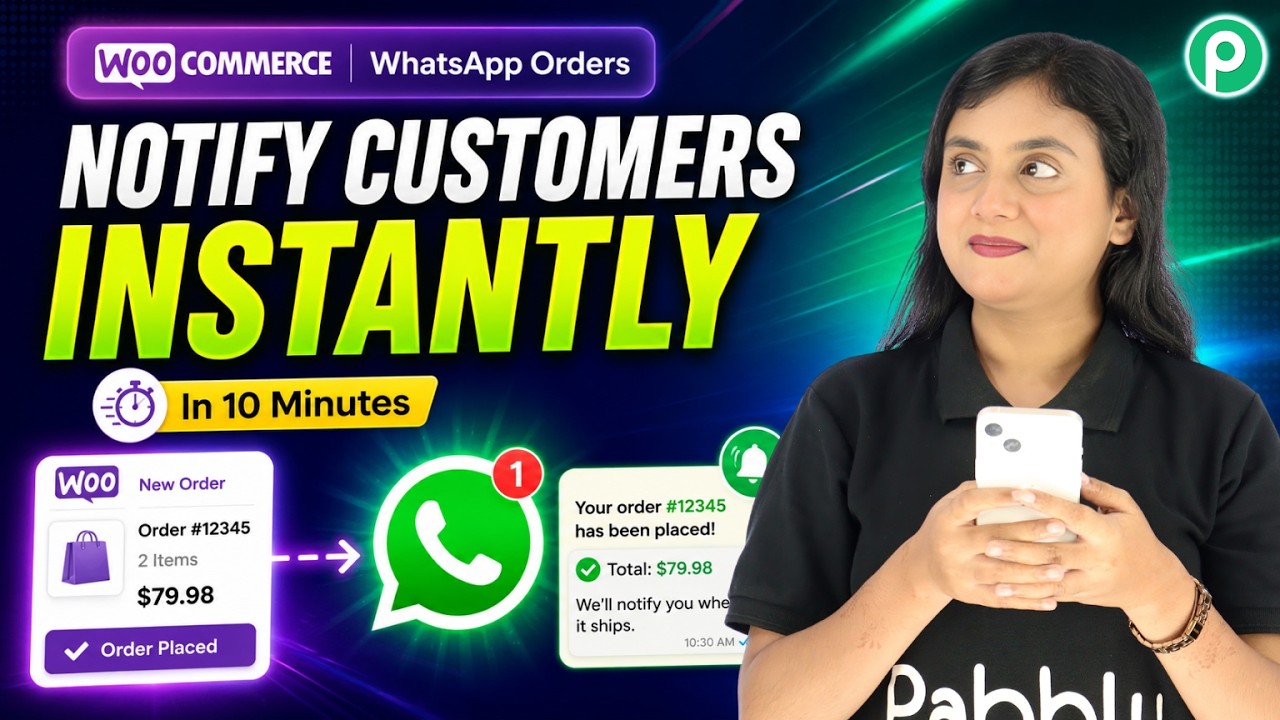
Send WooCommerce WhatsApp Order Notifications in 10 Minutes

Watch Step By Step Video Tutorial Below


1. Setting Up Pabbly Connect for WooCommerce

To begin using Pabbly Connect, first, navigate to the Pabbly Connect website. This platform will facilitate the integration between your WooCommerce store and WhatsApp for sending order notifications.

Once on the site, you can sign up for a free account, which allows you to utilize 100 free tasks monthly. This is a great way to test how Pabbly Connect can streamline your order notification process.


2. Creating a Workflow in Pabbly Connect

After logging into Pabbly Connect, the next step is to create a workflow that triggers when a new order is placed in WooCommerce. This is essential for automating your notification process.

  • Click on “Create Workflow”.
  • Name your workflow, for example, “WooCommerce Order Notification”.
  • Select WooCommerce as your trigger application.
  • Choose the event as “New Order Created”.

By setting up this workflow, Pabbly Connect will automatically capture new order details from WooCommerce, making the process efficient and seamless.


3. Connecting WooCommerce to Pabbly Connect

To establish the connection between WooCommerce and Pabbly Connect, you will need to set up a webhook. This webhook allows WooCommerce to send order data to Pabbly Connect whenever a new order is placed.

Navigate to your WooCommerce settings, and follow these steps:

  • Go to “Settings” and then to the “Advanced” tab.
  • Select “Webhooks”.
  • Click “Add Webhook” and name it “New Order Notification”.
  • Paste the webhook URL from Pabbly Connect into the URL field.

Once this is done, every new order placed in WooCommerce will trigger the webhook, sending the order details to Pabbly Connect.


4. Sending WhatsApp Notifications Using Pabbly Connect

After confirming that the webhook is set up correctly, the next step is to configure Pabbly Connect to send WhatsApp notifications. This is achieved by integrating with a WhatsApp messaging service.

In your workflow, add an action step to send a message via WhatsApp. Here’s how:

  • Select the action application as “WhatsApp”.
  • Choose the action event as “Send Message”.
  • Map the recipient’s phone number from the order details.
  • Customize the message template with order details.

This integration allows Pabbly Connect to automatically send a WhatsApp notification to customers as soon as they place an order, enhancing customer communication significantly.


5. Testing the Integration

Finally, it’s crucial to test the entire setup to ensure everything is functioning correctly. Place a test order in your WooCommerce store and observe the workflow in Pabbly Connect.

Make sure to check that the WhatsApp message is received with all the correct details. Here’s how to do it:

  • Place a test order on your WooCommerce store.
  • Wait for a few seconds to receive the WhatsApp notification.
  • Check the details in the message to ensure accuracy.

By utilizing Pabbly Connect, you can ensure that your customers receive timely updates, improving their overall shopping experience.


Conclusion

By following these steps, you can effectively automate WhatsApp notifications for WooCommerce orders using Pabbly Connect. This integration not only saves time but also enhances customer communication, ensuring that your customers are always informed about their orders.

How to Add Facebook Leads as Contacts in Freshsales CRM

Watch Step By Step Video Tutorial Below


1. Accessing Pabbly Connect for Integration

To begin integrating Facebook Lead Ads with Fresh Sales CRM, you first need to access Pabbly Connect. This powerful tool allows you to automate workflows without any coding skills. Simply sign up for a free account to get started.

Once logged in, you will receive 100 free tasks each month, enabling you to create and test your automation. This means you can follow along with the setup in this tutorial and see how Pabbly Connect streamlines the process.


2. Setting Up the Trigger in Pabbly Connect

The first step in your integration is to set up the trigger in Pabbly Connect. For this, select “Facebook Lead Ads” as your trigger application and choose the event “New Lead”. This event will activate the workflow whenever a new lead is generated from your Facebook ads.

  • Select “Facebook Lead Ads” as the trigger application.
  • Choose “New Lead” as the trigger event.
  • Click on “Connect” to link your Facebook account.

After connecting, select your business page and the lead form you want to use. This setup ensures that every new lead from Facebook is captured in your Pabbly Connect workflow, ready to be processed further.


3. Generating Test Leads for Verification

To ensure that your integration is functioning correctly, you will need to generate a test lead. This can be done using Meta’s lead ads testing tool. First, delete any existing test leads to avoid duplication.

  • Use Meta’s lead ads testing tool to create a new lead.
  • Fill in the lead details, including name, email, and phone number.
  • Submit the lead and check if it appears in Pabbly Connect.

Once the lead is generated, you should see it captured in the trigger section of Pabbly Connect. This confirms that your integration is working as intended, allowing real leads to be processed automatically.


4. Setting Up the Action to Create Contacts

Now that your trigger is set up, it’s time to configure the action in Pabbly Connect. Select “Fresh Sales CRM” as the action application and choose the event “Create Contact”. This action will automatically add new leads as contacts in your CRM.

You’ll need to provide the API key and domain for your Fresh Sales account. To find these, log into your Fresh Sales account, navigate to the profile section, and access the API settings. Copy the required information and paste it into Pabbly Connect.


5. Mapping Data for New Contacts in Fresh Sales

With your action set up, the next step is to map the data from your Facebook lead to the contact fields in Fresh Sales CRM. This is crucial for ensuring that all lead information is accurately transferred.

  • Map the email address by using the correct prefix (home, work, or office).
  • Map the first name and last name from the lead data.
  • Set the source as “Social Media” and the lifecycle stage as “Lead”.

After mapping all necessary fields, click on the “Send Test Request” button. If successful, you will receive a confirmation that the contact has been created in your Fresh Sales account. This completes the integration process using Pabbly Connect.


Conclusion

In this tutorial, we explored how to automate the integration of Facebook Lead Ads with Fresh Sales CRM using Pabbly Connect. By following these steps, you can streamline your lead management process and ensure no leads are missed.

Generate 100+ Thumbnails Automatically with AI

Watch Step By Step Video Tutorial Below


1. Accessing Pabbly Connect for Thumbnail Automation

To start automating thumbnail generation, you first need to access Pabbly Connect. Open your browser and navigate to pabbl.com/connect. If you’re a new user, click on the “Sign up for free” option to create your account.

Once logged in, you’ll be directed to the workflow builder. Here, you can set up your automation. Pabbly Connect allows you to integrate various applications seamlessly, which is crucial for our thumbnail generation process.


2. Setting Up Google Sheets in Pabbly Connect

In this step, we will set Google Sheets as the trigger application in Pabbly Connect. Click the “Add Trigger” button and select Google Sheets as the application. Choose the event as “New or Updated Spreadsheet Row” to activate the workflow whenever a new video detail is added.

  • Select Google Sheets as the trigger application.
  • Choose the event: New or Updated Spreadsheet Row.
  • Copy the Webhook URL provided by Pabbly Connect.

After copying the Webhook URL, open your Google Sheets where you have the video details. You will need to set up the Pabbly Connect Webhooks extension in your Google Sheets to complete the integration. This step is essential for sending data to Pabbly Connect.


3. Installing Pabbly Webhooks in Google Sheets

To install the Pabbly Webhooks extension, go to the “Extensions” menu in Google Sheets, click on “Add-ons,” and then select “Get add-ons.” Search for “Pabbly Connect Webhooks” and install it. Refresh your Google Sheets after installation to see the option appear.

Once installed, navigate back to the Extensions menu, select Pabbly Connect Webhooks, and then choose “Initial Setup.” Here, paste the Webhook URL you copied earlier. Specify the trigger column that will send data to Pabbly Connect. This column is crucial as it determines when the data is sent.

  • Go to Extensions > Add-ons > Get add-ons.
  • Search for Pabbly Connect Webhooks and install it.
  • Refresh Google Sheets to see the new option.

After entering the details, click “Submit” to configure the setup successfully. This means your Google Sheets is now connected to Pabbly Connect, ready to send data for thumbnail generation.


4. Generating Thumbnails Using Google Gemini

Now, let’s move to the action step in Pabbly Connect. Click on “Add Action Step” and select Google Gemini as your action application. Choose the event “Generate and Edit Images”. If you’ve already set up a connection, select it; otherwise, create a new connection using your API key from Google AI Studio.

In the next step, choose the model you want to use for thumbnail generation, such as “Nano Banana”. Enter the prompt for the thumbnail, ensuring it aligns with your video’s theme. Mapping the video details dynamically will allow for generating unique thumbnails for each video.

  • Select Google Gemini as the action application.
  • Choose the event: Generate and Edit Images.
  • Map the video details to generate dynamic thumbnails.

After setting up the prompt and mapping the details, click on “Save and Send Test Request” to generate your first thumbnail. You should receive a response with the thumbnail URL, which can then be added back to Google Sheets for review.


5. Updating Google Sheets with Generated Thumbnails

After generating the thumbnail, the next step is to update your Google Sheets with the generated thumbnail URL. Click on “Add New Action Step” and select Google Sheets again. This time, choose “Update Cell Value” as the event.

Connect to your Google Sheets account and specify the spreadsheet and the range where the thumbnail URL should be updated. For example, if you want to update the thumbnail in column G, enter “G2”. Ensure you map the row index dynamically to update multiple rows as new thumbnails are generated.

  • Select Google Sheets as the action application.
  • Choose the event: Update Cell Value.
  • Map the thumbnail URL to the specified range.

Click “Save and Send Test Request” to confirm that the thumbnail URL is added to your Google Sheets. This process can be repeated for all videos by using the “Send All Data” option in Pabbly Connect, ensuring that all thumbnails are generated and updated in one go.


Conclusion

This tutorial demonstrated how to automate thumbnail generation for videos using Pabbly Connect. By integrating Google Sheets and Google Gemini, you can efficiently create and manage thumbnails for multiple videos, saving time and effort.

No-Code Slack Bot in 10 Minutes

Watch Step By Step Video Tutorial Below


1. Accessing Pabbly Connect for Slack Bot Creation

To create a no-code Slack bot, the first step is to access Pabbly Connect. Open your browser and navigate to pabbly.com/connect. If you’re a new user, click on the “Sign up for free” option in the top right corner to get started with a free trial.

Once you have signed up, you can explore the features of Pabbly Connect. If you find it helpful for your business needs, consider subscribing to the paid plan for additional features. This platform will be the backbone of your Slack bot integration.


2. Creating a Workflow in Pabbly Connect

After accessing Pabbly Connect, you will be directed to the workflow builder. This is where you can set up your automation. Click on the “Add Trigger” button to start your workflow.

  • Select “Scheduled by Pabbly” as your trigger application.
  • Choose the event as “Scheduled Workflow” and connect it.
  • Set the frequency to run the workflow daily at your preferred time.

Once you have configured the trigger settings, click on the “Save” button. Your workflow is now scheduled and ready to send messages to your Slack channel every day at the specified time.


3. Generating Messages Using Gemini in Pabbly Connect

Next, you will add a new action step to generate the message that will be sent to your Slack channel using Pabbly Connect. Click on “Add New Action Step” and search for “Gemini”.

  • Select the event as “Generate Content” and connect it.
  • If prompted, enter the API key from your Google AI Studio to establish the connection.
  • Paste the prompt for the message you want to generate.

Once your message prompt is set, click on the “Save and Send Test Request” button. This will generate the content using Gemini, allowing you to customize the message sent to your team.


4. Sending the Generated Message to Slack via Pabbly Connect

After generating the message, the next step is to send it to your Slack channel using Pabbly Connect. Add another action step and search for “Slack”.

  • Select the event as “Send Channel Message” and connect it.
  • Choose the appropriate token type, either user or bot, based on your needs.
  • Select the Slack workspace and the channel where you want to send the message.

Map the message generated from Gemini into the message field. This ensures that each day, a unique message is sent to your team. Finally, click on the “Save and Send Test Request” button to confirm that the message is sent successfully to your Slack channel.


5. Conclusion: Automate Your Slack Messaging with Pabbly Connect

Creating a no-code Slack bot is simple with Pabbly Connect. By following the steps outlined, you can automate daily messages to your team effortlessly. This integration not only saves time but also enhances communication within your team.

Utilizing Pabbly Connect allows you to customize your messaging and streamline your workflow, making it an invaluable tool for any business. Start automating your Slack messages today and experience the benefits firsthand!

AI Agent That Automates Your WhatsApp Replies | 24/7 Smart Responses

Watch Step By Step Video Tutorial Below


1. Getting Started with Pabbly Connect

To automate your WhatsApp conversations, you need to access Pabbly Connect. Start by visiting the Pabbly website and signing in or creating an account. This platform is essential for integrating different applications seamlessly.

Once logged in, navigate to the Pabbly Connect dashboard. Here, you can create workflows that connect WhatsApp with various applications like OpenAI and Google Docs. This integration will allow you to set up automated responses for your WhatsApp messages.


2. Creating Your WhatsApp Bot with Pabbly Connect

To create a WhatsApp bot, you’ll first need to set up an AI assistant in Pabbly Connect. Click on the AI Assistant option in the dashboard. This step is crucial as it forms the core of your automated WhatsApp responses.

  • Select ‘Create New Assistant’ and name it, for example, ’24/7 Smart Responses’.
  • Choose ‘AI Agent’ from the instruction type dropdown.
  • Set the AI configuration, including the temperature and model type (e.g., GPT-5 Mini).

After setting these parameters, click the connect button to finalize your AI assistant setup. This assistant will now be capable of responding to WhatsApp messages automatically.


3. Configuring AI Responses with Pabbly Connect

Next, you will configure how your AI assistant responds to various queries on WhatsApp using Pabbly Connect. In the assistant settings, you can specify the initial message and any fallback messages for unanswered queries.

Additionally, you can upload a knowledge base document that contains detailed information about your business, including:

  • Product details and prices
  • Business hours and policies
  • Frequently asked questions

These settings ensure that your AI assistant provides accurate and helpful responses to WhatsApp inquiries, enhancing customer interaction.


4. Assigning the AI Assistant to Contacts with Pabbly Connect

Once your AI assistant is configured, you can assign it to specific contacts or groups using Pabbly Connect. This feature allows you to streamline the automated response process effectively.

To assign the assistant, navigate to the inbox settings and enable AI auto-replies. You can select the AI assistant you created and apply it to:

  • Specific contact lists
  • All contacts

After saving your settings, the AI assistant will automatically respond to messages from the assigned contacts, ensuring no queries go unanswered.


5. Testing Your WhatsApp Bot with Pabbly Connect

Finally, it’s time to test your WhatsApp bot created with Pabbly Connect. Send a message to your WhatsApp number and observe how the AI assistant responds.

Check various queries to ensure the assistant provides accurate and helpful responses. This testing phase is crucial to confirm that your integration works as intended and that customers receive timely replies.

By following these steps, you can successfully automate your WhatsApp conversations, enhancing customer experience and operational efficiency.


Conclusion

Using Pabbly Connect to automate WhatsApp conversations allows businesses to enhance customer interaction effortlessly. By following this tutorial, you can create a responsive AI assistant that operates 24/7, ensuring customer satisfaction.

Automate Every Google Blogger Post with AI

Watch Step By Step Video Tutorial Below


1. Accessing Pabbly Connect for Integration

To start automating your Google Blogger posts, access Pabbly Connect by visiting its URL. Here, you can sign up for a free account or log in if you’re an existing user. This platform allows you to integrate various applications seamlessly.

Once logged in, you will find options to create workflows. This is crucial as it enables you to connect Google Sheets and OpenAI with Google Blogger through Pabbly Connect. By setting up an account, you can test the automation process with 100 free tasks each month.


2. Setting Up Google Sheets with Pabbly Connect

The next step involves setting up Google Sheets as the trigger application in Pabbly Connect. This means any new title and description added to Google Sheets will initiate the automation process. Select Google Sheets as your trigger app on the workflow page.

  • Choose the trigger event that captures new rows.
  • Copy the webhook URL provided by Pabbly Connect.
  • Add the webhook URL in Google Sheets under Extensions > Add-ons > Pabbly Connect Webhooks.

After entering the webhook URL, set the trigger column to the last data column of your Google Sheet. This ensures that any new data added will automatically trigger the integration process through Pabbly Connect.


3. Integrating OpenAI for Content Generation

Once Google Sheets is set up, the next step is to integrate OpenAI through Pabbly Connect. This integration will generate blog content based on the title and description you’ve entered in Google Sheets. Select OpenAI as the action app in your workflow.

When prompted, enter your OpenAI API token to establish a connection. After the connection is successful, you will need to specify the AI model and set the prompt for content generation. Use dynamic mapping to pull in the title and description from Google Sheets directly.


4. Posting Generated Content to Google Blogger

The final step involves posting the generated content to Google Blogger using Pabbly Connect. Select Google Blogger as your next action app in the workflow. Here, you will configure the settings to create a new blog post.

  • Select the blog ID from your Google Blogger account.
  • Map the title and content fields with the responses from OpenAI.
  • Set the status to live to publish the post immediately.

After configuring the settings, click “Save and Send Test Request”. If successful, you will see a confirmation response indicating that your blog post has been created on Google Blogger, showcasing the automation capabilities of Pabbly Connect.


5. Conclusion: Automate Your Blogging with Pabbly Connect

By following these steps, you can efficiently automate your Google Blogger posts using Pabbly Connect and OpenAI. This integration not only saves time but also enhances your blogging experience by generating content automatically.

Now, you can focus on growing your business while Pabbly Connect handles the repetitive tasks of content creation and posting. Start using this powerful automation tool today!

Send Real Estate Leads to CRM Automatically

Watch Step By Step Video Tutorial Below


1. Accessing Pabbly Connect for Automation

To automate sending real estate leads to your CRM, start by accessing Pabbly Connect. If you’re a new user, open a new tab and search for Pabbly Connect in your browser. Click on the “Sign Up for Free” option available in the top right corner of the landing page.

Once you sign up, you will receive 100 free tasks every month to explore the features of Pabbly Connect. This free trial allows you to test the automation capabilities without any commitment. After testing, you can choose a subscription plan if you find it beneficial for your real estate business.


2. Setting Up the Workflow in Pabbly Connect

Now that you have accessed Pabbly Connect, it’s time to set up your automation workflow. In the Pabbly Connect dashboard, click on the “Create Workflow” button. This is where you will define the trigger and action for your automation.

  • Select the trigger application as “99 Acres”.
  • Choose the event as “New Leads”.
  • Click on the “Connect” button to establish the connection.

This setup will allow Pabbly Connect to listen for new leads generated from 99 Acres automatically. Once the trigger is configured, you will receive a webhook URL that you need to copy for the next step.


3. Configuring the Webhook in 99 Acres

To ensure that leads are sent to Pabbly Connect, you need to configure the webhook URL in your 99 Acres account. Reach out to your account manager at 99 Acres to add the webhook URL provided by Pabbly Connect. This step is crucial for receiving lead details automatically.

Once the webhook is set up, you will start receiving lead details as they come in. You can verify this by checking the response in Pabbly Connect. You should see the lead’s phone number, last name, first name, email, and area populated in the response.


4. Adding Leads to Your CRM Automatically

After configuring the webhook, the next step is to add these leads to your CRM using Pabbly Connect. In the workflow, click on the “Add Action Step” button and select your CRM application, such as HubSpot.

  • Choose the event as “Create a Contact”.
  • Connect your HubSpot account to Pabbly Connect.
  • Map the lead details from the previous step to the required fields in HubSpot.

This mapping process ensures that each lead’s information is correctly inserted into your CRM without manual effort. After mapping, click on the “Save and Send Test Request” button to confirm that the integration works as intended.


5. Verifying the Integration

To verify that the integration is successful, refresh your HubSpot CRM. You should see the new contact details reflecting the information you received from 99 Acres. This confirms that Pabbly Connect has successfully automated the lead management process.

From now on, every time you receive a new lead from 99 Acres, it will be automatically added to your CRM, eliminating the need for manual entry. This automation saves time and reduces errors, allowing you to focus more on your real estate business.


Conclusion

By following these steps, you can effectively use Pabbly Connect to automate sending real estate leads to your CRM. This integration streamlines your workflow, ensuring that you never miss a lead while saving time and effort in managing your contacts.