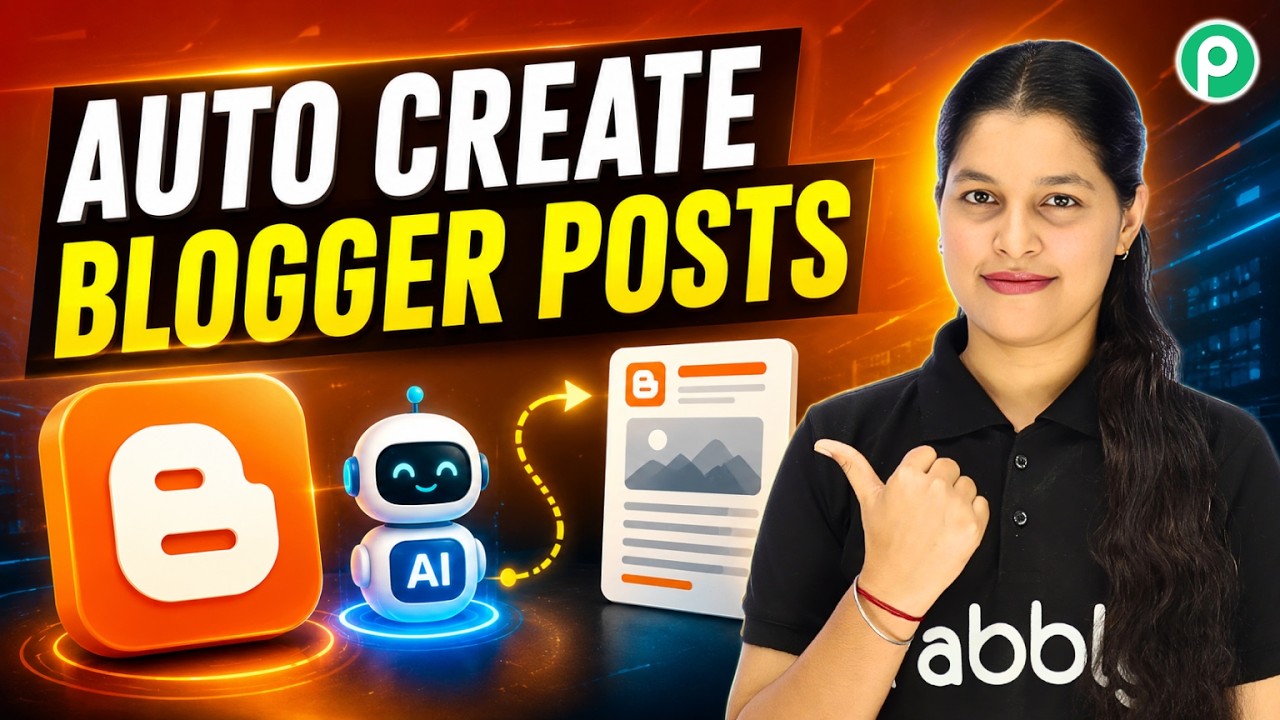
Automate Every Google Blogger Post with AI

Watch Step By Step Video Tutorial Below


1. Accessing Pabbly Connect for Integration

To start automating your Google Blogger posts, access Pabbly Connect by visiting its URL. Here, you can sign up for a free account or log in if you’re an existing user. This platform allows you to integrate various applications seamlessly.

Once logged in, you will find options to create workflows. This is crucial as it enables you to connect Google Sheets and OpenAI with Google Blogger through Pabbly Connect. By setting up an account, you can test the automation process with 100 free tasks each month.


2. Setting Up Google Sheets with Pabbly Connect

The next step involves setting up Google Sheets as the trigger application in Pabbly Connect. This means any new title and description added to Google Sheets will initiate the automation process. Select Google Sheets as your trigger app on the workflow page.

  • Choose the trigger event that captures new rows.
  • Copy the webhook URL provided by Pabbly Connect.
  • Add the webhook URL in Google Sheets under Extensions > Add-ons > Pabbly Connect Webhooks.

After entering the webhook URL, set the trigger column to the last data column of your Google Sheet. This ensures that any new data added will automatically trigger the integration process through Pabbly Connect.


3. Integrating OpenAI for Content Generation

Once Google Sheets is set up, the next step is to integrate OpenAI through Pabbly Connect. This integration will generate blog content based on the title and description you’ve entered in Google Sheets. Select OpenAI as the action app in your workflow.

When prompted, enter your OpenAI API token to establish a connection. After the connection is successful, you will need to specify the AI model and set the prompt for content generation. Use dynamic mapping to pull in the title and description from Google Sheets directly.


4. Posting Generated Content to Google Blogger

The final step involves posting the generated content to Google Blogger using Pabbly Connect. Select Google Blogger as your next action app in the workflow. Here, you will configure the settings to create a new blog post.

  • Select the blog ID from your Google Blogger account.
  • Map the title and content fields with the responses from OpenAI.
  • Set the status to live to publish the post immediately.

After configuring the settings, click “Save and Send Test Request”. If successful, you will see a confirmation response indicating that your blog post has been created on Google Blogger, showcasing the automation capabilities of Pabbly Connect.


5. Conclusion: Automate Your Blogging with Pabbly Connect

By following these steps, you can efficiently automate your Google Blogger posts using Pabbly Connect and OpenAI. This integration not only saves time but also enhances your blogging experience by generating content automatically.

Now, you can focus on growing your business while Pabbly Connect handles the repetitive tasks of content creation and posting. Start using this powerful automation tool today!

Send Real Estate Leads to CRM Automatically

Watch Step By Step Video Tutorial Below


1. Accessing Pabbly Connect for Automation

To automate sending real estate leads to your CRM, start by accessing Pabbly Connect. If you’re a new user, open a new tab and search for Pabbly Connect in your browser. Click on the “Sign Up for Free” option available in the top right corner of the landing page.

Once you sign up, you will receive 100 free tasks every month to explore the features of Pabbly Connect. This free trial allows you to test the automation capabilities without any commitment. After testing, you can choose a subscription plan if you find it beneficial for your real estate business.


2. Setting Up the Workflow in Pabbly Connect

Now that you have accessed Pabbly Connect, it’s time to set up your automation workflow. In the Pabbly Connect dashboard, click on the “Create Workflow” button. This is where you will define the trigger and action for your automation.

  • Select the trigger application as “99 Acres”.
  • Choose the event as “New Leads”.
  • Click on the “Connect” button to establish the connection.

This setup will allow Pabbly Connect to listen for new leads generated from 99 Acres automatically. Once the trigger is configured, you will receive a webhook URL that you need to copy for the next step.


3. Configuring the Webhook in 99 Acres

To ensure that leads are sent to Pabbly Connect, you need to configure the webhook URL in your 99 Acres account. Reach out to your account manager at 99 Acres to add the webhook URL provided by Pabbly Connect. This step is crucial for receiving lead details automatically.

Once the webhook is set up, you will start receiving lead details as they come in. You can verify this by checking the response in Pabbly Connect. You should see the lead’s phone number, last name, first name, email, and area populated in the response.


4. Adding Leads to Your CRM Automatically

After configuring the webhook, the next step is to add these leads to your CRM using Pabbly Connect. In the workflow, click on the “Add Action Step” button and select your CRM application, such as HubSpot.

  • Choose the event as “Create a Contact”.
  • Connect your HubSpot account to Pabbly Connect.
  • Map the lead details from the previous step to the required fields in HubSpot.

This mapping process ensures that each lead’s information is correctly inserted into your CRM without manual effort. After mapping, click on the “Save and Send Test Request” button to confirm that the integration works as intended.


5. Verifying the Integration

To verify that the integration is successful, refresh your HubSpot CRM. You should see the new contact details reflecting the information you received from 99 Acres. This confirms that Pabbly Connect has successfully automated the lead management process.

From now on, every time you receive a new lead from 99 Acres, it will be automatically added to your CRM, eliminating the need for manual entry. This automation saves time and reduces errors, allowing you to focus more on your real estate business.


Conclusion

By following these steps, you can effectively use Pabbly Connect to automate sending real estate leads to your CRM. This integration streamlines your workflow, ensuring that you never miss a lead while saving time and effort in managing your contacts.

Auto-Create CRM Contacts from Any Lead Source | No-Code Automation

Watch Step By Step Video Tutorial Below


1. Accessing Pabbly Connect for Lead Integration

To begin integrating your leads using Pabbly Connect, first visit the Pabbly website by typing pabbly.com in your browser. Once there, you will need to sign in to your account by clicking on the “Sign In” button located at the top right corner of the page.

If you are a new user, you can sign up for free and receive 100 tasks each month to explore the platform. After signing in, select Pabbly Connect from the list of applications displayed on your dashboard to start creating your lead integration workflow.


2. Creating a New Workflow in Pabbly Connect

In this section, we will create a new workflow in Pabbly Connect to automate lead capture. Click on the “Create Workflow” button and name your workflow, for example, “Auto-create CRM Contact from Any Lead Source”. Choose an appropriate folder for your workflow, such as “Task Forms Automation”.

  • Click on the “Create” button to initiate your workflow.
  • This will set up the workflow where we will define our trigger and action.

Once the workflow is created, you will be prompted to select a trigger application. In this case, choose “Webhook by Pabbly” and set the trigger event to “Catch Webhook”. This step is crucial for connecting your form submissions to Pabbly Connect.


3. Setting Up the Webhook for Your Form

To connect your form to Pabbly Connect, you will need to copy the provided webhook URL. This URL acts as a bridge between your website form and Pabbly Connect. Open your form’s code in a text editor and replace any existing webhook URL with the one you copied.

  • Make sure to save the changes in your form code.
  • Refresh the page to ensure that the new webhook is active.

After saving, return to Pabbly Connect and perform a test submission on your form. This step is essential to capture the webhook response and confirm that the integration is working properly.


4. Adding Leads to Your CRM Using Pabbly Connect

Next, we will set up the action step in Pabbly Connect to add new leads to your CRM. Choose “Lead Connector V2” as your action application and select the action event “Create Contact”. Click on connect to establish a connection with your CRM.

If you already have a connection set up, you can select it; otherwise, click on “Add New Connection”. Once connected, you will need to map the fields from your form submission to the corresponding fields in your CRM, such as name, email, and phone number.

  • Ensure that you map the full name appropriately if you need to separate first and last names.
  • This mapping is crucial for ensuring that each new lead is captured correctly in your CRM.

After mapping all necessary fields, hit the “Save” button and send a test request to verify that the contact is created successfully in your CRM.


5. Conclusion: Automate Your Lead Management with Pabbly Connect

In this tutorial, we explored how to use Pabbly Connect to automate the integration of leads from various sources into your CRM. By following the steps outlined, you can ensure that every lead captured through your forms is automatically added to your CRM without manual intervention.

Using Pabbly Connect not only streamlines your lead management process but also enhances your business’s efficiency. With this setup, you can focus more on converting leads into customers rather than managing them manually.

In summary, integrating your leads with Pabbly Connect is a powerful way to automate your workflow and improve productivity. Start implementing this solution today to see the benefits for your business!