In this article, we’ll walk you through the complete guide to send automated emails to your customers and ‘How to integrate Pabbly Subscription Billing and Moosend’.
We are going to use ‘Pabbly Connect’ as a switch between Pabbly Subscription Billing and Moosend. It will help us to send emails using Moosend to the customers of Pabbly Subscription Billing in real-time automatically with a simple concept of creating triggers and respective actions in Pabbly Connect.
That means for every purchase that happens inside your Pabbly Subscription Billing account the lead and the customer for that purchase will be directly & instantly transferred to your Moosend subscriber’s list.
Why Choose This Method Of Integration?
In contrast with other integration services-
- Pabbly Connect does not charge you for its in-built apps like filters, Iterator, Router, Data transformer and more
- Create “Unlimited Workflows” and smoothly define multiple tasks for each action
- As compared to other services which offer 750 tasks at $24.99, Pabbly Connect proffers 50000 tasks in the starter plan of $29 itself
- Unlike Zapier, there’s no restriction on features. Get access to advanced features even in the basic plan
- Try before you buy! Before spending your money, you can actually signup & try out the working of Pabbly Connect for FREE
The step by step procedure will help you to follow the path without getting lost anywhere and end up automating the entire system for further use.
Up to this point, I suppose the whole idea is pretty much clear and let’s jump onto the step by step procedure to integrate Pabbly Subscription Billing & Moosend.
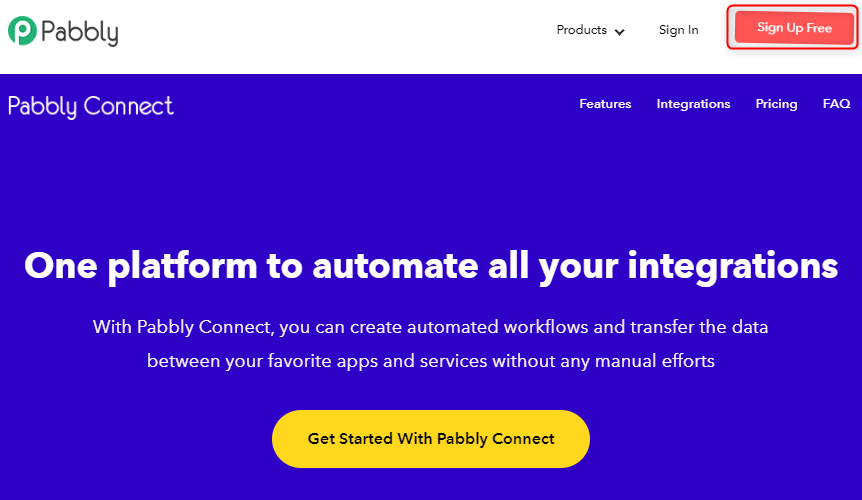
Step 1: Sign up to Pabbly Connect

To get started, visit the official website of Pabbly and click ‘Sign-Up Free‘ button to sign-up for Pabbly Connect. On the next page redirect, either make use of an existing Google account or do fill out the registration form details manually.
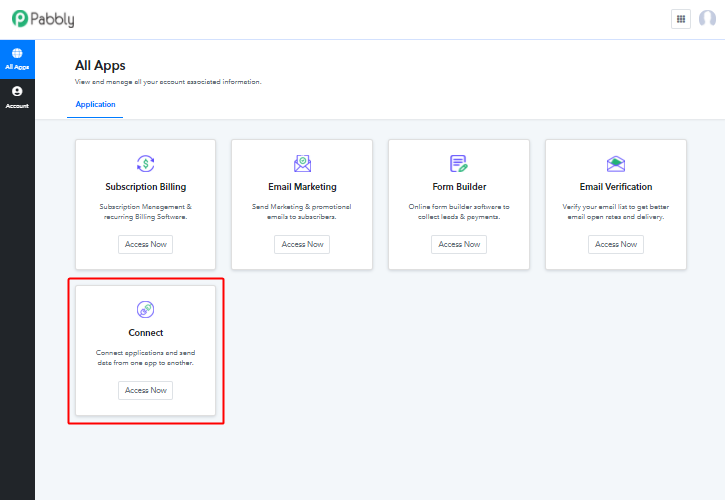
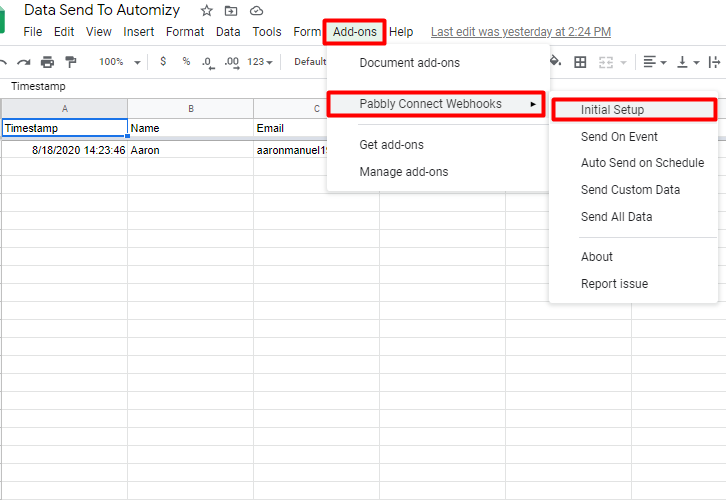
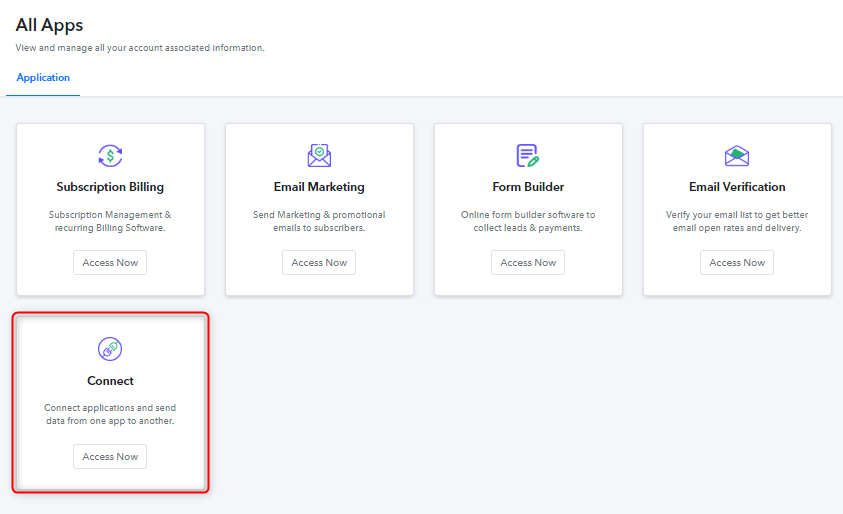
Step 2: Access Pabbly Connect

Once you successfully sign up, click on the ‘Access Now’ button next to ‘Connect’.
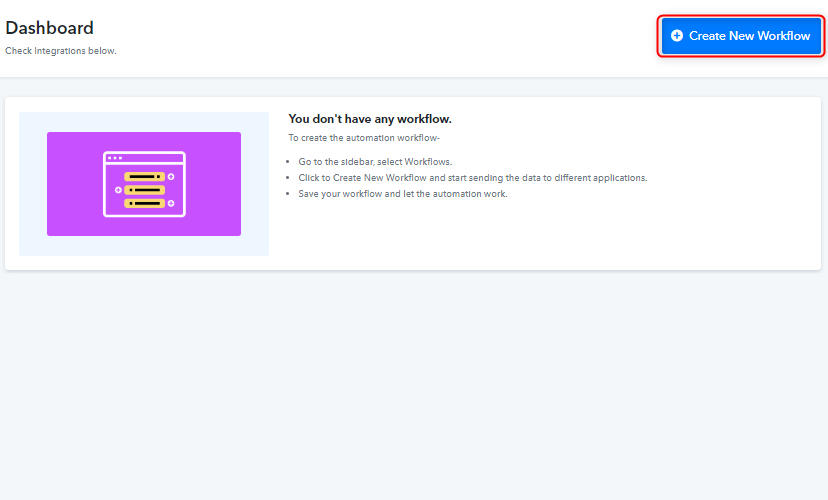
Step 3: Create a New WorkFlow
(a) Click over the Create New Workflow Button

Start with creating a workflow to integrate Pabbly Subscription Billing & Moosend and hit the ‘Create New Workflow’ button.
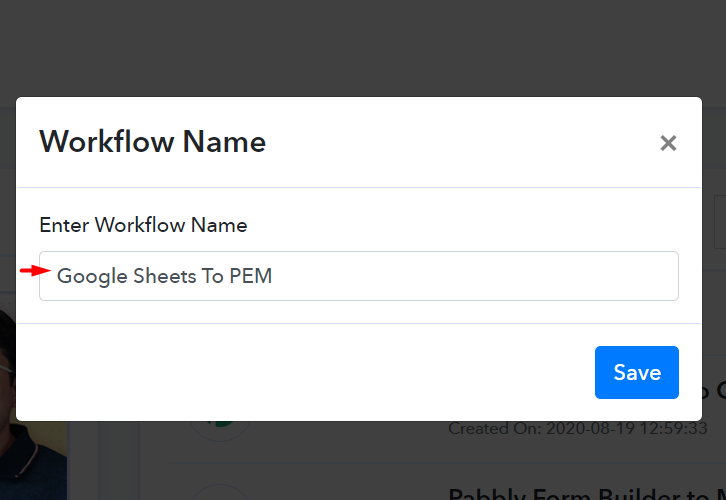
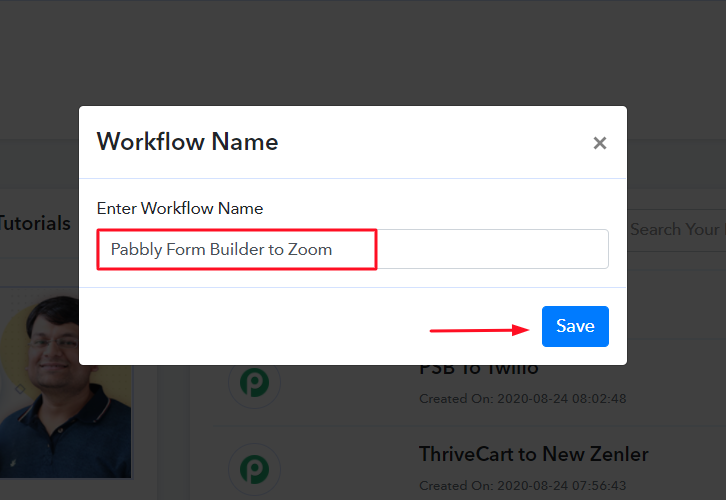
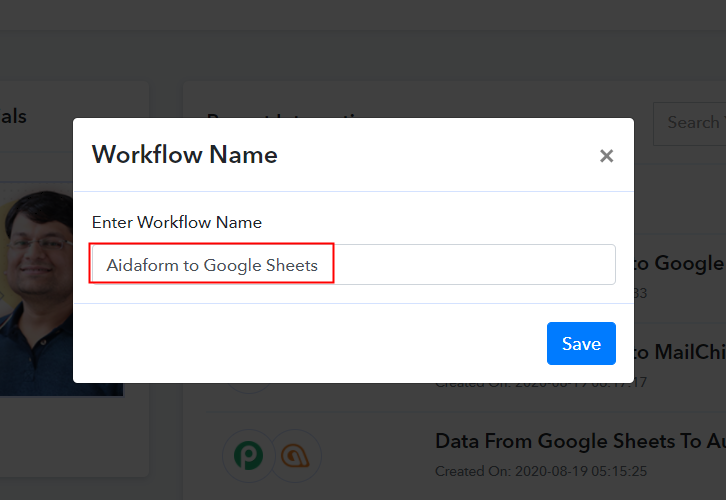
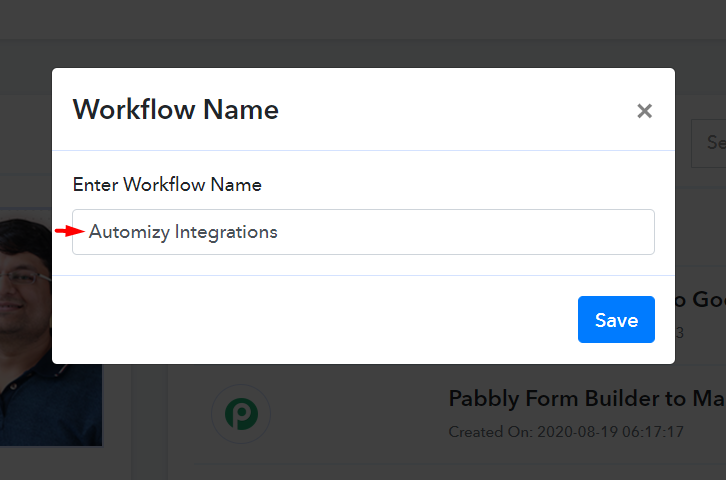
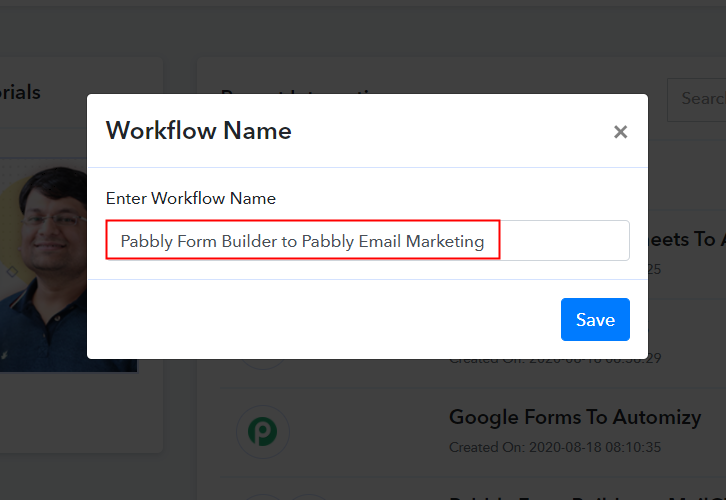
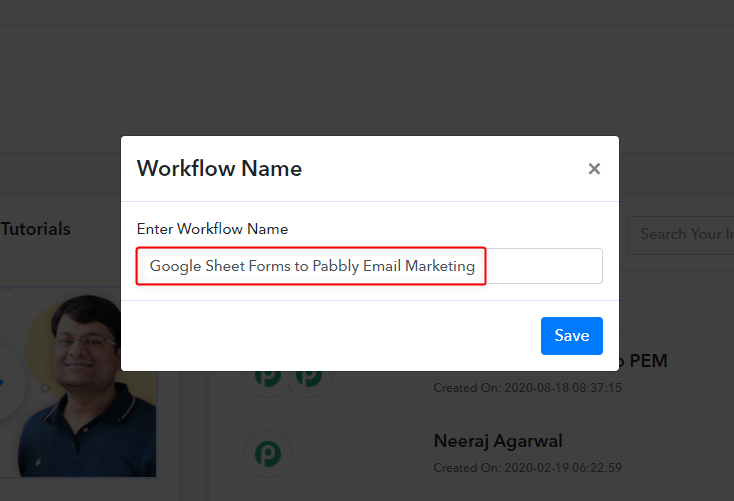
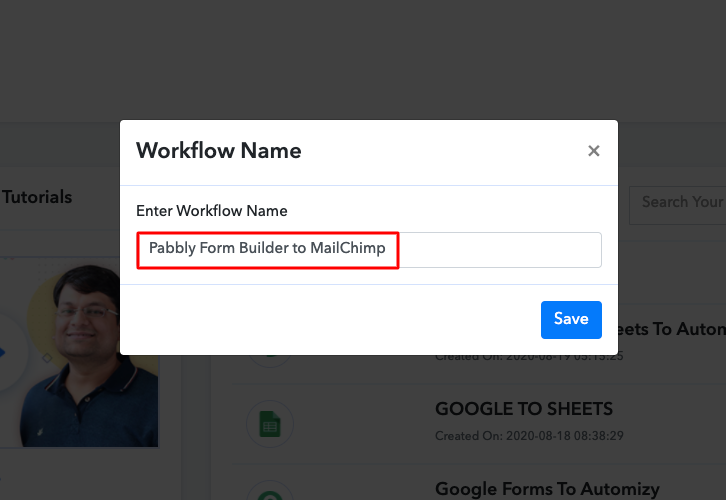
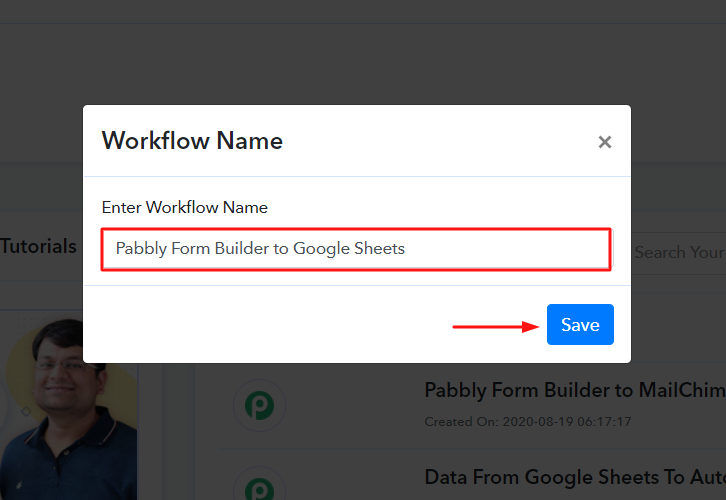
(b) Name the Workflow
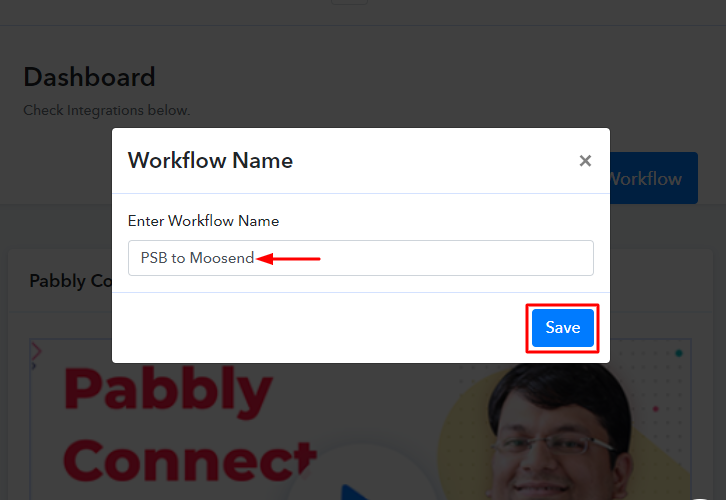
Name the Workflow as per your need and hit the ‘Save’ button.
Step 4: Set-up A Trigger
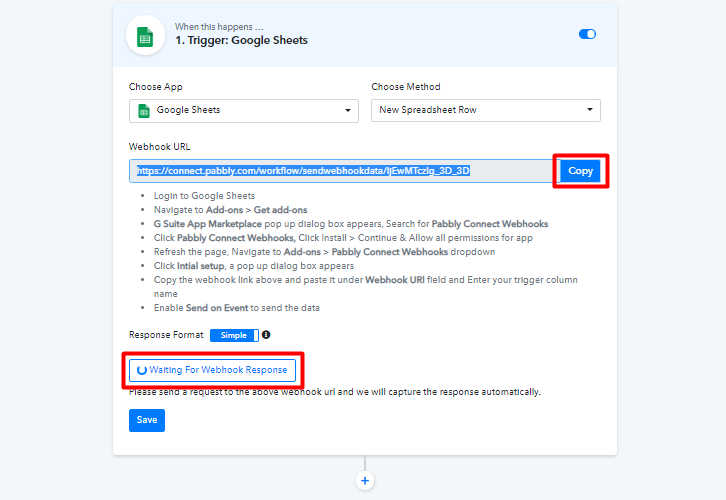
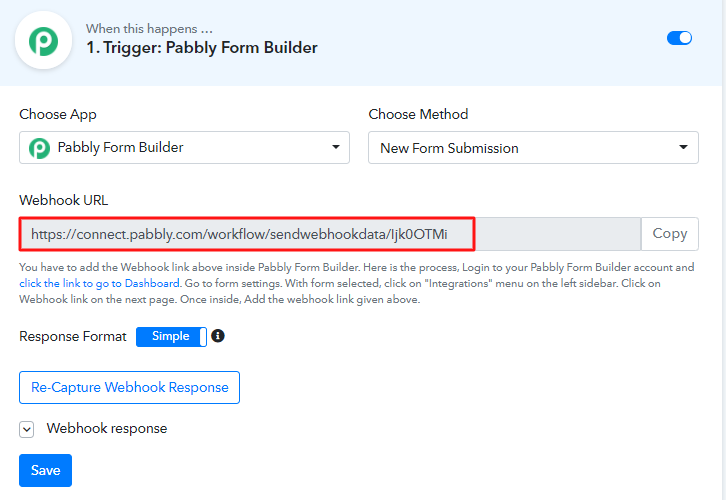
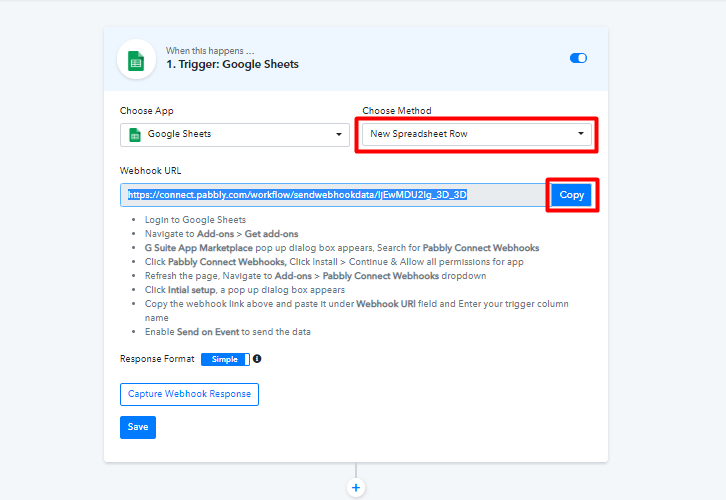
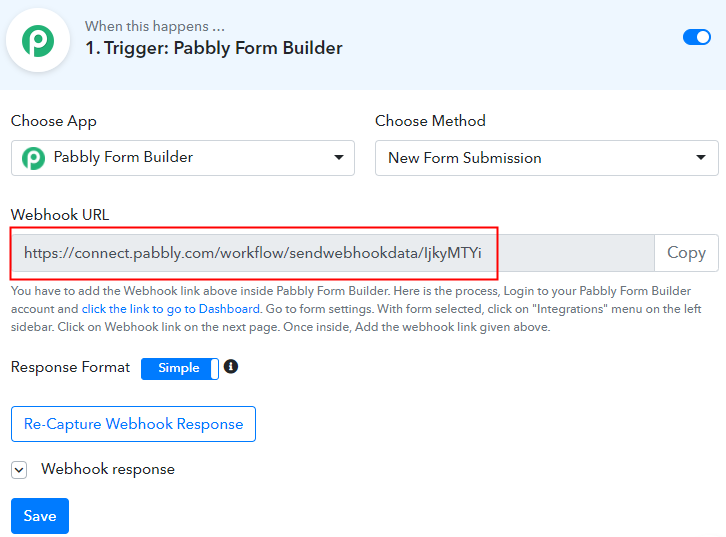
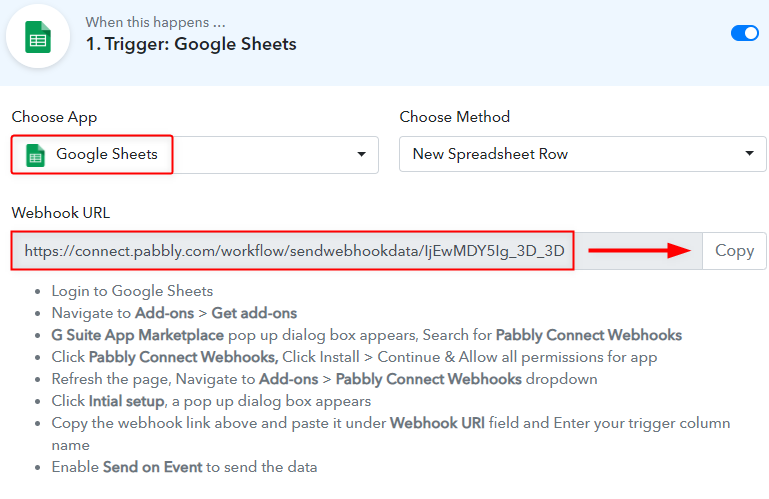
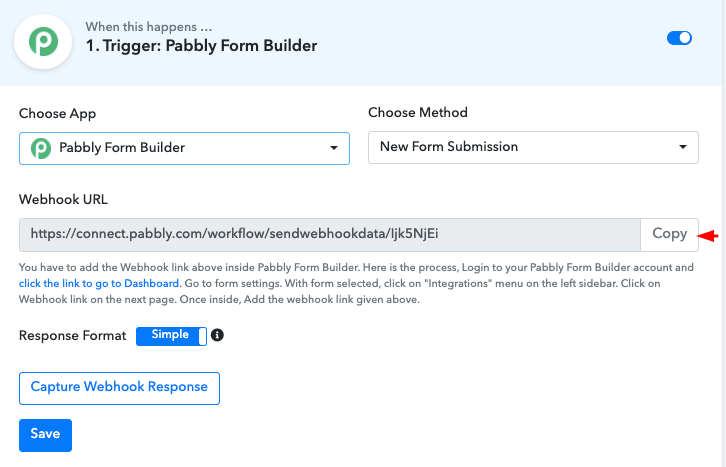
(a) Copy the Webhook URL
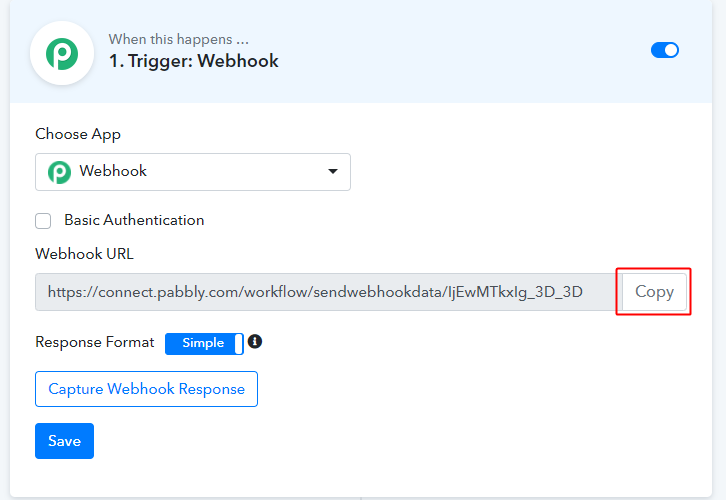
Once you save a workflow, a trigger window will appear carrying a webhook URL. Click the button named as ‘Copy’ right next to the URL.
To connect two different services together you’ll need a Webhook. Webhooks are used to send data to a remote application whenever a certain event happens in the Pabbly Subscription account.
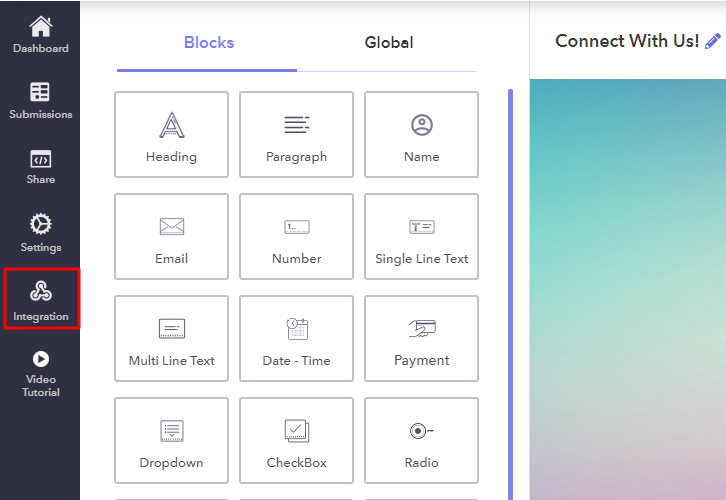
(b) Go to Pabbly Subscription Billing > Settings > Webhooks

To paste the copied webhook URL you must go to your Pabbly Subscription Billing account.
Then, click on ‘Settings’ from the verticle menu visible.
Next, click on the ‘Webhooks’ option from the ‘All Settings’ menu.
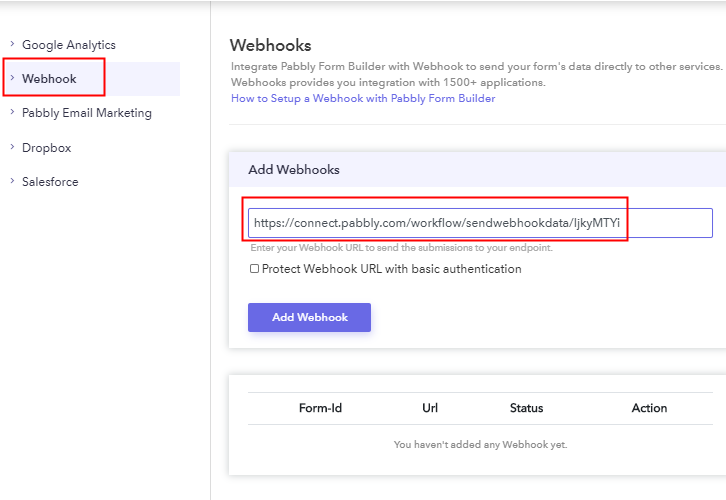
(c) Add Webhook URL
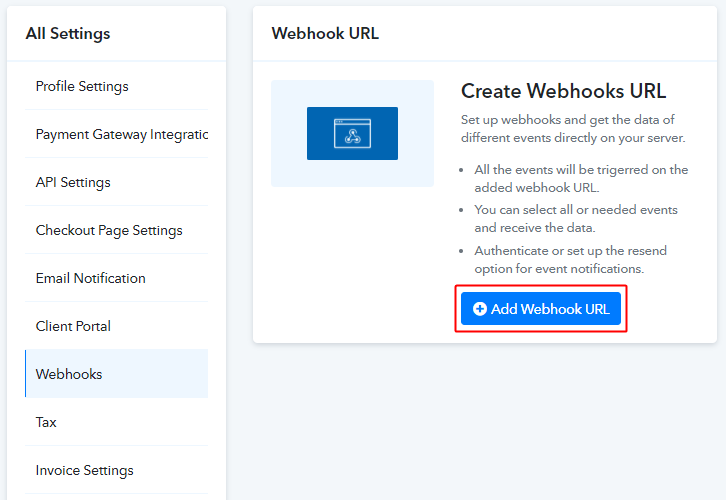
Now, hit the ‘Add Webhook URL’ button.
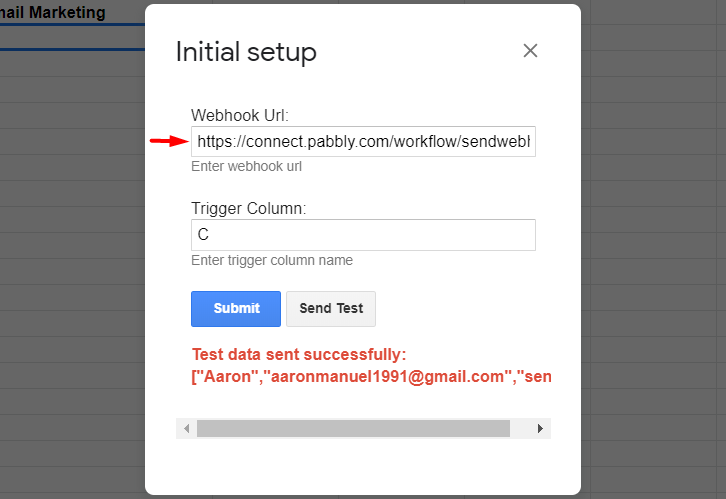
(d) Add Webhook URL in Pabbly Subscription Billing
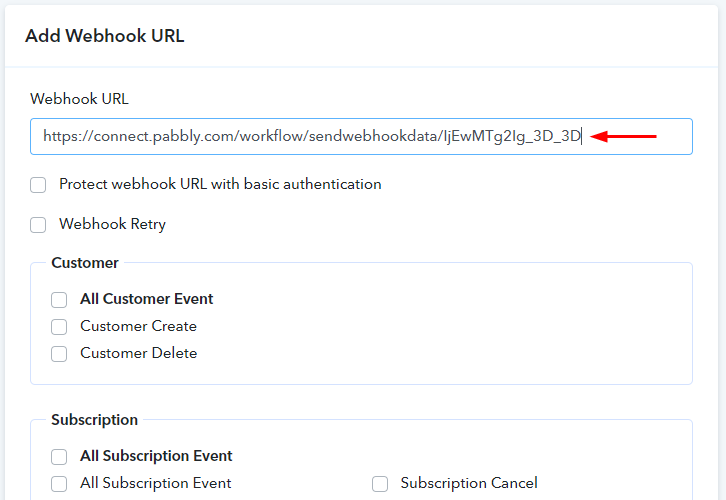
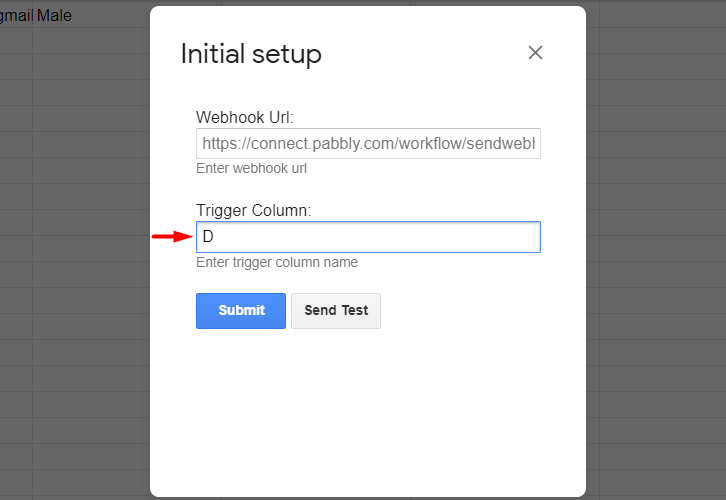
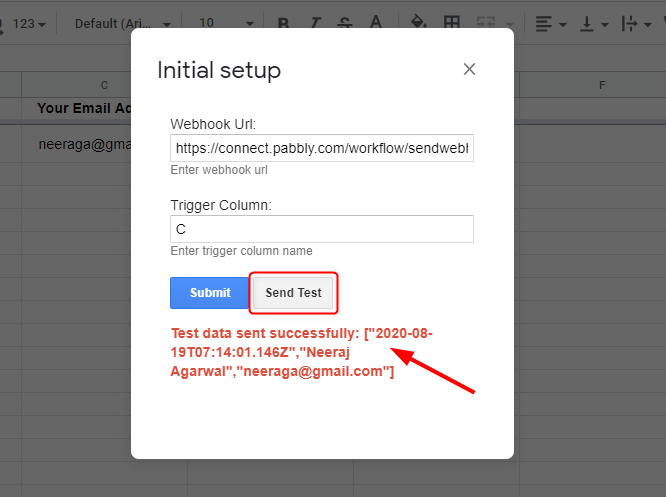
After clicking on the ‘Add Webhook URL’ button, you’ll land on a page. Paste the copied Webhook URL under the very first field named as ‘Webhook URL’.
(e) Check the Successful Payment Condition
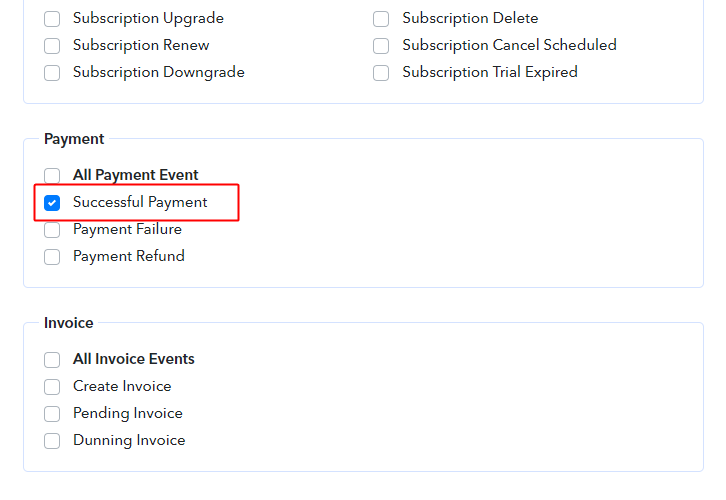
Tick the ‘Successful Payment’ option under the head ‘Payment’.
Likewise, to set the trigger on any other event of Pabbly Subscription Billing checkout page there are multiple options available. You can choose among conditions such as subscription cancel, affiliate events, payment failure etc.
() Save the Webhook URL Setting
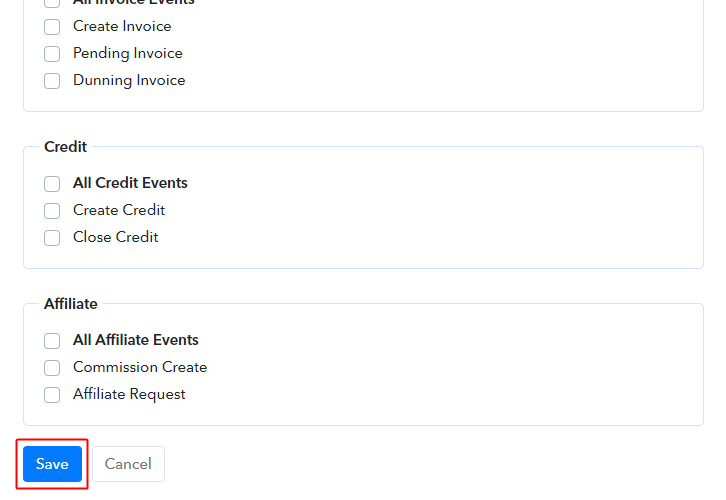
When you are done with the webhook URL settings on Pabbly Subscription Billing, save the page.
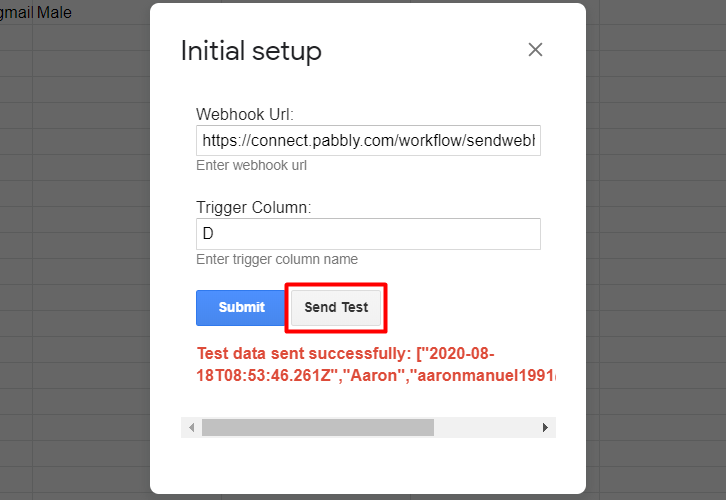
Step 5: Run a Test Purchase
To test the response of the set webhook, Pabbly Connect provides testing options. Using these test options you can simulate a webhook’s response.
To test the webhook response follow these steps.
(a) Go to the Pabbly Subscription Billing > Product
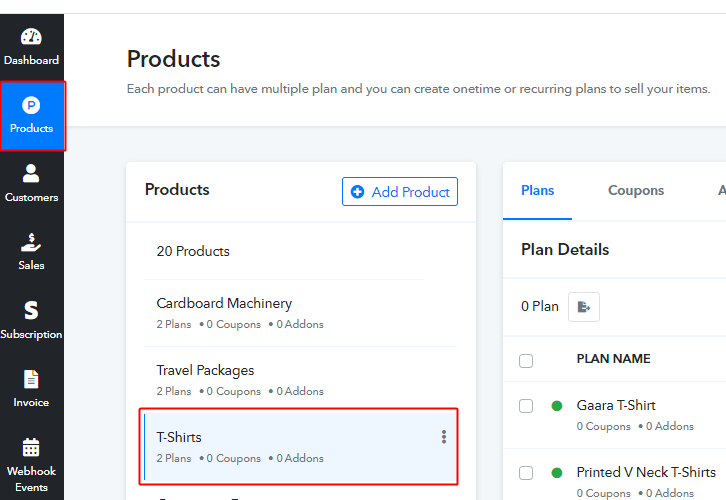
Visit your Pabbly Subscription Billing account dashboard and click on ‘Products’ in the verticle menu.
(b) Access the Checkout Page
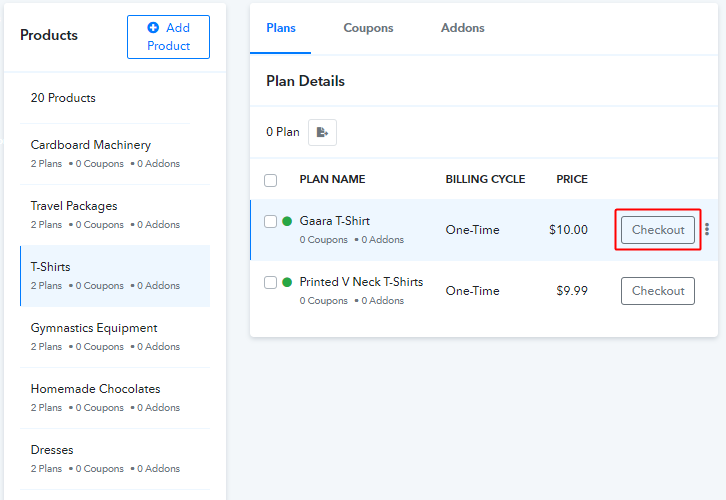
If your products and associated plans then select a product and click on the ‘Checkout’ button to visit a plan’s payment page.
Or there is no product then simply create one along with a plan.
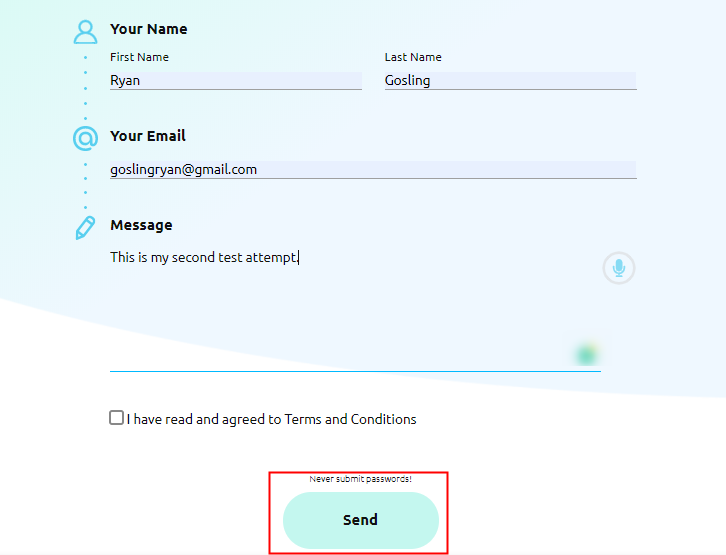
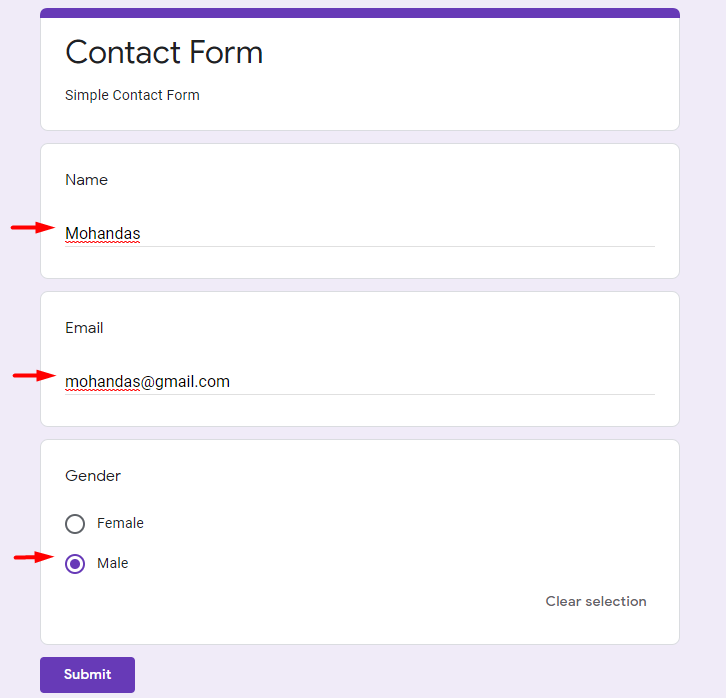
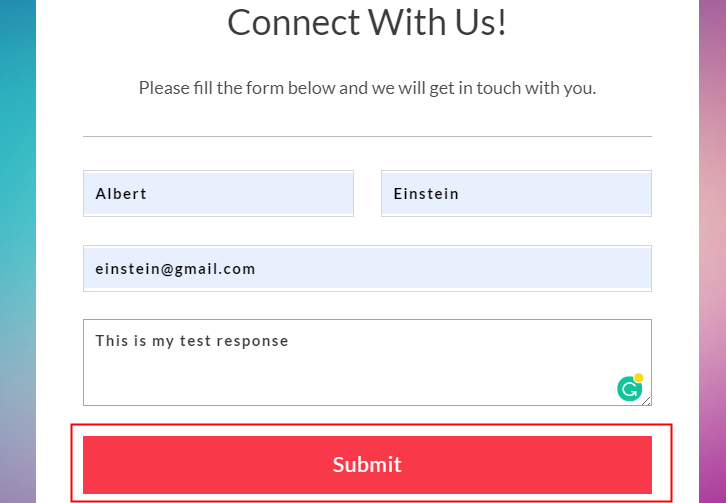
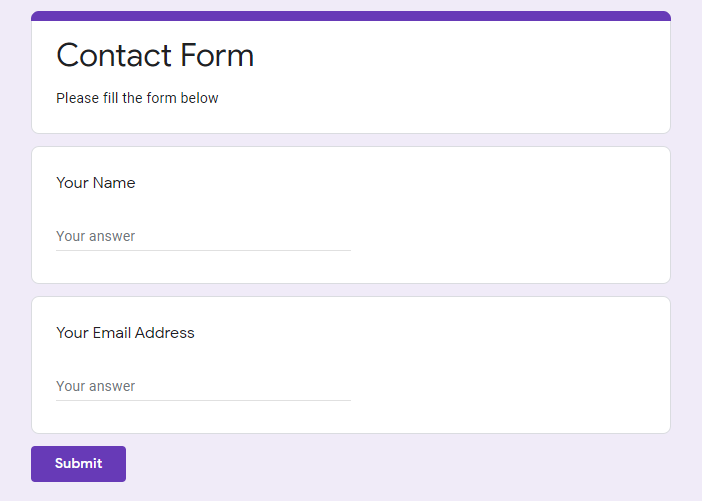
(b) Fill the Checkout Page for Testing
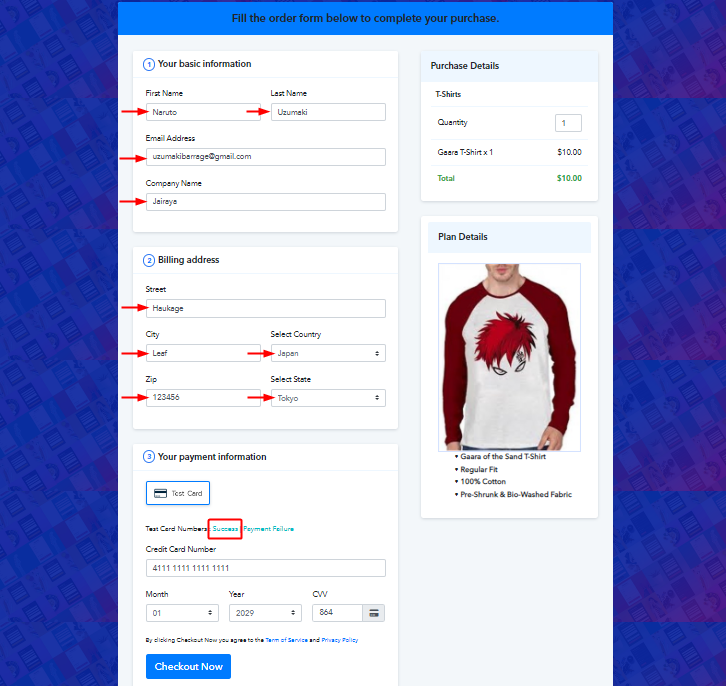
Fill in all the necessary details on the checkout page and click on the ‘Success’ option of the next to Test Card Number. This action will automatically feed the dummy card details. Don’t hit the ‘Checkout Now’ button yet.
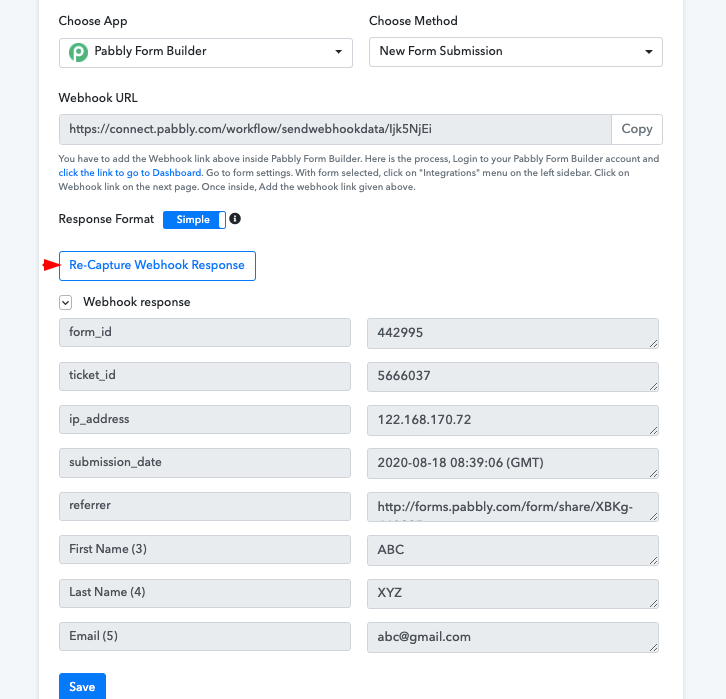
(c) Go to Pabbly Subscription Billing & Capture Webhook Response
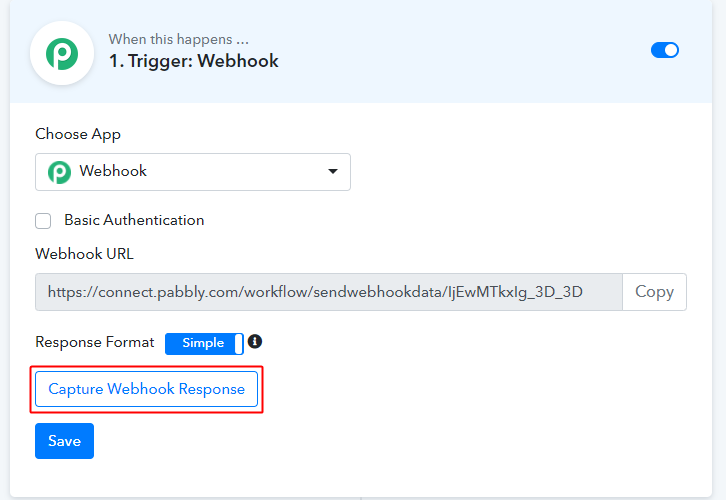
Before submitting the payment page, go to the created webhook on Pabbly Connect and press the ‘Capture Webhook Response’ button there.
(d) Click on Checkout Now on the Checkout Page
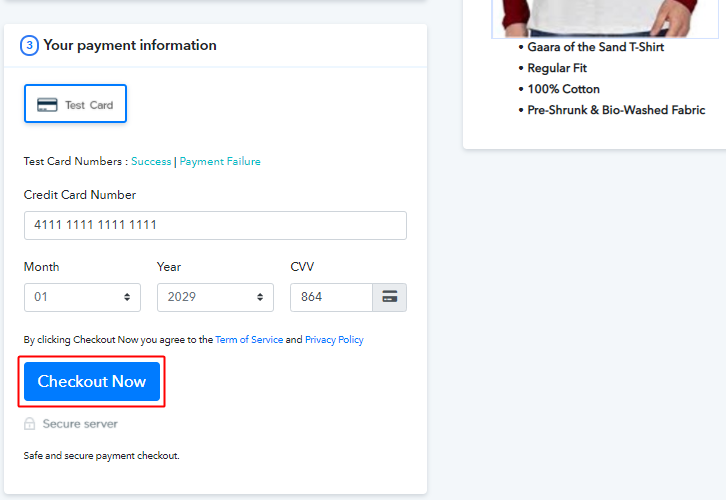
Now return to the test form and click the ‘Checkout Now’ button to complete the purchase.
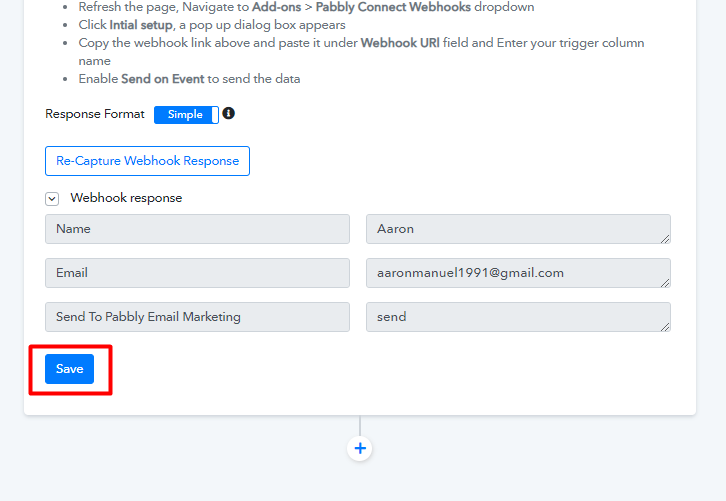
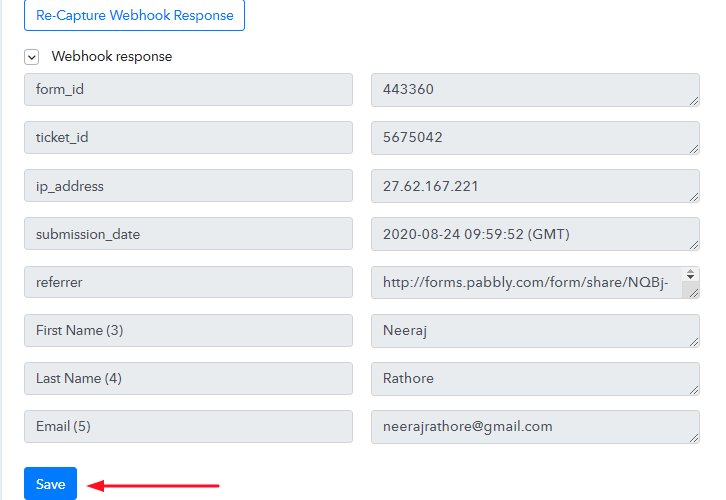
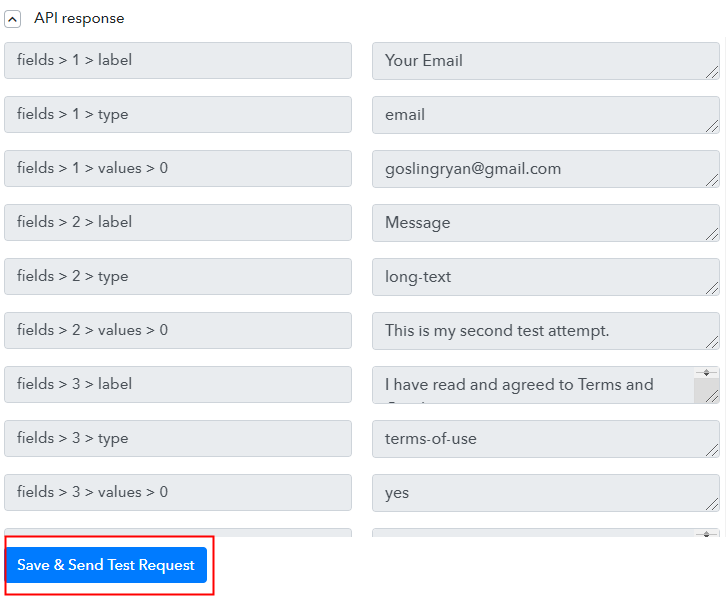
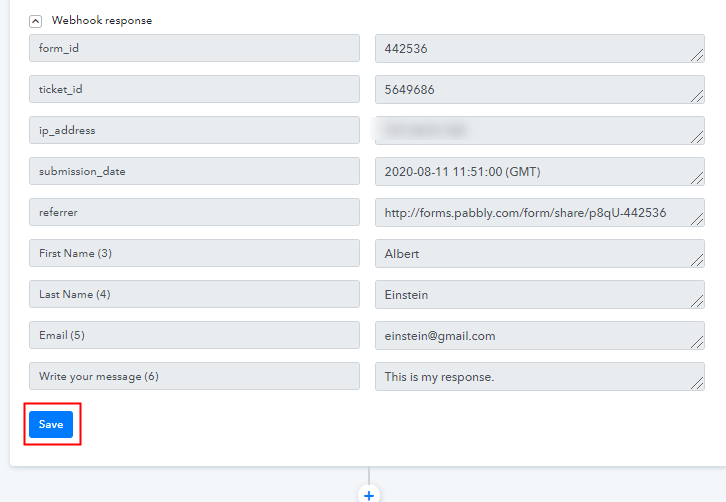
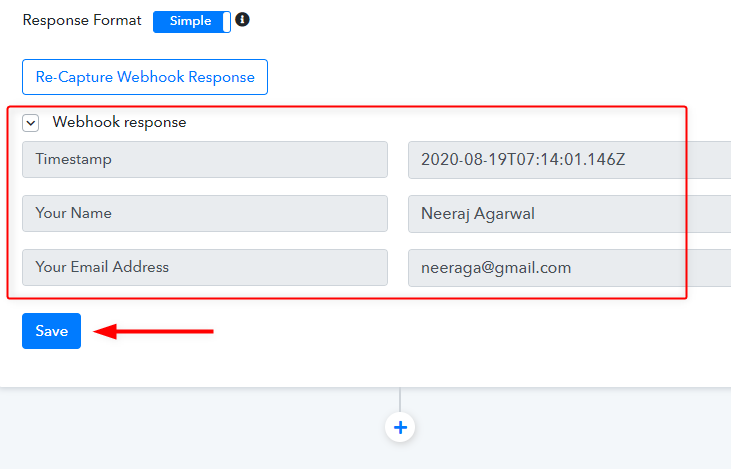
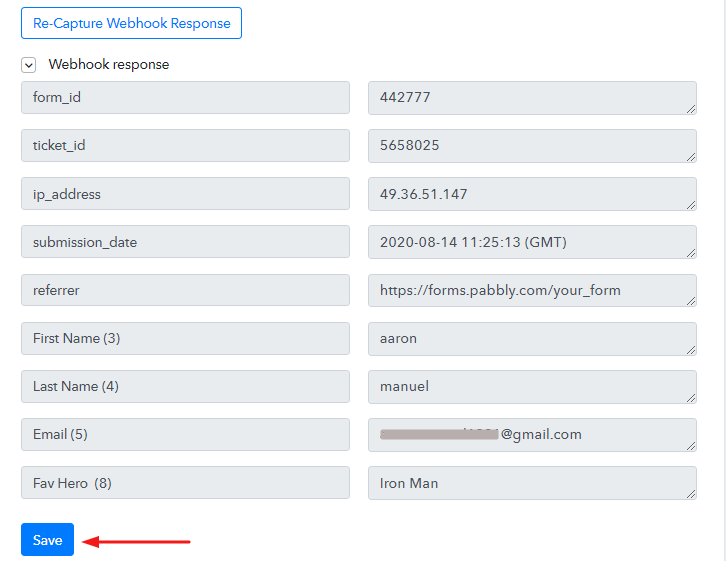
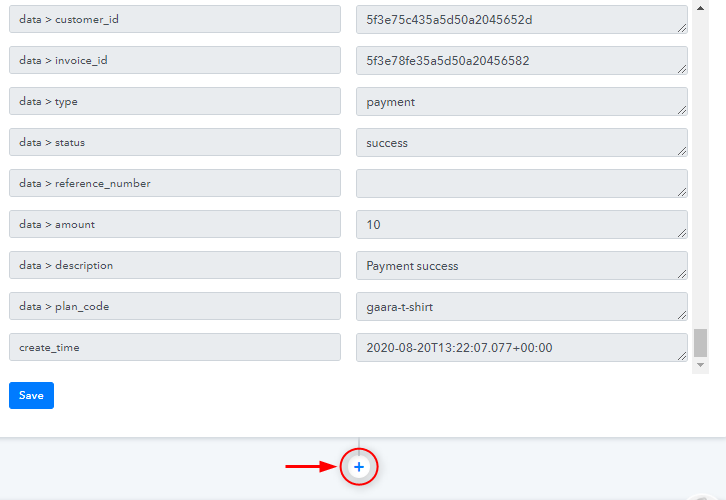
(e) Notice the Webhook Response
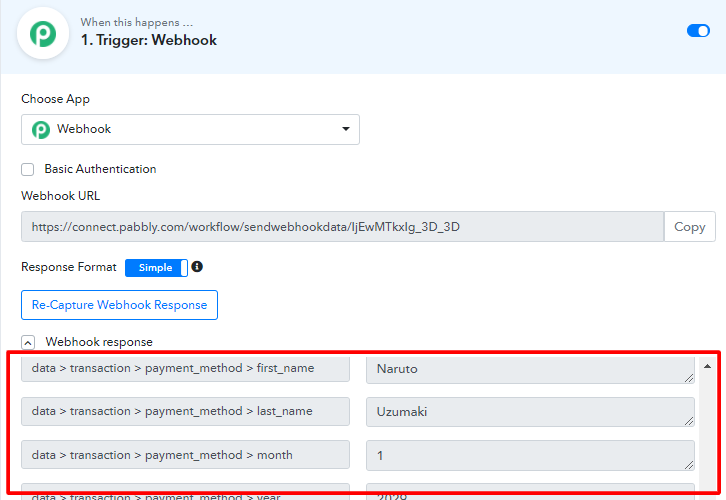
If everything is as directed then you can see the complete webhook response within a few seconds under the created trigger webhook.
Step 6: Set-up an Action
Now, we’ve seen that the trigger is all set and working as expected. So, we can start defining an action for completing the Pabbly Subscription Billing & Moosend integration.
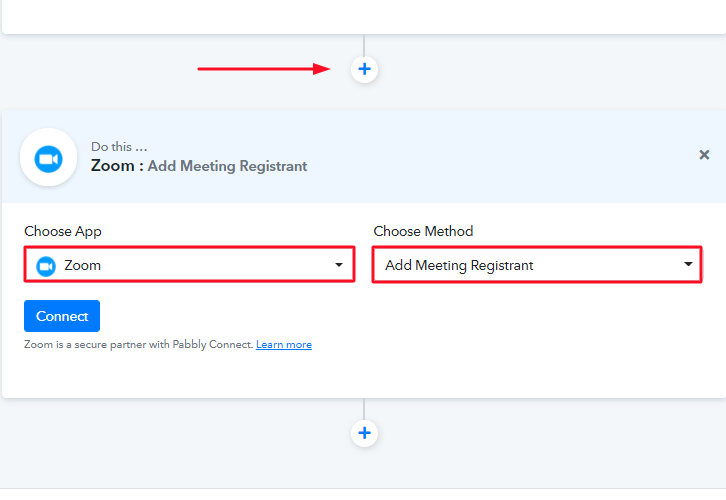
(a) Add an Action
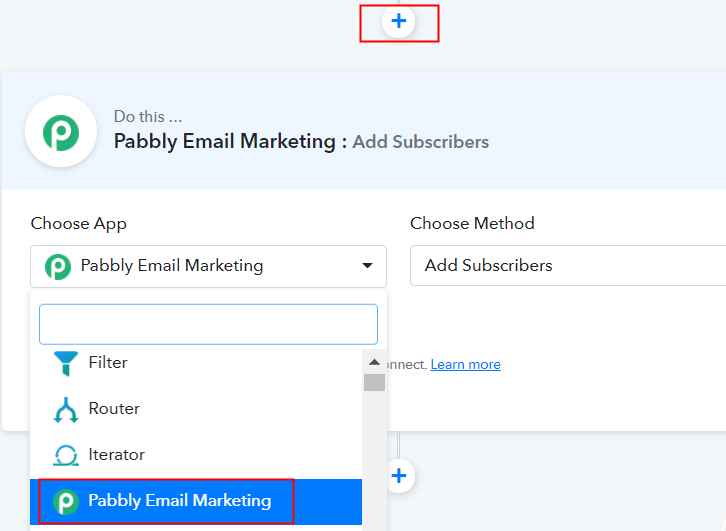
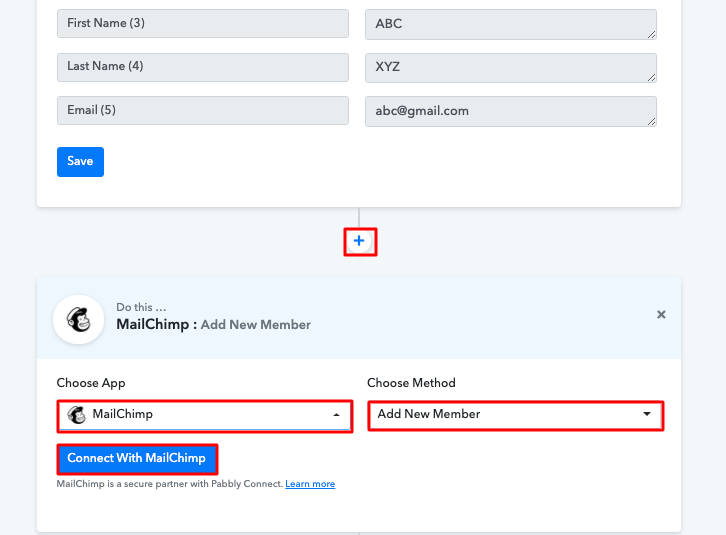
Click the plus button next to the trigger window to add an action.
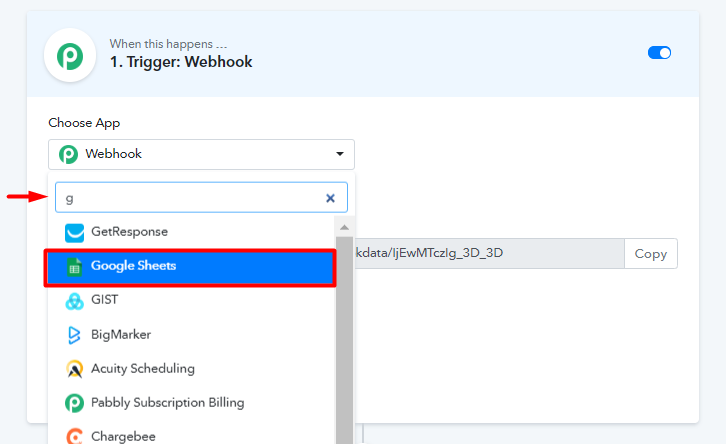
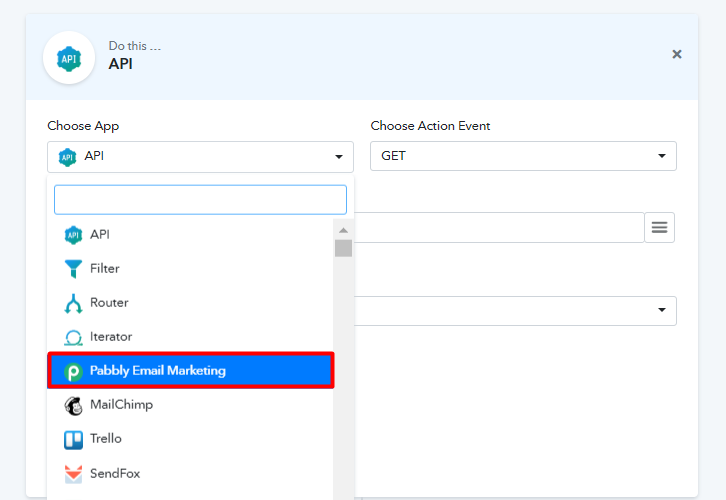
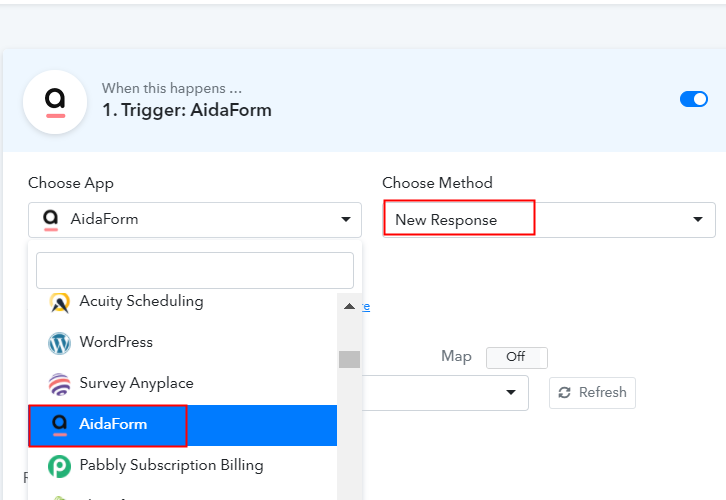
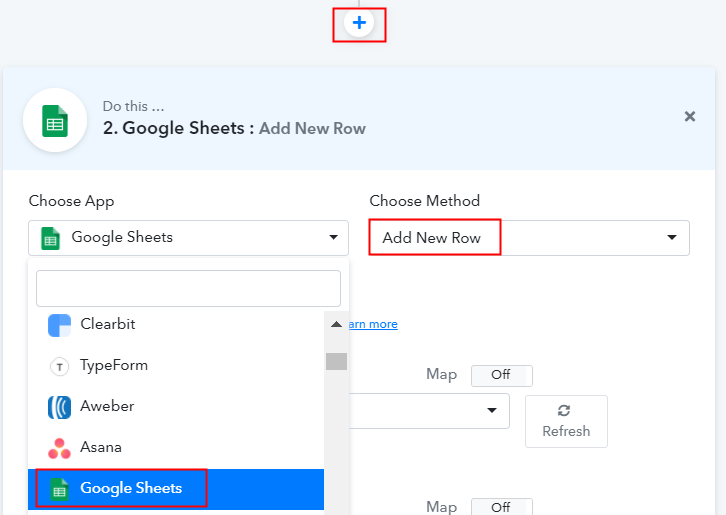
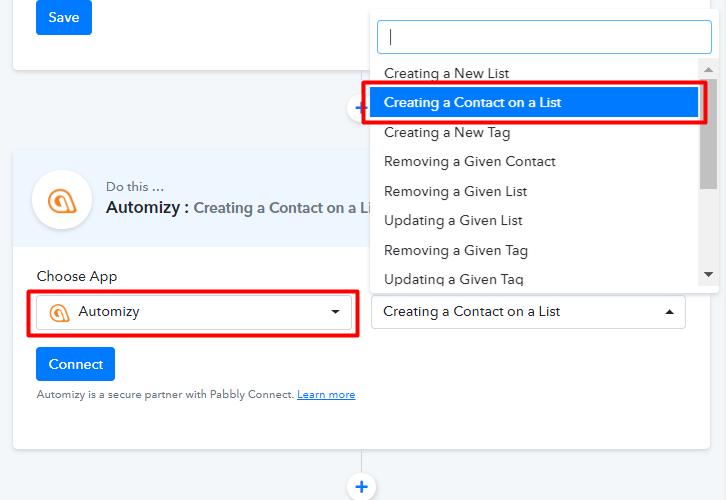
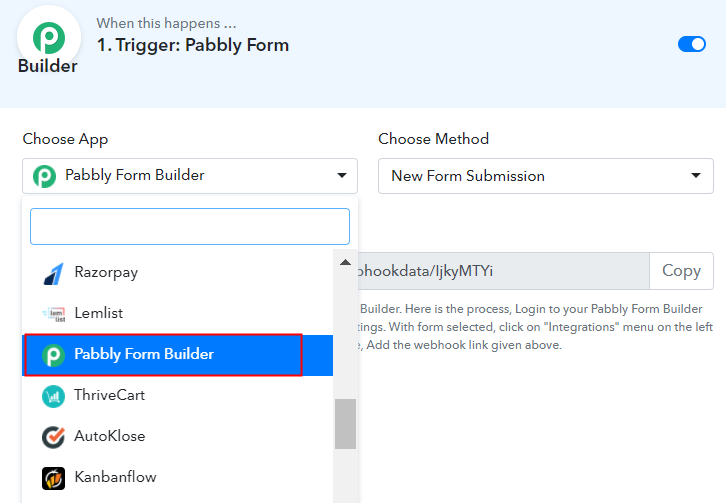
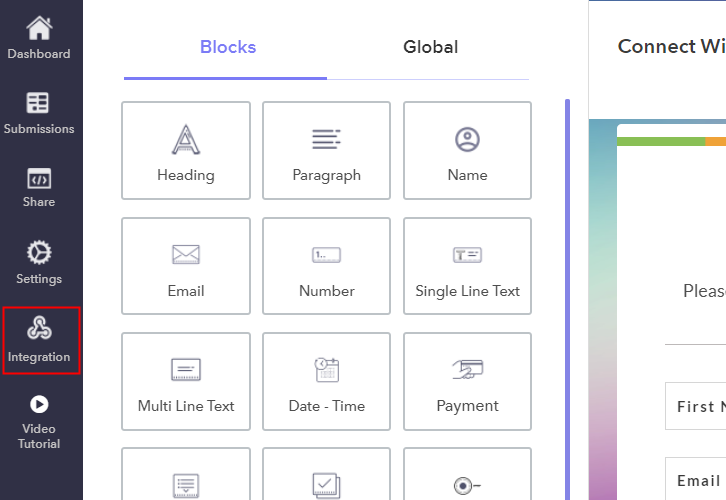
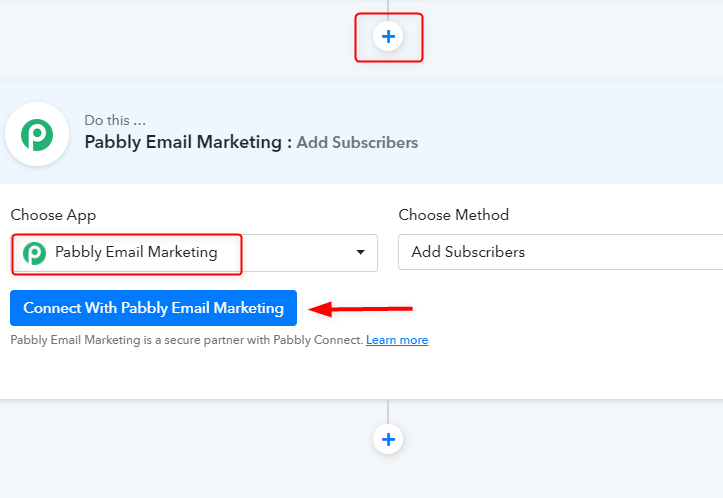
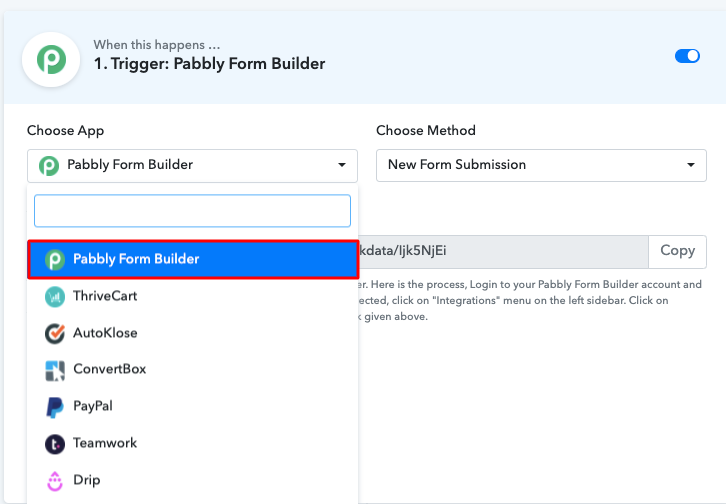
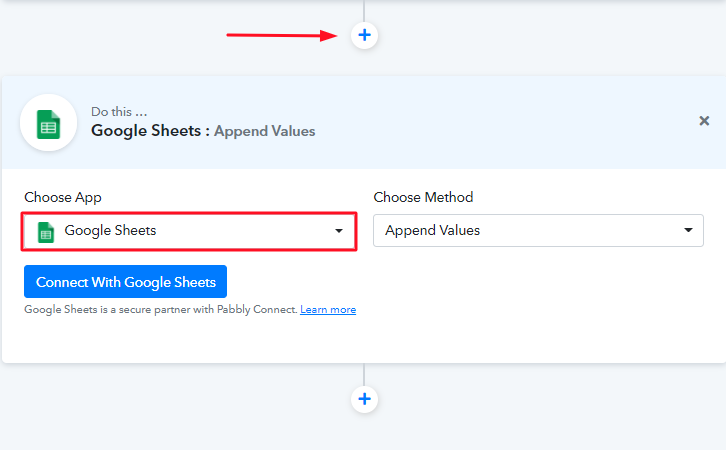
(b) Select App for Integration
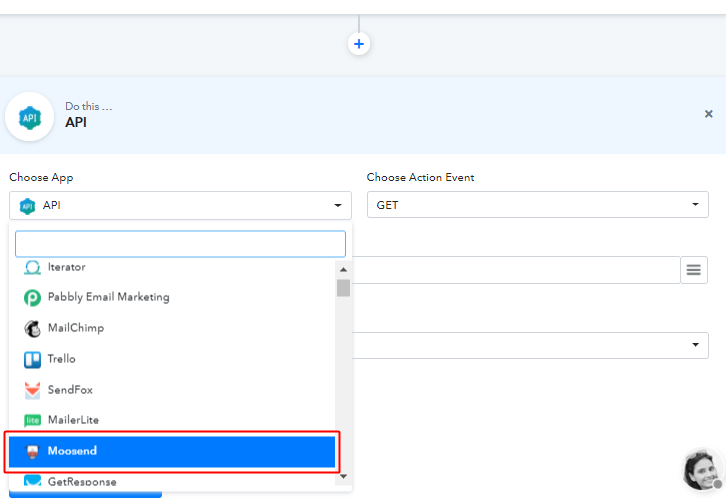
When you click on the ‘+’ button then an action window will become visible. You can choose an app for integration here. In this case, we’ll select ‘Moosend’ from the drop-down list.
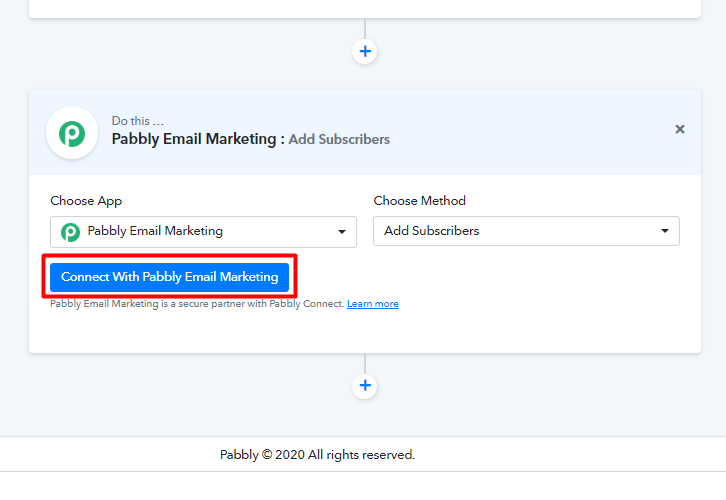
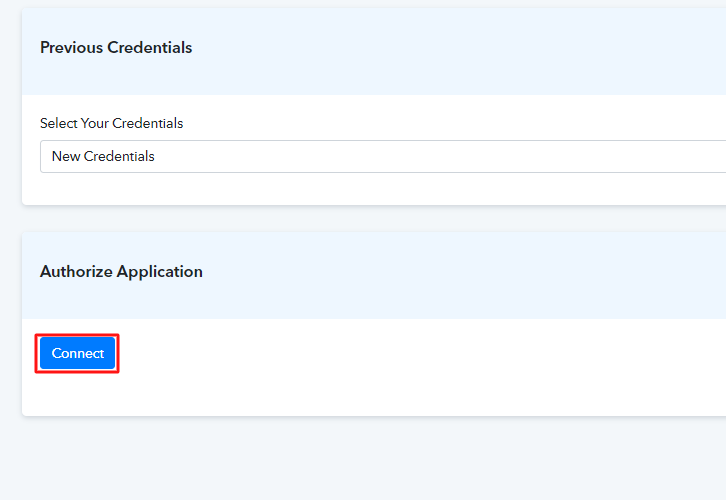
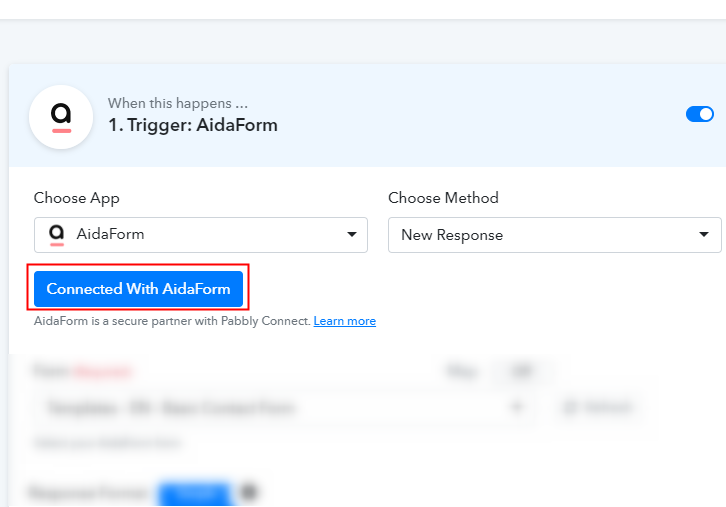
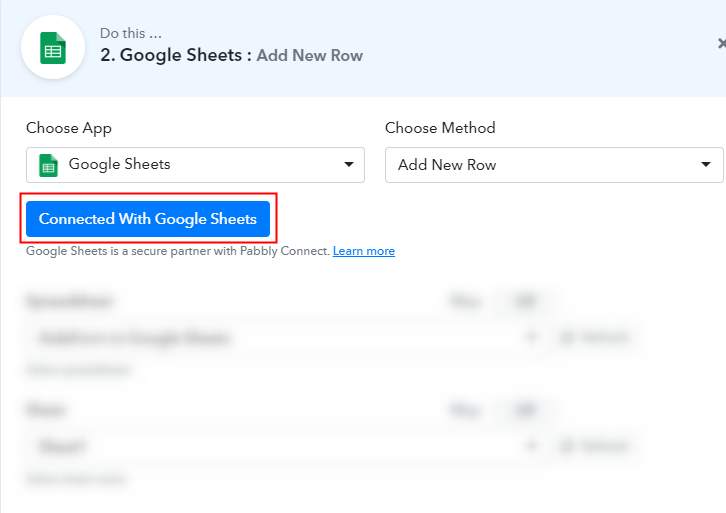
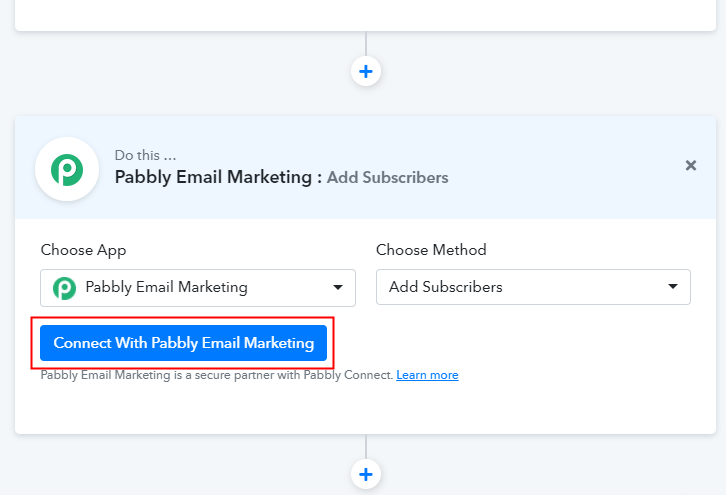
(c) Connect with Moosend

After making a choice for the app to integrate, make sure for the method to be as ‘Add New Subscriber’ and then hit the ‘Connect to Moosend’ button available.
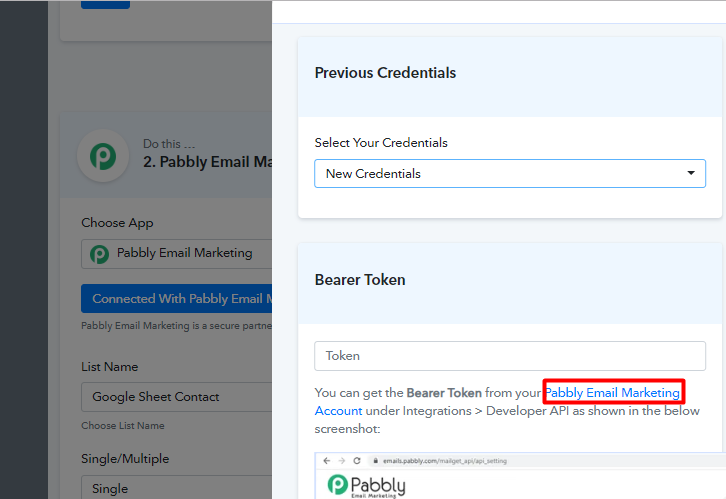
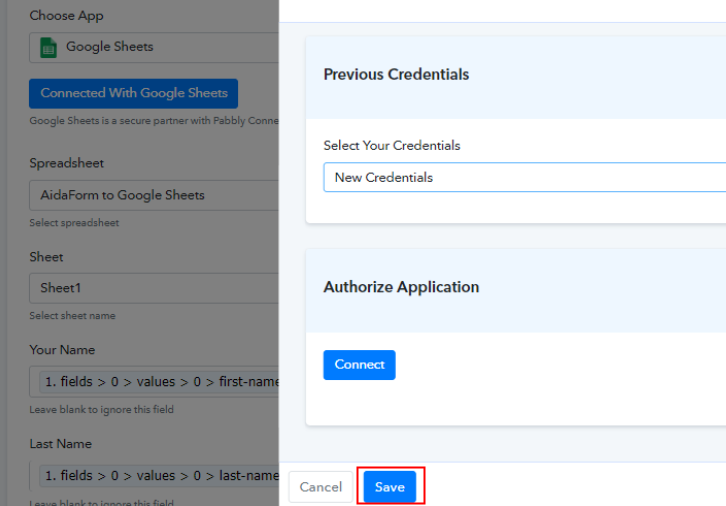
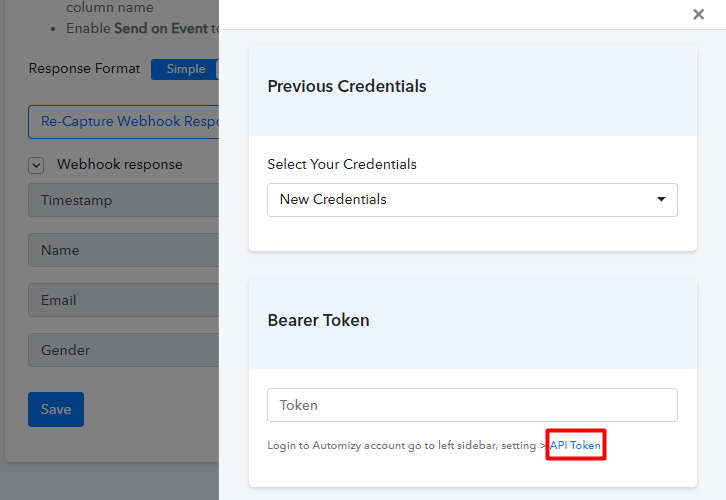
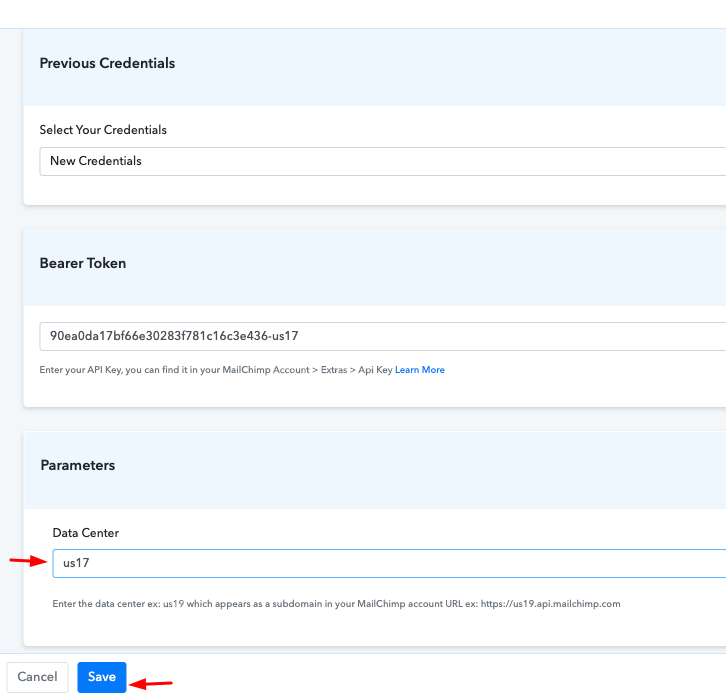
A window will slide open from the right side, asking for an API key.
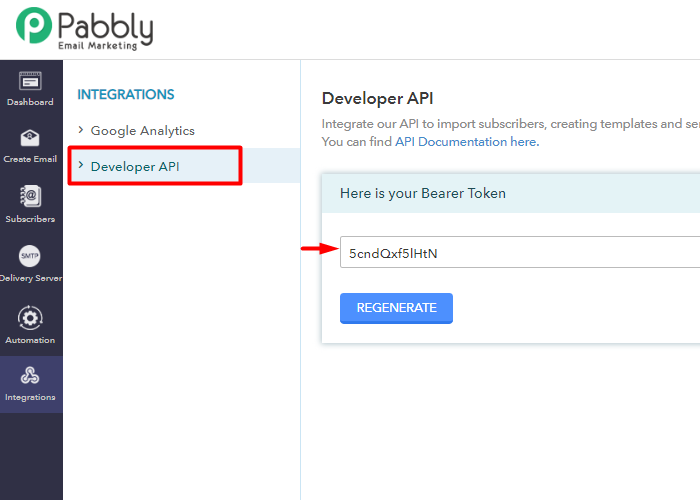
(d) Copy Moosend API Key
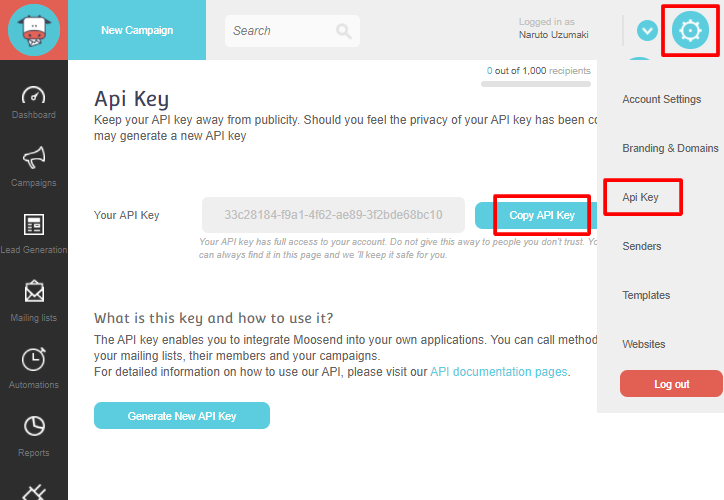
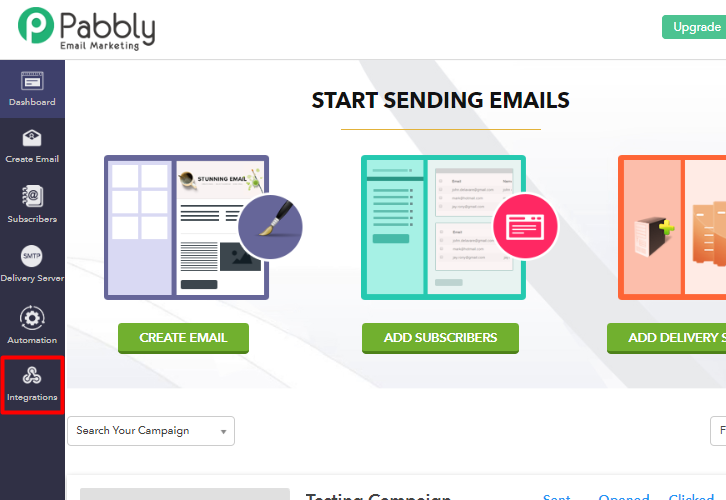
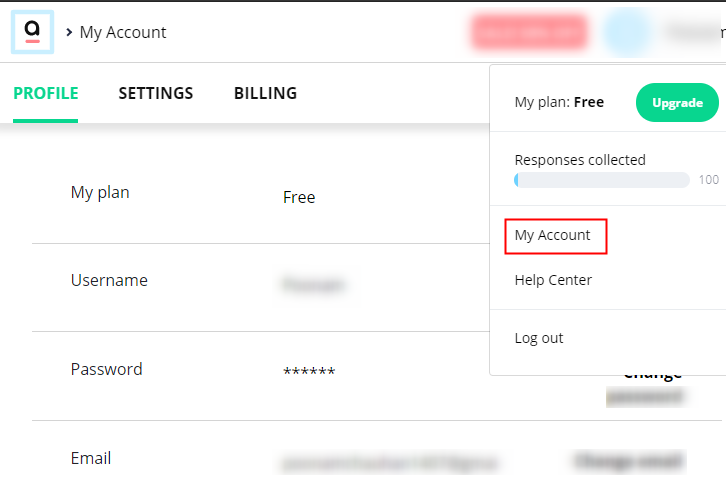
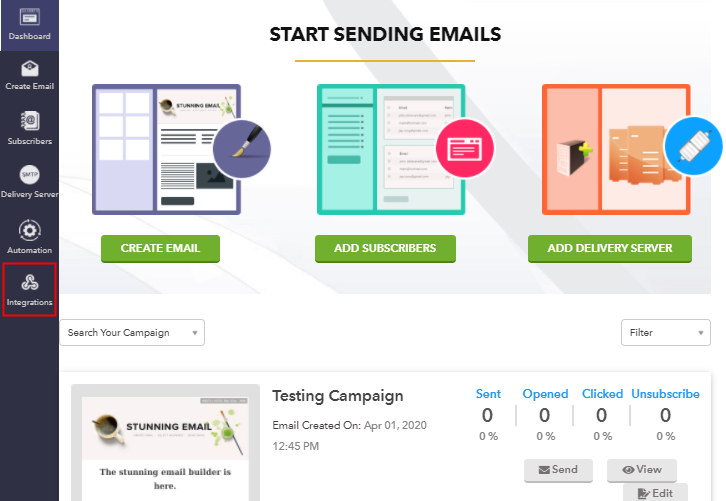
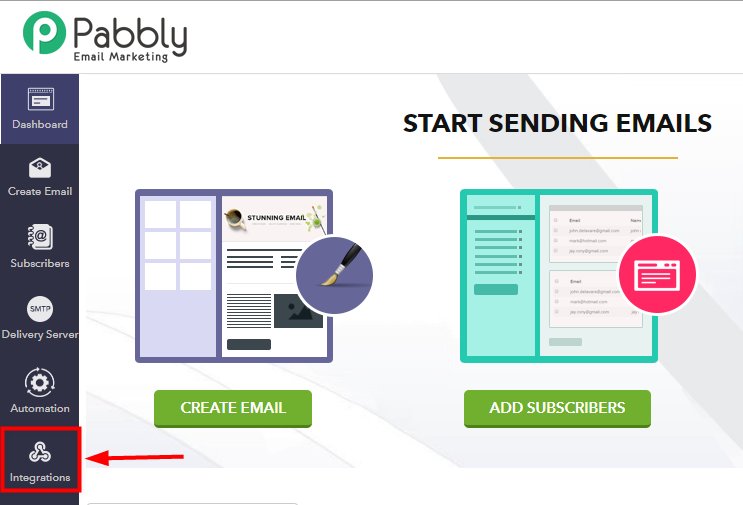
To get a Moosend API key, go to your Moosend account.
Next, click the gear icon on the top-right corner, a drop-down menu will open up.
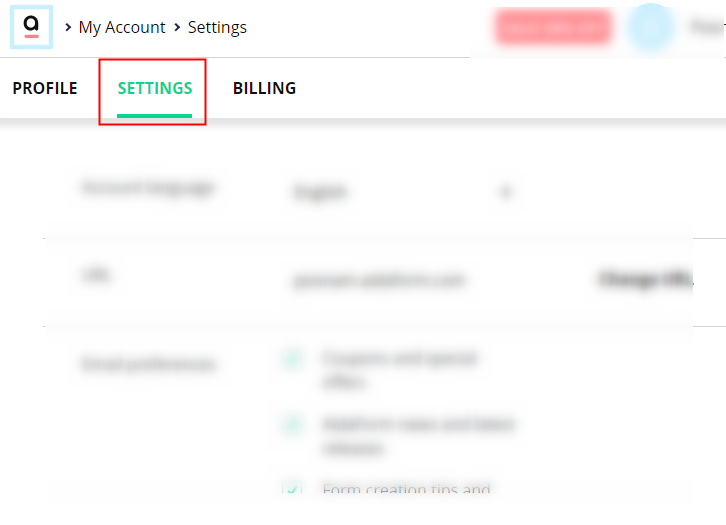
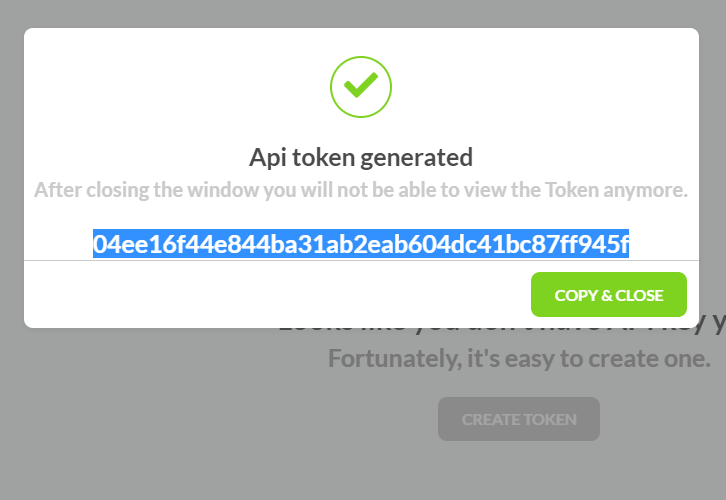
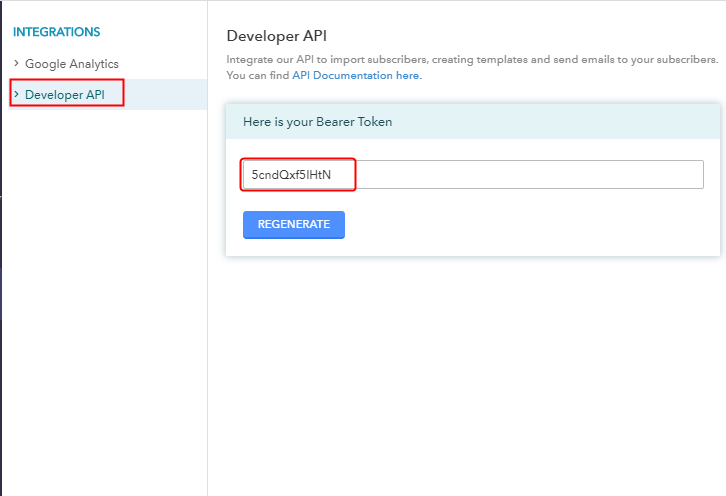
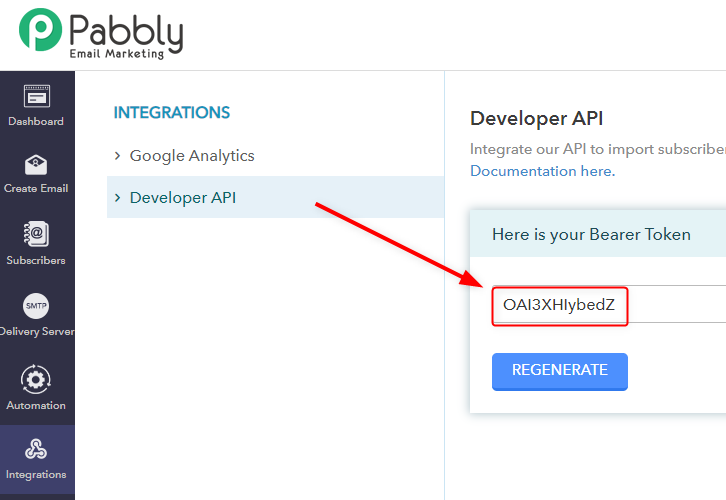
Select the ‘API Key’ option from the list and a page containing API key will open up.
Lastly, hit the ‘Copy API Key’ button and the key will get copied.
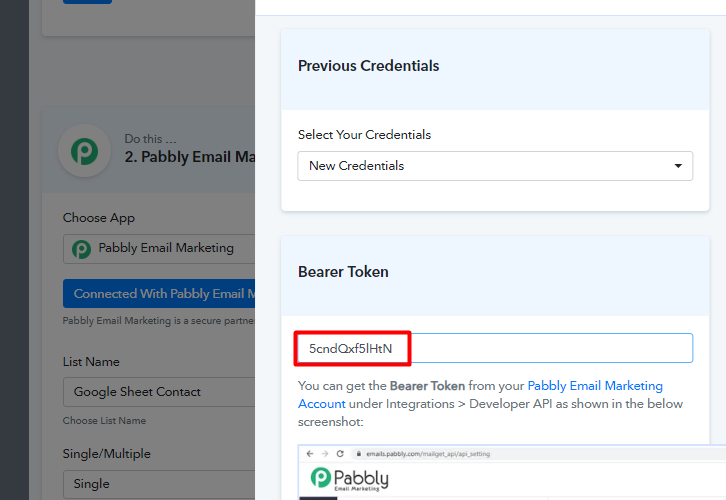
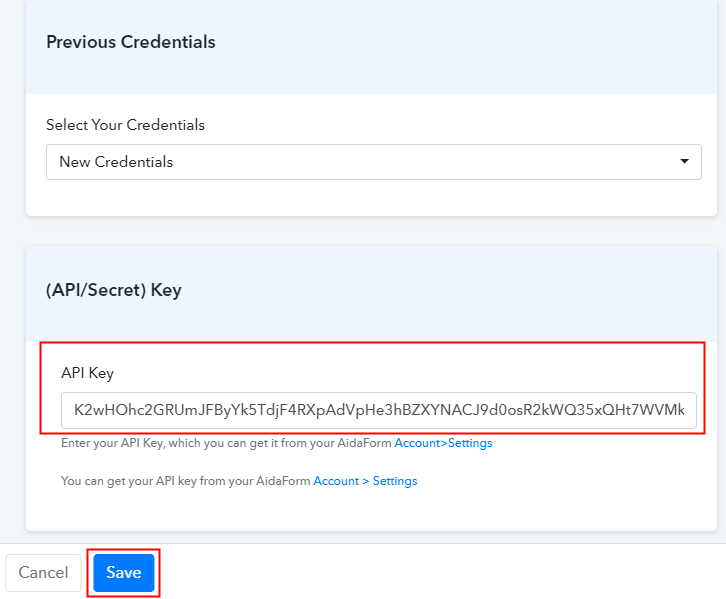
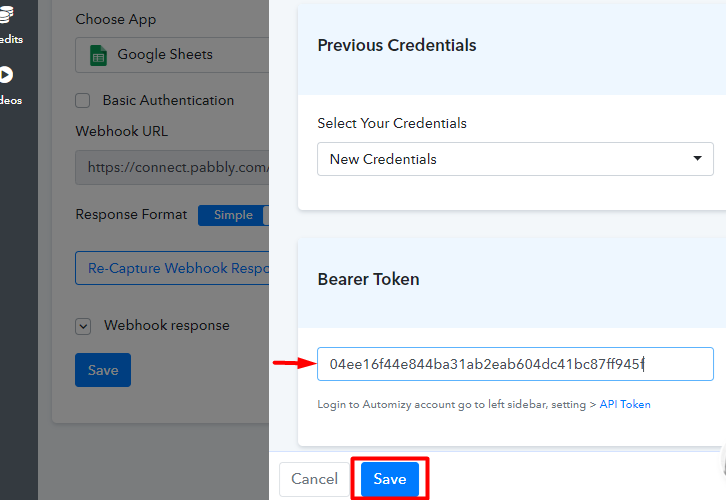
(e) Paste the Moosend API in Pabbly Connect Action
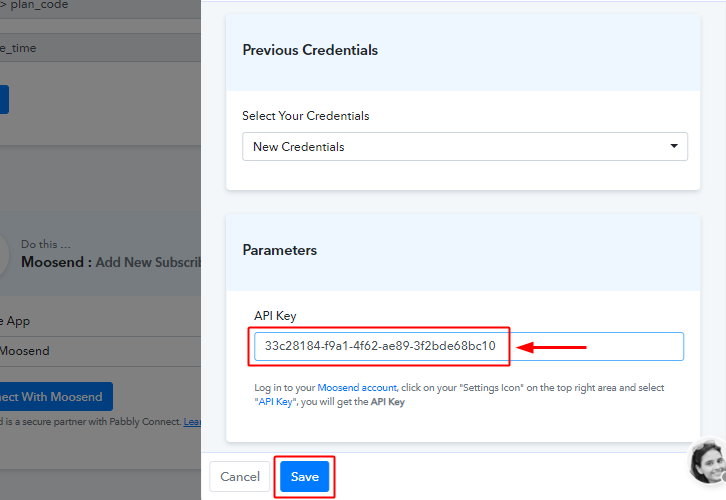
Return to the Pabbly Connect and paste the copied key in the API key text area.
Step 7: Mapping the Keys & Values
This is an important step and will be responsible for the values that you send to Mooosend from the captured payment page response.
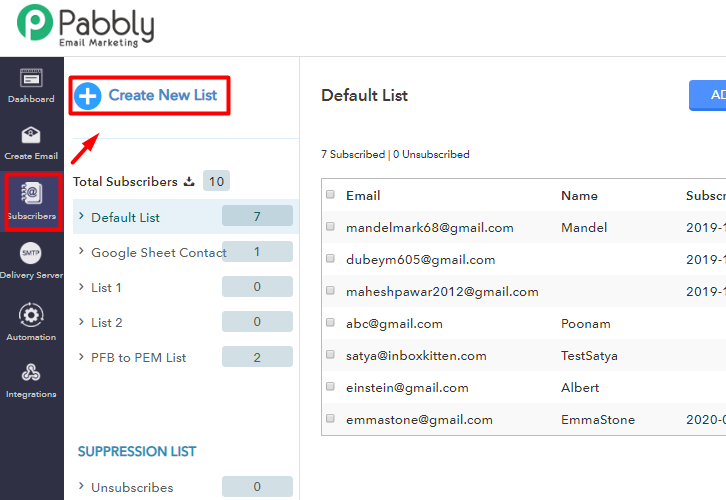
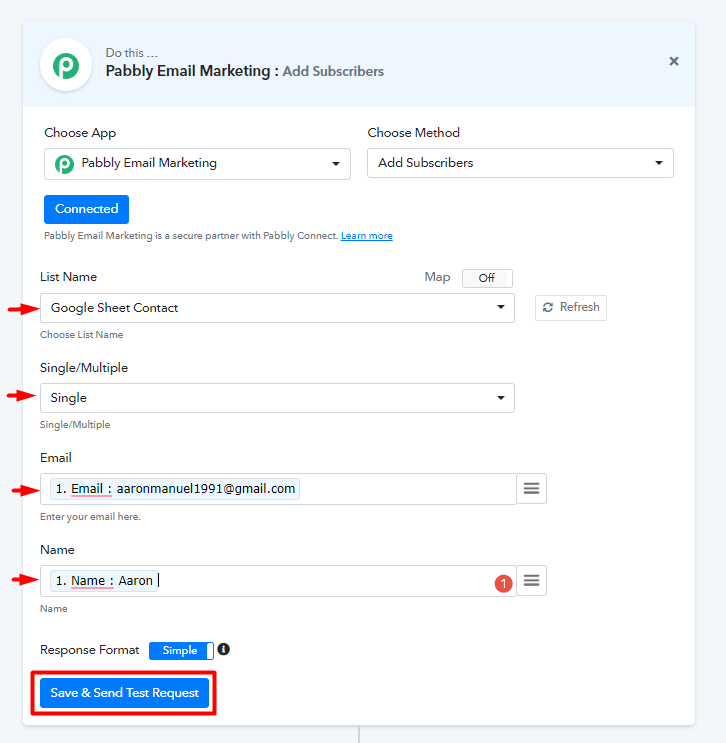
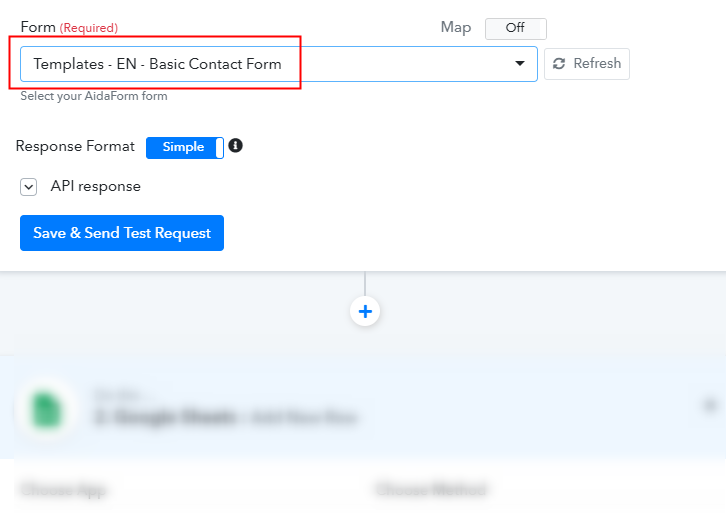
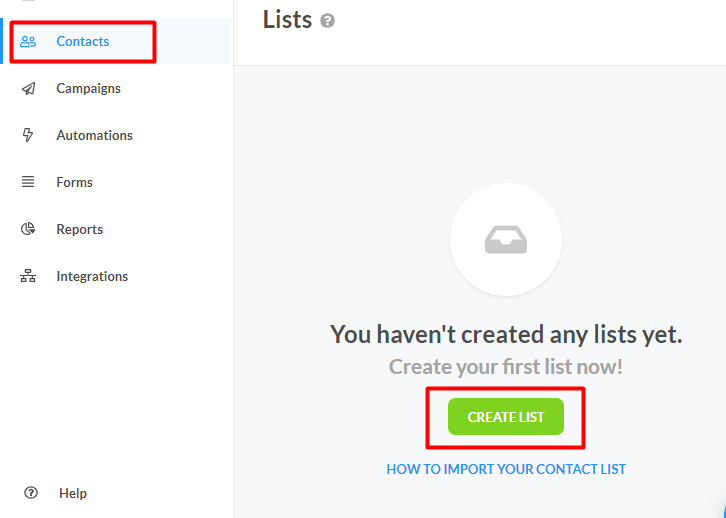
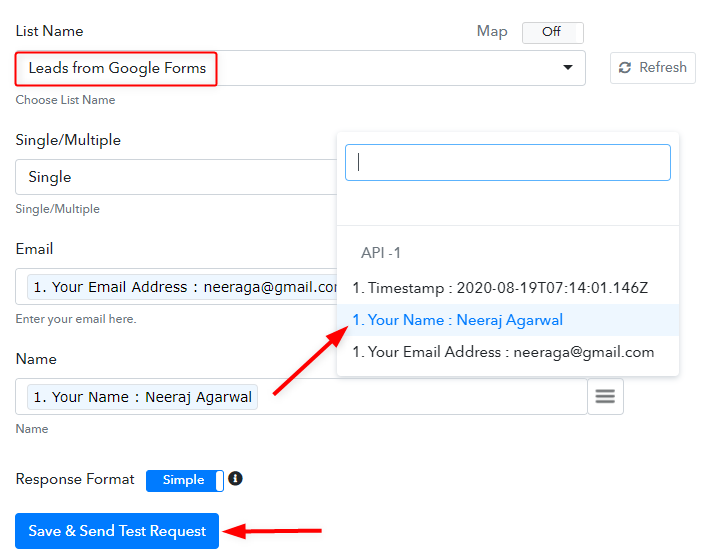
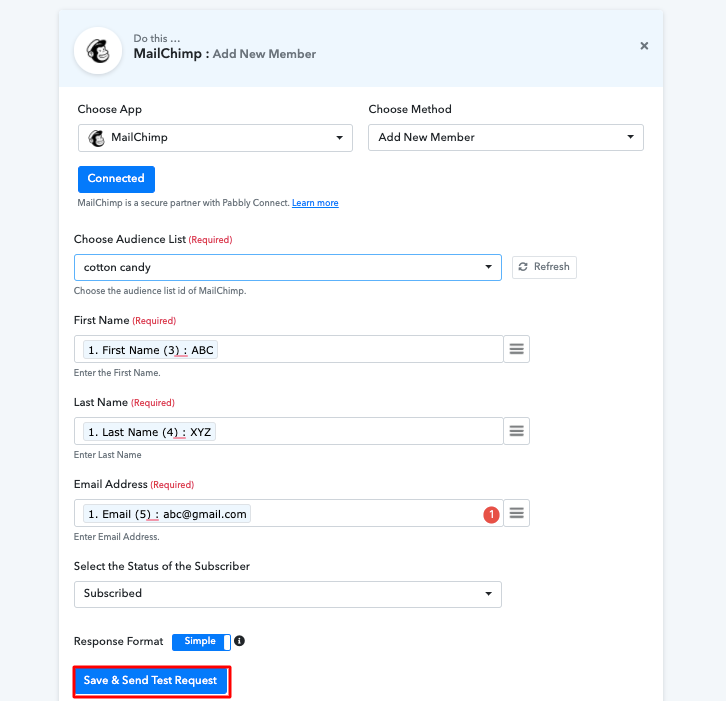
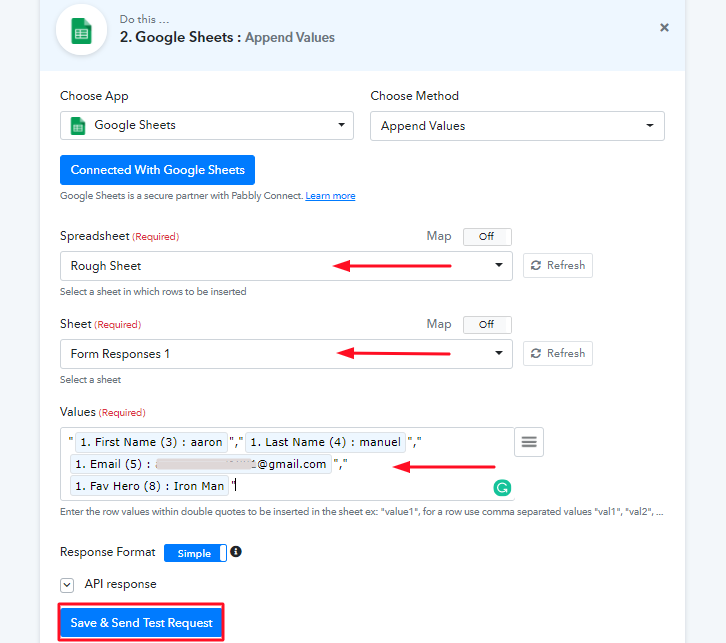
(a) Select Mailing List
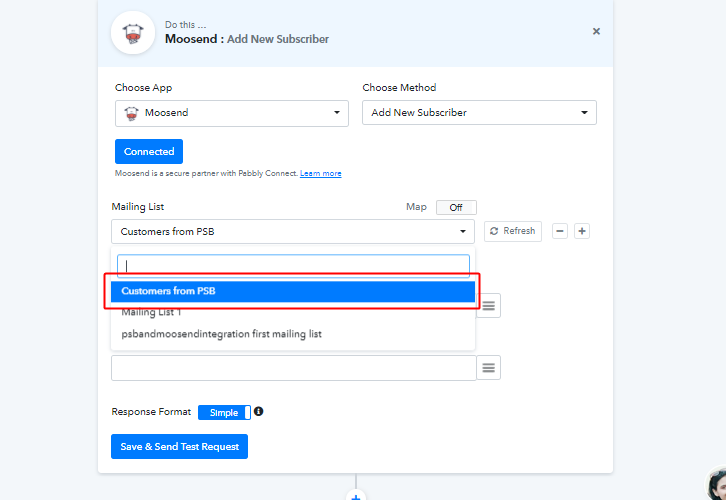
Once you feed in the Moosend API key, all the lists got populated under the mailing list head dropdown. Moreover, if want to send the data to a new list then you can simply create a new list from your Moosend dashboard and simply press the ‘Refresh’ button right next to the list choices. Consequently, the newly created list will start appearing after a refresh and you can select it too.
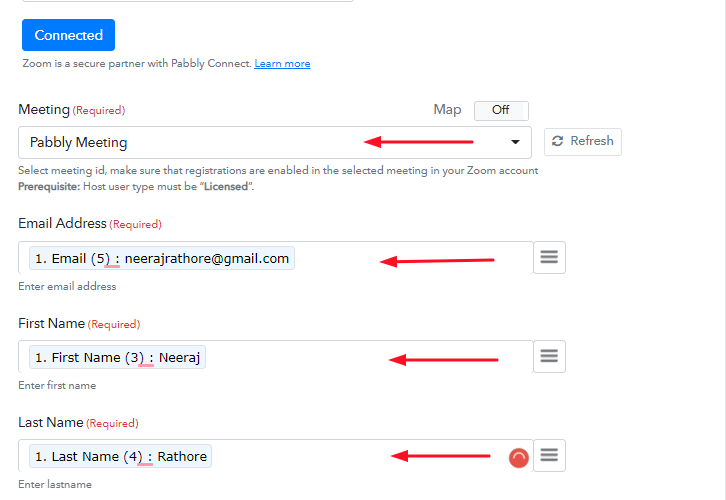
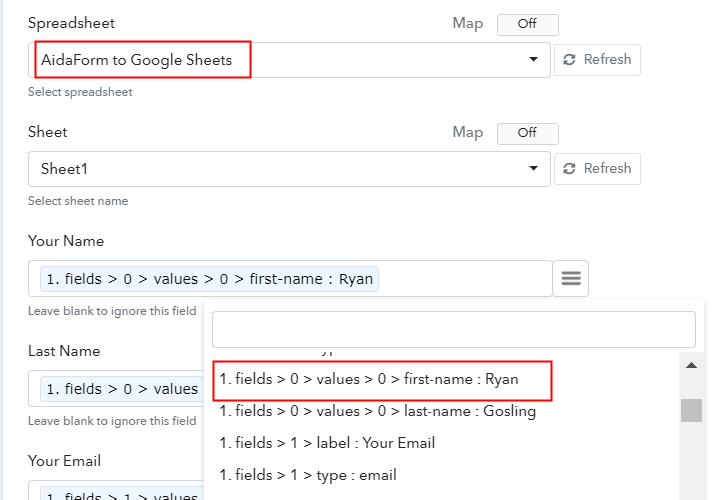
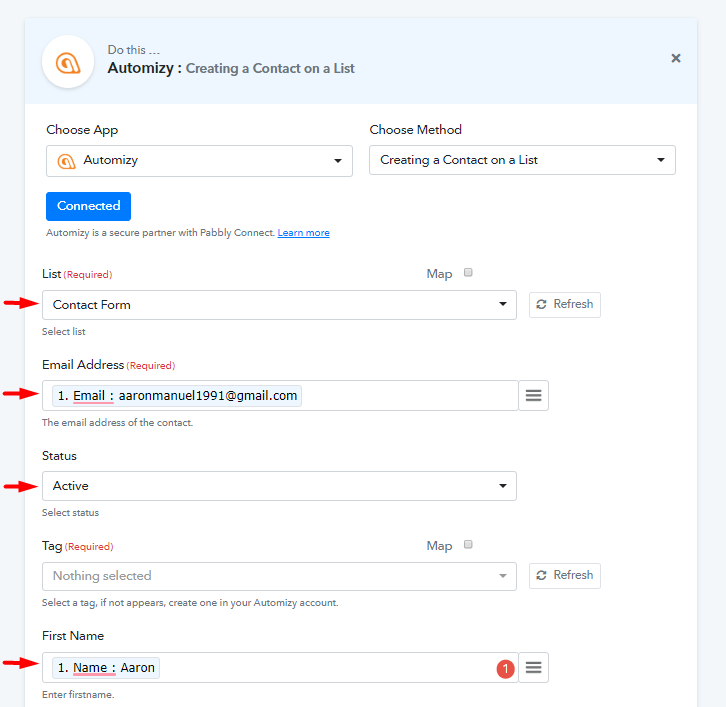
(b) Map the Values to Integrate Pabbly Subscription Billing and Moosend
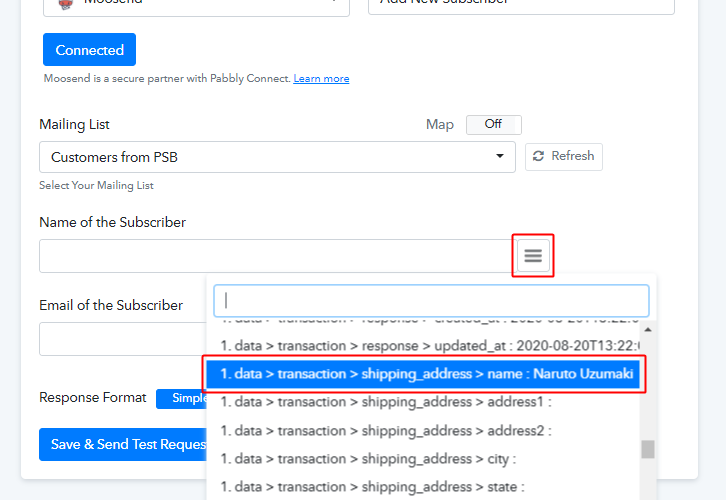
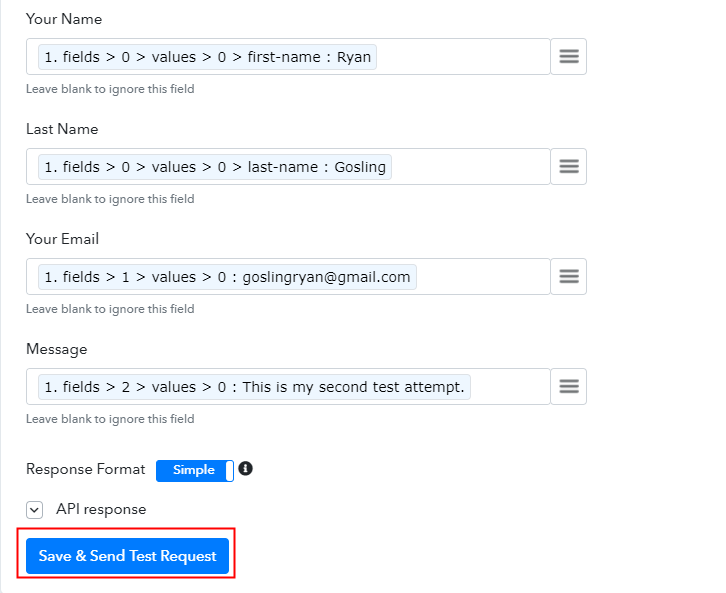
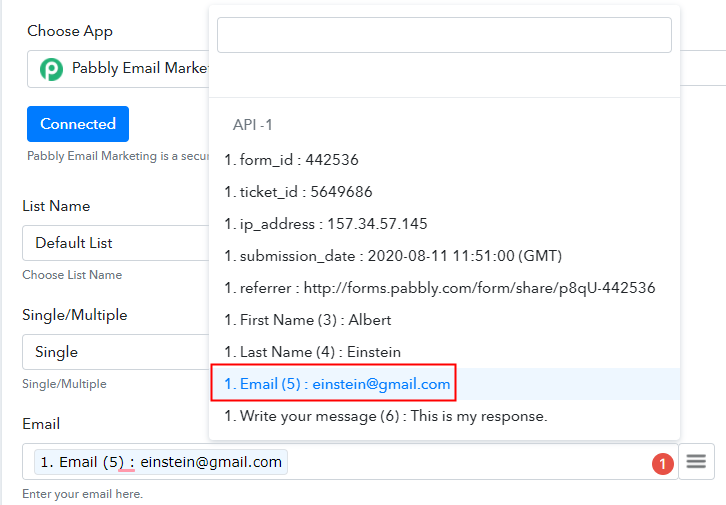
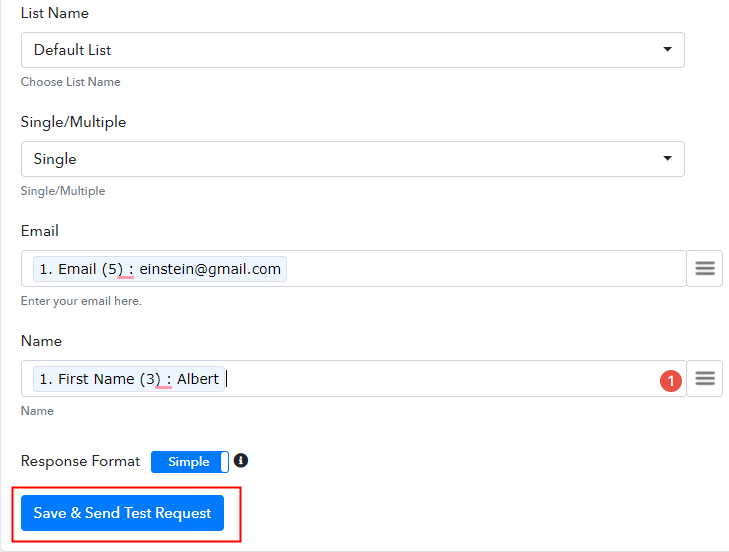
To map the keys and values, click the menu icon/three-vertical lines next to a mapping entry field and select the option that you want to map with the ‘Name of Subscriber’ field from the previously captured response.
Similarly, map the value for the ‘Email of the Subscriber’ field.
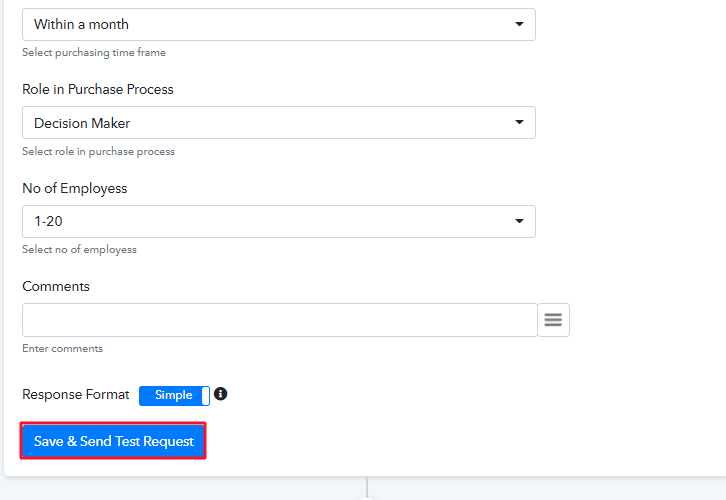
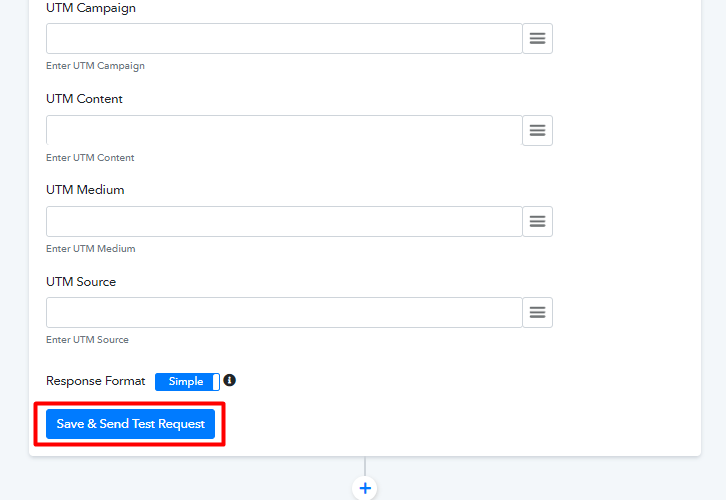
(c) Save & Send Test Request
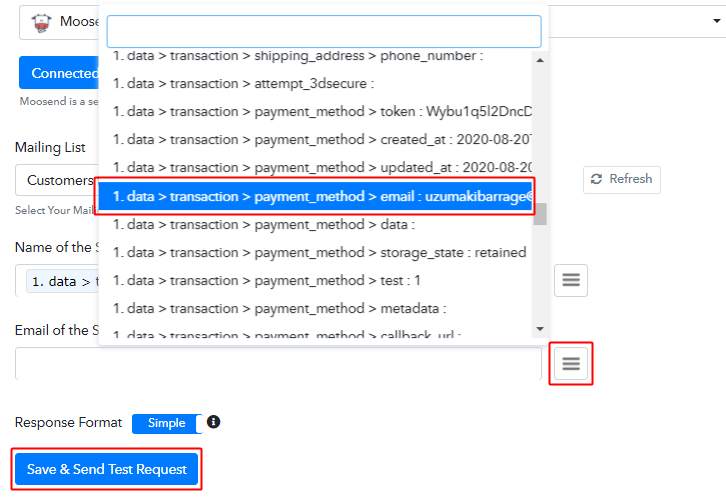
After mapping both the field entries, strike the ‘Save &Send Test Request’ button.
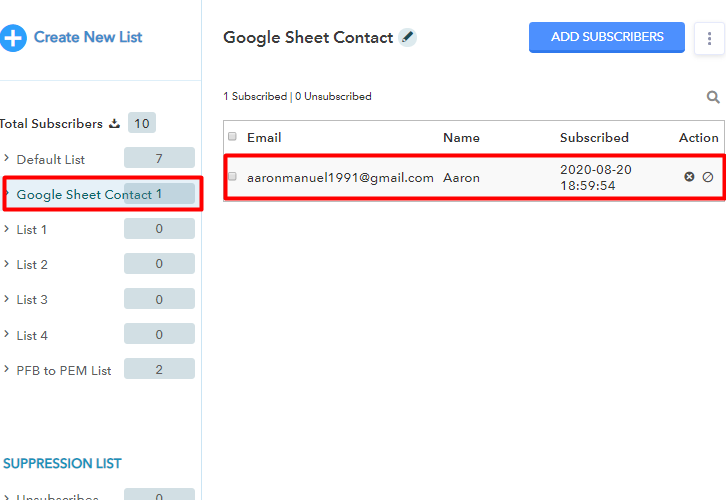
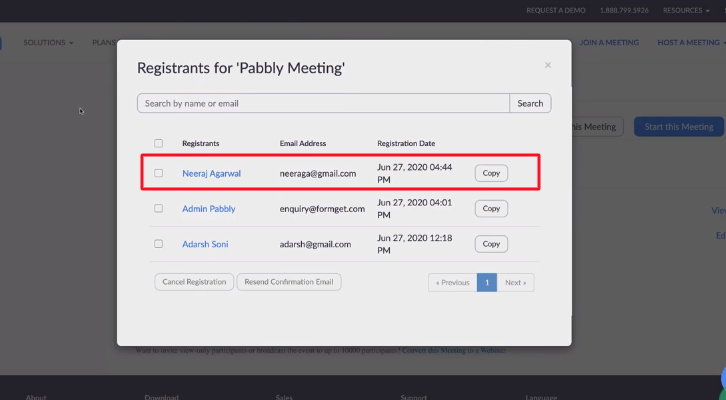
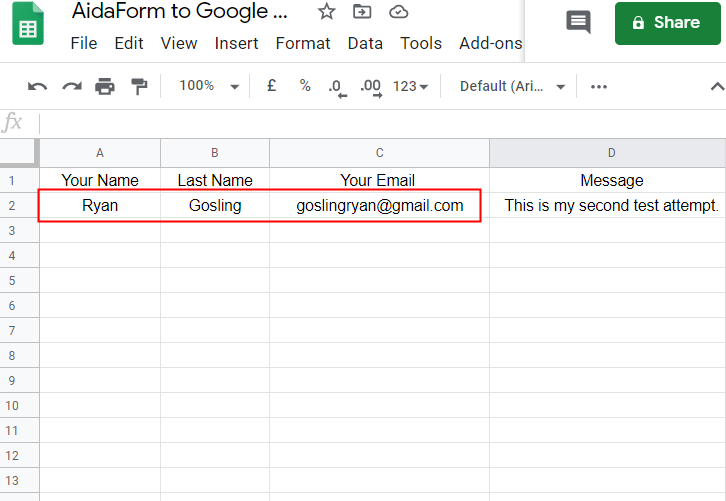
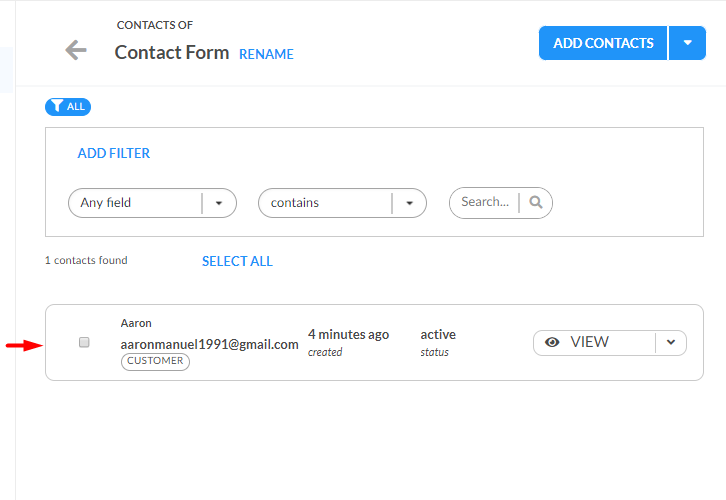
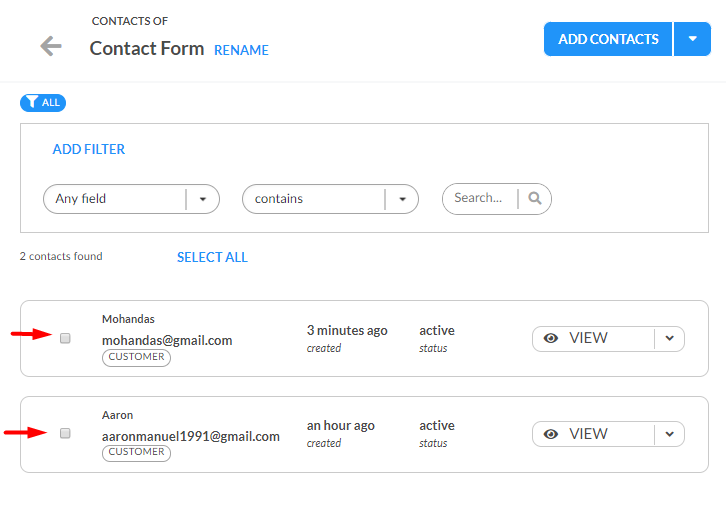
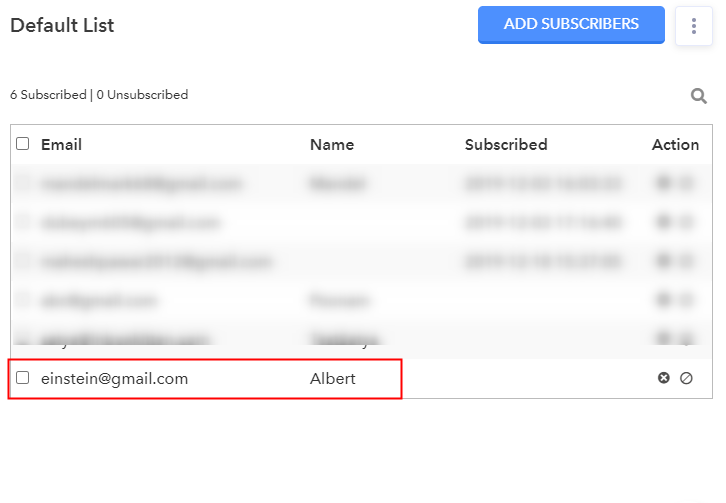
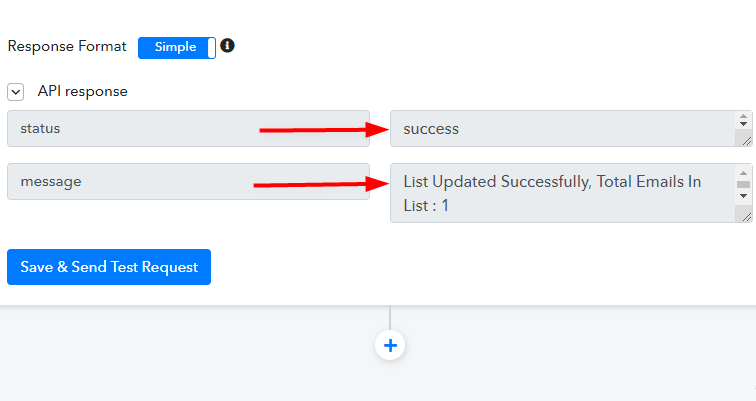
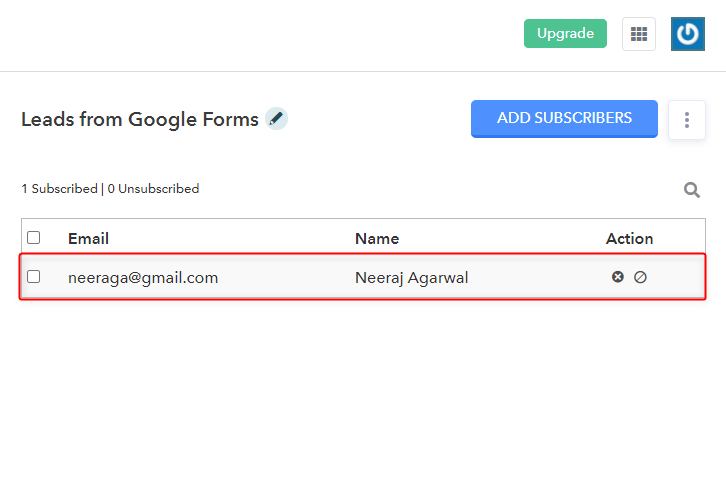
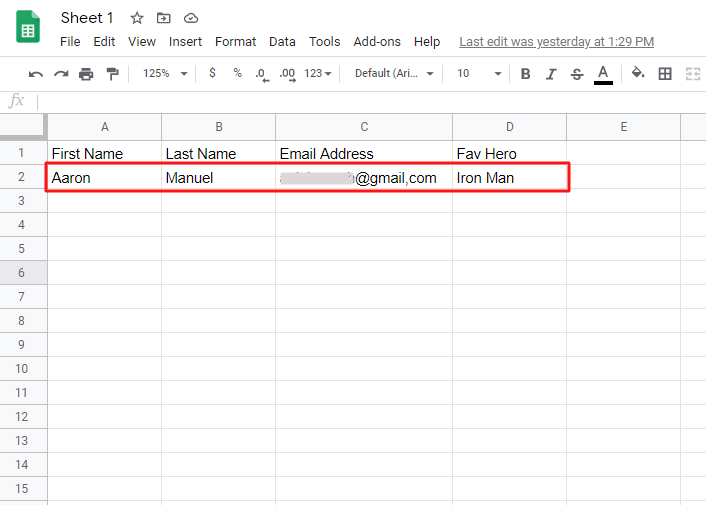
Step 8: Notice the Entries in Moosend Mailing List
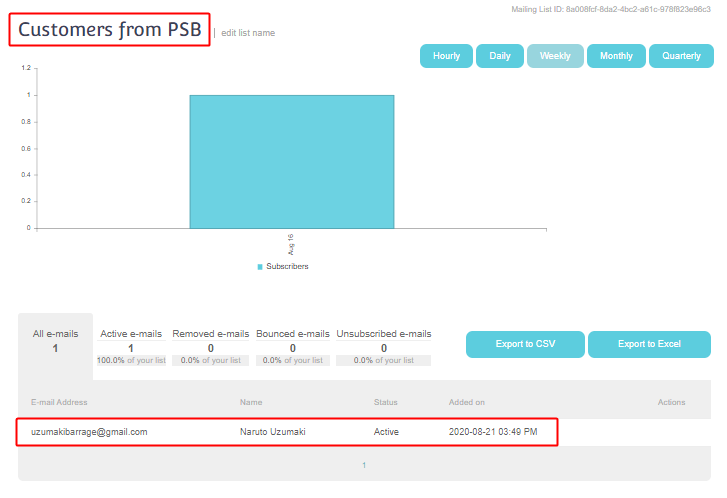
Go to the Moosend mailing list which you have selected on Step: 7 (a) and notice the test entries there.
Step 9: Save the Workflow
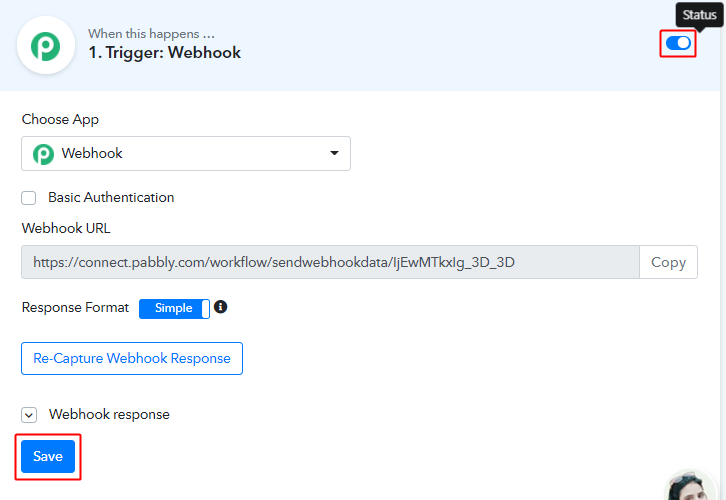
As we can see from the test response that the webhook is working fine. We can save it. Also, notice the webhook status as on (blue coloured) on the top-right corner of the webhook.
Wind-up
Consequently, you might have understood that ‘How to integrate Pabbly Subscription Billing and Moosend’. Similarly, you can also set up a workflow for cancelled users and make a separate list of them on Moosend mailing list. And all the cancelled users will automatically be added to the mailing list in the Moosend account. Once those customers are added there you can offer other interesting deals/offers through automation. Or you can send automated emails regarding ‘Why they’ve cancelled the subscription?’.
I do hope that you’ve found this useful and if you are having any other query do comment below.