Watch Step By Step Video Tutorial Below
1. Accessing Pabbly Connect for Automation
To begin automating your Facebook leads, you need to access Pabbly Connect. Start by visiting the Pabbly Connect dashboard and create a free account. This account allows you to utilize 100 free tasks, enabling you to explore the platform.
Once logged in, select the option to create a workflow. Here, you can choose from various methods to set up your automation. This flexibility is essential for tailoring your lead management process effectively.
2. Creating Your Workflow in Pabbly Connect
Next, you will create your workflow in Pabbly Connect. Click on the ‘Create Workflow’ button to start. You can either create from scratch or use the quick builder option. For this tutorial, we will use the quick builder.
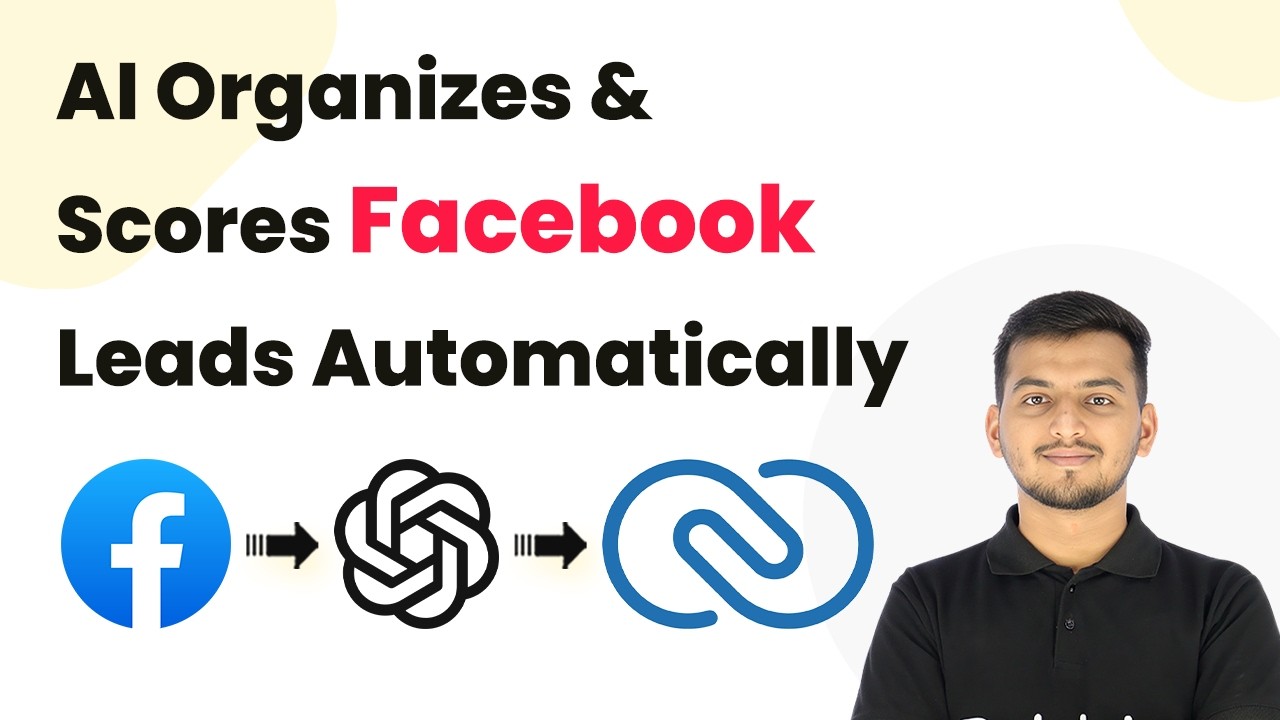
- Select the trigger application as Facebook Lead Ads.
- Choose the event as ‘New Lead’ to capture incoming leads.
- Set the action application as Zoho CRM for lead management.
After defining these parameters, Pabbly Connect will generate a structured workflow. This workflow will automate the process of lead organization, ensuring no leads are missed.
3. Integrating Facebook Lead Ads with Pabbly Connect
To integrate Facebook Lead Ads, you need to connect your Facebook account within Pabbly Connect. Click on the ‘Connect’ button and choose to add a new connection. Ensure you are logged into your Facebook account to facilitate this process seamlessly.
Once connected, select the Facebook page and the specific lead form you want to use. This will allow Pabbly Connect to capture leads directly from your Facebook ads.
4. Sending Lead Data to OpenAI for Analysis
After capturing the lead data, the next step is to send this information to OpenAI for analysis. In Pabbly Connect, select OpenAI as the next application in your workflow. Create a new connection by entering your OpenAI token, which can be generated from your OpenAI account.
Map the lead data fields from Facebook to the OpenAI prompt. This mapping ensures that the details provided by the lead are analyzed effectively. After setting this up, you can test the request to see if the integration works as expected.
5. Creating Leads in Zoho CRM
Finally, the last step involves creating leads in Zoho CRM using the analyzed data from OpenAI. In Pabbly Connect, select Zoho CRM as the final application in your workflow. Create a new connection by entering your Zoho domain and authorizing the connection.
Map the necessary fields from the OpenAI response to the lead creation form in Zoho CRM. This will include details such as lead score, summary, and recommended actions. After mapping, you can test this step to confirm that a new lead is created successfully in Zoho CRM.
Conclusion
Using Pabbly Connect to automate your Facebook leads streamlines your lead management process. By following these steps, you can effectively capture, analyze, and organize leads without manual effort, ensuring a smoother workflow for your business.