Watch Step By Step Video Tutorial Below
1. Accessing Pabbly Connect for Shopify and WhatsApp Integration
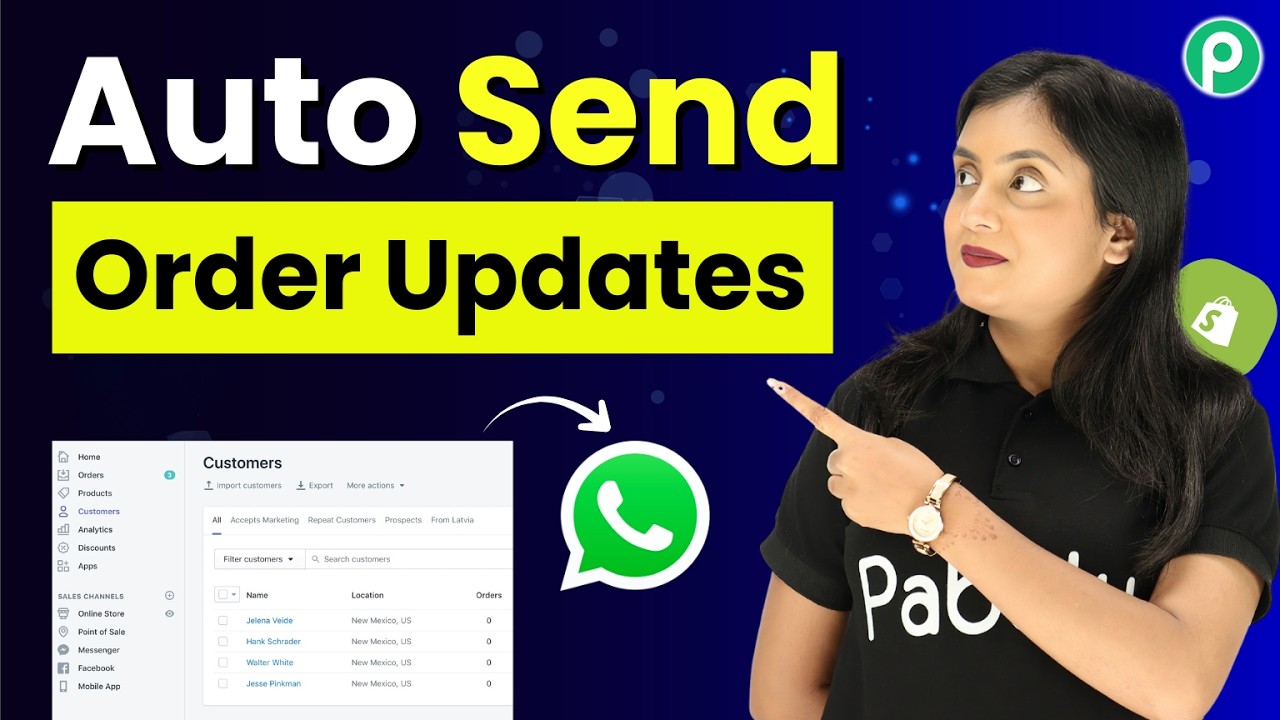
To send Shopify order notifications on WhatsApp, you first need to access Pabbly Connect. This platform allows seamless integration between Shopify and WhatsApp.
Open a new tab and go to the Pabbly Connect website. If you are a new user, sign up for free. You will receive 100 free tasks to test the automation. This is a great way to explore how Pabbly Connect can streamline your business processes.
2. Creating a Webhook in Shopify Using Pabbly Connect
After accessing Pabbly Connect, you need to create a webhook in your Shopify store. This webhook will send order details to Pabbly Connect whenever a new order is placed.
- Log into your Shopify store and navigate to Settings.
- Click on Notifications and then find the Webhook section.
- Click on ‘Create Webhook’ and select the order creation event.
- Paste the webhook URL provided by Pabbly Connect and save the settings.
Once the webhook is created, your Shopify store will automatically send order notifications to Pabbly Connect whenever a new order is placed. This setup is crucial for the integration to work effectively.
3. Mapping Data in Pabbly Connect for WhatsApp Notifications
With the webhook set up, the next step involves mapping the data in Pabbly Connect to send notifications via WhatsApp. This is where you define how the data from Shopify is sent to WhatsApp.
In Pabbly Connect, click on the trigger to capture the new order data. You should see the response from Shopify, including details like the customer’s name, order ID, and amount. This data will be used to personalize the WhatsApp message.
- Select the recipient’s phone number from the captured data.
- Craft the message you want to send using dynamic fields from the order data.
- Use the customer’s name, order ID, and amount in your message for personalization.
By mapping this data, Pabbly Connect ensures that each customer receives a tailored message confirming their order, enhancing customer experience.
4. Connecting WhatsApp Cloud API to Pabbly Connect
Now that the data is mapped, you need to connect the WhatsApp Cloud API to Pabbly Connect. This connection allows you to send the notifications to customers directly on WhatsApp.
Click on the connect button in Pabbly Connect and select the option to add a new connection. Enter the WhatsApp Business Account ID, token, and phone number ID to establish the link.
- Make sure to generate a permanent token for your WhatsApp Business account.
- Refer to the Pabbly forum for tutorials on setting up the API.
- Save the connection after entering all required details.
Once connected, Pabbly Connect can send WhatsApp messages automatically whenever a new order is placed in your Shopify store, ensuring timely communication with customers.
5. Testing the Integration of Pabbly Connect with Shopify and WhatsApp
The final step is to test the integration to ensure everything is working as expected. Place a new order on your Shopify store to trigger the automation.
After placing the order, check your WhatsApp for the confirmation message. You should receive a notification that includes the customer’s name, order ID, and amount.
- Verify that the order details in the WhatsApp message match the order placed in Shopify.
- If everything looks good, your integration is successful!
- If you encounter any issues, revisit the steps in Pabbly Connect to troubleshoot.
With the integration tested and confirmed, you can now enjoy automated notifications for every order placed on your Shopify store, enhancing your customer communication through WhatsApp.
Conclusion
In this tutorial, we explored how to use Pabbly Connect to send Shopify order notifications via WhatsApp. By following these steps, you can automate your customer communication effectively and enhance your service.
Now, whenever an order is placed, your customers will receive timely notifications, improving their overall experience with your brand.