How to Connect RSS Feed to Facebook Page

Watch Step By Step Video Tutorial Below


1. Access Pabbly Connect for RSS Feed Integration

To start using Pabbly Connect, open your web browser and go to pabbl.com/connect. If you are a new user, click on the “Sign Up for Free” option in the top right corner. This allows you to explore Pabbly Connect with 100 free tasks every month.

After signing up, log in to your Pabbly Connect account. Once logged in, you will be directed to the workflow builder. This is the central hub for creating automation workflows. Here, you will set up triggers and actions to automate your RSS feed postings to Facebook.


2. Create a Workflow in Pabbly Connect

In the workflow builder, you’ll need to create a new workflow by clicking on “Add New Workflow.” Name your workflow appropriately, such as “RSS to Facebook Integration.” This is where you will define how Pabbly Connect will manage your RSS feed updates.

Next, click on the “Add Trigger” button. For the trigger application, search for “RSS by Pabbly” and select it. Choose the event “New Item in Feed” and click on “Connect.” You will be prompted to enter the feed URL, which is essential for fetching your RSS updates.

  • Search for the RSS feed of your preferred news source, such as The Hindu.
  • Copy the feed URL and paste it into the designated field in Pabbly Connect.
  • Set the filter type as “Recommended” and click on “Save and Send Test Request” to ensure everything is set up correctly.

Upon saving, you will receive a test response showing the latest news items. This confirms that Pabbly Connect is successfully pulling data from your RSS feed.


3. Integrate Facebook with Pabbly Connect

After setting up the RSS feed trigger, the next step is to add an action to post on Facebook. Click on “Add New Action Step” and search for “Facebook Pages.” Ensure you select this specific option, as it is crucial for posting updates to your Facebook page.

For the action event, choose “Create Page Post” and click on “Connect.” If you have previously connected your Facebook account, you can select the existing connection. Otherwise, create a new connection by logging into your Facebook account to grant necessary permissions.

  • Select the Facebook page where you want to publish the news.
  • Map the fields for the post, including the headline, description, and link from the RSS feed.
  • Click on “Save and Send Test Request” to verify that the post is successfully created on Facebook.

Once the action is confirmed, you can check your Facebook page to see the newly posted news update, showcasing the power of Pabbly Connect in automating your social media updates.


4. Configure Trigger Time for RSS Feeds

To optimize how frequently Pabbly Connect checks for new RSS feed items, you can configure the trigger time. Click on the RSS trigger step and select “Set Trigger Time.” You can adjust this between 10 minutes to 24 hours based on your preference.

For optimal performance, setting the trigger time to 60 minutes is recommended. This ensures that your Facebook page receives timely updates without overwhelming the feed with too many posts.

By managing the trigger time effectively, you can control how often Pabbly Connect polls the RSS feed for new items. This feature is essential for maintaining a steady flow of content on your Facebook page, ensuring your audience stays informed without manual intervention.


Conclusion

In this tutorial, we explored how to integrate RSS feeds with Facebook using Pabbly Connect. By following these steps, you can automate your social media updates and keep your audience informed effortlessly. Start using Pabbly Connect today for seamless automation!
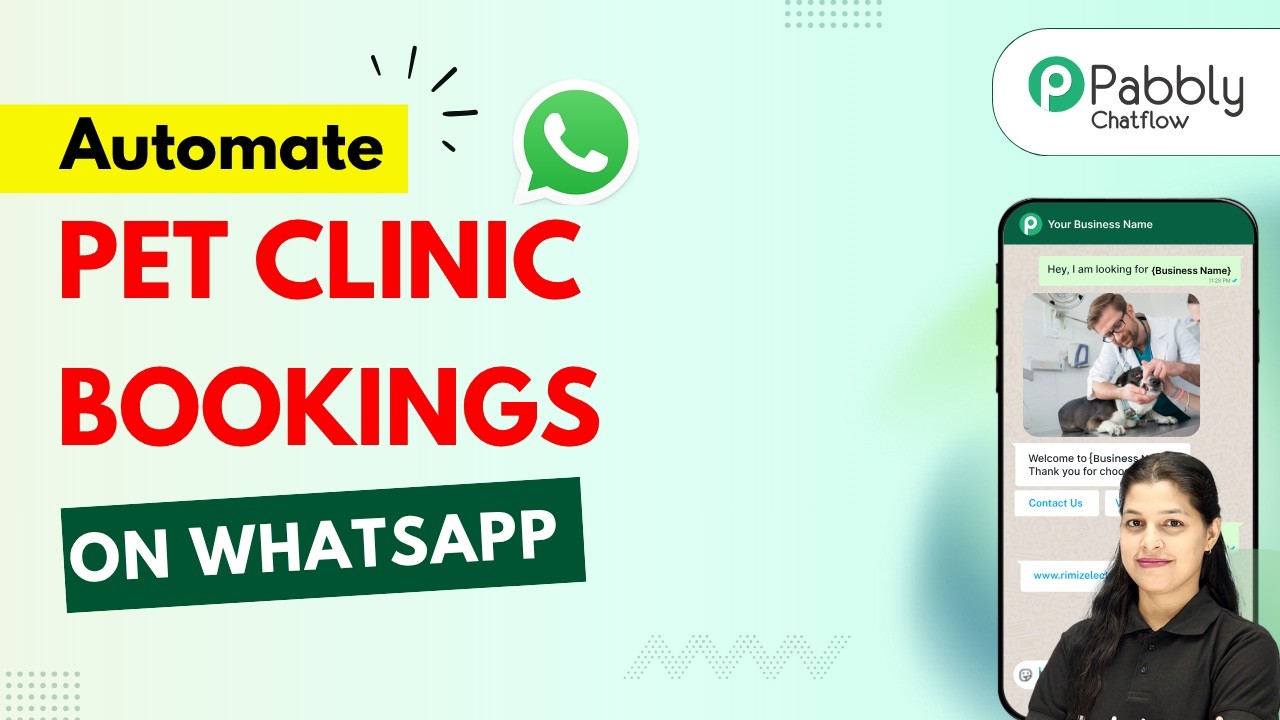
WhatsApp Chatbot for Pet Clinic Bookings and Health Enquiries

Watch Step By Step Video Tutorial Below


1. Introduction to Pabbly Connect for Pet Clinics

In this tutorial, we will explore how to use Pabbly Connect to automate your pet clinic’s appointments and inquiries. By integrating various applications, you can streamline communication and enhance customer experience.

With Pabbly Connect, you can create a WhatsApp chatbot that handles customer interactions seamlessly. This automation saves time and allows your staff to focus on essential tasks while ensuring clients receive timely responses.


2. Setting Up Your Pabbly Connect Account

To begin, access Pabbly Connect by visiting the official website. If you’re a new user, sign up for a free account to explore its features. Existing users can simply log in.

Once logged in, navigate to the dashboard to start creating your automation workflow. Follow these steps to set up your account:

  • Visit the Pabbly Connect website.
  • Sign up for a new account or log in to your existing account.
  • Access the dashboard to create your first workflow.

With your account set up, you can now start integrating your applications using Pabbly Connect. This step is crucial for automating your pet clinic’s processes.


3. Creating a WhatsApp Chatbot Using Pabbly Connect

The next step is to create a WhatsApp chatbot that will handle appointment bookings and health inquiries. Begin by selecting the appropriate trigger event in Pabbly Connect. This trigger will initiate your chatbot when a user sends a specific keyword.

Here’s how to set up the chatbot:

  • Choose a keyword that will trigger the chatbot, such as “hello”.
  • Set up a welcome message that will greet users upon initiating the chat.
  • Add buttons for users to book appointments or inquire about grooming services.

With these elements in place, your WhatsApp chatbot is ready to engage with clients effectively. This integration through Pabbly Connect ensures that all interactions are automated and streamlined.


4. Managing Appointments and Services with Pabbly Connect

Once your chatbot is set up, you can manage appointments and services directly through Pabbly Connect. When a user selects the “book appointment” button, the chatbot will ask for the pet’s name, type, and appointment date.

Follow these steps to manage appointments:

  • Prompt the user for their pet’s name and type.
  • Request the appointment date from the user.
  • Send a confirmation message once the details are received.

By utilizing Pabbly Connect, your clinic can efficiently handle appointment requests without manual intervention, enhancing operational efficiency.


5. Finalizing Your Chatbot and Launching with Pabbly Connect

After configuring all elements of your WhatsApp chatbot, it’s time to finalize the setup. Save your workflow in Pabbly Connect to ensure all changes are implemented. This step is crucial for making your chatbot operational.

Once saved, you can test the chatbot by sending a message to your WhatsApp number. Ensure that all responses and actions work as intended:

  • Send a test message to initiate the chatbot.
  • Interact with the chatbot by selecting buttons and providing information.
  • Confirm that appointment requests and service inquiries are processed correctly.

By launching your chatbot through Pabbly Connect, you can now automate customer interactions, making it easier for clients to book appointments and inquire about services.


Conclusion

In conclusion, using Pabbly Connect to automate your pet clinic’s appointments and inquiries can significantly enhance efficiency. By following this tutorial, you can create a WhatsApp chatbot that streamlines customer interactions, ensuring timely responses and improved service delivery.

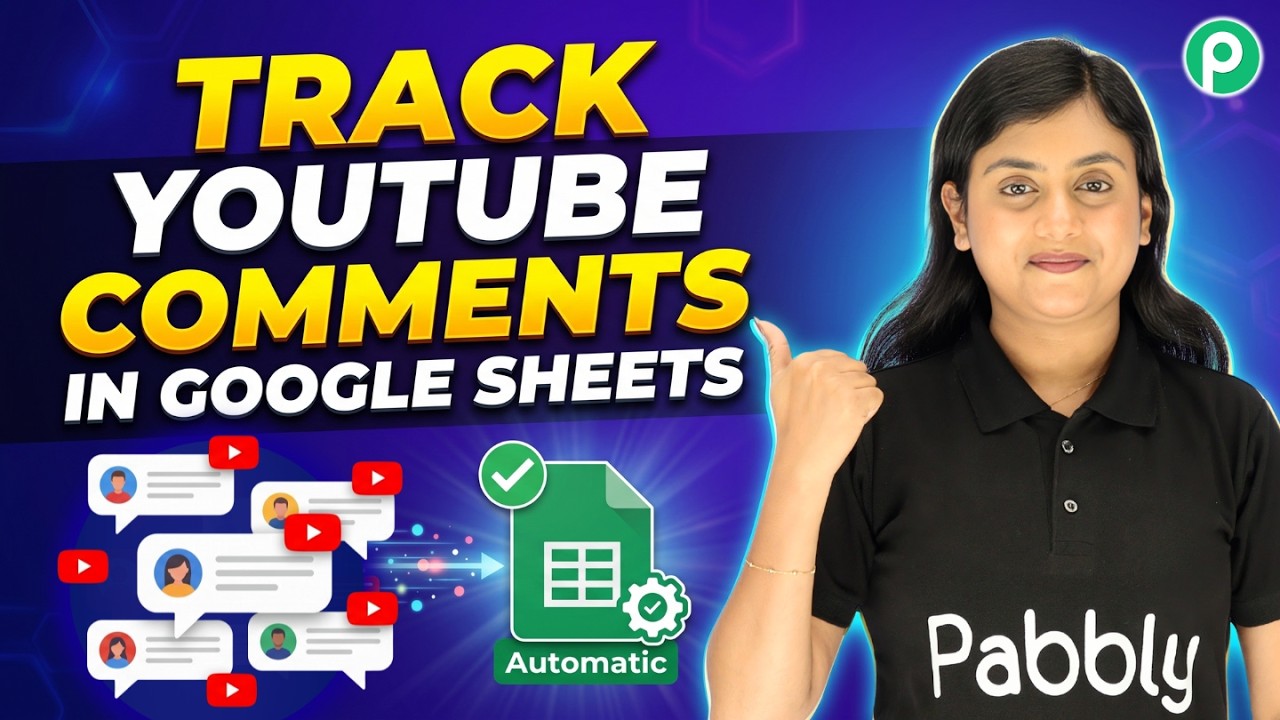
I Track YouTube Comments in Google Sheets Automatically

Watch Step By Step Video Tutorial Below


1. Introduction to Pabbly Connect for YouTube Comments

In this tutorial, we will explore how to use Pabbly Connect to automatically integrate YouTube comments into Google Sheets. This integration allows content creators to maintain a systematic record of comments, enhancing engagement tracking.

By automating the process, you can save time and avoid manual entry errors. With Pabbly Connect, you can seamlessly connect YouTube and Google Sheets, making it easier to manage your YouTube channel’s interactions.


2. Setting Up Pabbly Connect

To begin, log into your Pabbly Connect account or create a new one at Pabbly’s official website. Once logged in, navigate to the dashboard to start creating your workflow.

Follow these steps to set up your integration:

  • Click on “Create Workflow”.
  • Select “YouTube” as your trigger application.
  • Choose “New Comment” as the trigger event.

After setting up the trigger, you will need to connect your YouTube account to Pabbly Connect. This allows the platform to access your comments automatically.


3. Connecting Google Sheets with Pabbly Connect

Next, we will connect Google Sheets to Pabbly Connect to store the comments. After setting up the YouTube trigger, click on the “Add Action” button and select Google Sheets.

To connect Google Sheets, follow these steps:

  • Choose “Create Spreadsheet Row” as the action event.
  • Select your Google Sheets account and authorize access.
  • Select the specific spreadsheet and worksheet where you want to add the comments.

This setup ensures that every new comment received on your YouTube videos is automatically recorded in Google Sheets, streamlining your data management.


4. Mapping Data from YouTube to Google Sheets

Once you have connected Google Sheets, you need to map the data fields. This is where the magic happens with Pabbly Connect. You will link the YouTube comment data to the appropriate columns in your spreadsheet.

Follow these mapping steps:

  • Map the “Author Name” to the corresponding column in Google Sheets.
  • Map the “Comment” to the comment column.
  • Map the “Channel URL” to track where the comment originated.

After mapping the fields, save your workflow. This ensures that every new comment gets recorded accurately in your Google Sheets, thanks to Pabbly Connect.


5. Testing Your Integration with Pabbly Connect

Finally, it’s time to test your integration. Post a new comment on your YouTube video and check if it appears in Google Sheets. This step is crucial to ensure everything is working correctly with Pabbly Connect.

To test:

  • Post a comment on your YouTube video.
  • Wait for the trigger to check for new comments based on the set interval.
  • Verify that the comment appears in your Google Sheets.

With Pabbly Connect, you can automate this process efficiently, ensuring that your comments are always recorded without manual effort.


Conclusion

In this tutorial, we explored how to use Pabbly Connect to integrate YouTube comments into Google Sheets automatically. This setup allows for efficient tracking of viewer engagement, saving time and reducing errors.

By following these steps, you can streamline your YouTube comment management process effortlessly. Start using Pabbly Connect today to enhance your productivity!

WhatsApp Chatbot for Travel Package Enquiries and Booking Assistance

Watch Step By Step Video Tutorial Below


1. Creating a WhatsApp Chatbot with Are and Paby

Creating a WhatsApp chatbot with Paby is essential for automating customer interactions. This chatbot will handle travel package inquiries effectively, enhancing user experience.

To start, send a message such as ‘hello’ to initiate the chatbot. The bot responds with a welcome message and a button labeled ‘Travel Packages’. This interaction showcases the power of integrating Are and Paby.


2. Setting Up Paby for Integration

To set up Paby, navigate to the flow page. If you are a new user, visit the URL paby.com/chatflow to sign up. Existing users can sign in directly.

Once on the flow page, configure your WhatsApp number. This is crucial for the chatbot to function properly. Here’s how to do it:

  • Open the Paby Chatflow interface.
  • Add your WhatsApp number in the settings.
  • Save your changes to enable the chatbot.

After saving, your WhatsApp number will be linked to Paby, allowing seamless communication.


3. Designing the Chatbot Flow with Are and Paby

Designing the chatbot flow in Paby involves setting triggers and responses. The trigger can be a keyword like ‘hello’. This keyword initiates the chatbot’s response.

To set this up, drag and drop the message blocks into the flow. Create a welcome message and add a button for ‘Travel Packages’. The flow should look like this:

  • Drag the text button into the flow.
  • Set the button type to quick reply.
  • Connect the button to the list of travel packages.

This setup allows users to select their desired package easily.


4. Adding Package Details in Paby

Adding package details is a crucial step in the integration of Are and Paby. After the user selects a package, provide detailed information about it.

For example, when a user selects the ‘Goa Getaway’, the chatbot should display:

  • Package details including pricing.
  • A button to book the package.
  • Follow-up questions for travel dates and customer details.

This ensures that users receive all necessary information to proceed with their booking.


5. Finalizing the Integration and Testing

Finalizing the integration involves saving your flow and testing the chatbot. Ensure that all components are functioning as intended.

To test, send a message to your WhatsApp number and check the responses. Make sure the chatbot accurately captures user inputs like travel dates and names. This step is crucial for ensuring a smooth user experience. Once everything is verified, you can launch your WhatsApp chatbot.


Conclusion

Integrating Are with Paby using Make allows travel agencies to automate their WhatsApp interactions efficiently. By following this tutorial, you can create a functional chatbot that enhances customer engagement and streamlines booking processes.

Build a Smart WhatsApp AI Assistant in Just 5 Minutes 🤯

Watch Step By Step Video Tutorial Below


1. Accessing Pabbly Connect for Integration

To begin integrating WhatsApp AI with Pabbly Connect, first, you need to access the Pabbly Connect platform. Navigate to the official Pabbly website and log in to your account. If you’re a new user, you can sign up for a free account which offers 100 free credits every month.

Once logged in, you will find options to create new workflows. Pabbly Connect acts as a bridge for connecting various applications like WhatsApp, API, and GST. This means you can automate responses and manage queries effectively through WhatsApp.


2. Creating Your WhatsApp AI Assistant Using Pabbly Connect

Now that you are in Pabbly Connect, the next step is to create your WhatsApp AI Assistant. Select the instruction type as “AI agent”. This allows you to set up the AI that will handle customer queries. You can modify the instructions according to your business needs.

  • Choose the AI model you want to use.
  • Set the creativity level (temperature) for responses.
  • Enter your API key from the OpenAI API key page.

After configuring these settings, click on the connect button to save your AI assistant settings. Pabbly Connect ensures that your assistant is ready to respond to queries automatically.


3. Configuring AI Assistant Settings in Pabbly Connect

Next, you need to configure the settings for your AI assistant. This includes customizing the header and footer messages, setting stop keywords, and defining retry attempts. These settings help to refine how your AI assistant interacts with users.

  • Set a stop keyword to halt the assistant when needed.
  • Define the number of retry attempts for unanswered queries.
  • Upload a knowledge base in .txt or PDF format for reference.

These configurations are crucial for ensuring that your AI assistant operates smoothly. Pabbly Connect allows for easy adjustments to these settings, making it simple to tailor the assistant to your specific requirements.


4. Styling and Embedding Your AI Assistant with Pabbly Connect

Once your AI assistant is configured, it’s time to style it. Choose the theme, adjust the colors, and set profile pictures that match your brand. This visual customization is important for providing a consistent user experience.

To embed your AI assistant into your business, click the embed button to get the script code. You can then paste this code into your website or application. Pabbly Connect makes it seamless to integrate your assistant across different platforms.


5. Enabling AI Auto Replies for WhatsApp with Pabbly Connect

The final step is to enable AI auto replies for WhatsApp. Go to the inbox settings in Pabbly Connect and enable the AI auto replies feature. This ensures that your AI assistant can respond to all customer inquiries automatically.

You can select specific contacts or enable the assistant for all contacts. This flexibility allows you to manage customer interactions effectively. Pabbly Connect simplifies this process, enabling you to set up a fully automated communication channel.


Conclusion

In this tutorial, we explored how to integrate WhatsApp AI with Pabbly Connect. By following these detailed steps, you can automate your customer interactions effectively and provide quick responses to queries. Start using Pabbly Connect today to enhance your business communication.

Never Miss a Property Lead Again (AI Automation System)

Watch Step By Step Video Tutorial Below


1. Accessing Pabbly Connect for WhatsApp Integration

To integrate WhatsApp with Google Docs using Pabbly Connect, start by visiting the Pabbly Connect website. If you are new, sign up for a free account. Existing users can simply sign in to access their dashboard.

Once logged in, select the “Pabbly Connect” option. This platform is essential for automating workflows between WhatsApp and Google Docs, enabling seamless communication and data management.


2. Creating Your WhatsApp Assistant in Pabbly Connect

After accessing the dashboard, click on the “Create Assistant” button to begin setting up your WhatsApp automation. This is where Pabbly Connect plays a crucial role in managing automated responses.

  • Enter a descriptive name for your assistant.
  • Select the type of instructions for your assistant, choosing options like AI agent.
  • Customize the assistant’s behavior and responses based on your preferences.

By setting these parameters, you ensure that your WhatsApp assistant responds accurately to user inquiries, making use of the powerful features of Pabbly Connect.


3. Configuring API Settings in Pabbly Connect

Next, you need to configure the API settings to connect your WhatsApp account with Pabbly Connect. This step is essential for enabling automated interactions. Enter your API key from the OpenAI platform, which allows Pabbly Connect to communicate effectively with WhatsApp.

Follow these steps to configure your API:

  • Click on “API Settings” in the dashboard.
  • Paste your OpenAI API key in the designated field.
  • Save the settings to ensure the API is properly linked.

This configuration allows Pabbly Connect to manage automated responses on WhatsApp based on user inputs and data from Google Docs.


4. Designing Your Knowledge Base for Effective Responses

Creating a knowledge base is crucial for providing accurate and relevant responses to users. In this step, you will upload a PDF file containing the necessary information for your WhatsApp assistant. This will enhance the effectiveness of Pabbly Connect in responding to queries.

Here’s how to set up your knowledge base:

  • Prepare a PDF file with all relevant business information.
  • Ensure the file size is less than 90 MB and includes no more than 10 pages of images.
  • Upload the PDF file in the knowledge base section of Pabbly Connect.

With this knowledge base, your WhatsApp assistant will be equipped to handle inquiries efficiently, utilizing Pabbly Connect for seamless integration.


5. Finalizing Assistant Settings and Activation

After setting up the knowledge base, it’s time to finalize your assistant’s settings. This includes customizing the interface and activating the assistant for use. The final adjustments ensure that your assistant is ready to interact with users via WhatsApp, powered by Pabbly Connect.

To finalize your settings, follow these steps:

  • Customize the appearance of your assistant by setting headings and subheadings.
  • Enable the assistant by toggling the activation switch.
  • Click the “Save Assistant” button to complete the setup.

Once activated, your WhatsApp assistant will be fully operational, providing instant responses to user queries, thanks to the automation capabilities of Pabbly Connect.


Conclusion

In this tutorial, we explored how to integrate WhatsApp with Google Docs using Pabbly Connect. By following these steps, you can automate responses effectively, enhancing your business communication.

I Track Instamojo Orders in Google Sheets Automatically 😱

Watch Step By Step Video Tutorial Below


1. Accessing Pabbly Connect for Integration

To start integrating Insta Mojo payments with Google Sheets, first access Pabbly Connect. Navigate to the Pabbly website and log into your account. If you are a new user, sign up for free to explore the features.

Once logged in, you will receive 100 free tasks each month to test the platform. This allows you to create your automated workflows without any technical skills. Simply go to the Pabbly Connect dashboard to get started.


2. Creating a Workflow in Pabbly Connect

In this step, you will create a new workflow in Pabbly Connect. Click on the ‘Create Workflow’ option and select ‘Create Using AI’. This feature allows you to set up your integration quickly.

  • Enter the prompt: “Track Insta Mojo successful payments in Google Sheets”.
  • Select Insta Mojo V2 as the trigger.
  • Choose ‘Successful Payment’ as the event.
  • Select ‘Add New Row’ in Google Sheets as the action.

After entering these details, approve and open the workflow. This sets the foundation for tracking payments automatically.


3. Configuring Insta Mojo Webhook in Pabbly Connect

Next, you need to configure the webhook for Insta Mojo in Pabbly Connect. Copy the webhook URL provided by Pabbly Connect and log into your Insta Mojo Smart Pages account.

Go to the page settings and find the webhook section. Here, paste the copied URL and select ‘Successful Payments’ to ensure that only successful transactions are sent to Pabbly Connect. Save the settings to establish the connection.

After saving, test the connection by making a payment through your Insta Mojo page. This will verify if the webhook is correctly set up to send data to Pabbly Connect.


4. Mapping Payment Data to Google Sheets

Once you confirm that the webhook is working, it’s time to map the payment data to Google Sheets using Pabbly Connect. Click on the connect button in your workflow and choose to add a new connection.

  • Select ‘Sign in with Google’ to link your Google account.
  • Grant permissions for Pabbly Connect to access your Google Sheets.
  • Choose the spreadsheet and specific sheet where payment details will be recorded.

Map the payment details such as Payment ID, Customer Name, Email, and Amount from Insta Mojo to the respective columns in your Google Sheet. This ensures that every new payment is automatically logged in your spreadsheet.


5. Testing and Verifying the Integration

Finally, test the entire setup to ensure that payments are logged correctly in Google Sheets via Pabbly Connect. Make a test payment on your Insta Mojo page and monitor the workflow in Pabbly Connect.

Check your Google Sheet to see if the payment details appear as expected. You should see the Payment ID, Customer Name, Email, and Amount accurately reflected in the spreadsheet. This confirms that your integration is successful.

With this setup, you can now track all your Insta Mojo payments systematically in one place, enhancing your payment management process.


Conclusion

By integrating Insta Mojo payments with Google Sheets using Pabbly Connect, you can automate your payment tracking efficiently. This seamless process ensures that all payment details are recorded accurately, saving you time and effort in managing transactions.

This System Saves All JotForm Files to Google Drive

Watch Step By Step Video Tutorial Below


1. Accessing Pabbly Connect for Integration

To begin integrating Jot Form with Google Drive, you first need to access Pabbly Connect. This platform allows you to automate tasks between different applications seamlessly. Simply visit the Pabbly Connect website and log in or create an account if you’re a new user.

Once you are logged in, you will be directed to the dashboard. Here, you can create a new workflow that connects Jot Form and Google Drive. Pabbly Connect offers a user-friendly interface, making it easy for anyone to set up integrations without any coding skills.


2. Creating a Workflow in Pabbly Connect

After accessing your Pabbly Connect dashboard, the next step is to create a workflow. Click on the ‘Create Workflow’ button. This will allow you to specify the applications you want to connect, which in this case are Jot Form and Google Drive.

  • Select Jot Form as your trigger application.
  • Choose the trigger event, such as ‘New Submission’.
  • Connect your Jot Form account by providing the necessary API keys.

With Pabbly Connect, you can automate the process of uploading files from Jot Form submissions directly to your Google Drive, making it efficient and systematic. After setting up the trigger, you will be prompted to set up the action, which will be Google Drive.


3. Setting Up Jot Form for Integration

To ensure Jot Form works with Pabbly Connect, you need to set up webhooks in your Jot Form account. Go to your Jot Form settings and navigate to the ‘Integrations’ section. Here, search for webhooks and click on it to add a new webhook.

Paste the webhook URL provided by Pabbly Connect into the designated field in Jot Form. This step is crucial as it allows Jot Form to send data to Pabbly Connect whenever a new submission is made. Once you save the integration, Pabbly Connect will be ready to capture the submissions from Jot Form.


4. Uploading Files to Google Drive via Pabbly Connect

After setting up Jot Form, the next step is to configure Google Drive within Pabbly Connect. Choose Google Drive as your action application and select the action event, such as ‘Upload File’. This will enable you to automatically upload files received from Jot Form submissions.

  • Connect your Google Drive account by signing in.
  • Map the file URL from Jot Form to Google Drive.
  • Specify the folder ID in Google Drive where you want the files to be uploaded.

With these configurations, every time a new submission is made on Jot Form, the attached files will be automatically uploaded to your specified Google Drive folder. This integration significantly reduces manual effort and ensures that your files are stored systematically.


5. Testing the Integration

Once everything is set up, it’s time to test the integration. Submit a new form entry through Jot Form, ensuring that you include a file attachment. After submission, check your Google Drive folder to confirm that the file has been uploaded successfully.

Pabbly Connect will capture the submission data and process it as per your workflow. If everything is configured correctly, you will see the uploaded file in your Google Drive folder shortly after the form submission. This testing phase is essential to ensure your integration works flawlessly.


Conclusion

Integrating Jot Form with Google Drive using Pabbly Connect allows for seamless file uploads, enhancing your workflow efficiency. This tutorial has guided you through the process step-by-step, ensuring you can automate your tasks effectively.

Send Bulk WhatsApp Messages in Minutes

Watch Step By Step Video Tutorial Below


1. Accessing Pabbly Connect to Get Started

To begin using Pabbly Connect, you need to visit pabyt.com/connect. This will take you to the Pabi Chatflow homepage. Here, you will find options to sign in or sign up for a free account. If you are a new user, click on “Sign up free” to create your account.

Once signed in, you will see the Pabi apps window. From here, click on “Access Now” under Pabi Chatflow to reach the dashboard. This is where you will manage your WhatsApp broadcasts efficiently using Pabbly Connect.


2. Creating a WhatsApp Broadcast with Pabbly Connect

To send a WhatsApp broadcast, you will need to navigate to the broadcast section in Pabi Chatflow. Here, you can create a new broadcast by clicking the “Add” button. This will direct you to the WhatsApp broadcast section.

  • Select the broadcast type as “Broadcast Campaign”.
  • Name your broadcast, for example, “New Weekend Sale”.
  • Choose the contact list to whom you want to send the message.

After selecting your contact list, you can refine your audience by excluding specific contacts or lists. This feature ensures that your broadcast reaches the right audience, showcasing the power of Pabbly Connect in managing communications effectively.


3. Selecting the Message Type for Your Broadcast

In this step, you will choose the type of message to send. You can select either a pre-approved template message or a regular message. For this tutorial, we will use a pre-approved template.

Once you select the template, you will have the option to test your broadcast. Enter your username and phone number to send a test message. This helps ensure that your broadcast will function correctly when sent out to all contacts.

  • Click on “Send Test Broadcast” to verify your message.
  • Check your WhatsApp to confirm receipt of the test message.

Using Pabbly Connect, these steps ensure that your broadcast is prepared accurately, allowing for a seamless communication experience.


4. Scheduling Your WhatsApp Broadcast

After testing, you can choose to send your broadcast immediately or schedule it for later. If you wish to schedule, select “Yes” and set the date and time for your broadcast.

Ensure that you select a future date and time. If you choose a past date, the message will send instantly. After setting the schedule, click on “Add Broadcast” to finalize the process.

Once created, you will see a confirmation that your broadcast has been successfully scheduled. This feature allows you to manage your communications proactively using Pabbly Connect.


5. Tracking the Performance of Your Broadcast

After sending your broadcast, it’s essential to track its performance. Pabbly Connect provides you with stats on sent, delivered, read, pending, ignored, and failed messages.

If any messages fail to send, you can easily resend them to valid contacts using the “Resend” option. This feature ensures that your communication reaches its intended audience effectively.

By utilizing the tracking features in Pabbly Connect, you can refine your messaging strategy and improve future broadcasts based on performance metrics.


Conclusion

In this tutorial, we explored how to use Pabbly Connect to send WhatsApp broadcasts efficiently. By following the steps outlined, you can enhance your communication strategy and reach your audience effectively. Pabbly Connect simplifies the process, making it easier for businesses to engage with their customers.

I Sent a Travel Offer to 1000+ Users in One Click ✈️

Watch Step By Step Video Tutorial Below


1. Setting Up Pabbly Connect for WhatsApp Integration

To start using Pabbly Connect for WhatsApp integration, first, visit the Pabbly Chartflow website. This platform allows you to automate WhatsApp messages efficiently. If you’re new, click on the ‘Sign Up Free’ option to create an account and get 100 free credits every month.

Once you have signed up or logged in, navigate to the Pabbly Shotflow dashboard. This is where you can manage your WhatsApp numbers and set up broadcasts. The first step is to add your WhatsApp number to your Pabbly Shotflow account, which is crucial for sending messages.


2. Creating a Broadcast Message in Pabbly Connect

In this section, we will focus on creating a WhatsApp broadcast message using Pabbly Connect. Click on the ‘Broadcast’ feature in your Pabbly Shotflow account. Understand that a broadcast is not a group message; it sends individual messages to each user, making it feel personal.

  • Click on the ‘Add Broadcast’ button.
  • Select ‘Broadcast Campaign’ as the type.
  • Name your broadcast and select the contact list.

By using Pabbly Connect, you can easily send messages to up to 200,000 contacts with just one click. This feature is especially beneficial for businesses that need to reach a large audience quickly.


3. Uploading Contacts via CSV in Pabbly Connect

Next, you need to upload your contacts to Pabbly Connect. This can be done by creating a CSV file containing your users’ information. Ensure that your CSV file includes the first name, last name, and phone number of each contact.

To upload your CSV file, go to the ‘Contacts’ feature and click on the ‘Add Contacts’ button. You can choose to add contacts manually or in bulk. For bulk uploads, select the CSV file option and drag and drop your file into the designated area.

  • Ensure your CSV file is under 50 MB.
  • You can upload a maximum of 200,000 contacts at once.

After uploading, you can create a contact list from your uploaded contacts, which will be essential for your broadcast message.


4. Personalizing Broadcast Messages with Pabbly Connect

Personalization is key when sending broadcast messages through Pabbly Connect. You can use predefined templates to make your messages more engaging. Click on the ‘Templates’ feature and select or create a new template for your broadcast.

In your template, you can add variables such as the user’s name. For example, you can enter a dollar symbol followed by the variable name to automatically insert the user’s name into the message. This makes the message feel personal and tailored to each recipient.

After setting up the template, you can test the broadcast by sending a test message to yourself. This allows you to verify that the personalization works correctly before sending it to a larger audience.


5. Scheduling Broadcasts in Pabbly Connect

Once your broadcast message is ready, you can use Pabbly Connect to schedule it for later. This feature is particularly useful for planning your communications in advance. Select the ‘Schedule Broadcast’ option and choose a date and time for the message to be sent.

After scheduling, you will see a confirmation that your broadcast is set to go out at the specified time. You can also view the status of your broadcast, including sent, delivered, read, or ignored, directly from the dashboard.

This feature ensures that your messages reach your audience at the optimal time, maximizing engagement and response rates.


Conclusion

In this tutorial, we explored how to use Pabbly Connect to integrate WhatsApp for sending personalized broadcast messages. From setting up your account to scheduling broadcasts, each step is designed to enhance your communication efficiency. Start using Pabbly Connect today to streamline your messaging process!