Watch Step By Step Video Tutorial Below
1. Accessing Pabbly Connect for Integration
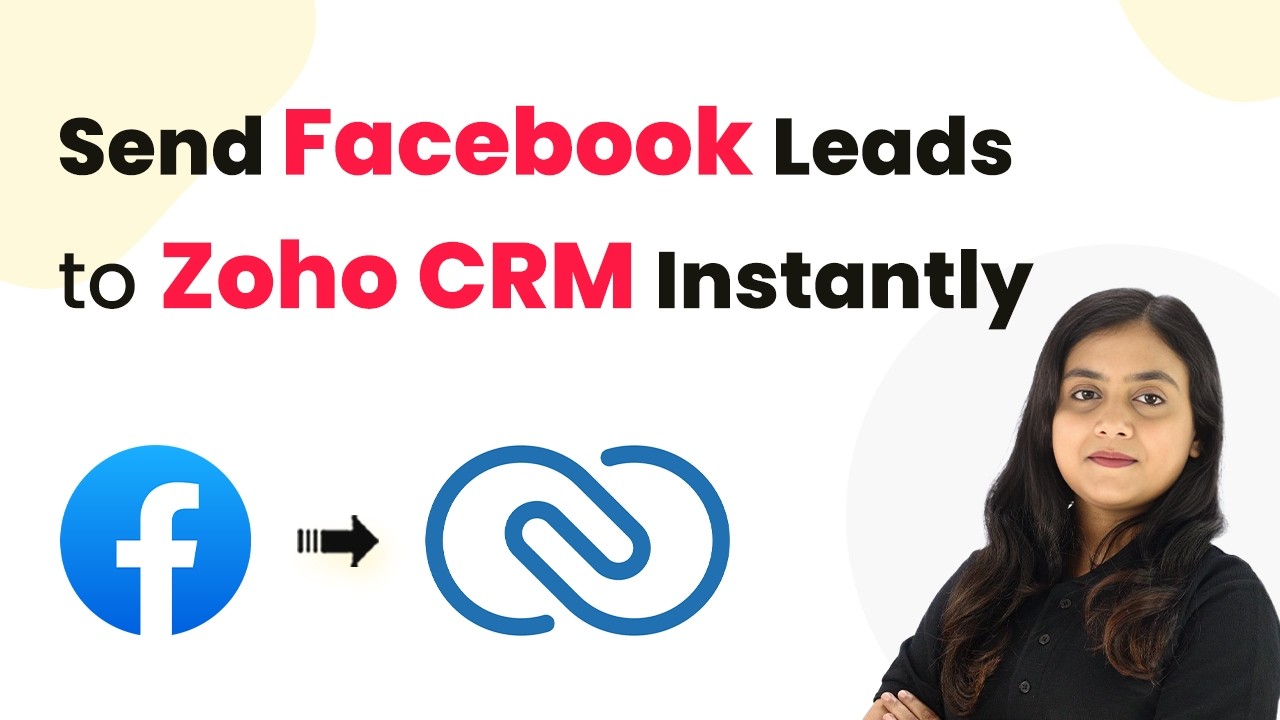
To start integrating Facebook leads with Zoho CRM, access Pabbly Connect by visiting the Pabbly website. If it’s your first time, sign up for a free account to receive 100 free tasks, allowing you to test this setup without any cost.
Once logged in, navigate to the dashboard where you can create a new workflow. Click on the ‘Create Workflow’ option and select ‘Create Using Quick Builder’. This feature allows you to prompt the AI to generate the workflow you need.
2. Creating the Workflow in Pabbly Connect
In this section, you will create the workflow to send Facebook leads to Zoho CRM using Pabbly Connect. After selecting the Quick Builder, input your request to send leads from Facebook to Zoho CRM automatically.
- Select the trigger as ‘Facebook Lead Ads New Lead’.
- Connect your Facebook account by clicking on ‘Connect with Facebook Ads’.
- Choose your Facebook page and the lead form you created.
Once you’ve completed these steps, save and send a test request to ensure that the connection is established successfully. This process integrates Facebook leads directly into your Pabbly Connect dashboard.
3. Generating Facebook Leads
To test the integration, generate a new lead using your Facebook lead form. Input the lead’s details, such as name and phone number, and submit the form. This action will trigger Pabbly Connect to capture the lead’s information.
After submitting the lead, go back to your Pabbly Connect dashboard to check for the response. You should see the lead details captured, confirming that the integration is working correctly. This step is crucial for verifying that leads are being sent to Zoho CRM.
4. Separating First Name and Last Name
Once you have the lead details, the next step is to separate the first name and last name using Pabbly Connect. Use the “Text Formatter” feature to split the full name into first and last names.
- Select ‘Text Formatter’ as the application.
- Choose the ‘Split Text’ event to separate the names.
- Map the full name from the previous step and set the space as the separator.
After saving this configuration, you will receive separate first and last names, which can then be mapped to Zoho CRM for contact creation.
5. Adding Leads to Zoho CRM
Now you will add the captured lead as a contact in Zoho CRM using Pabbly Connect. Begin by connecting to Zoho CRM through Pabbly Connect and input your Zoho account domain.
Map the lead details like first name, last name, email, and phone number to the appropriate fields in Zoho CRM. Ensure that you set the lead source as Facebook and manually enter any additional information required.
After mapping all necessary fields, save and send a test request. Once successful, refresh your Zoho CRM contacts page to see the new lead added automatically, confirming that the integration works seamlessly.
Conclusion
Using Pabbly Connect, you can effortlessly integrate Facebook leads into Zoho CRM. This automation saves time and ensures that every lead is captured accurately, enhancing your business efficiency.