If you are a conversational wizard and highly confident in converting the visitors into customers then you’ve got to add a live chat on your website.
Speaking of which, the first live chat application that comes in mind is Zopim (now known as Zendesk Chat).
Zendesk (Zopim) is a live chat application which focuses on converting leads on your website by interacting with them through the live chat with additional features like –
- Active visitors.
- Chat history.
- Analytics.
- Custom settings.
And a lot more.
Recent studies have proven that websites with real time interaction medium have a higher chance to generate healthy revenue streams and low churn rate.
So get your website integrated with the app but first go through the Zendesk review and get to know about each & every aspect of its functionality –
Step-By-Step Implementation Of Zendesk Chat –
As soon as you sign up and create your account –
- You need to put your website name for chatting widget.
- After that, you get the chat widget code which you have to add on your website.
Also, you will notice –
7 Core Features Of The Zendesk Chat Application:
- Navigate around & monitor web analytics via dashboard Home.
- Keep a watch over all the incoming Visitors.
- Know your chat History.
- Detailed Analytics of chat & agent reports in the graphical format.
- Real time Monitoring of chat and agent activities.
- Configure your chat application Settings.
- Agents – For adding agents and their skills & roles.
- Departments – Define a department for agents.
- Roles – Add roles of agents.
- Routing – For assigning incoming chats.
- Shortcuts – Turn few characters in a full sentence.
- Banned – Ban certain users and their IPs.
- Triggers – Automatically engage high-value customers.
- Goals – For tracking page conversions.
- Widget – Provides chat application’s embed code for your website.
- Personal – Update your personal profile.
- Account – Configures complete account settings like file sharing, operating hours, etc.
- See all the logged-in Team members.
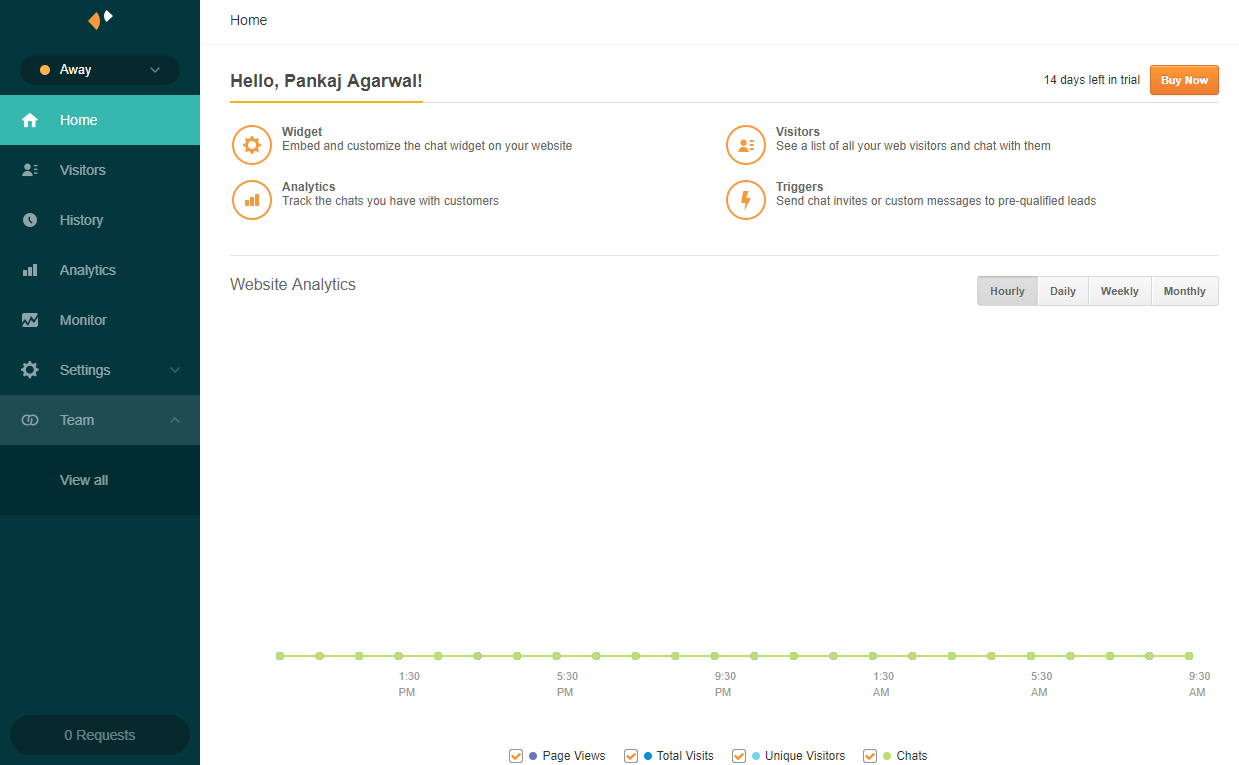
Jump Across Different Segments Via Home Menu
- Here, 4 options will be there in front i.e.
- Widget (will be connected or redirected to Settings→Widget menu)
- Visitors (will be connected or redirected to Visitors menu)
- Analytics (will be connected or redirected to Analytics menu)
- Triggers (will be connected or redirected to Settings→Trigger menu)
- Website Analytics – A web analytics section will be there which shows Hourly, Weekly, Daily or Monthly Graph.
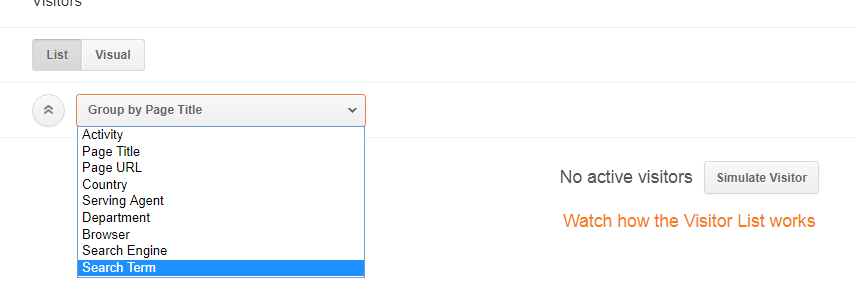
Monitor Incoming Visitors On Your Website
- There are 2 ways we can display the users – List View and Visual View.
- Below that, a Group By option is also present, by which the user can view the visitors based on his activity, page title, page URL, etc..
- A search bar is present at the top right Whenever we want to start a chat with any user, we can just hit that user and start to chat, every user has a unique id with them and if we store user detail then we see their names while chatting.
List View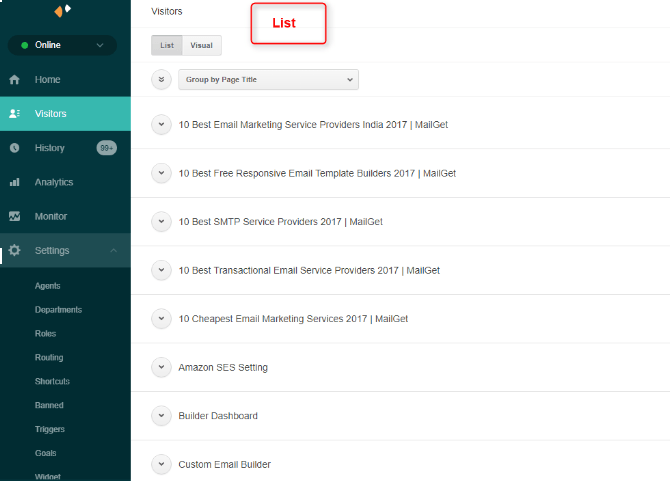 Visual View
When we open any user’s chat, we’ll get a Current Chat User Tab.
The chat window will consist of following elements:-
- Name of visitor along with 3 icons which show Country, Operating System & IP address of the visitor. (See the top left section in image)
- Current & Past Chat option. (See the top left section image)
- When user read the chat double tick will appear.
- Sidebar will be there which again consist of 5 sections i.e
- Visitors Information
- Tag Section
- Visitor Path
- Tracking Path
- User Location
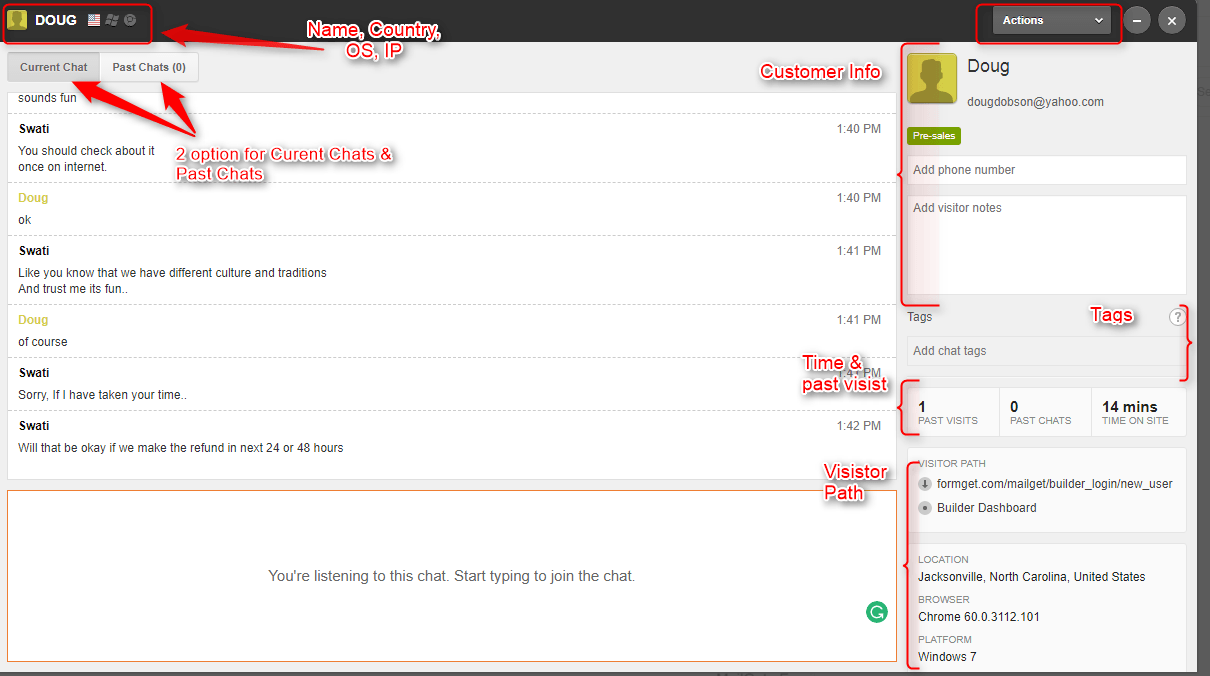
Sidebar’s bottom section (chat window)

Keep A Tab On Your Chat History
-
- All the previous history of the user will be shown here –
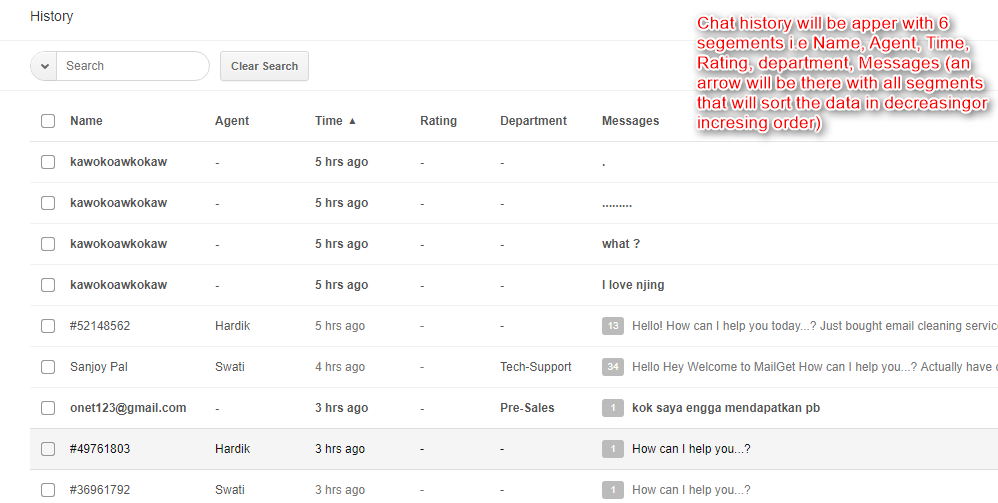
- When we click on a single user from left, we’ll get 2 options at right i.e Transcript and user info.
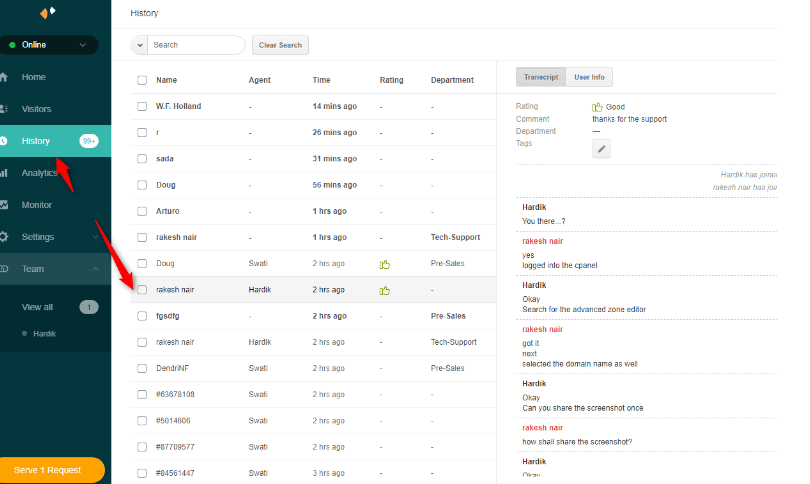
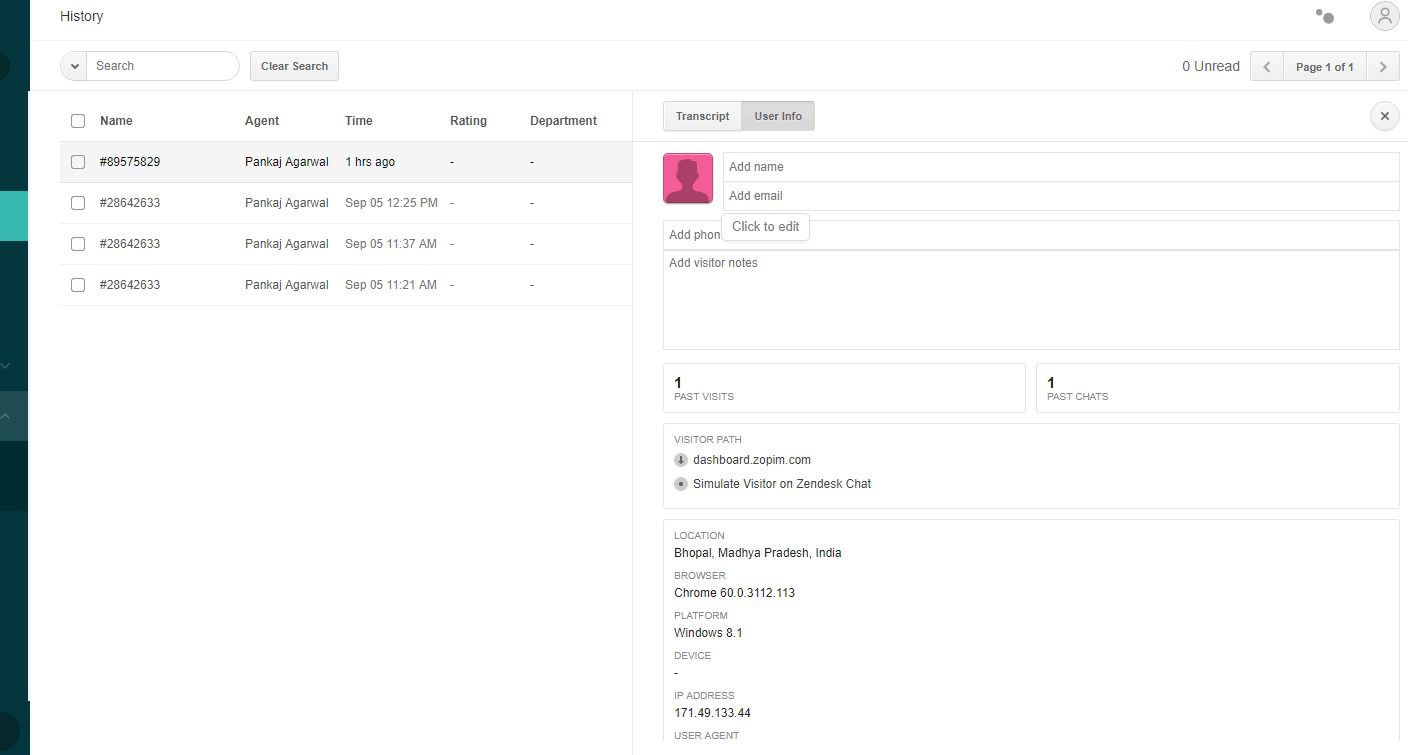
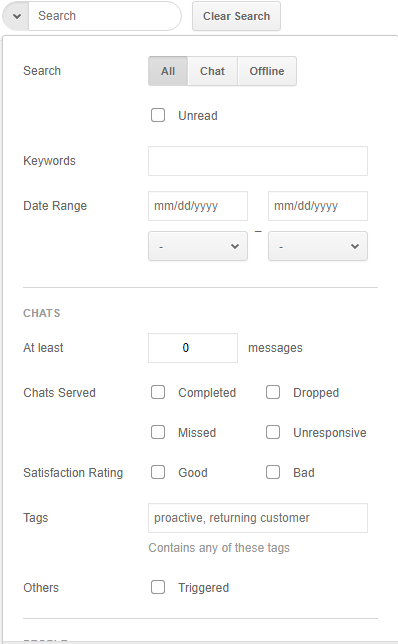
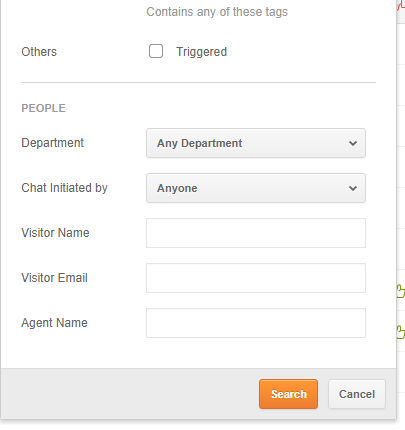
- A user can search a customer’s chat on top & also apply multiple search filter option in order to find particular chat.
History → Search Filter
- All the previous history of the user will be shown here –
Deeply Analyze Your Chat & Agent Reports
Analytics → Chat Reports
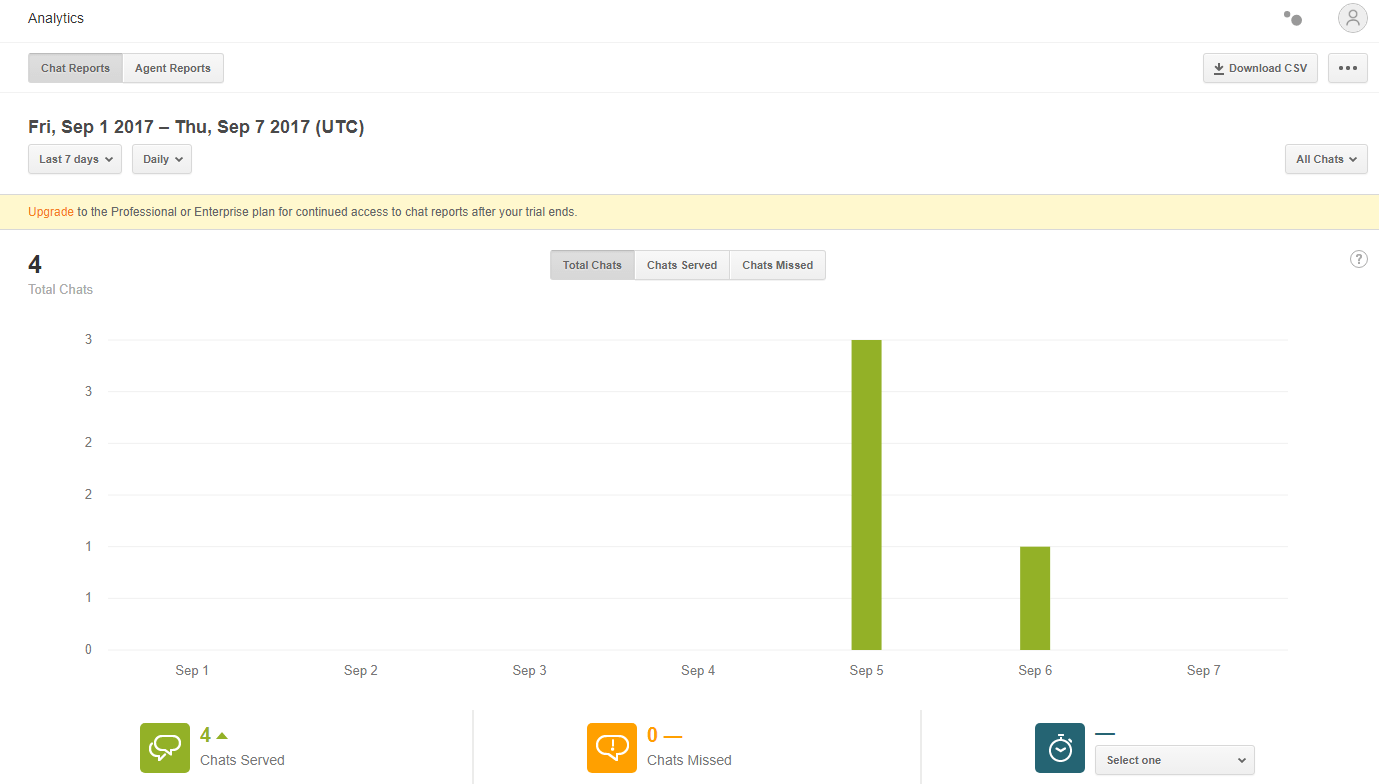
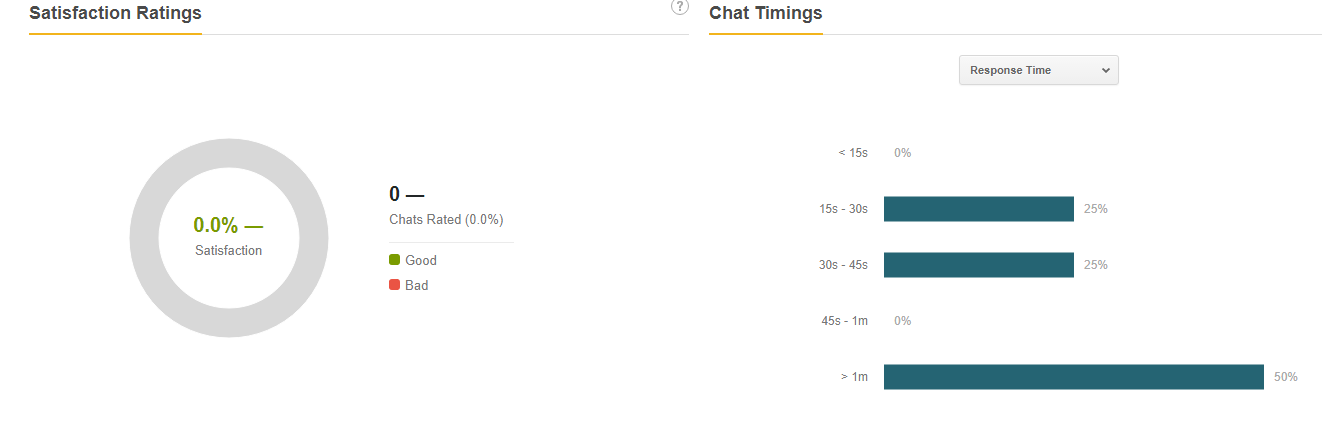
A detailed and broken down representation of Chat Reports can be done for past 1 day, 7 days, 14 days, 30 days and custom days too.
Also, you can switch between Chat Served and Chat Missed tabs.
Analytics → Agent Reports


Similarly, a detailed analysis of Agent Reports can be accessed for past 1 day, 7 days, 14 days, 30 days and custom days.
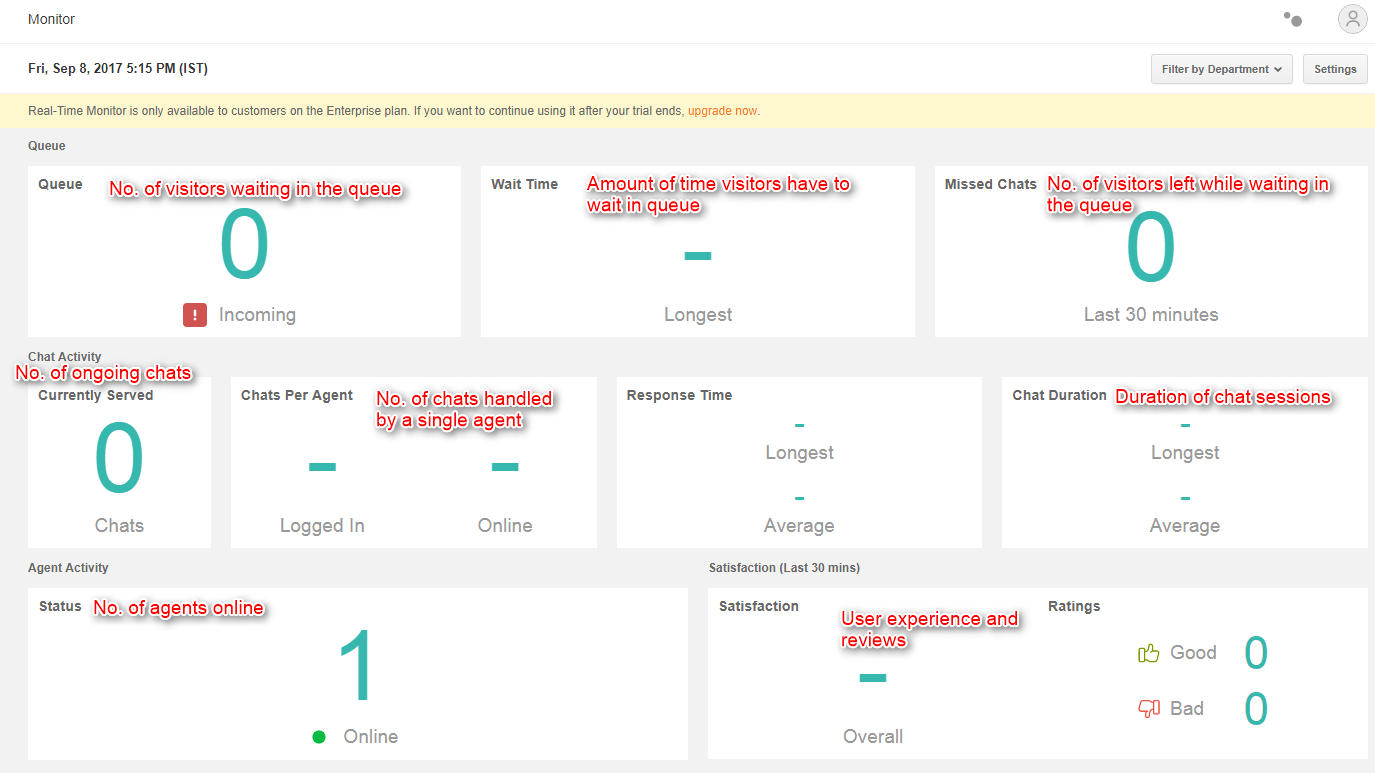
Real Time Monitoring Of Chat & Agent Activities
Monitor menu will show you the real time insights on chat and agent activities (available only on Enterprise plan).
Manually Configure Chat Application’s Settings
Setting menu will consist of 11 sub menus that are:-
-
- Agents
- Departments
- Roles
- Routing
- Shortcuts
- Banned
- Triggers
- Goals
- Widgets
- Personal
- Account
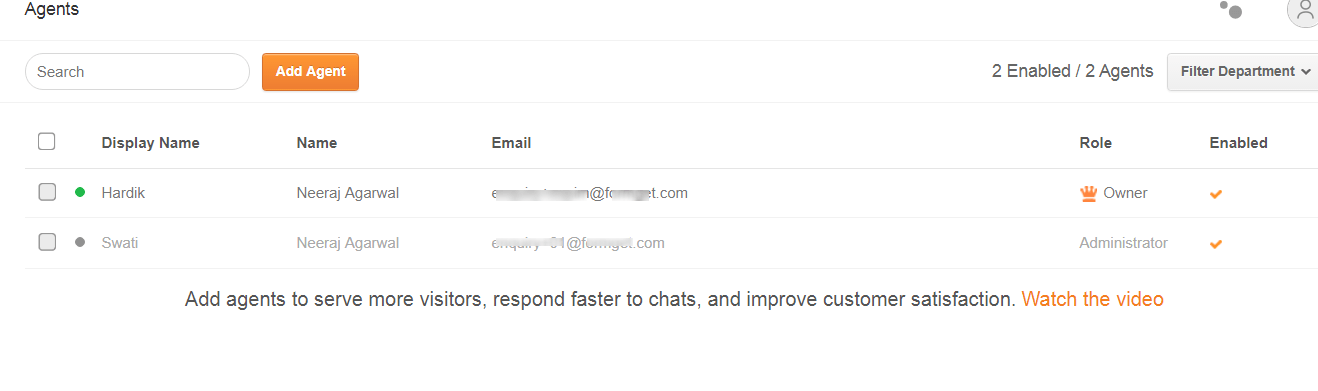
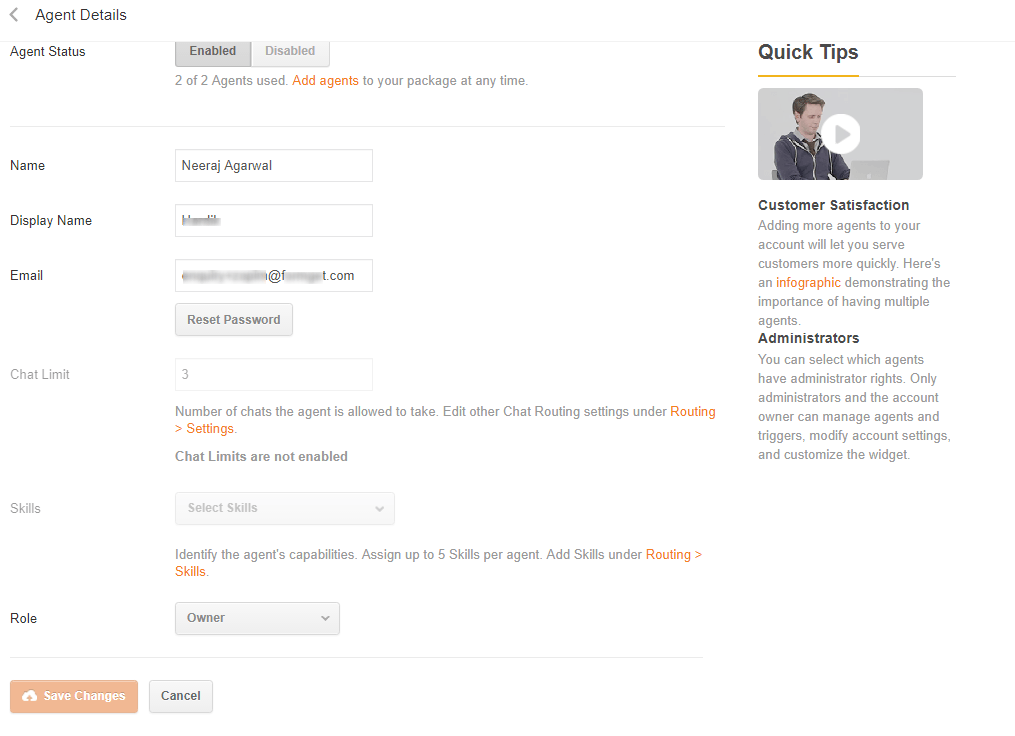
1. Agents
- Add new agent in the system.
- Agent’s page will look like this –
- When we click on any agent’s profile, this window will get opened –
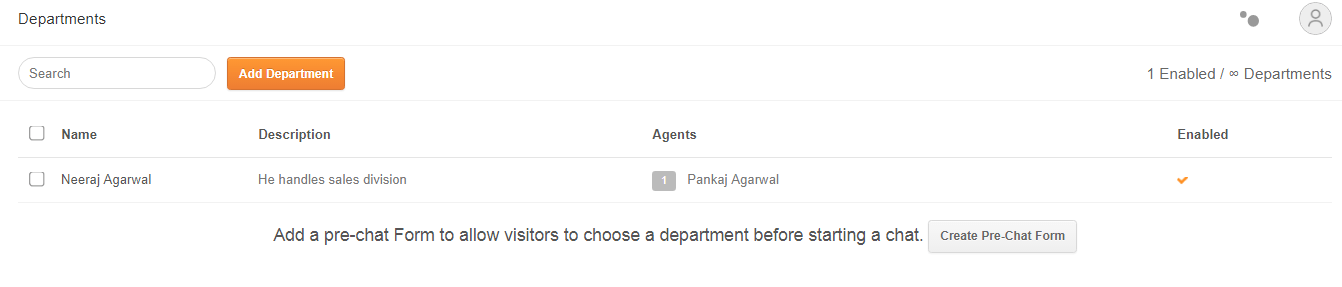
2. Department
3. Roles
- Add New Role
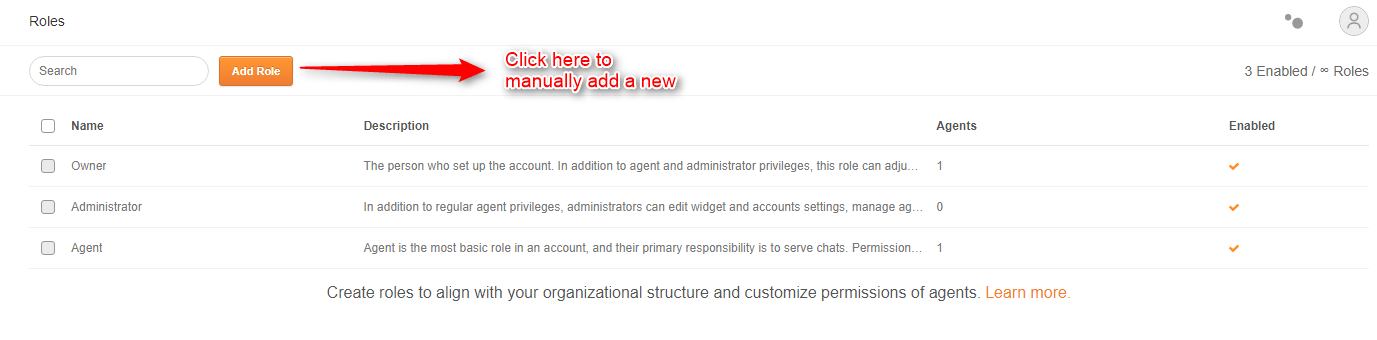
After clicking on the “Add New” button, you will be directed to manual role defining page –
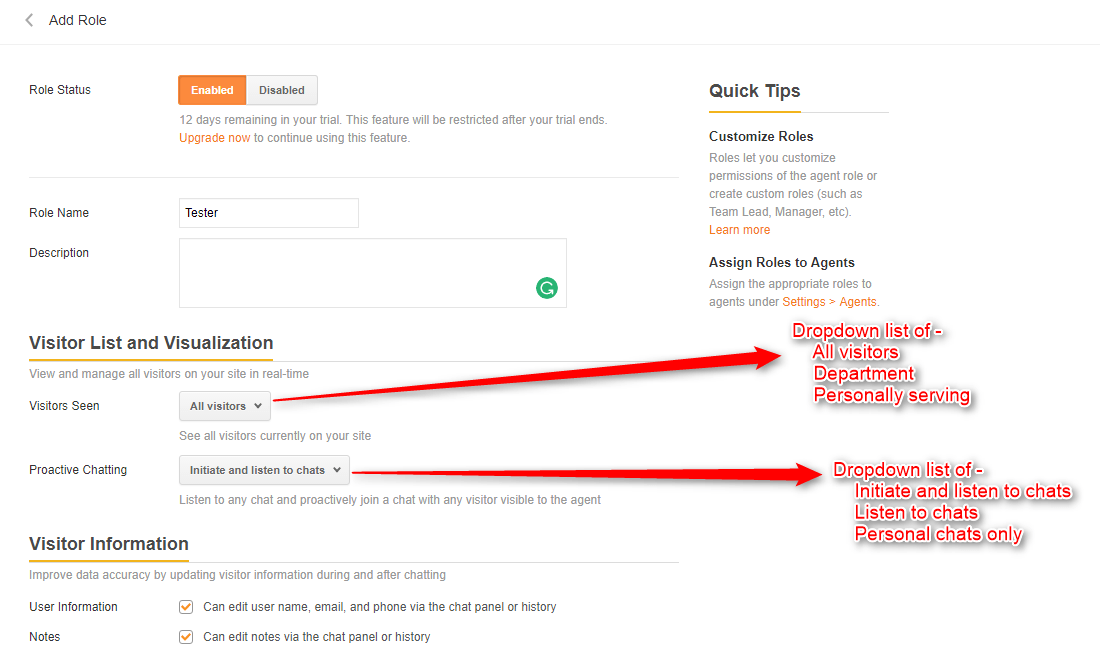
After scrolling a bit –
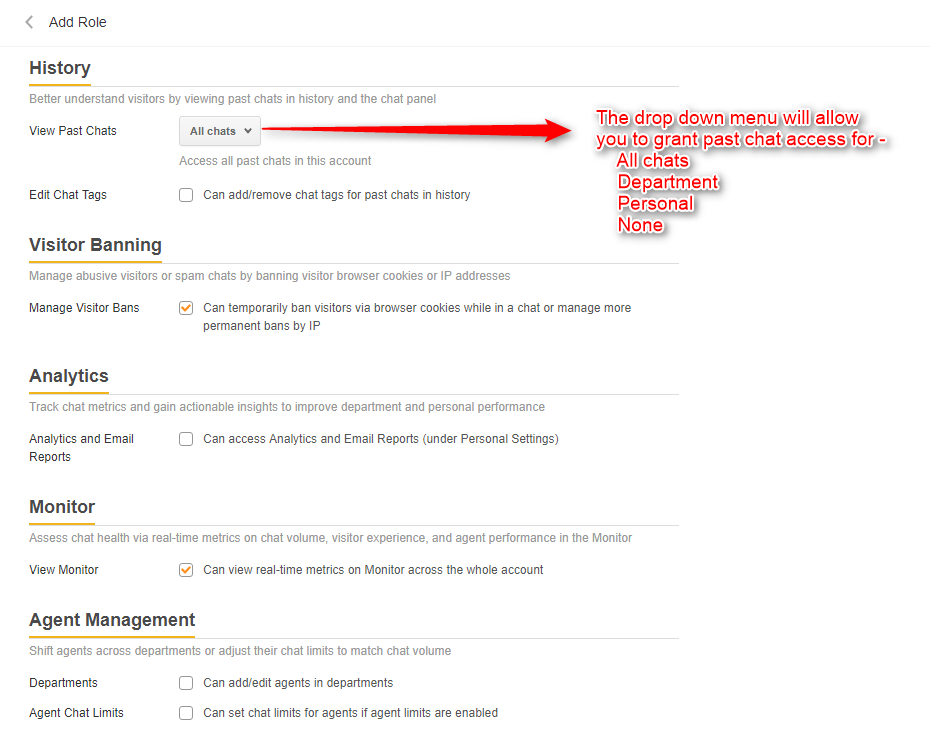

Click on the “Create Role” button to save and create a new role.
- Predefined Existing role

Click on any of the predefined roles to view their details or to edit the role.
For Owner, you can only view its details –
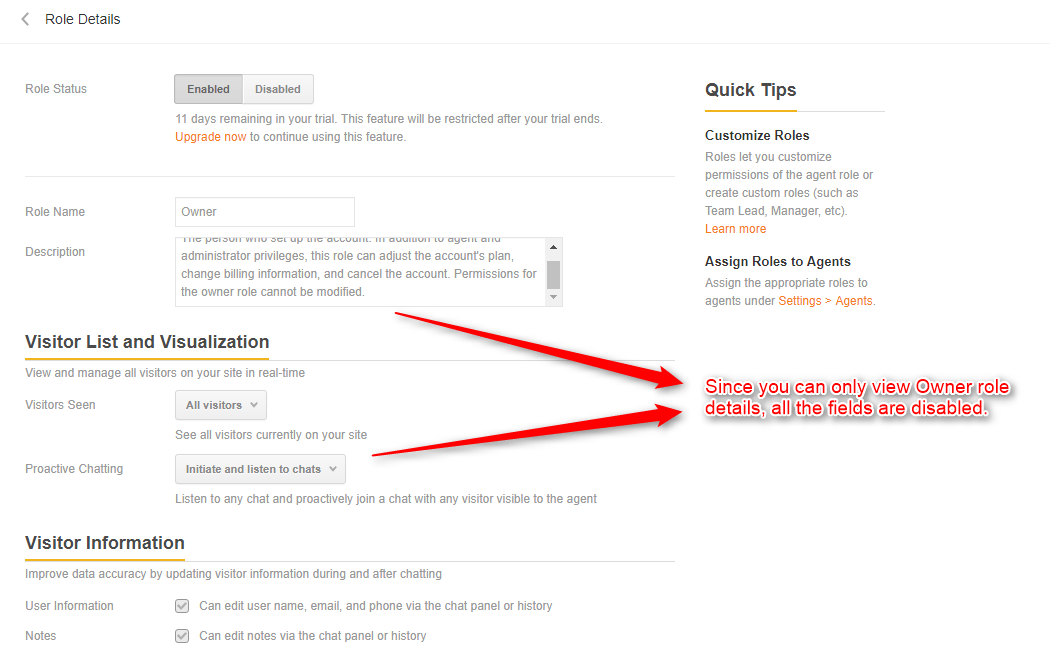
After scrolling down a bit –
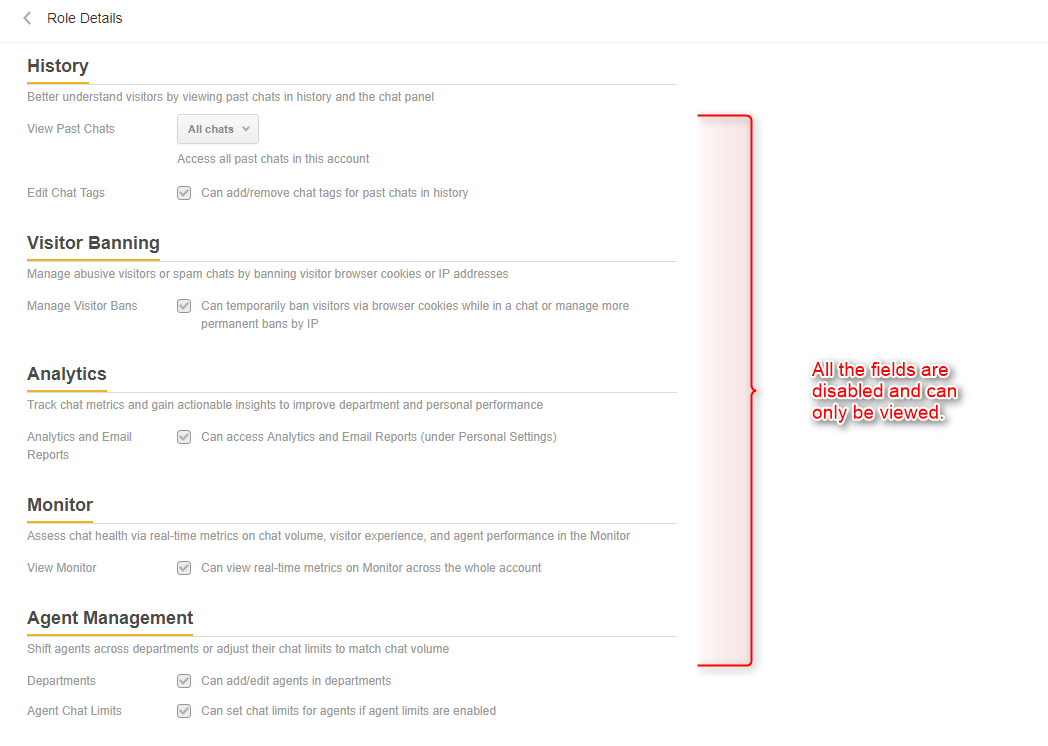
For Administrator too, you can only view its details –
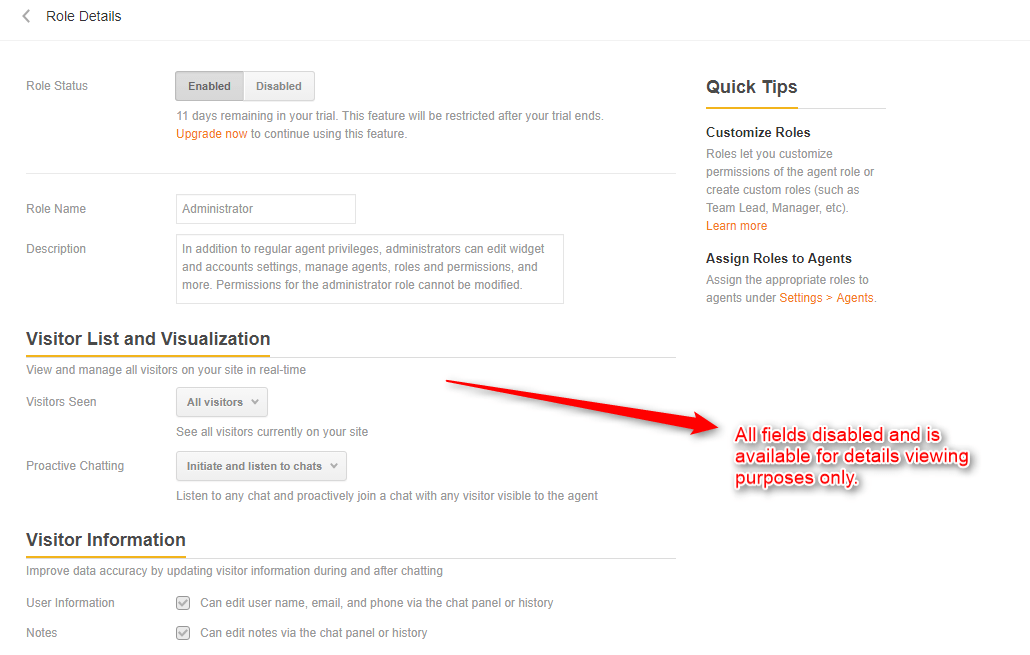
Scroll down a bit,

Finally, for Agent role, you can view and edit the role as well –

Scroll down a bit for other editing options –


4. Routing
- When a customer comes, he has to select the desired help he needs: Sales/Technical.. Accordingly, with the help of routing, correct agent will be assigned to the desired chat automatically.
- Skills-Based Routing is available on the Chat Enterprise Plan. It aims to connect end-users with the company’s most-skilled agent. A “skill” is one or more characteristic you assign to an agent. This could be a language an agent understands, knowledge areas, product specialization, types of customers they serve, or even the region they are in. By automatically pairing customers with the right agent, you can reduce response time and increase customer satisfaction. Click here for details.
Firstly, in order to route customers according to their help needs, certain skills must be defined which can be done by following the path – Settings → Routing.
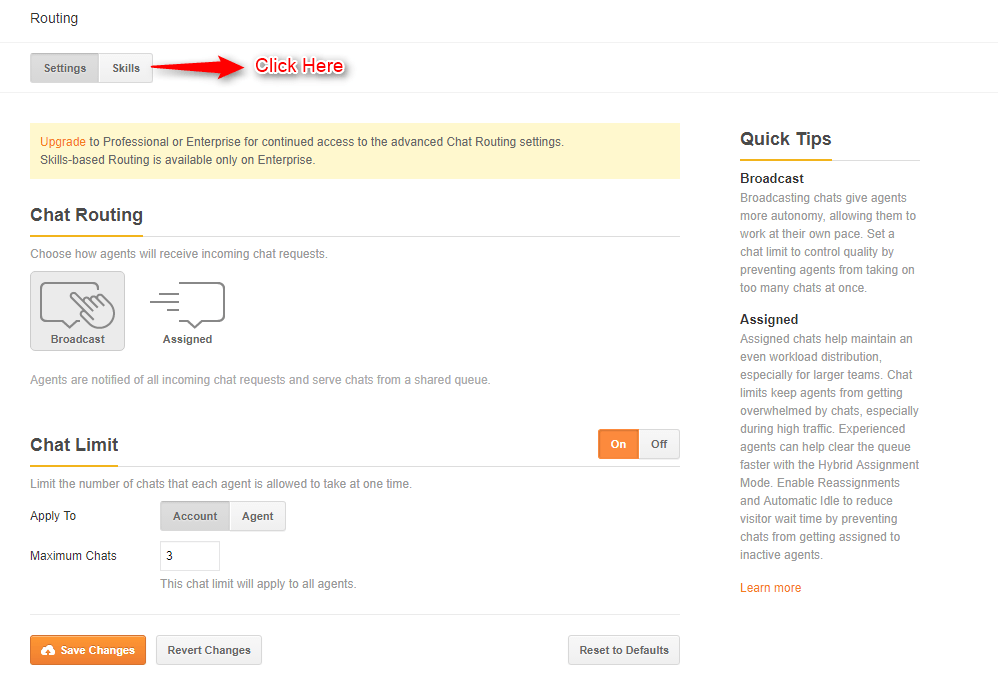
This is the home page of Routing. Click on Skills tab for manual skills creation.
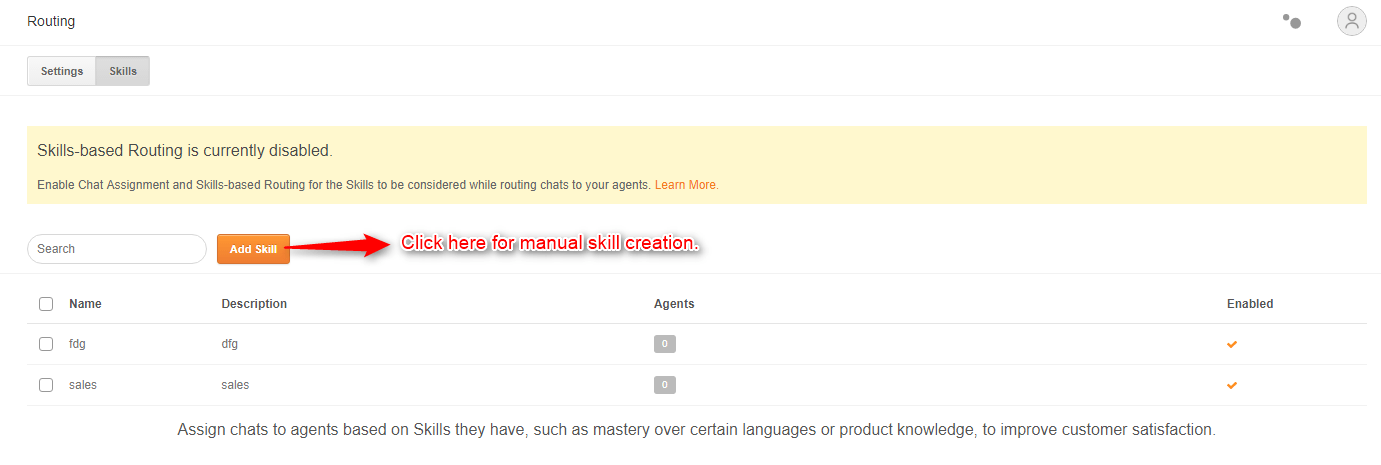
This is what Skills home page looks like. It displays all the previously created skills. Click on the “Add Skill” button to manually create a new skill.
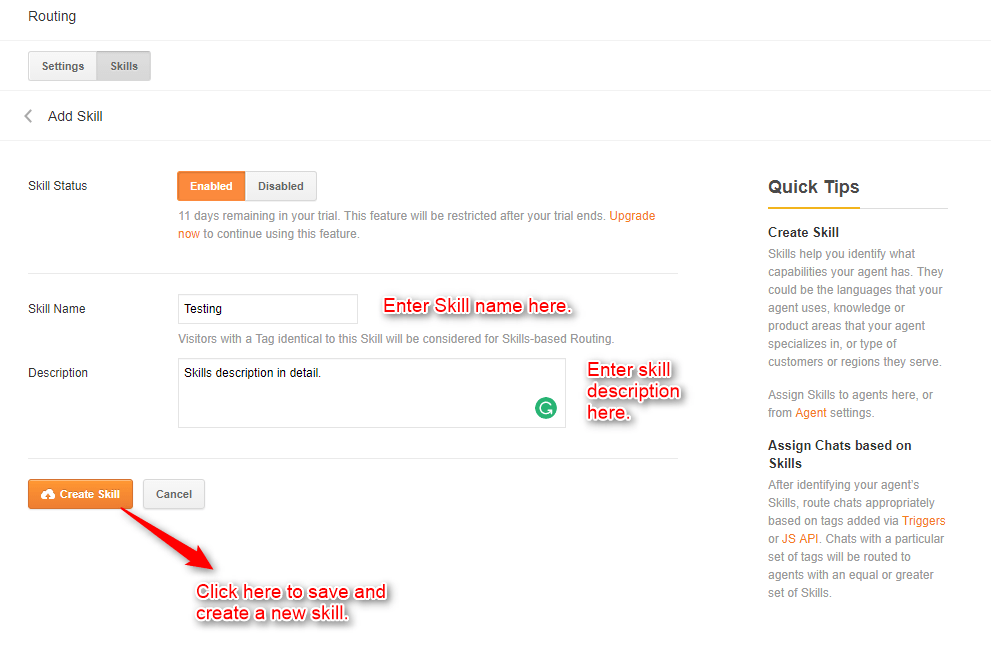
Click on “Create Skill” button to save and create a new skill.
To change or customize any skills, later on, click on the respective Skill and you will be redirected to its detail editing page.
Now, to manually configure Routing settings, follow Settings → Routing → Settings tab.
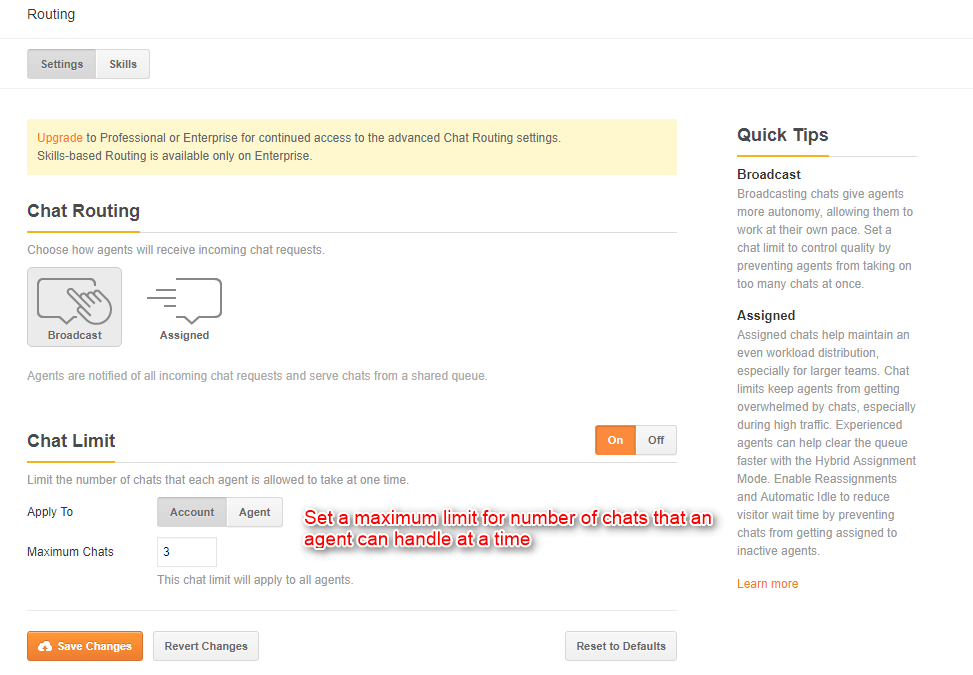
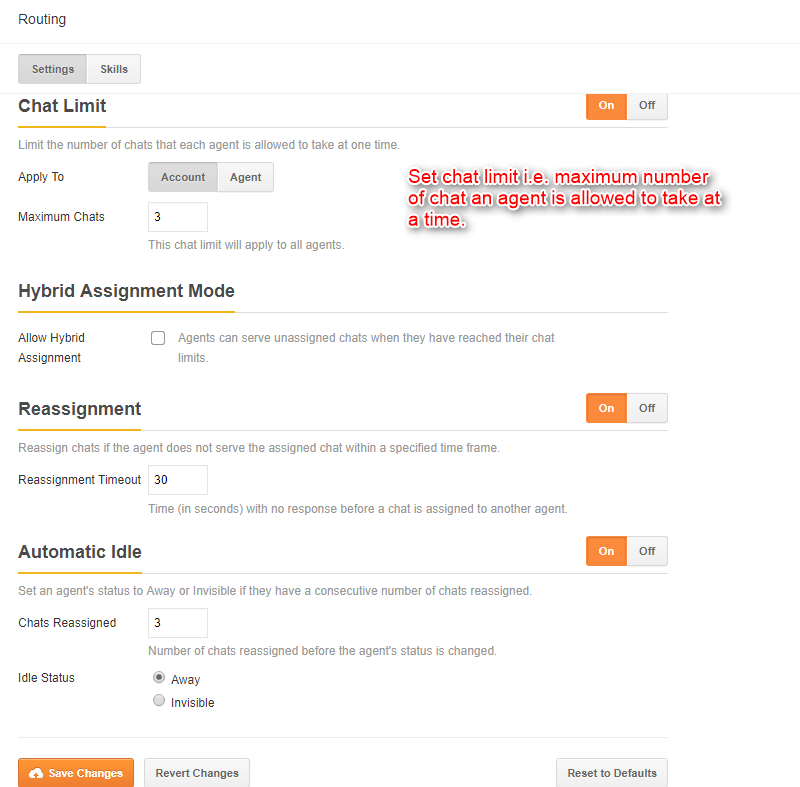
This is the page for Routing’s settings. Click on “Broadcast” tab under Chat Routing section and you will be able to set maximum chat limit for a single agent.
After that, click on “Save Changes” button.
To automatically assign chats to online agents click on the Assigned tab in Chat Routing section.
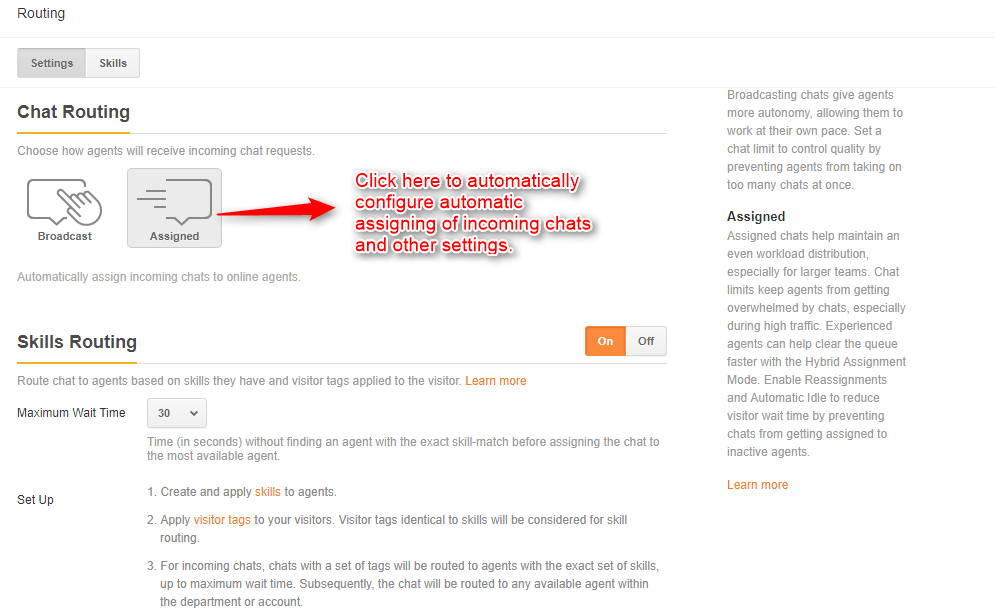
Once the Assigned tab is selected, you can see all of its setting options. In the Skill Routing tab, you can route chat to agents based on skills they have and add a maximum wait time so that visitor can be routed to the most available agent if an agent is not found based on the required skill.
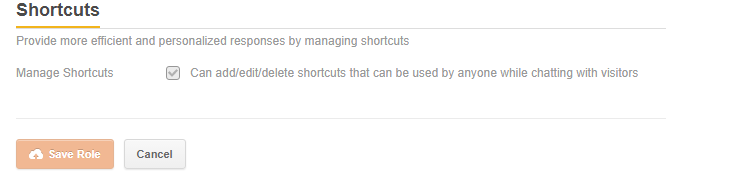
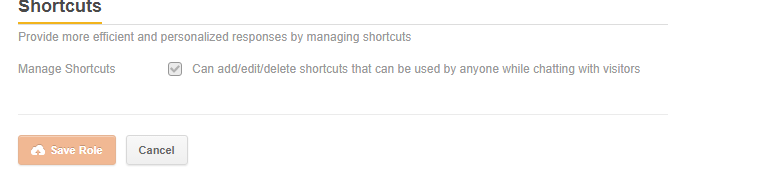
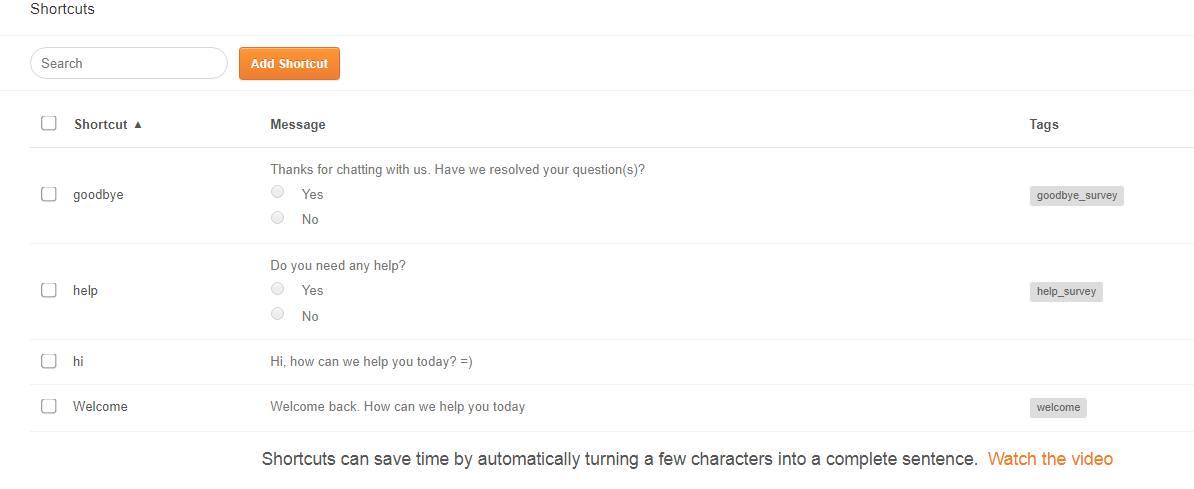
5. Shortcuts
By automatically turning a few characters into a complete sentence, shortcuts saves lot of time.
Firstly, the shortcut page will look like this –

After creating multiple shortcuts, it will look like this –
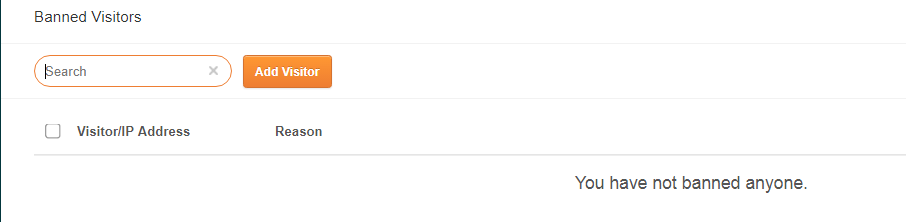
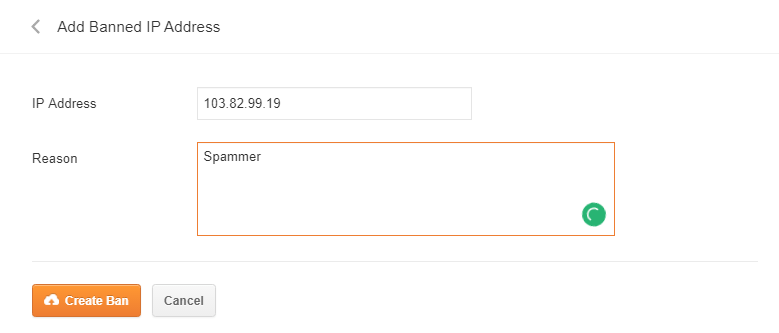
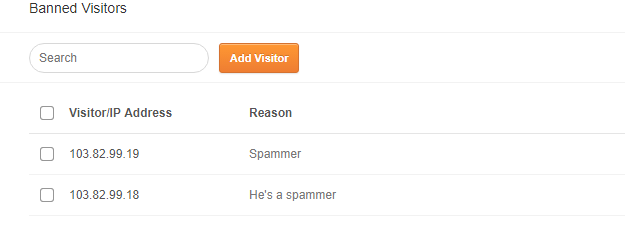
6. Banned
Ban users based on their IP
Before ban –
on clicking add visitor button
After Ban
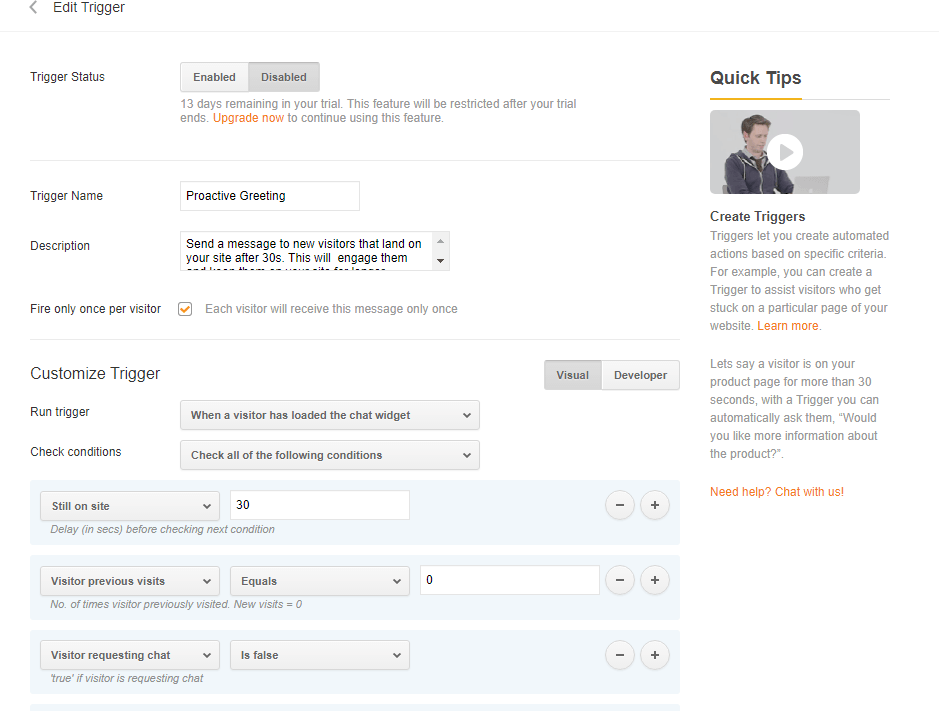
7. Triggers
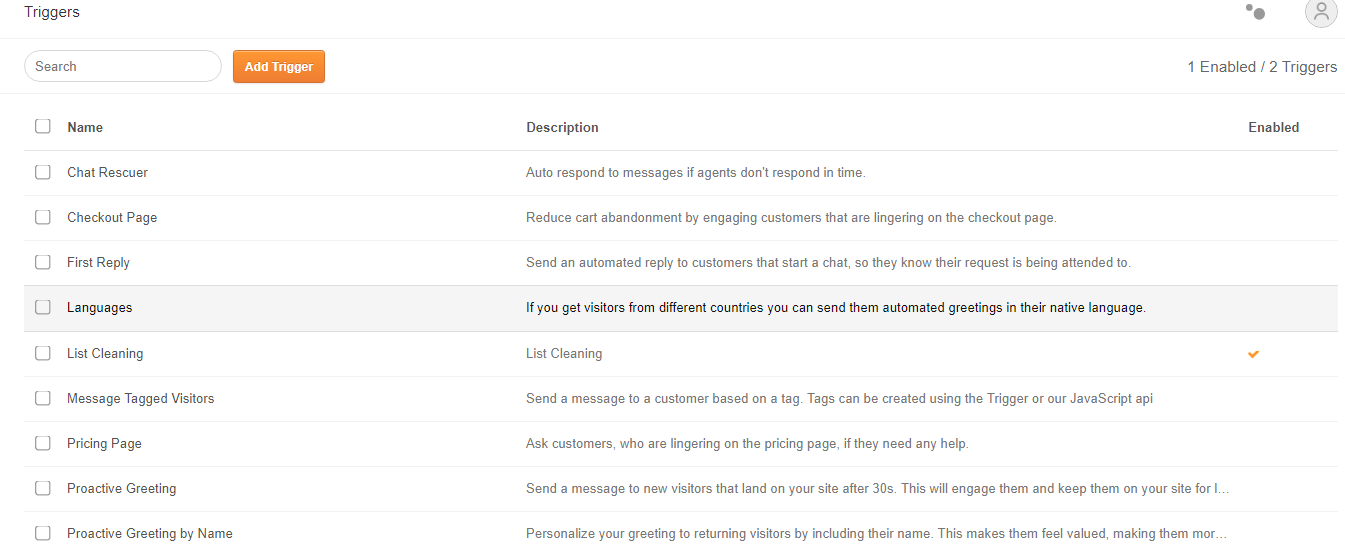
On clicking the Add Trigger button, a user will be redirected to this page and he has to fill all the information in order to set triggers.
Before filling the form –
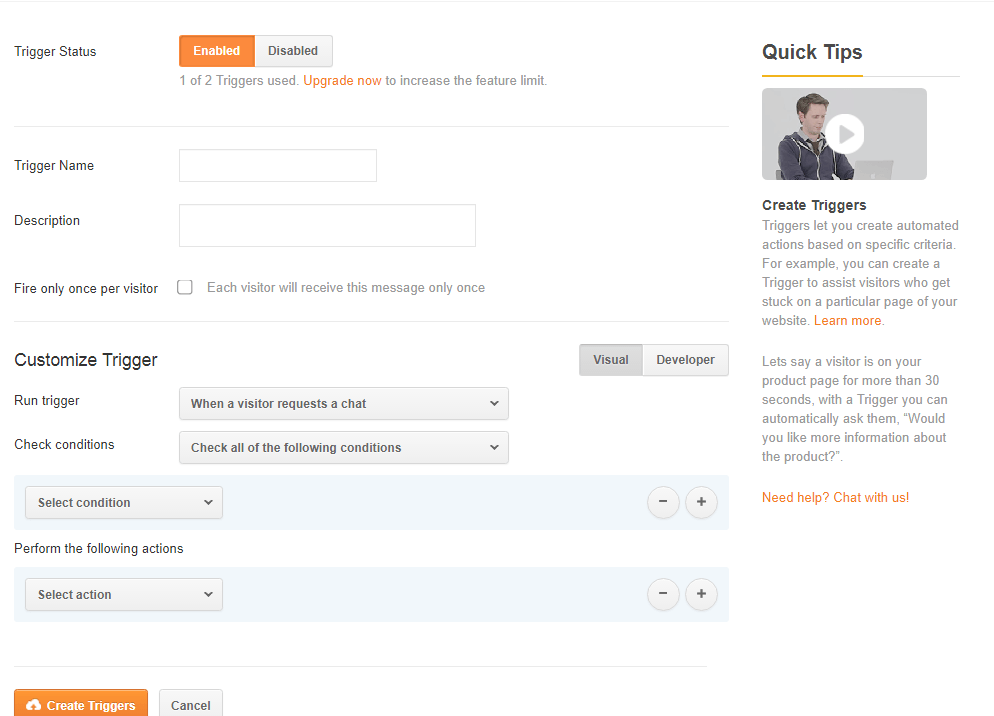
After filling the form
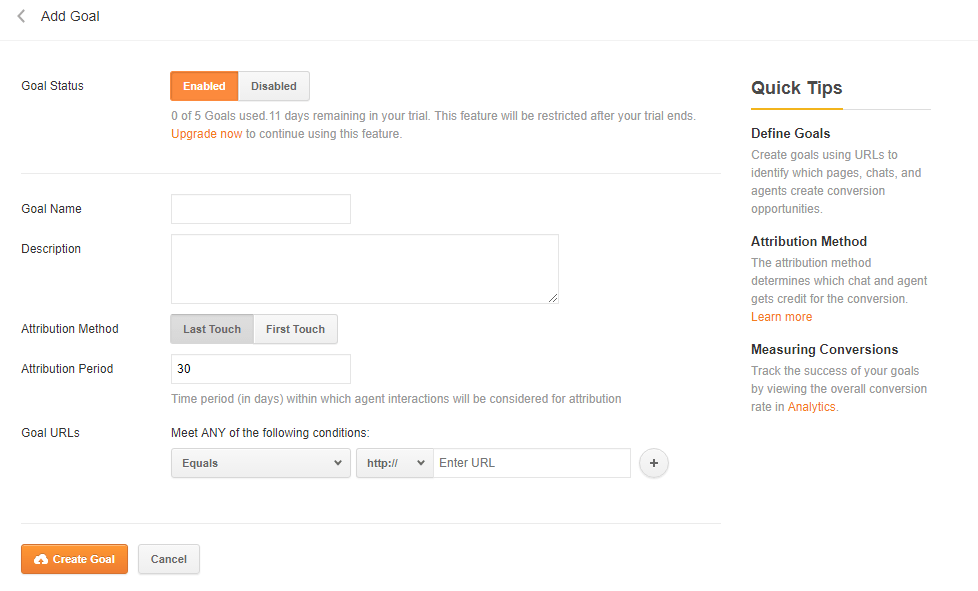
8. Goals
If a user completed the destination page.

To track the page URL conversion, add a new goal by clicking the “Add Goal” button.
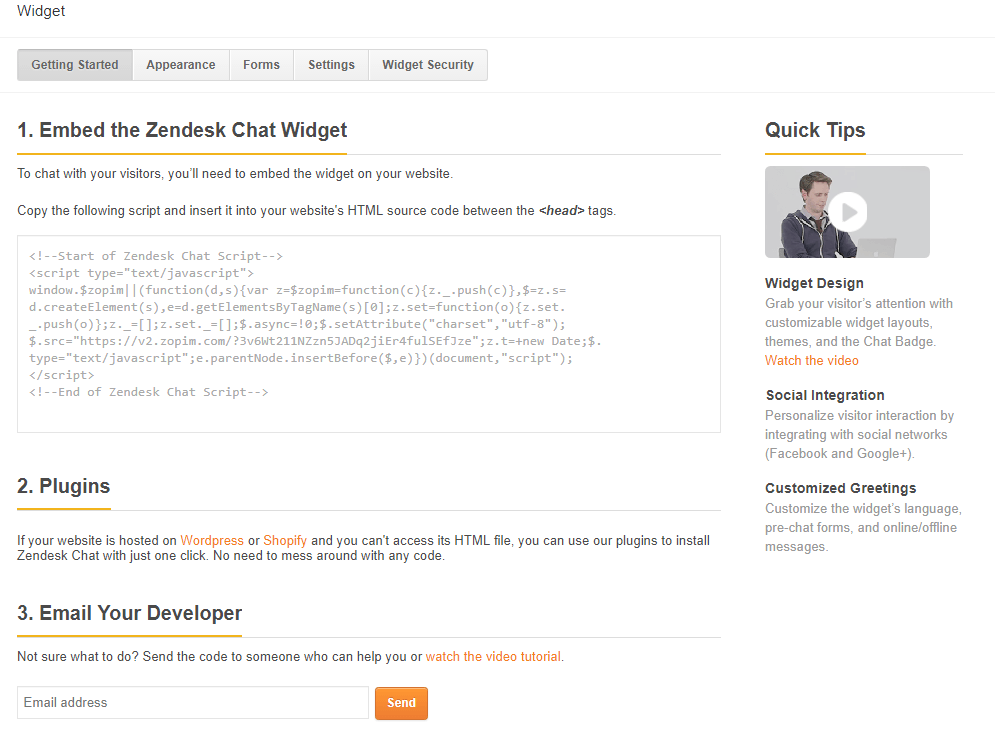
9. Widget
Widget section will consist of 5 different segments.
- Widget → Getting Started – Provides a script code for you to copy it into your website’s HTML source code.
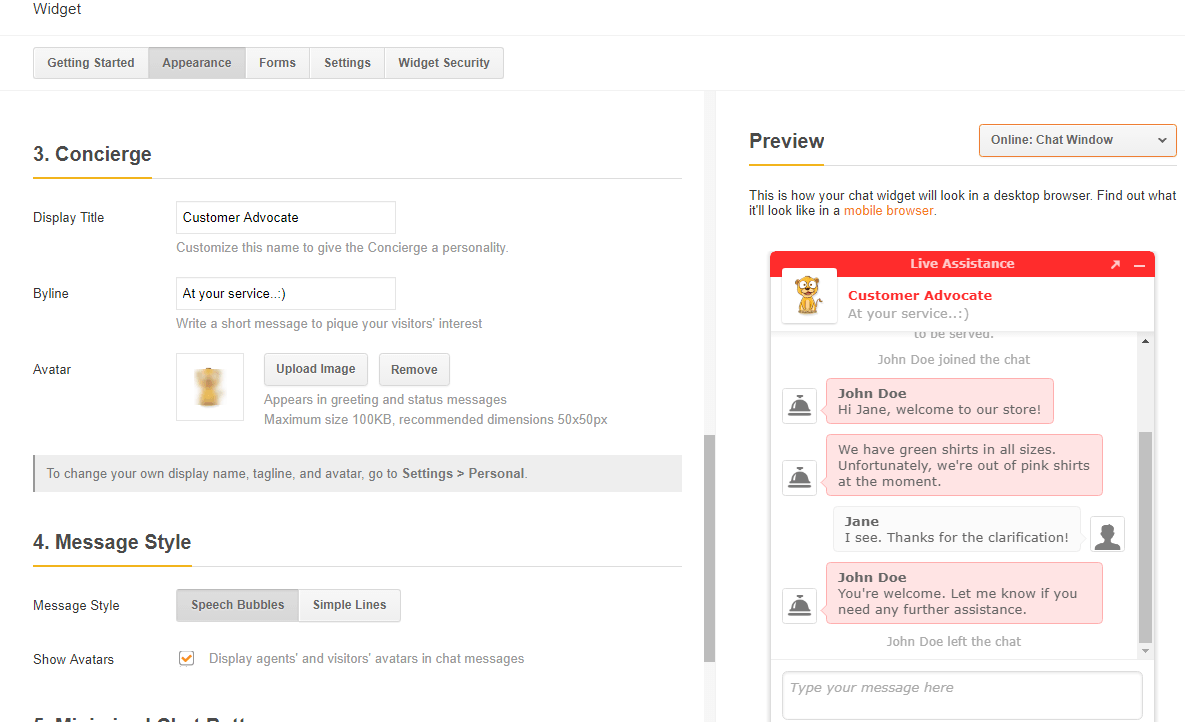
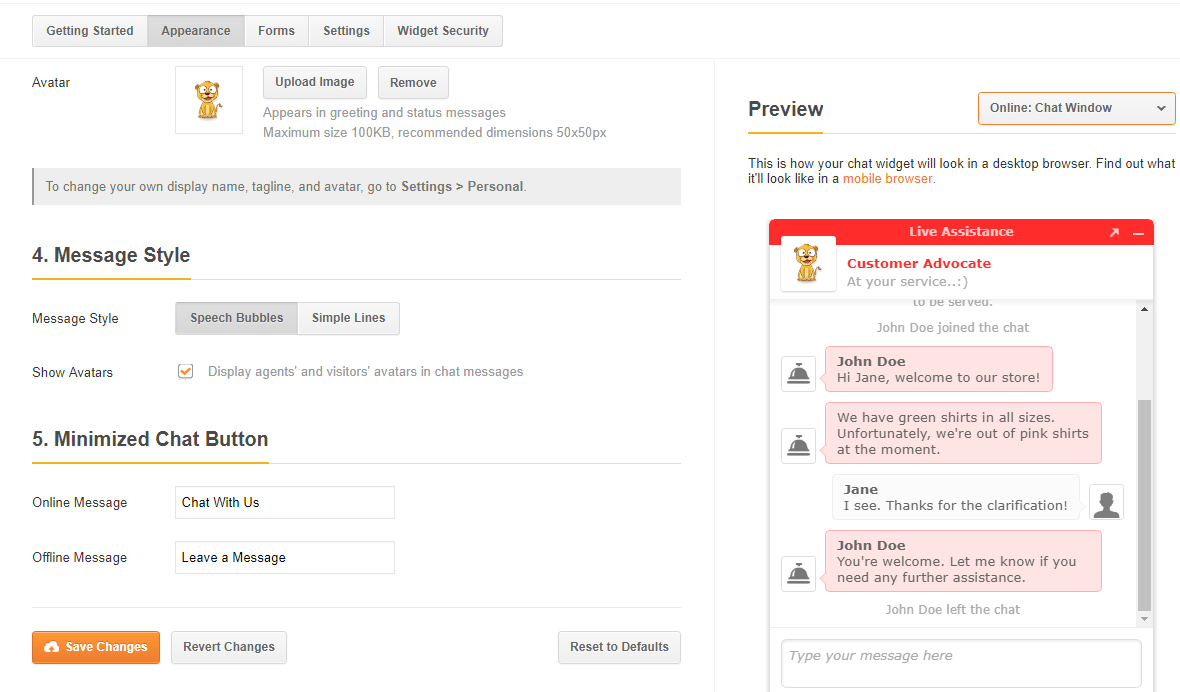
- Widget → Appearance
Chat Window

Chat Badge
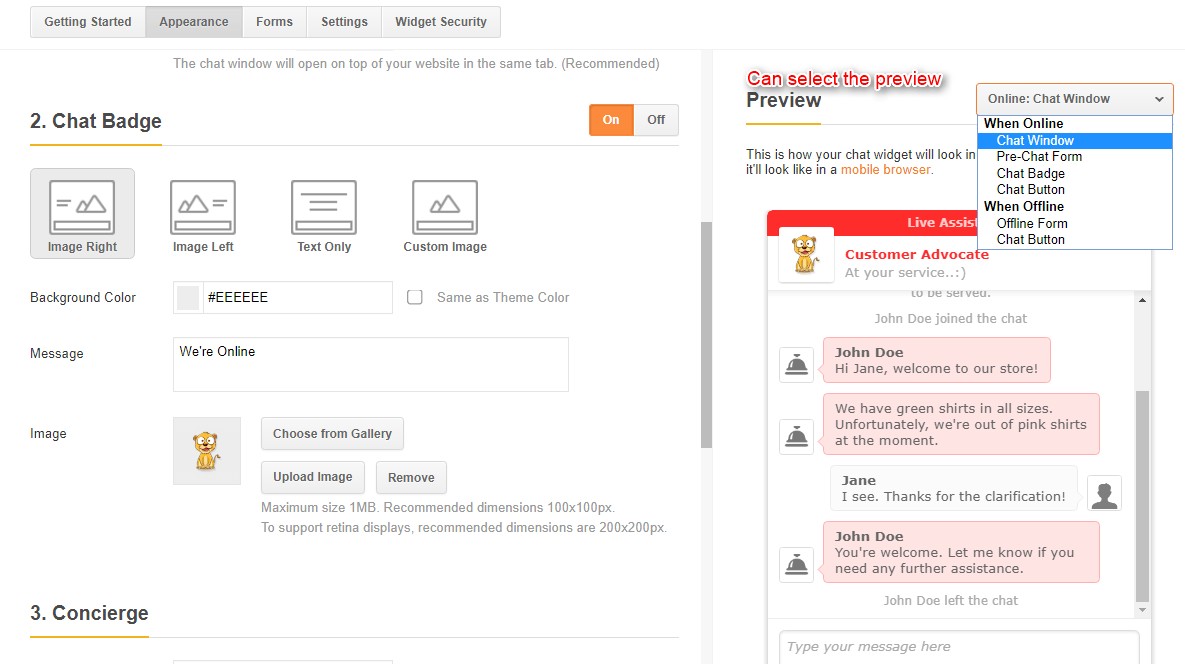
Concierge
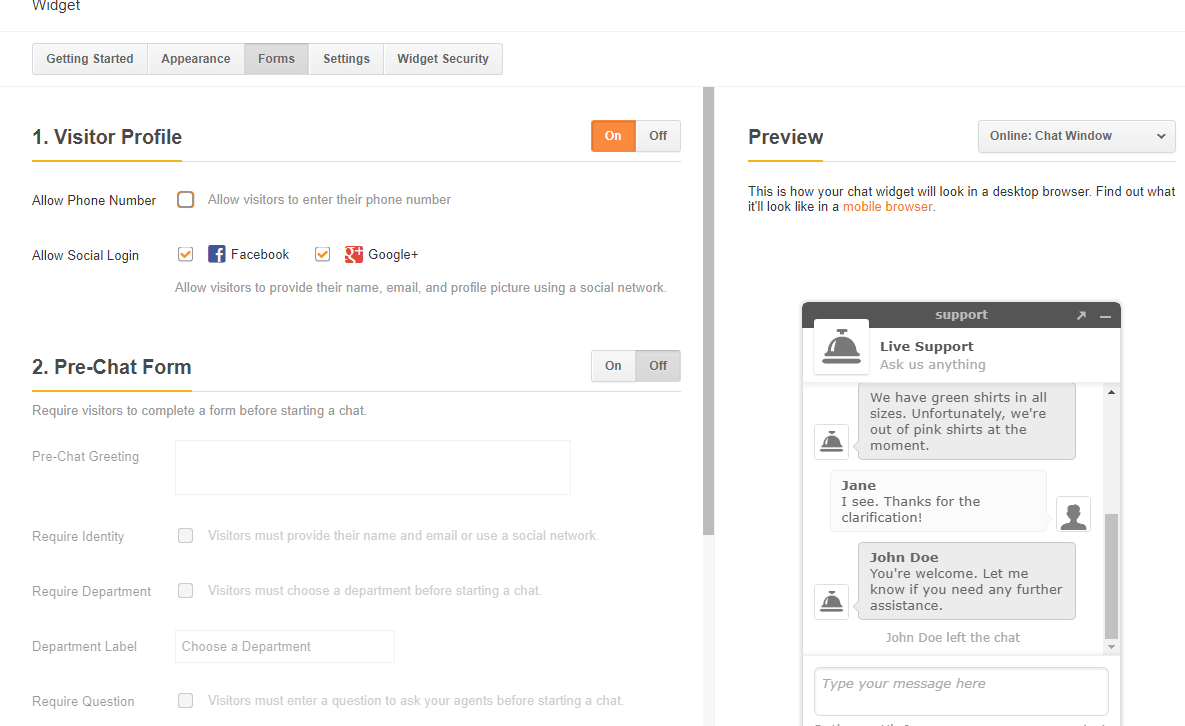
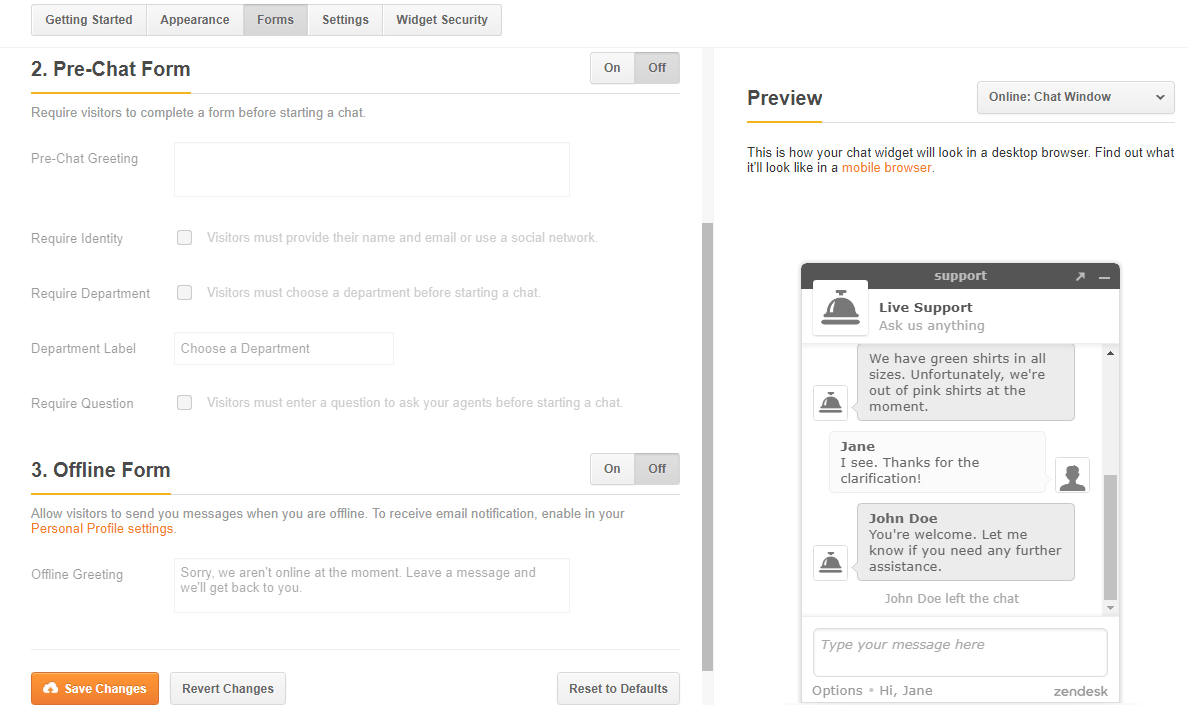
- Widget → Forms
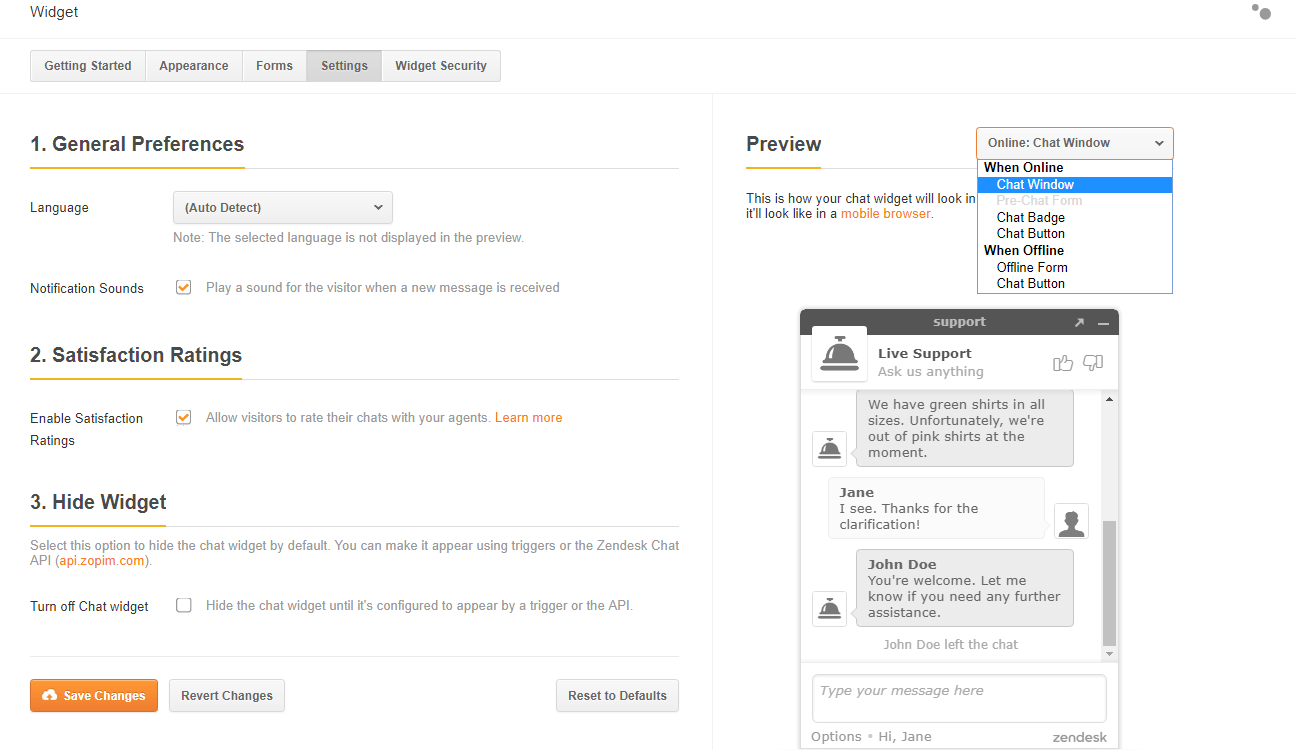
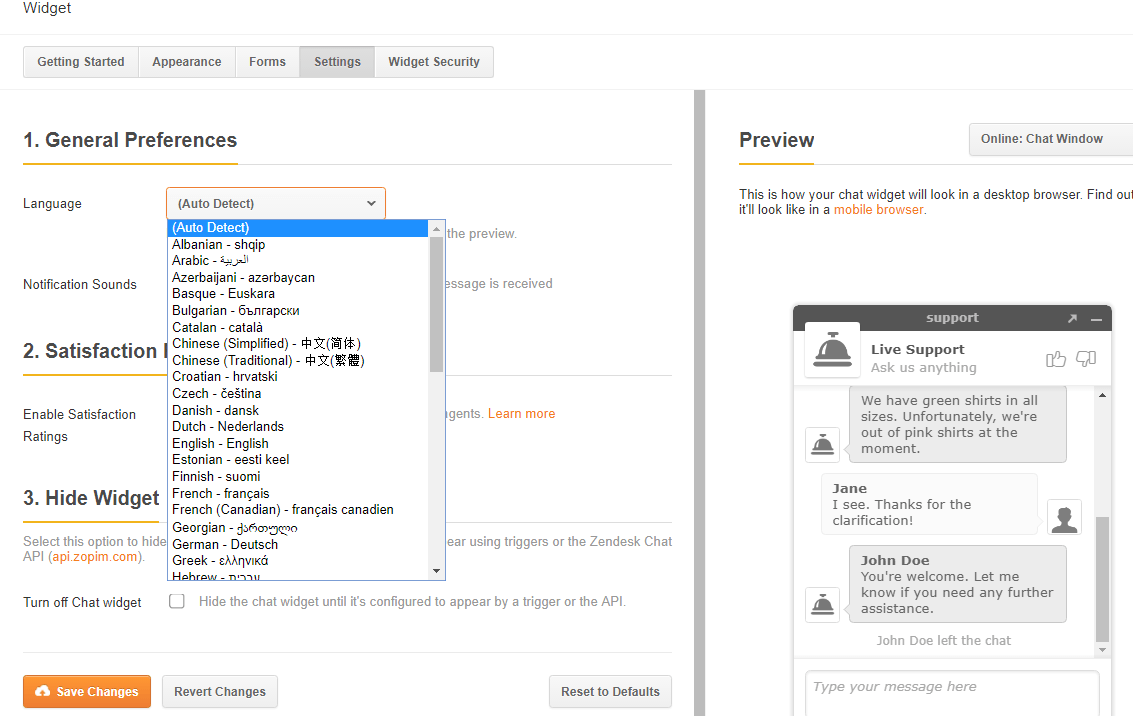
- Widget → Settings
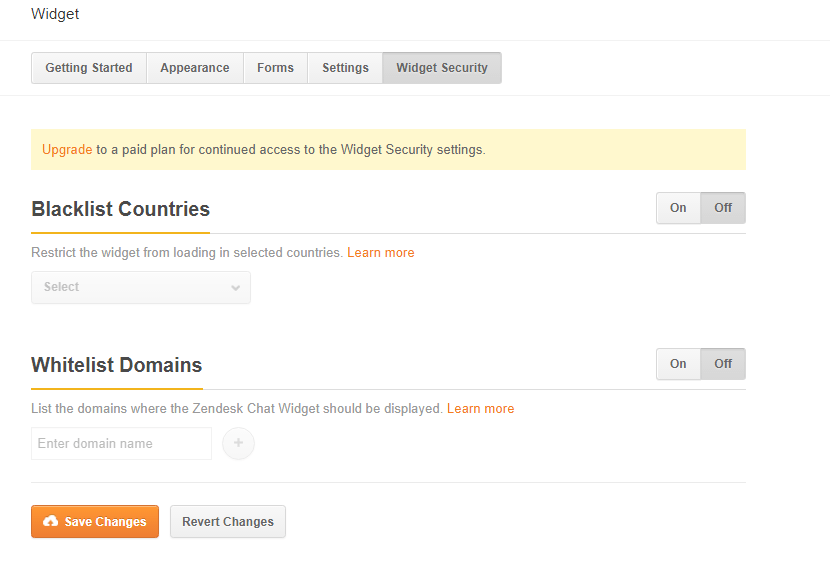
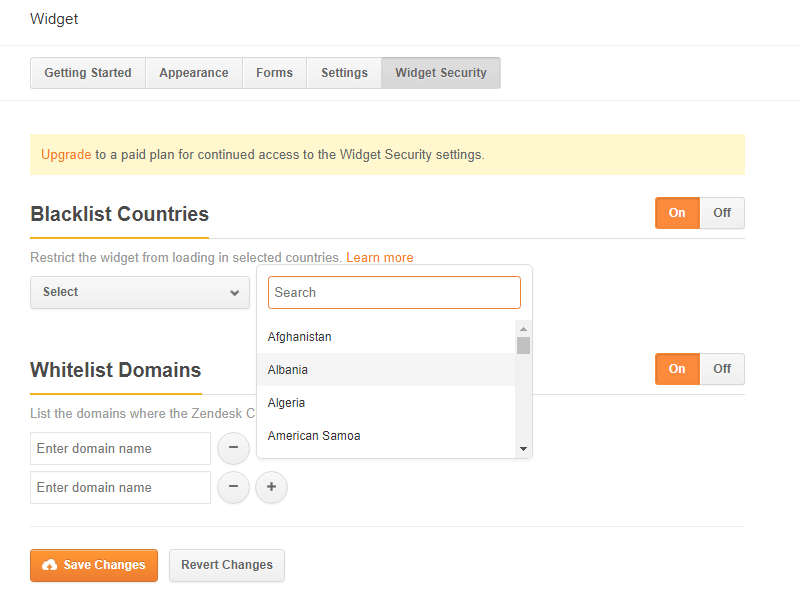
- Widget → Security
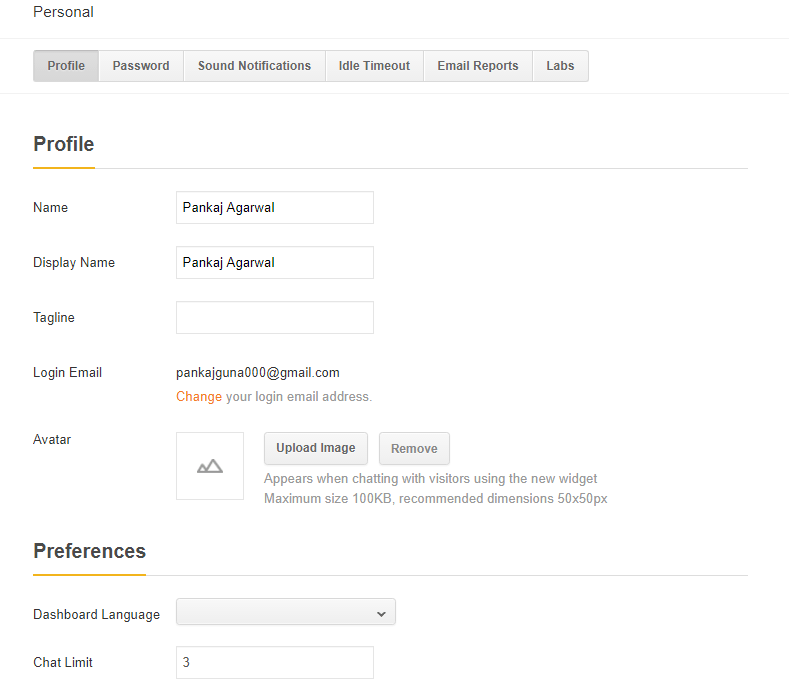
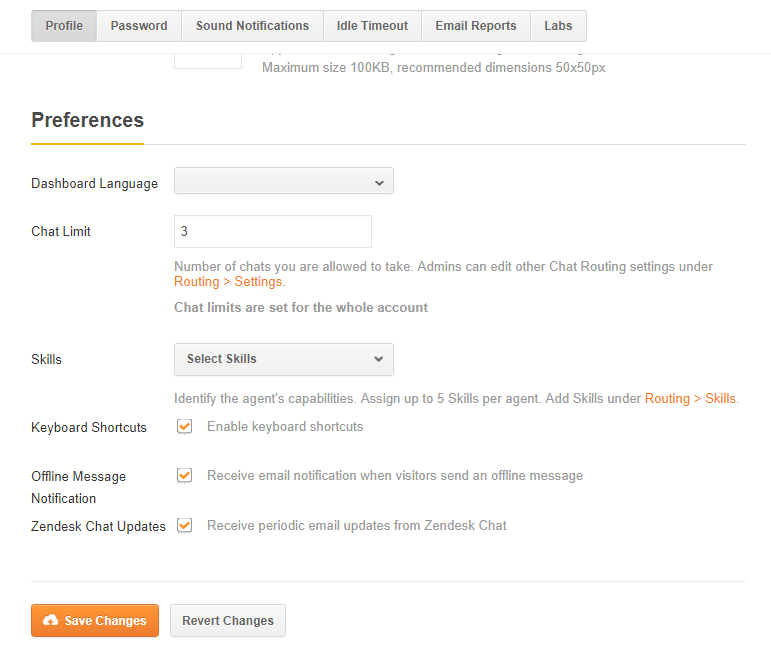
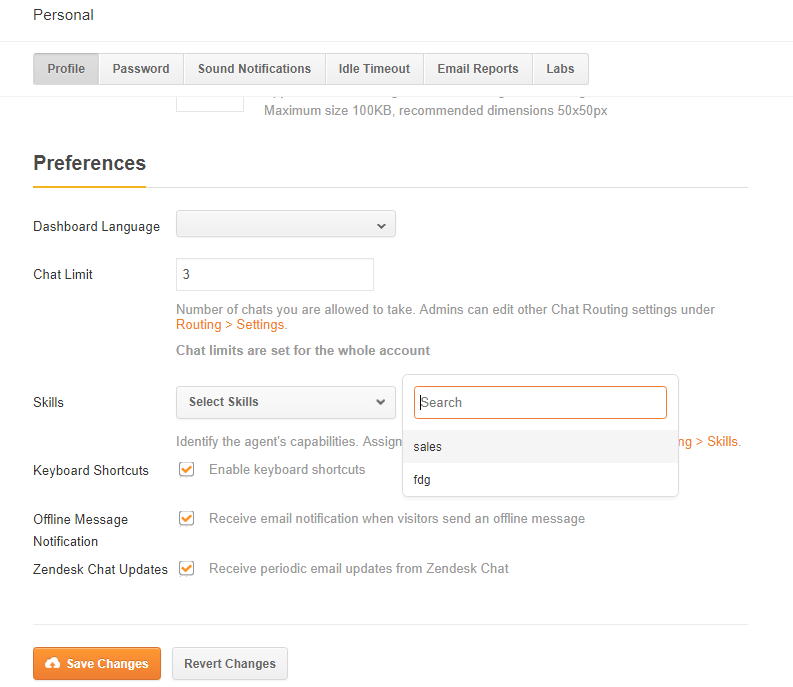
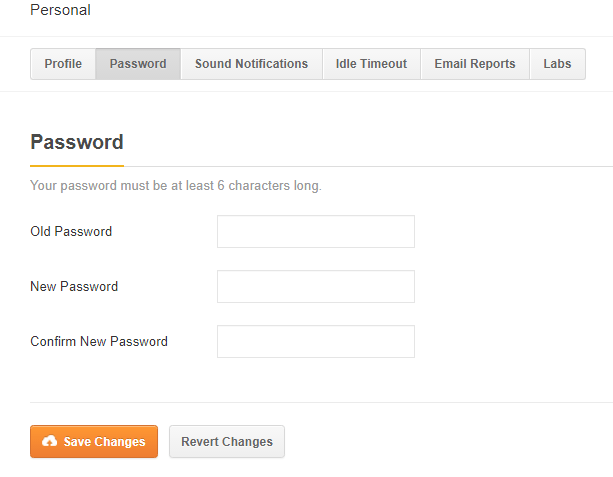
10. Personal
- Personal → Profile

- Personal → Password
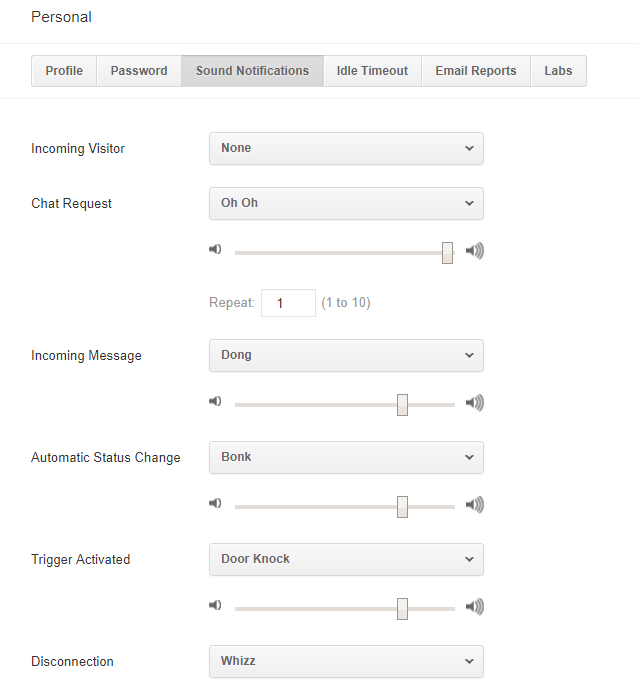
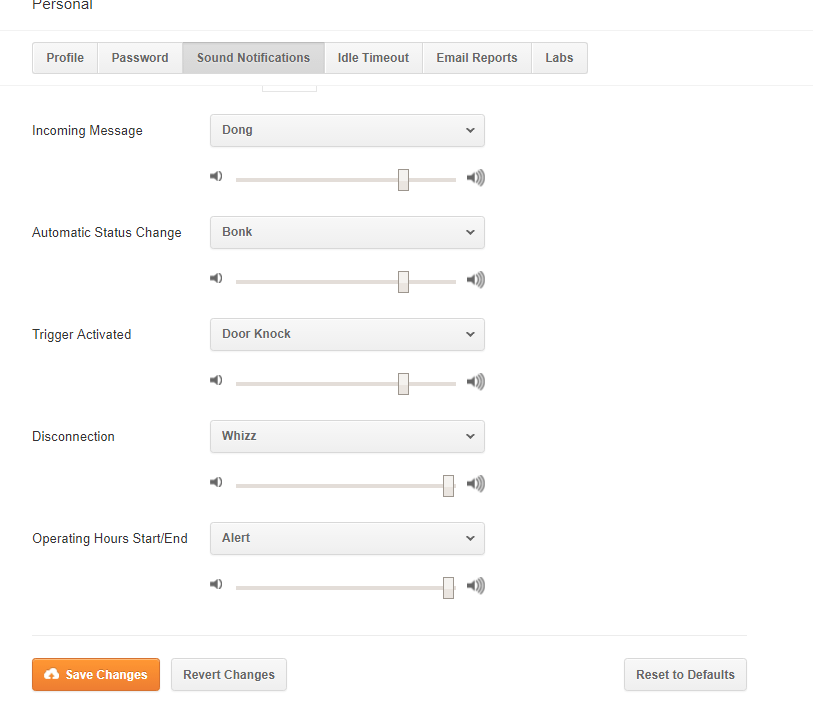
- Personal → Sound Notifications
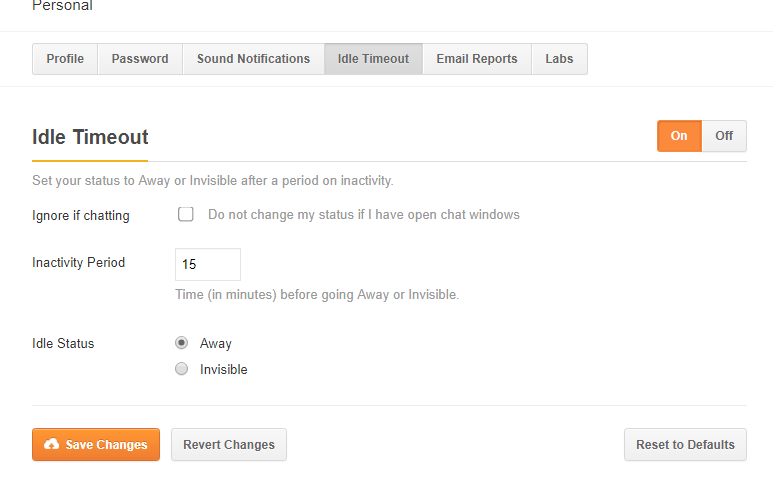
- Personal → Idle-timeout

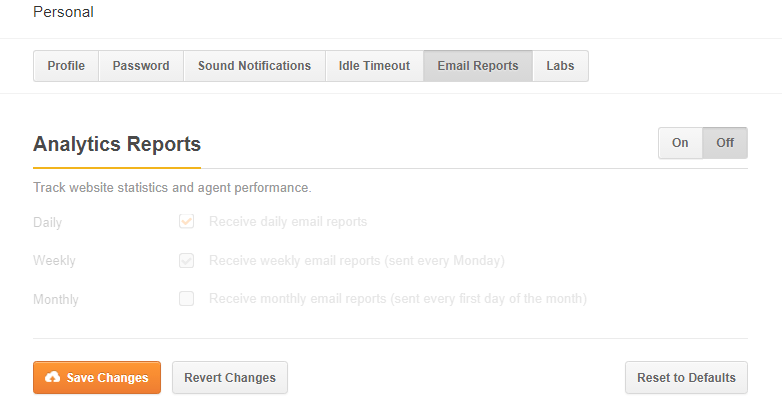
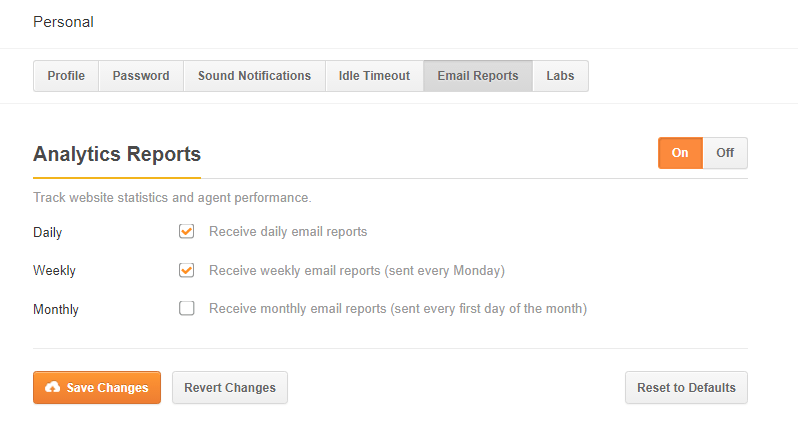
- Personal → Email Reports
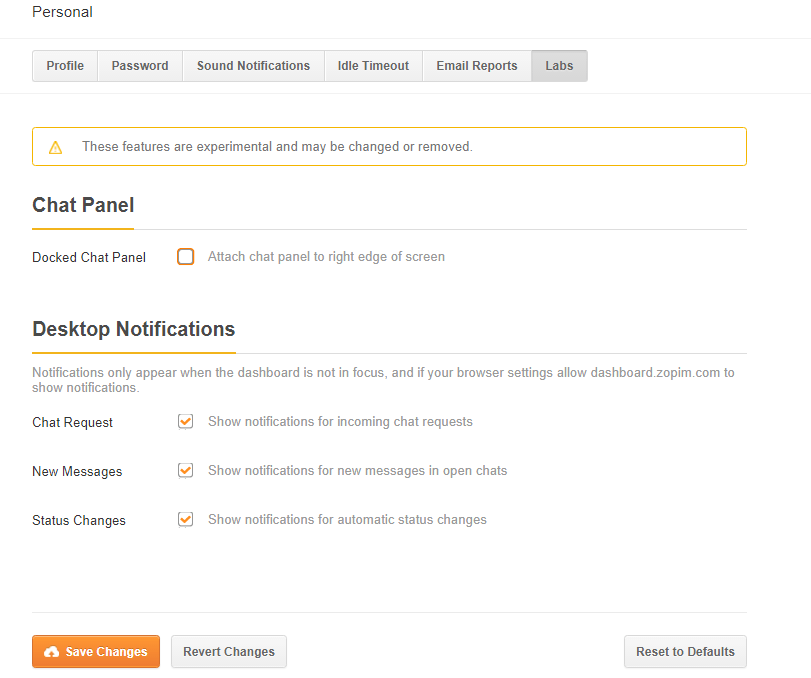
- Personal → Labs
11. Account
- Account → Subscription
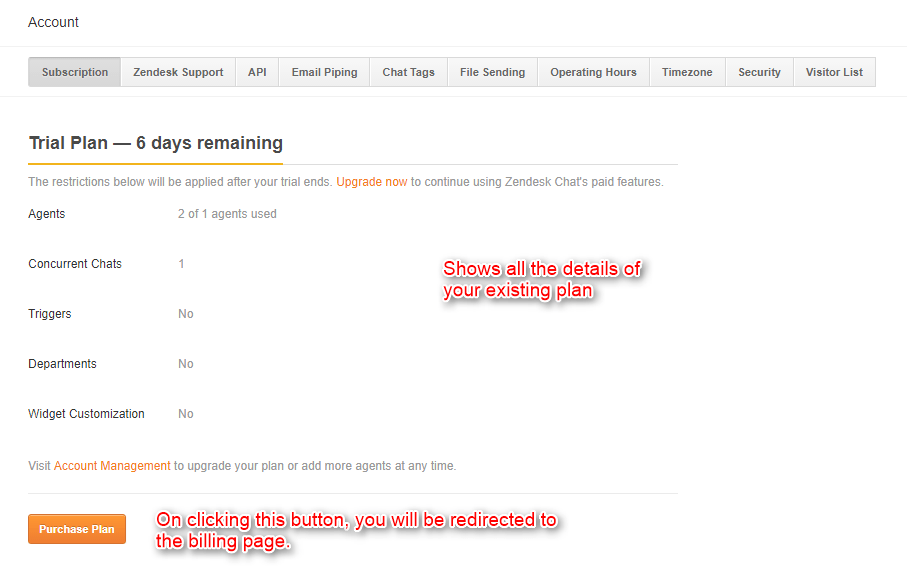
It shows all the details of your running subscription plan and an option to upgrade/purchase a new plan.
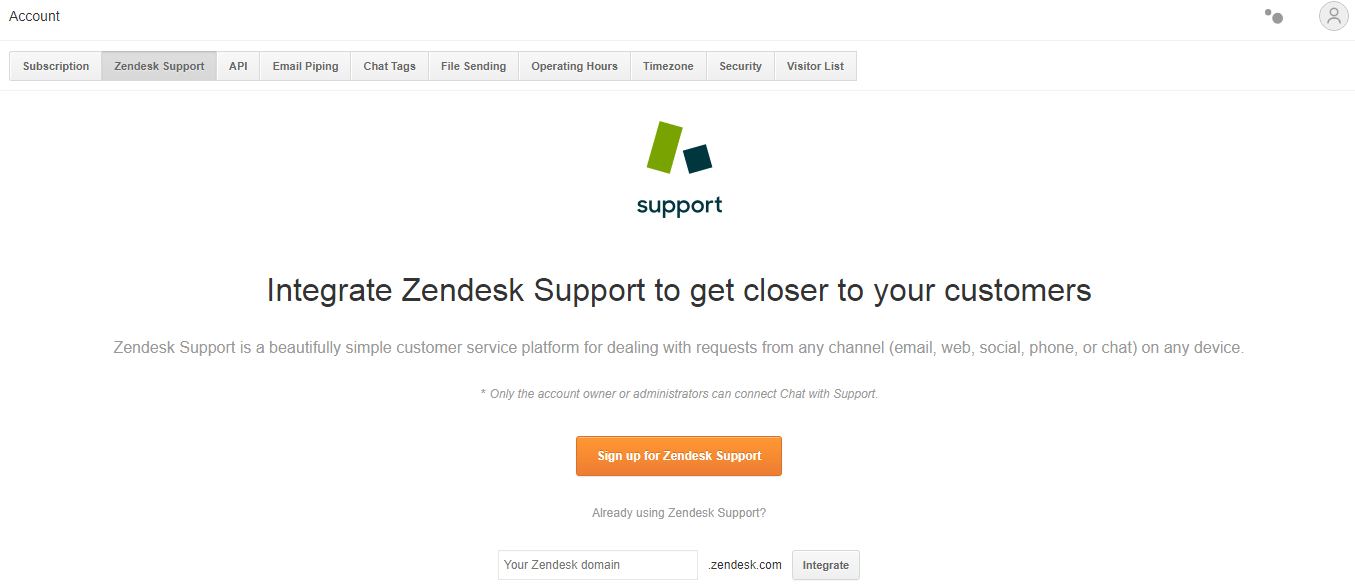
- Account → Zendesk Support
- Account → API
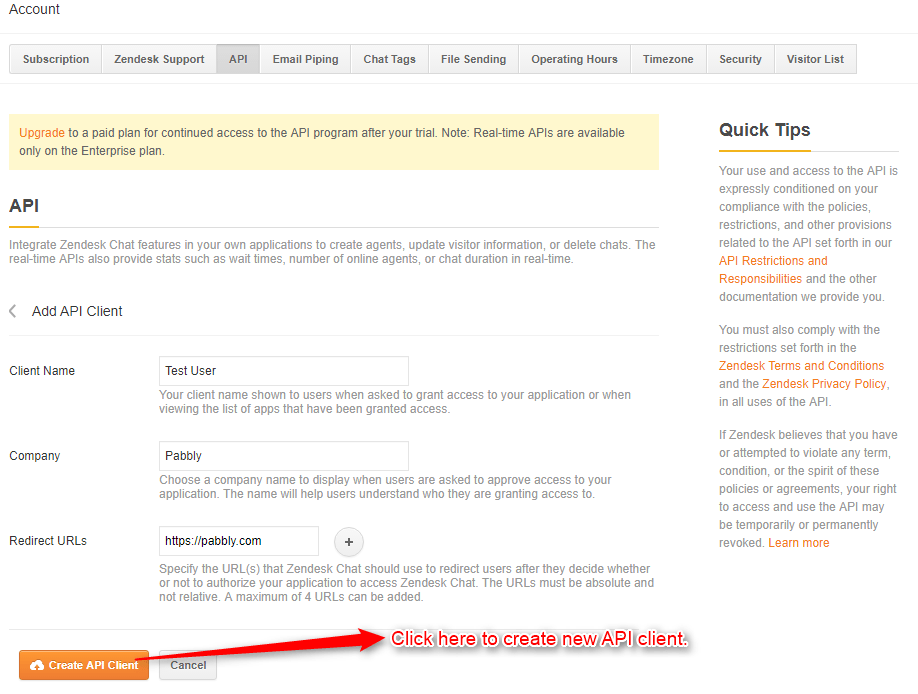
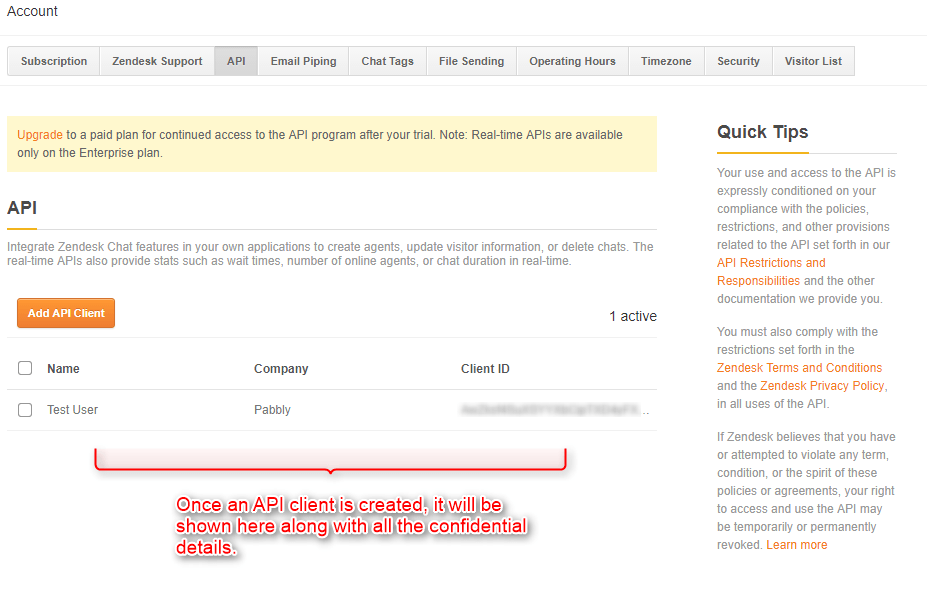
In order to access the existing API client details, you have to click the required client from the available list.
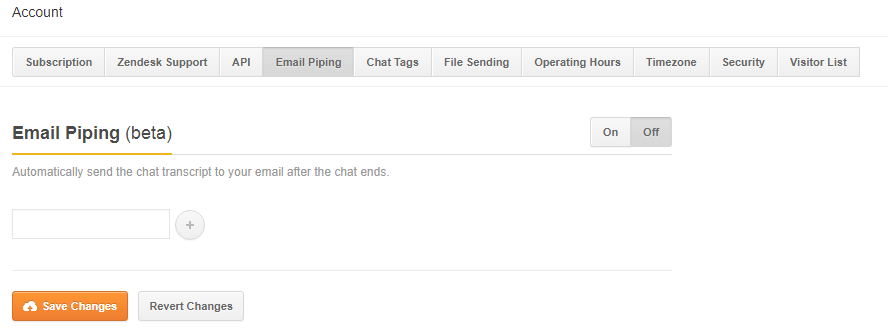
- Accounts → Email Piping
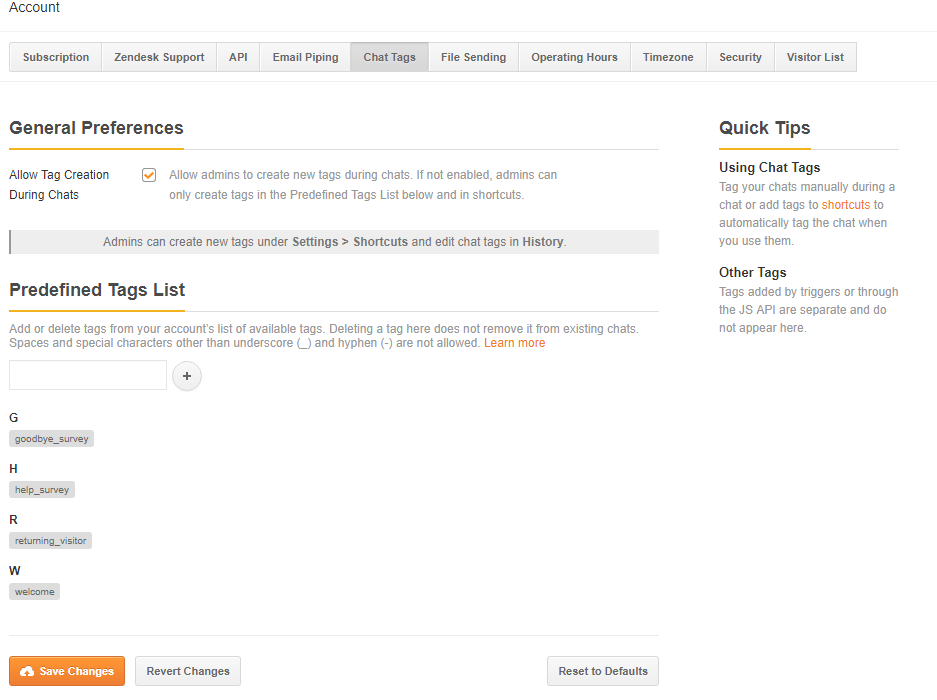
- Accounts → Chat Tags
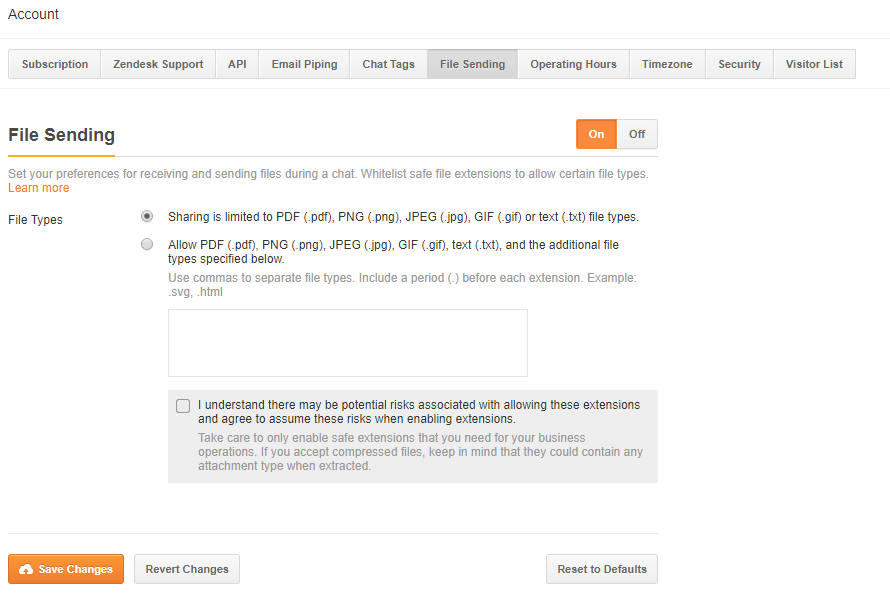
- Accounts → File Sending
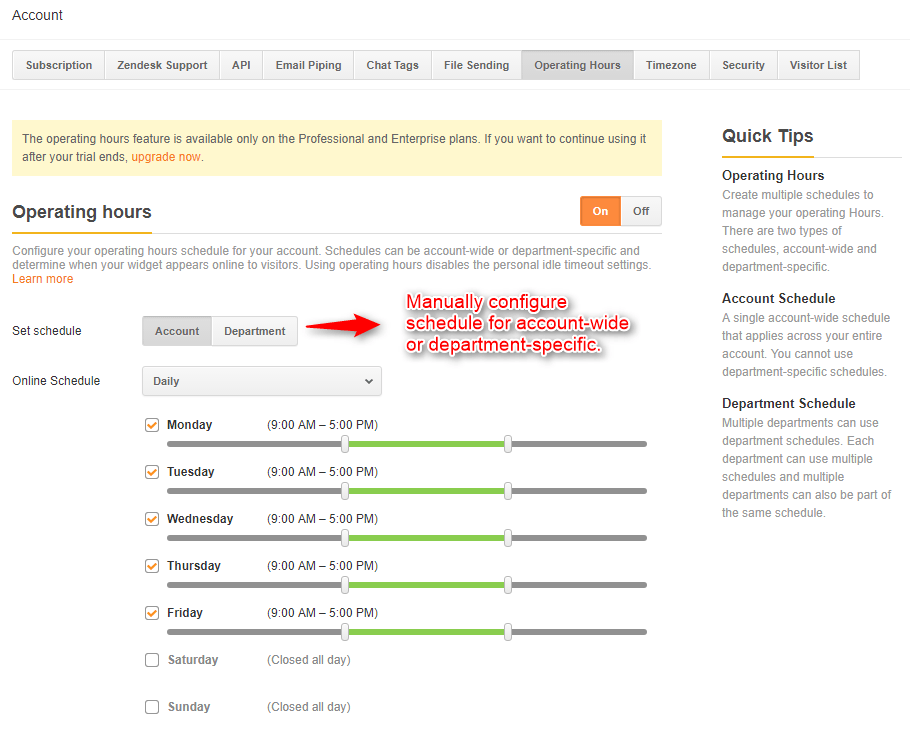
- Accounts → Operating Hours

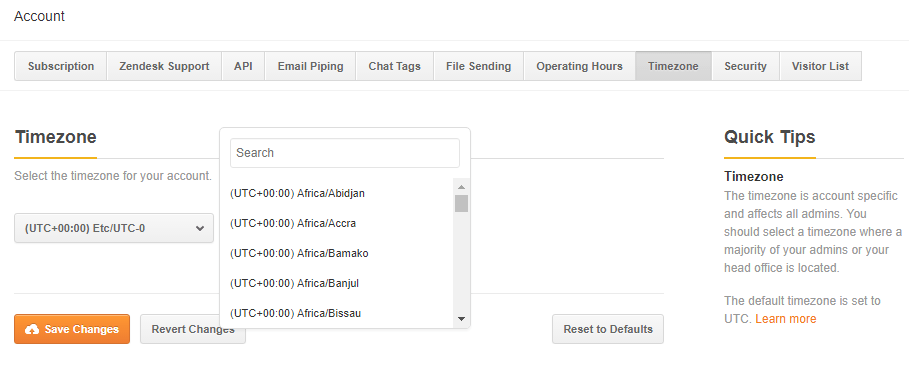
- Accounts → Timezone
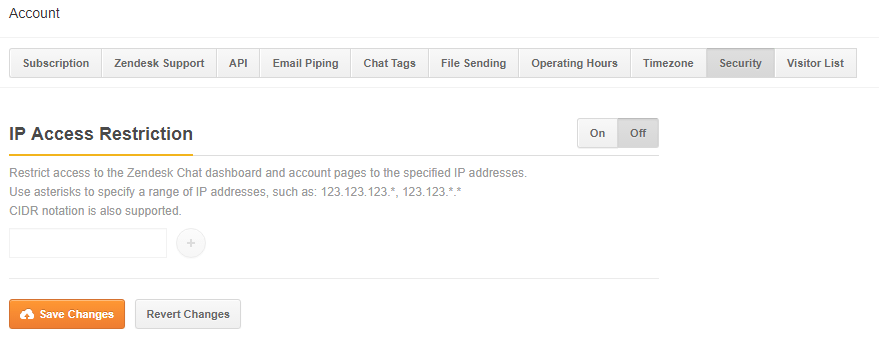
- Accounts → Security
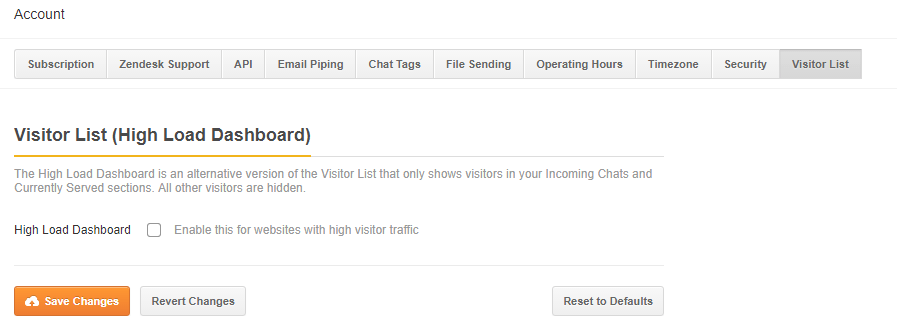
- Accounts → Visitor List
Monitor Your Online Team & The Chats Handled By Them
The team menu shows the number of agents online and the number of chats they are handling.
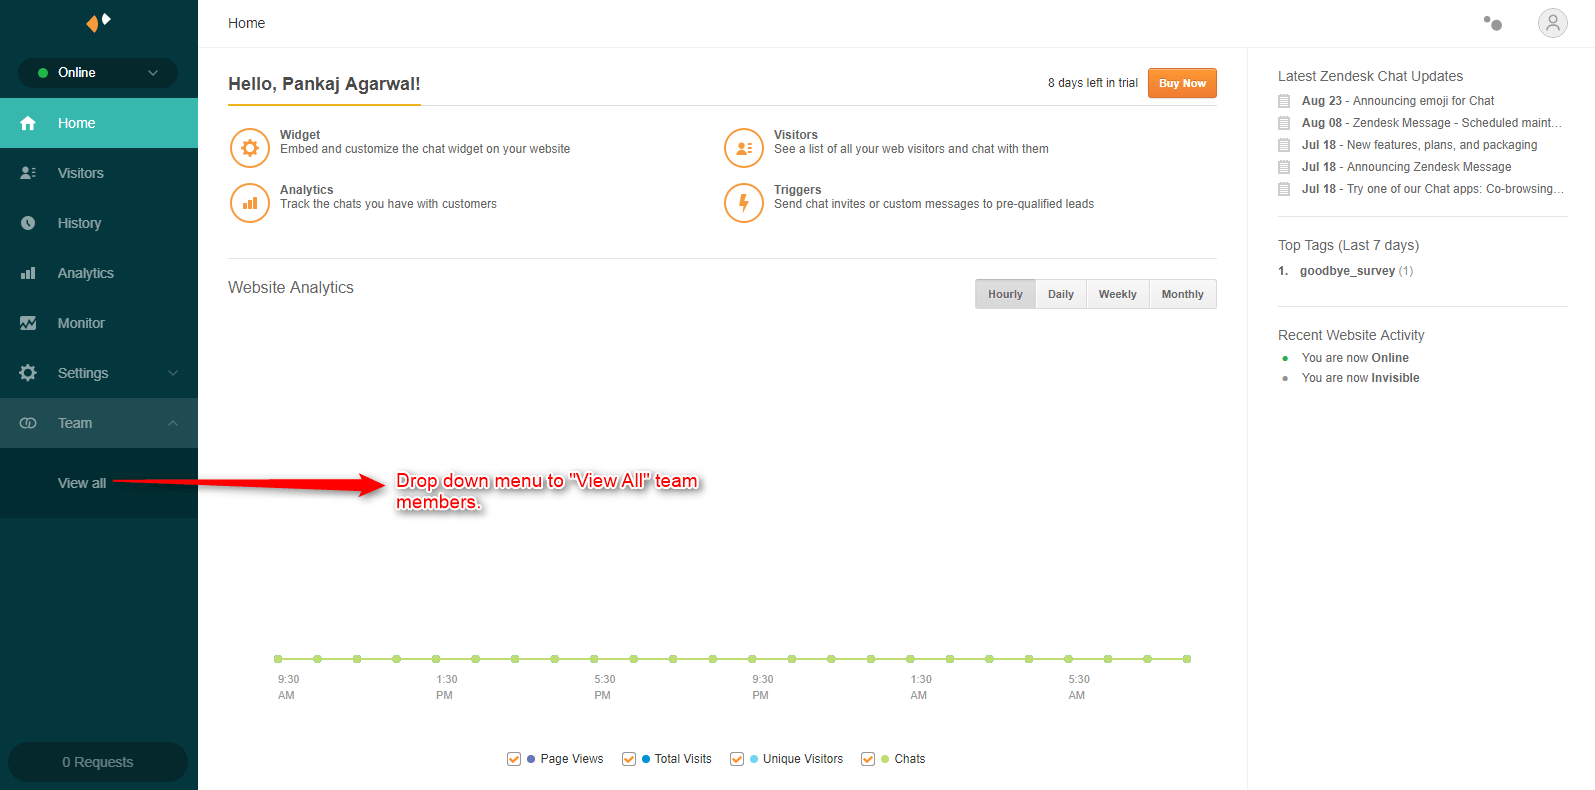
Once clicked on “View All” menu, it will show a pop-up with all the online agents and the number of chats they are handling.

For better convenience, agent’s details can be expanded or collapsed.
Conclusion
Now that you are fully aware of Zopim functionality, you are all set to implement it in your website.
You Can Review More- Profitwell Review