Watch Step By Step Video Tutorial Below
1. Accessing Pabbly Chatflow for WhatsApp Integration
To begin, access Pabbly Chatflow by navigating to the URL paby.com/chatflow. This platform is crucial for integrating WhatsApp with various applications like Pabi and OpenAI.
Once on the homepage, you will see options to sign in or sign up. If you are a new user, click on “Sign Up Free” to create an account. Existing users can simply log in. The sign-up process offers 100 free credits monthly for testing the features of Pabbly Chatflow.
2. Creating Your AI Assistant in Pabbly Chatflow
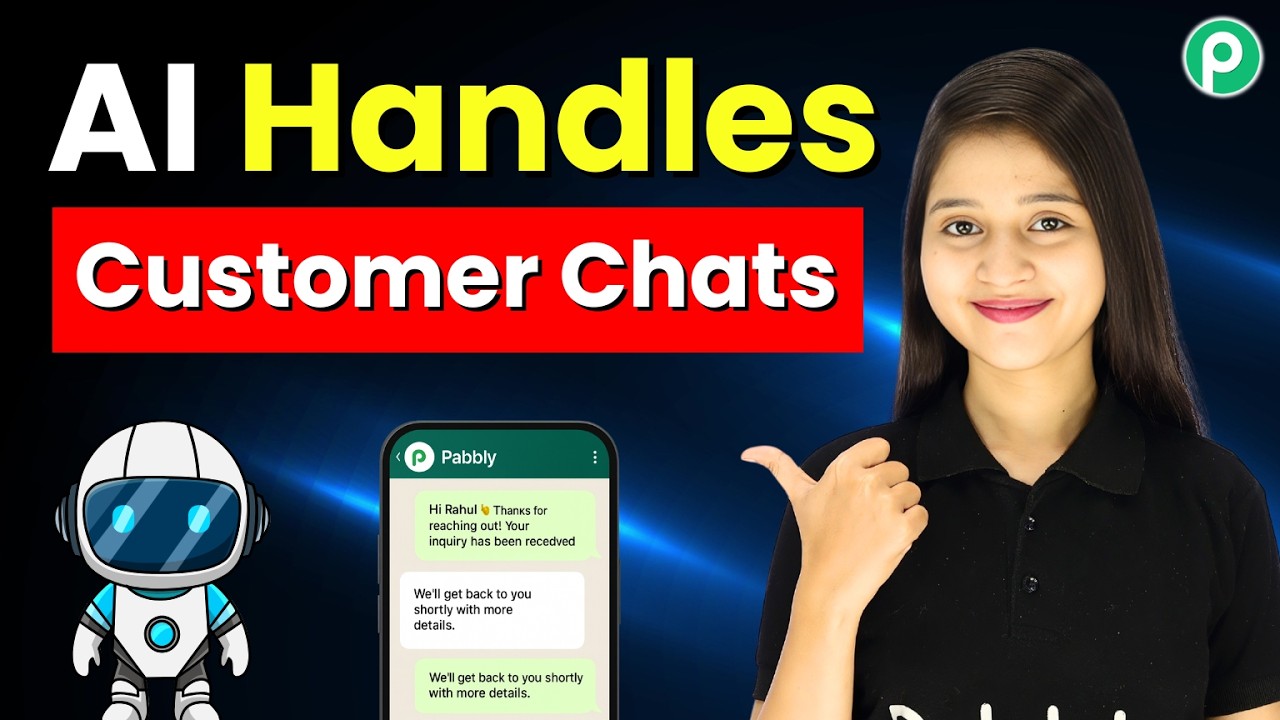
After signing in, navigate to the AI Assistant section within Pabbly Chatflow. Here, you will create an AI assistant to handle customer queries on WhatsApp. This assistant will automate responses and improve engagement.
To set up your AI assistant, follow these steps:
- Select the instruction type as “AI Agent”.
- Set the temperature for creativity (0 for focused, 1 for creative).
- Connect your OpenAI account by entering the API key.
By following these steps, you ensure that your AI assistant is tailored for handling inquiries efficiently. Adjusting the temperature setting will affect how creatively your assistant responds, making it crucial for user engagement.
3. Setting Up Knowledge Base for Your AI Assistant
The knowledge base is the core of your AI assistant in Pabbly Chatflow, providing it with the necessary information to respond to queries. You can upload your knowledge base in either TXT or PDF format.
To configure the knowledge base, do the following:
- Click on “Add New File” in the media library to upload your knowledge base.
- Select the file containing your business details, including services and FAQs.
- Insert the file to complete the upload process.
Once your knowledge base is uploaded, your AI assistant will have access to the necessary information, ensuring accurate responses to customer inquiries via WhatsApp.
4. Customizing Your AI Assistant’s Appearance
In this section, you will customize the appearance of your AI assistant in Pabbly Chatflow. This is essential for creating a user-friendly interface that aligns with your brand.
To customize, you can:
- Set the header display name and subheading for your assistant.
- Choose a theme and assistant shape that fits your branding.
- Upload profile pictures for the assistant.
These customizations will enhance the user experience, making interactions more engaging and aligned with your business identity.
5. Enabling Your AI Assistant for WhatsApp
Finally, you will enable your AI assistant in Pabbly Chatflow to start automating responses on WhatsApp. This step is crucial for ensuring that your assistant is operational and ready to engage customers.
To enable your assistant, follow these steps:
- Go to “Inbox Settings” and enable auto replies.
- Select the contact list for which the assistant should respond.
- Save your settings to activate the assistant.
Once enabled, your AI assistant will automatically handle customer inquiries, improving your business’s responsiveness and efficiency.
Conclusion
In summary, integrating WhatsApp with Pabbly Chatflow allows you to automate customer interactions effectively. By following these steps, you can create a responsive AI assistant that enhances customer engagement and boosts sales.