Watch Step By Step Video Tutorial Below
1. Setting Up Pabbly Connect for Instagram Reels Backup
To begin automating your Instagram reels backup, first access Pabbly Connect by visiting www.pabbly.com/connect. This platform is essential for integrating Instagram with Google Drive.
If you’re new to Pabbly Connect, sign up for a free account to receive 100 free tasks, allowing you to test this setup. Once signed in, you’ll be ready to create your automation.
2. Creating the Integration Trigger in Pabbly Connect
The next step involves setting up the trigger for your automation. In Pabbly Connect, select “Instagram for Business” as your trigger application and choose the event “New Media Posted.” This will allow you to capture new reels automatically.
- Connect your Instagram account to Pabbly Connect.
- Authorize the connection with your Facebook account.
- Click on “Save and Send Test Request” to capture the latest reel data.
After completing these steps, you will see the details of your latest Instagram reel captured in Pabbly Connect. This confirms that the connection is successful.
3. Filtering Only Reel Posts with Pabbly Connect
Since you only want to back up Instagram reels, the next step is to filter the posts. In Pabbly Connect, add an action step and select “Filter by Pabbly” as your action application.
Set the condition to ensure only reels are processed. This can be done by configuring the filter to check if the media type equals “Reels.” This ensures that only relevant content is backed up.
4. Uploading Reels to Google Drive via Pabbly Connect
Now that you have filtered your posts, the next step is to upload the reels to Google Drive. In Pabbly Connect, select Google Drive as the action application and choose the event “Upload File.”
- Connect your Google Drive account to Pabbly Connect.
- Select the folder where you want the reels to be saved.
- Map the media URL from the Instagram trigger to the file upload field.
After setting this up, click on “Save and Send Test Request” to confirm that the files are being uploaded correctly. You should see the reel appear in your selected Google Drive folder.
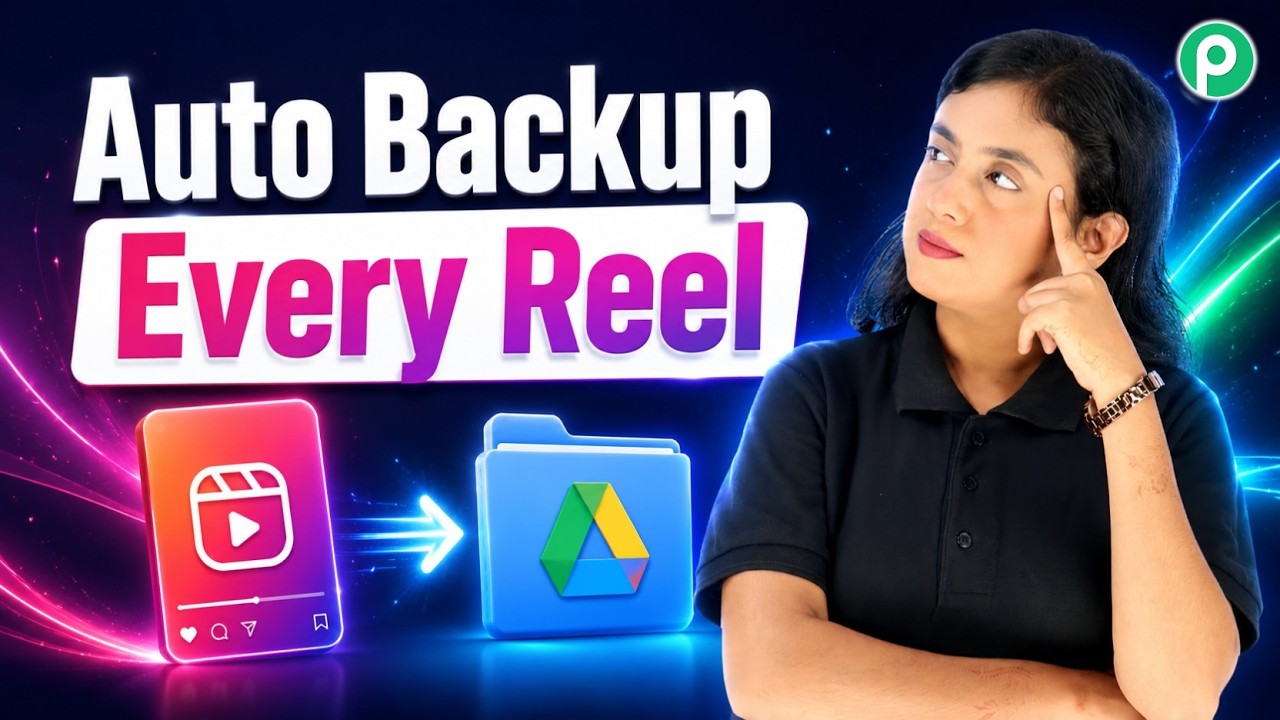
5. Conclusion: Automate Your Instagram Reels Backup with Pabbly Connect
By following this tutorial, you can easily automate the backup of your Instagram reels to Google Drive using Pabbly Connect. This integration saves time and ensures your content is safely stored.
With this setup, every time you post a new reel, it will automatically back up to your Google Drive, providing peace of mind for content creators. Start using Pabbly Connect today to streamline your social media management!