Watch Step By Step Video Tutorial Below
1. Accessing Pabbly Connect for Integration
To begin, you need to access Pabbly Connect. If you’re a new user, open a new tab and visit pabbl.com/connect. Once there, click on the “Sign up for free” option in the top right corner. This allows you to explore Pabbly Connect with 100 free tasks every month.
Existing users can simply log into their accounts. After logging in, you will be directed to the workflow builder where the integration process will take place. This powerful tool enables seamless automation between your booking system and Discord alerts.
2. Creating a Workflow in Pabbly Connect
In the workflow builder of Pabbly Connect, the first step is to set up a trigger. Click on the “Add Trigger” button and select Calendly as the trigger application. For the event, choose “Invite Created” to notify your team whenever a new appointment is booked.
- Select Calendly as the trigger application.
- Choose “Invite Created” as the trigger event.
- Connect your Calendly account to Pabbly Connect.
Once connected, select the organization and user, then click on the “Save and Send Test Request” button. This will initiate the process of capturing the webhook response from your Calendly account.
3. Scheduling an Appointment to Capture Webhook Response
To capture the webhook response, you need to book a test appointment. For instance, schedule an appointment for July 1st at 2 PM. Once the appointment is booked, Pabbly Connect will capture the response, allowing you to proceed with the integration.
After scheduling, check the workflow in Pabbly Connect to ensure it has received the necessary data. This data will be used to notify your Discord channel about the new booking.
4. Setting Up Discord Alerts Using Pabbly Connect
Next, you need to set up an action step to send alerts to Discord. Click on the “Add New Action Step” and select Discord as the action application. For the event, choose “Send Channel Message”. This will allow you to notify your team on Discord whenever a new booking is made.
- Select Discord as the action application.
- Choose “Send Channel Message” as the action event.
- Connect your Discord account to Pabbly Connect.
After connecting, you will need to provide the webhook URL from your Discord channel. This URL allows Pabbly Connect to send messages directly to your Discord channel. Once set up, you can customize the message format to include details such as booking name, URL, and date.
5. Finalizing the Integration and Testing
To finalize the integration, you need to format the date and time for clarity. Use the “Date Time Formatter by Pabbly” to convert the date into a readable format. Select the appropriate time zone and ensure the format is user-friendly.
Once the date is formatted, map the date and other details into the Discord message setup. Click on “Save and Send Test Request” to send a test message to your Discord channel. If successful, you will see the new booking notification appear in your channel.
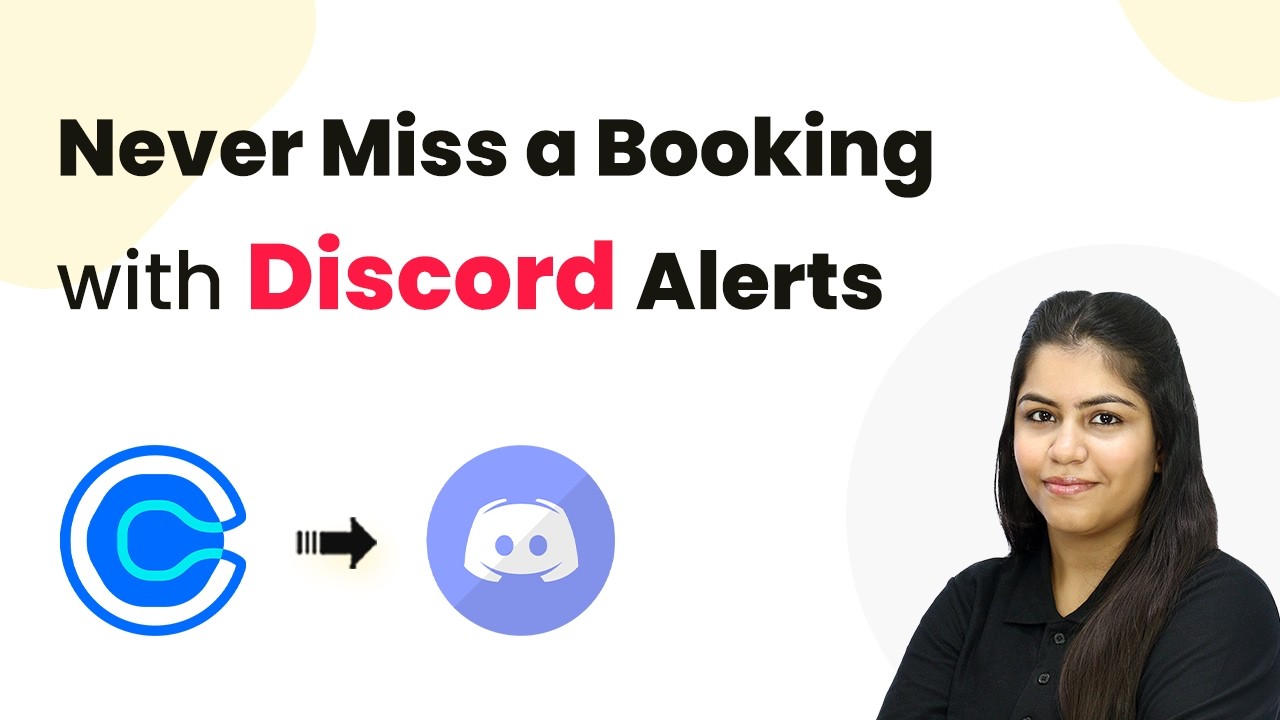
This integration ensures that your team is instantly notified about new bookings, leveraging the power of Pabbly Connect to automate the entire process seamlessly.
Conclusion
In this tutorial, we explored how to use Pabbly Connect to automate booking notifications through Discord alerts. By following these steps, you can ensure that your team never misses a booking. Automate your appointment alerts today for improved efficiency!