WhatsApp AI Assistant for SaaS Customer Support

Watch Step By Step Video Tutorial Below


1. Accessing Pabbly Chatflow for Your AI Assistant

To begin automating your SaaS customer support, access Pabbly Chatflow by navigating to the URL: pabbly.com/chatflow. Once there, you will see options to sign in or sign up for a free account.

If you are a new user, click on the “Sign Up Free” button to create your account. After signing up, you will receive 100 free credits monthly, allowing you to explore and practice using Pabbly Chatflow effectively.


2. Setting Up Your AI Assistant in Pabbly Chatflow

After logging into Pabbly Chatflow, navigate to the AI assistant page. Here, you will configure your assistant to respond to customer inquiries. Begin by adding your WhatsApp number to the account.

  • Select the “AI Agent” instruction tab.
  • Set the AI’s creativity level by adjusting the temperature slider (0 for focused, 1 for creative).
  • Enter your OpenAI API key for customer query responses.

Once configured, click on the “Connect” button to save your settings. This integration allows your AI assistant to utilize the OpenAI model for effective customer support.


3. Configuring the Knowledge Base for Customer Queries

The next step in Pabbly Chatflow is to set up a knowledge base that your AI assistant will use to answer customer questions. Click on the “Knowledge Source” section to upload your knowledge base file.

After selecting the file, you will see options to manage the knowledge base. Ensure the knowledge base contains relevant information about your SaaS business, as this will help the AI assistant provide accurate responses.

  • Upload the knowledge base file by clicking “Add New File”.
  • Insert the file and confirm that it has been uploaded successfully.
  • Review the knowledge base for completeness and accuracy.

With the knowledge base in place, your AI assistant can now effectively handle customer queries by retrieving the necessary information.


4. Customizing Your AI Assistant’s Appearance

In Pabbly Chatflow, you can enhance the user experience by customizing the visual appearance of your AI assistant. Navigate to the “Assistant Interface” section to adjust various settings.

Here, you can choose the theme mode, assistant shape, and colors for different elements. Additionally, you can set the header and footer messages to personalize the interaction.

  • Enter the header display name for your assistant.
  • Customize the initial message that greets users.
  • Select the profile pictures for the header and assistant.

Once you have made your customizations, save the settings to ensure your AI assistant is visually appealing and aligned with your brand.


5. Enabling the AI Assistant for Customer Interactions

The final step involves enabling your AI assistant to interact with customers. In Pabbly Chatflow, go to the “Inbox Settings” to configure this feature.

Here, you can enable AI auto replies for all contacts or specific contact lists. Select the AI assistant you wish to enable and ensure that the feature is activated.

  • Scroll down to find the “Enable AI Auto Replies” option.
  • Choose whether to apply it to all contacts or a specific list.
  • Confirm the selection and save your changes.

With these settings, your AI assistant will now provide 24/7 support to your customers, ensuring they receive timely responses to their queries.


Conclusion

By using Pabbly Chatflow, you can automate your SaaS customer support efficiently. The integration with WhatsApp and the AI assistant allows for seamless communication, enhancing customer satisfaction.

Implementing this system requires no technical skills and can significantly reduce response times, providing your users with reliable support.
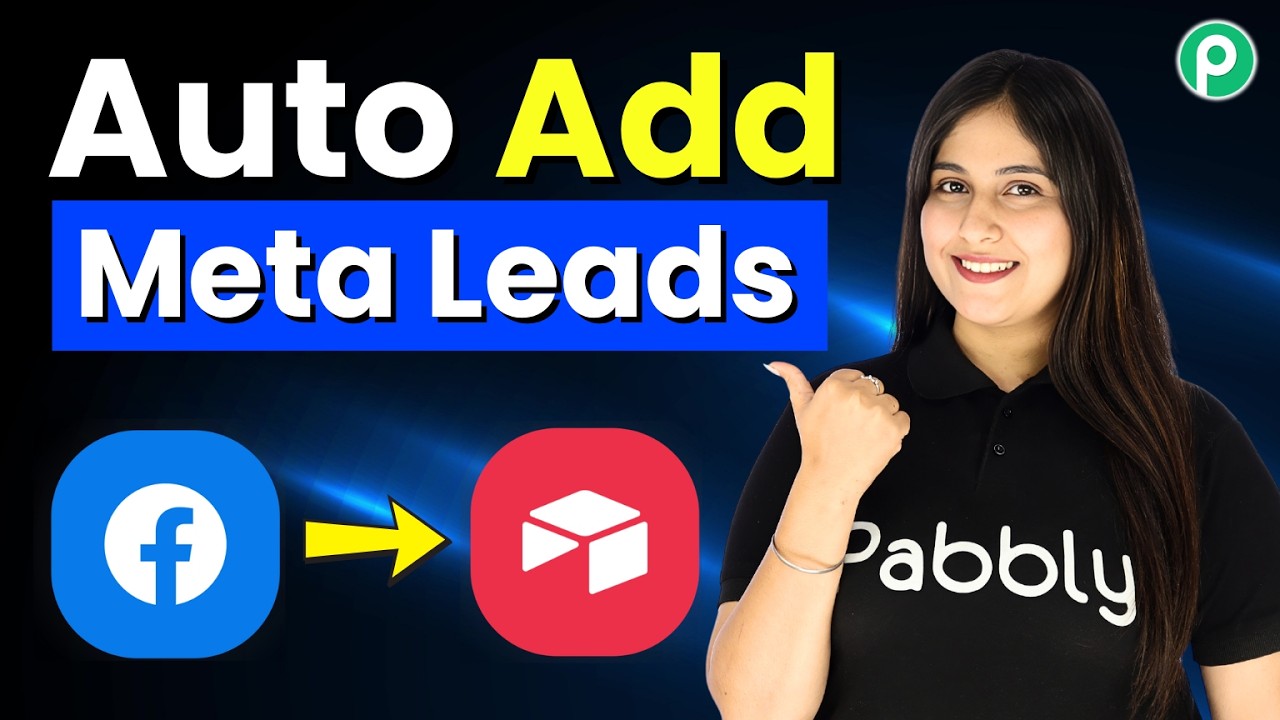

Automatically Add Meta Ads Leads to Airtable

Watch Step By Step Video Tutorial Below


1. Introduction to Pabbly Connect for Meta Ads Leads

In this tutorial, we will explore how to use Pabbly Connect to automatically add Meta Ads leads to Airtable. This integration allows for seamless data transfer, eliminating manual entry and saving time.

To begin, you need to create a workflow in Pabbly Connect that connects Facebook Lead Ads to Airtable. This setup will ensure that every new lead generated through your Facebook ads is instantly recorded in your Airtable account.


2. Setting Up Pabbly Connect for Facebook Lead Ads

To set up the integration, first, navigate to Pabbly Connect by going to pabbly.com/connect. Sign in to your account or create a new one if you haven’t already. Once logged in, select the option to create a new workflow.

  • Choose “Create from Scratch” to start a new workflow.
  • Select the trigger event as “New Lead” from Facebook Lead Ads.
  • Choose the action event as “Create Record” in Airtable.

After selecting the options, click on “Approve and Create” to finalize your workflow setup in Pabbly Connect. This step is crucial as it lays the foundation for your automation process.


3. Connecting Facebook Lead Ads to Pabbly Connect

Next, you will need to connect your Facebook Lead Ads account to Pabbly Connect. Click on “Connect with Facebook Lead Ads” and follow the prompts to grant access to your Facebook account.

Once connected, select the Facebook page where your ads are running. You will also need to choose the lead form associated with your ads. This ensures that only leads from the specified form are captured by Pabbly Connect.


4. Mapping Data to Airtable with Pabbly Connect

After setting up the trigger, it’s time to map the data to Airtable. Click on “Connect with Airtable” and authorize Pabbly Connect to access your Airtable account.

When prompted, select the base and table where you want to store the lead information. You will map fields such as first name, last name, email, and phone number from Facebook to the corresponding fields in Airtable.

  • Map the first name field from the lead data.
  • Map the last name field accordingly.
  • Map the email and phone number fields as well.

This mapping is essential as it ensures that the correct data is sent to Airtable every time a new lead is generated through Facebook Lead Ads.


5. Testing the Integration with Pabbly Connect

Once everything is set up, it’s time to test the integration. Generate a test lead using the Meta Lead Testing Tool. This will simulate a new lead submission and allow you to see if the data flows correctly into Airtable.

Check your Airtable account to confirm that the new lead details have been added successfully. If everything works as expected, your automation is now complete and will run seamlessly in the background.


Conclusion

In conclusion, using Pabbly Connect to automatically add Meta Ads leads to Airtable streamlines your lead management process. By following the steps outlined in this tutorial, you can ensure that every new lead is captured efficiently, saving you time and effort.

AI WhatsApp Agent for Solar Panel Companies

Watch Step By Step Video Tutorial Below


1. Accessing Pabbly Chatflow for Your AI WhatsApp Agent

To begin creating your AI WhatsApp Agent, you first need to access Pabbly Chatflow. Navigate to www.pabbly.com/chatflow in your web browser. This platform is essential for automating WhatsApp conversations for solar panel companies.

Once on the website, you will see options to sign in or sign up. If you are a new user, click on ‘Sign Up for Free’ to receive 100 credits monthly. Existing users should select ‘Sign In’. This allows you to utilize Pabbly Chatflow for your automation needs.


2. Adding Your WhatsApp Number in Pabbly Chatflow

After signing in, you will be directed to the dashboard of Pabbly Chatflow. Here, you can view your credits and WhatsApp number status. To add a WhatsApp number, click on the ‘Add WhatsApp Number’ button.

  • Choose the preferred method to connect: WhatsApp Connect or manual token entry.
  • Follow the detailed steps provided in the help section for connecting your number.

Once connected, your WhatsApp number will be ready for use with Pabbly Chatflow to automate customer interactions.


3. Creating Your AI Agent in Pabbly Chatflow

To create your AI agent, click on the ‘AI Assistant’ option in Pabbly Chatflow. This leads you to the assistant management page where you can view existing assistants.

Click on ‘Add Assistant’ to create a new one. Name it “WhatsApp Agent for Solar Panel Companies”. Set the instruction type to AI Agent and customize the settings according to your requirements. The AI model can be set to GPT-5 mini, and you can adjust the creativity level by setting the temperature between 0 and 1.

  • Enter your OpenAI API key to connect the AI model.
  • Toggle on the header and footer messages for enhanced user interaction.

After configuring these settings, your AI agent will be ready to respond to queries about solar panels.


4. Setting Up Your Knowledge Base in Pabbly Chatflow

Creating a comprehensive knowledge base is crucial for your AI agent’s effectiveness. In Pabbly Chatflow, upload a file containing detailed information about your solar panel services, including FAQs and service offerings.

To upload, click on the cloud icon, select ‘Add New File’, and choose the document you prepared. This should include information like installation processes, savings potential, and company details. The AI agent will utilize this knowledge to provide accurate responses.

  • Ensure the knowledge base is detailed and covers all aspects of your services.
  • This enables the AI to answer queries effectively, enhancing customer satisfaction.

After uploading, make sure to save your changes in Pabbly Chatflow to activate the knowledge base.


5. Enabling Your AI Assistant for Customer Interactions

Once your AI assistant is set up, it’s time to enable it for customer interactions. In Pabbly Chatflow, navigate to the inbox settings where you can assign the AI assistant to specific contacts or groups.

Toggle on the AI auto replies option and select the contacts or groups you want your AI assistant to serve. This ensures that whenever a customer sends a message, the AI agent is ready to respond.

For streamlined operations, you can save these settings to apply the AI assistant to all contacts in your list. This automation significantly enhances customer engagement by providing instant responses through Pabbly Chatflow.


Conclusion

Creating an AI WhatsApp Agent for Solar Panel Companies using Pabbly Chatflow allows for efficient customer engagement and automated responses. By following these steps, you can enhance your business operations and improve customer satisfaction effectively.

How Do I Manage Facebook Leads Without Manual Data Entry?

Watch Step By Step Video Tutorial Below


1. Accessing Pabbly Connect for Integration

To start integrating Facebook leads into HubSpot, the first step is to access Pabbly Connect. Open your web browser and navigate to pabbl.com/connect.

If you are a new user, click on the “Sign up for free” button located in the top right corner. This grants you access to a free trial of Pabbly Connect, which includes up to 100 tasks for lead management.


2. Creating a Workflow in Pabbly Connect

Once you are logged into Pabbly Connect, navigate to the workflow builder. This is where you will set up the automation process.

  • Click on the “Add Trigger” button.
  • Search for “Facebook” and select “Facebook Lead Ads”.
  • Choose the event as “New Lead” and click on “Connect”.

After connecting, select your Facebook page and lead form for which you want to automate the process. Click “Save and Send Test Request” to capture the response from the lead form.


3. Capturing Lead Details from Facebook

To capture lead details, you need to test the integration by submitting a lead form. Open the Meta for Developers page and navigate to the Lead Ads Testing Tool.

  • Select the page and lead retrieval product.
  • Fill in the lead form with test data.
  • Submit the form to generate a new lead.

Once submitted, return to Pabbly Connect to see if the lead details have been captured successfully. This confirms that your connection is working properly.


4. Adding HubSpot as an Action Step

Now that you have captured the lead details, it’s time to add HubSpot as an action step in your workflow. Click on “Add New Action Step”.

  • Search for “HubSpot CRM” and select it.
  • Choose the event as “Create Contact” and click on “Connect”.
  • Log in to your HubSpot account if prompted.

Map the lead details from the previous step to the respective fields in HubSpot. This ensures that every new lead is automatically added as a contact in your HubSpot CRM.


5. Testing and Verifying the Integration

After mapping the fields, click on “Save and Send Test Request” to create a new contact in HubSpot. This step verifies that the integration is functioning correctly.

Go back to your HubSpot account and refresh the contact list. You should see the new contact with the details you entered in the lead form. This confirms that Pabbly Connect has successfully automated the process.


Conclusion

In this tutorial, we explored how to integrate Facebook leads into HubSpot using Pabbly Connect. This automation saves you time and ensures that your leads are captured efficiently. Try this setup to streamline your lead management process!

Build an AI Loan Advisor for WhatsApp (No-Code)

Watch Step By Step Video Tutorial Below


1. Accessing Pabbly Chatflow to Build Your AI Loan Advisor

To create an AI Loan Advisor for WhatsApp, the first step is accessing Pabbly Chatflow. If you are not an existing user, visit pabblab.com/chartflow to sign up. You will receive 100 free credits monthly to explore the software.

Once you log into Pabbly Chatflow, navigate to the dashboard. The left sidebar provides various features, and you need to add your WhatsApp number to begin. This integration is crucial as it allows Pabbly Chatflow to facilitate communication between your AI assistant and users on WhatsApp.


2. Creating Your AI Assistant in Pabbly Chatflow

After setting up your WhatsApp number, the next step is to create your AI assistant. Click on the ‘Add Assistant’ button to start. Name your assistant descriptively, such as “AI Loan Advisor for WhatsApp.” This naming will help you identify it later in Pabbly Chatflow.

  • Click the ‘Add Assistant’ button.
  • Enter a descriptive name for your assistant.
  • Select the instruction type as “AI Agent”.

Once created, you will see options to customize the assistant’s behavior. Set the temperature for responses, which controls the creativity level. A temperature of 0.5 is recommended for a balanced approach. This setup is essential for ensuring that Pabbly Chatflow delivers tailored responses to user queries.


3. Configuring Your AI Assistant Settings in Pabbly Chatflow

Next, configure your AI assistant settings within Pabbly Chatflow. You need to enter the OpenAI API token, which is crucial for the AI’s functionality. To obtain this token, go to your OpenAI API keys page and create a new secret key.

  • Navigate to the OpenAI API keys page.
  • Click on “Create New Secret Key”.
  • Copy the generated API key and paste it into Pabbly Chatflow.

After saving the API key, you can also set options for retry attempts and fallback messages. These settings will ensure that your assistant can handle errors gracefully, making it more reliable in providing responses to users through Pabbly Chatflow.


4. Uploading Knowledge Base for AI Loan Advisor in Pabbly Chatflow

The knowledge base is vital for your AI Loan Advisor, as it provides specific information related to loans and eligibility. Create a knowledge base file using Google Docs or any text editor, ensuring it contains all relevant information.

  • Create a knowledge base file in PDF or text format.
  • Ensure the file size is less than 90 MB.
  • Upload the file in the knowledge base section of Pabbly Chatflow.

Once uploaded, this knowledge base will guide your assistant in providing accurate responses to user queries. This step is crucial for enhancing the performance of your AI Loan Advisor within Pabbly Chatflow.


5. Finalizing Your AI Assistant Settings in Pabbly Chatflow

After setting up the knowledge base, you can finalize your assistant’s interface in Pabbly Chatflow. Customize the assistant’s appearance and initial messages to align with your branding. This includes setting headings, subheadings, and footer text.

Once you have made all the necessary adjustments, enable the assistant and save your settings. Your AI Loan Advisor is now ready to interact with users on WhatsApp, providing assistance 24/7 without any manual input.


Conclusion

In this tutorial, we’ve outlined how to build an AI Loan Advisor for WhatsApp using Pabbly Chatflow. By following these steps, you can create a robust assistant that enhances customer engagement and provides valuable loan advice. This powerful tool operates seamlessly, ensuring users receive timely responses and support.

Automatically Add Website Form Leads to AWeber

Watch Step By Step Video Tutorial Below


1. Accessing Pabbly Connect for Integration

To automatically add website form leads to AWeber, you first need to access Pabbly Connect. Start by searching for Pabbly.com in your browser. This platform serves as the crucial integration tool that connects your form submissions to AWeber.

Once on the Pabbly homepage, you will see options to sign in or sign up. If you are a new user, click on ‘Sign Up for Free’ to create an account. Existing users can simply sign in. Pabbly Connect allows you to automate tasks efficiently, making it easier to manage your leads.


2. Creating a Workflow in Pabbly Connect

After logging into Pabbly Connect, navigate to the dashboard to create a new workflow. Click on the ‘Create New Workflow’ button, which allows you to set up the automation process for adding leads to AWeber.

  • Select ‘Create from Scratch’ to start building your workflow.
  • Name your workflow for easy identification.
  • Choose the trigger application, which in this case is Typeform.

Once you have set up the workflow, you can specify the trigger event. This step is critical as it determines when your automation will activate, ensuring that every new form submission is captured and processed.


3. Connecting Typeform with Pabbly Connect

To connect Typeform with Pabbly Connect, you need to authorize access. Click on the ‘Connect with Typeform’ button, which prompts you to log into your Typeform account. This step is essential for pulling data from your forms directly into Pabbly Connect.

After logging in, grant the necessary permissions for Pabbly Connect to access your Typeform data. Once connected, you will be able to select the specific form that you want to integrate with AWeber. In this case, choose your registration form from the dropdown menu.

  • Select the form you wish to use for capturing leads.
  • Map the response format to ensure data is organized correctly.

This mapping process is vital as it ensures that the leads captured through your Typeform are formatted correctly when sent to AWeber.


4. Adding Leads to AWeber via Pabbly Connect

Now that your Typeform is connected, the next step involves setting up AWeber in your workflow. Click on ‘Connect with AWeber’ to authorize access. This connection allows Pabbly Connect to add new subscribers directly into your AWeber account.

After connecting, you will need to enter your AWeber account details, including your account ID and the list ID where you want to add your new subscribers. This information ensures that the leads are directed to the correct list within AWeber.

  • Map the fields such as first name, last name, and email address.
  • Ensure that all required fields in AWeber are filled correctly.

Completing this mapping is crucial for the successful addition of leads to AWeber. Once done, save your settings to finalize the integration.


5. Testing the Automation Setup

With the integration set up, it’s time to test the automation. Go back to your Typeform and submit a test entry. This will trigger the workflow you created in Pabbly Connect.

After submitting the form, check your AWeber account to confirm that the new subscriber has been added successfully. Refresh your AWeber dashboard to view the new entry. If everything is set up correctly, you should see the new lead with their details displayed.

Testing is an essential step to ensure that your automation works seamlessly. This verification process guarantees that all future leads will be captured without any manual effort.


Conclusion

In this tutorial, we explored how to automatically add website form leads to AWeber using Pabbly Connect. This automation not only saves time but also streamlines your lead management process effectively.

Build a Hospital Appointment Booking Chatbot on WhatsApp 🤯

Watch Step By Step Video Tutorial Below


1. Accessing Pabbly Connect for Your Chatbot

To build a WhatsApp appointment booking chatbot, you first need to access Pabbly Connect. Begin by visiting the Pabbly website and signing up for an account if you haven’t done so already. Once logged in, navigate to the Pabbly Chartflow dashboard.

This dashboard is where you will create and manage your WhatsApp chatbot. If you are an existing user, simply click on the “Sign In” option. After logging in, click on the “Access Now” button to enter the Pabbly Chartflow.


2. Creating Your Chatbot Flow in Pabbly Connect

Now that you are in the Pabbly Chartflow dashboard, the next step is to create a new chatbot flow. Click on the “Add Flow” button to start. You will be prompted to name your flow, which is essential for keeping your projects organized. This is where Pabbly Connect shines, allowing you to create an organized workflow.

  • Name your flow appropriately.
  • Select the trigger events for your chatbot.
  • Choose keywords that the users will send to initiate the flow.

For instance, you can use keywords like “book appointment” or “hello”. This enables the chatbot to respond automatically when these keywords are detected, demonstrating the power of Pabbly Connect in automating your communication.


3. Configuring Responses in Your Chatbot

After setting up the trigger events, the next step is to configure the responses that your chatbot will provide. Use the media button to select and upload an image of your hospital, then add a welcome message. This is where Pabbly Connect allows you to personalize interactions with users.

For example, you can set the welcome message to say, “Welcome to City Care Hospital. How can I help you today?” Additionally, you can create quick reply buttons such as “Book Appointment” and “Contact Hospital”. This functionality enhances user experience by providing instant options for interaction.


4. Collecting User Information via Pabbly Connect

Once a user selects the “Book Appointment” button, your chatbot should ask for specific information like their full name, contact number, and appointment date. With Pabbly Connect, you can easily set up these questions using the “Ask Question” button feature.

  • Ask for the user’s full name and set it as a contact custom field.
  • Request their contact number and appointment date.
  • Ensure that the bot captures these details accurately for personalized responses.

This step is crucial for building a seamless appointment booking experience, showcasing how Pabbly Connect facilitates user engagement and data collection effectively.


5. Finalizing Your Chatbot Flow in Pabbly Connect

After all the questions have been set up, it’s time to finalize your chatbot flow. This includes enabling the toggle to activate the flow and clicking the “Save” button. Without this step, your flow will not function, emphasizing the importance of Pabbly Connect in ensuring everything is correctly set up.

Once saved, your WhatsApp chatbot will be fully operational, capable of handling appointment requests 24/7. This automation allows your hospital to engage with patients even when staff is unavailable, demonstrating the efficiency of using Pabbly Connect for your business needs.


Conclusion

In this tutorial, we explored how to build a WhatsApp appointment booking chatbot using Pabbly Connect. By following the steps outlined, you can create an efficient system to manage patient appointments seamlessly. Embrace the power of automation with Pabbly Connect for your hospital’s needs.

How Do I Add New Leads to Apollo.io Automatically?

Watch Step By Step Video Tutorial Below


1. Accessing Pabbly Connect for Integration

To start integrating Facebook Lead Ads with Apollo, you must first access Pabbly Connect. If you’re a new user, visit pabbl.com/connect and click on “Sign Up for Free” in the top right corner.

This allows you to explore Pabbly Connect with hundreds of free tasks each month. If you’re an existing user, simply log in to your account. Once logged in, you can begin setting up your automation workflows.


2. Creating a New Workflow in Pabbly Connect

After accessing Pabbly Connect, navigate to the workflow builder. This is where you will set up your trigger and action. Click on the “Add Trigger” button to start.

  • Select Facebook Lead Ads as your trigger application.
  • Choose “New Lead Instant” as the event.
  • Connect your Facebook account if you haven’t already.

Once connected, select the page associated with your Facebook Lead Ads. This enables Pabbly Connect to capture leads effectively from your selected lead form.


3. Capturing Lead Data from Facebook

After setting up the trigger in Pabbly Connect, you need to capture the lead data. Click on “Save and Send Test Request” to initiate the webhook response.

To test this, open the Meta for Developers site and use the Lead Ads Debug Tool. Select your Facebook page and the lead form to preview. Fill out the form with test data, ensuring the information is accurate for effective integration.

  • Enter test lead details such as first name, last name, and email.
  • Submit the lead form to see if Pabbly Connect captures the data.

Once submitted, return to Pabbly Connect to confirm that the lead information is captured correctly.


4. Setting Up Apollo as the Action Application

With the lead data captured, it’s time to add Apollo as the action step in your workflow. Click on “Add New Action Step” and select Apollo.io from the application list.

Choose “Create Contact” as the event. If you have previously connected Apollo with Pabbly Connect, select the existing connection. If not, you will need to create a new connection using your Apollo API key.

  • Access your Apollo account and navigate to Admin Settings.
  • Select Integrations, then API Keys, and create a new API key.
  • Copy the API key and paste it into Pabbly Connect.

Now, map the captured lead data to the corresponding fields in Apollo to ensure the contact is created with the correct information.


5. Finalizing the Integration and Testing

After mapping the fields, click on “Save and Send Test Request” to finalize the setup. This action will send the test data to Apollo, creating a new contact based on the lead information.

To verify the integration, check your Apollo.io account. Navigate to the contacts section and ensure that the new contact appears with the correct details. This confirms that Pabbly Connect has successfully automated the process.

Whenever a new lead is generated from Facebook Lead Ads, a corresponding contact will automatically be created in Apollo.io, streamlining your workflow and saving you time.


Conclusion

By using Pabbly Connect, you can effortlessly integrate Facebook Lead Ads with Apollo. This automation not only saves time but also enhances your lead management process.

Write Daily Video Scripts Automatically with AI

Watch Step By Step Video Tutorial Below


1. Accessing Pabbly Connect for Automation

To start integrating applications like Gemini and Google Docs, you need to access Pabbly Connect. Open your browser and navigate to pabbly.com/connect. This is where you can sign up or log in to your existing account.

If you’re new, click on ‘sign up for free’ to receive 100 free tasks each month. Existing users can simply sign in. Once logged in, select the option to access Pabbly Connect and navigate to the dashboard to begin creating workflows.


2. Creating a New Workflow in Pabbly Connect

After accessing Pabbly Connect, you will need to create a new workflow. Click on ‘Create from Scratch’ to start building your automation. This workflow will connect your AI tool, Gemini, with Google Docs.

  • Select the ‘Schedule’ trigger to set when the workflow should run.
  • Choose your desired days for the automation to trigger.
  • Set the time for execution, such as 10:00 AM.

Once configured, click ‘Save’ to finalize your trigger settings. You will see a confirmation message indicating that the trigger has been successfully set up in Pabbly Connect.


3. Generating Video Scripts Using Gemini

Next, you will configure Pabbly Connect to generate video scripts using Gemini. This involves connecting to your AI tool and setting up the necessary API key. Click on ‘Build New Connection’ and follow the prompts to enter your API key.

Once connected, provide a relevant prompt for Gemini to generate the video script. Make sure to select the appropriate model and method for content generation. Click ‘Save and Send Test Request’ to ensure everything is working correctly.


4. Creating a Google Doc for the Video Script

After generating the video script, the next step is to create a new document in Google Docs. In Pabbly Connect, click on ‘Build New Connection’ to link your Google account.

  • Select your Google account and grant access to Pabbly Connect.
  • Specify the document name, such as ‘Video Script for [Date]’.
  • Use the Date Time Formatter to automatically add the current date.

After creating the document, you will receive a confirmation indicating that the new Google Doc has been successfully created.


5. Adding the Generated Script to Google Docs

The final step is to insert the generated video script into the newly created Google Doc. In Pabbly Connect, select the previously connected Google Docs account to add the script.

Map the document ID received from the previous steps and insert the generated script text. Click ‘Save and Send Test Request’ to finalize this action. A successful response will confirm that the video script has been added to your Google Doc.


Conclusion

In this tutorial, we explored how to automate video script creation using Pabbly Connect, Gemini, and Google Docs. By following these steps, you can streamline your content creation process effectively.

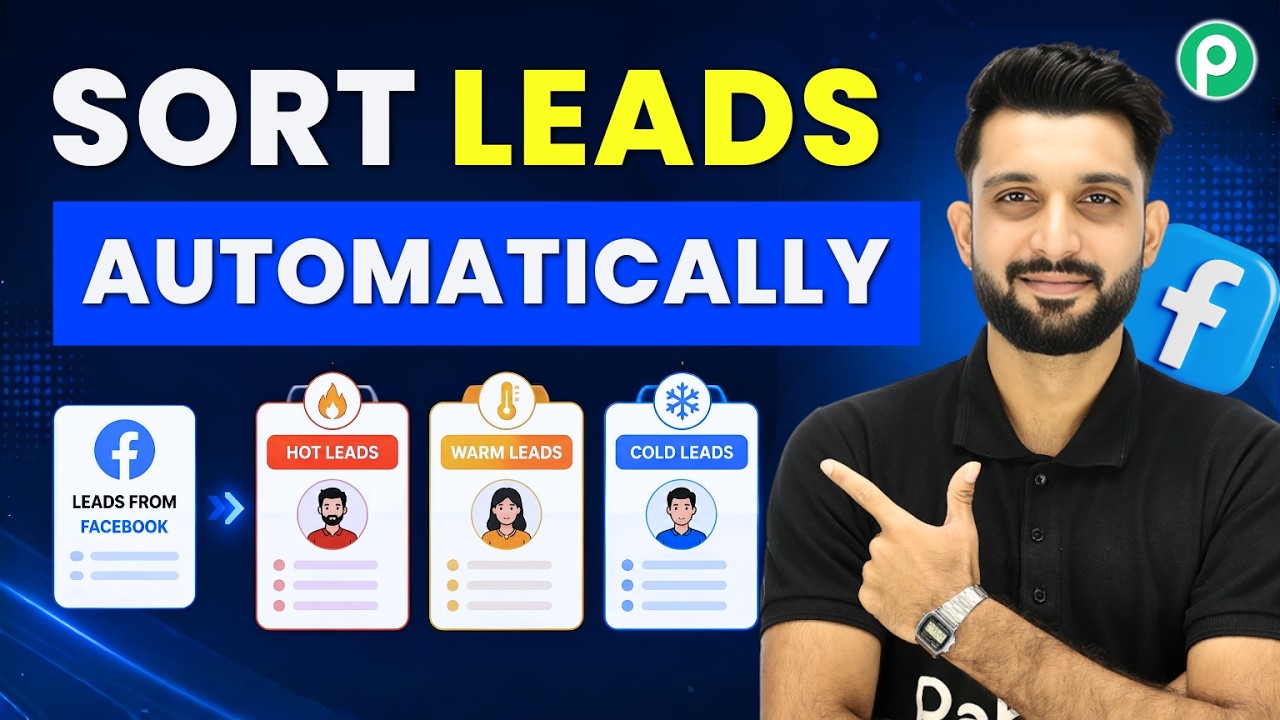
Automatically Separate Hot, Warm & Cold Leads Using Pabbly Connect

Watch Step By Step Video Tutorial Below


1. Accessing Pabbly Connect for Lead Management

To start categorizing leads as hot, warm, or cold, you first need to access Pabbly Connect. Go to the Pabbly website and sign up for an account if you are a new user, or log in if you already have an account.

Once logged in, navigate to the dashboard, where you can create a new workflow. This is where you will set up the automation to connect your lead sources with Zo CRM through Pabbly Connect.


2. Setting Up the Workflow in Pabbly Connect

In this section, you will create a workflow that triggers when a new lead is generated from Facebook. Use the quick workflow builder in Pabbly Connect to set up this automation.

  • Click on “Create Workflow”.
  • Enter a name for your workflow, such as “Connect Facebook Leads to Zo CRM”.
  • Choose “Facebook Lead Ads” as the trigger app and select “New Lead” as the trigger event.

After setting the trigger, connect your Facebook account to Pabbly Connect. You will need to authorize the connection, allowing Pabbly Connect to access your Facebook leads.


3. Configuring Zo CRM Integration

Next, you will set up the action in Zo CRM where the leads will be sent. Choose “Zo CRM” as the action app and select “Create Lead” as the action event. This is crucial for categorizing your leads based on their status.

Map the fields from your Facebook lead to the respective fields in Zo CRM. Ensure that you include:

  • Lead Name
  • Email Address
  • Contact Number

Once the fields are mapped, you can set conditions to categorize leads as hot, warm, or cold based on their responses in the lead form. This is where Pabbly Connect plays a vital role in automating the process.


4. Categorizing Leads Using Pabbly Connect

Now that your workflow is set up, it’s time to categorize the leads based on their urgency. Create filters in Pabbly Connect to determine if a lead is hot, warm, or cold.

For example, if a lead indicates they want to purchase within three months, they should be categorized as a hot lead. Use the router feature in Pabbly Connect to create multiple paths based on these conditions:

  • If the purchase time is within 3 months, tag as Hot Lead.
  • If the purchase time is within 6 months, tag as Warm Lead.
  • If the lead is just exploring, tag as Cold Lead.

By implementing these filters, Pabbly Connect ensures that your sales team can prioritize leads effectively, improving conversion rates.


5. Testing the Integration

After setting up the workflow and categorization, it’s essential to test the integration. Submit a test lead through your Facebook lead ad and monitor how it flows into Zo CRM.

Check if the lead is categorized correctly based on your conditions. If everything works as expected, you will see the lead appear in Zo CRM with the correct status. This testing phase is crucial to ensure Pabbly Connect is functioning correctly.

Make sure to refresh your Zo CRM account after submitting the test lead to see the updates. This will confirm that Pabbly Connect is successfully integrating your leads and categorizing them as intended.


Conclusion

In this tutorial, we explored how to automatically separate hot, warm, and cold leads using Pabbly Connect with Zo CRM and Facebook integration. By utilizing Pabbly Connect, you can streamline your lead management process, ensuring timely follow-ups and improved customer conversion.