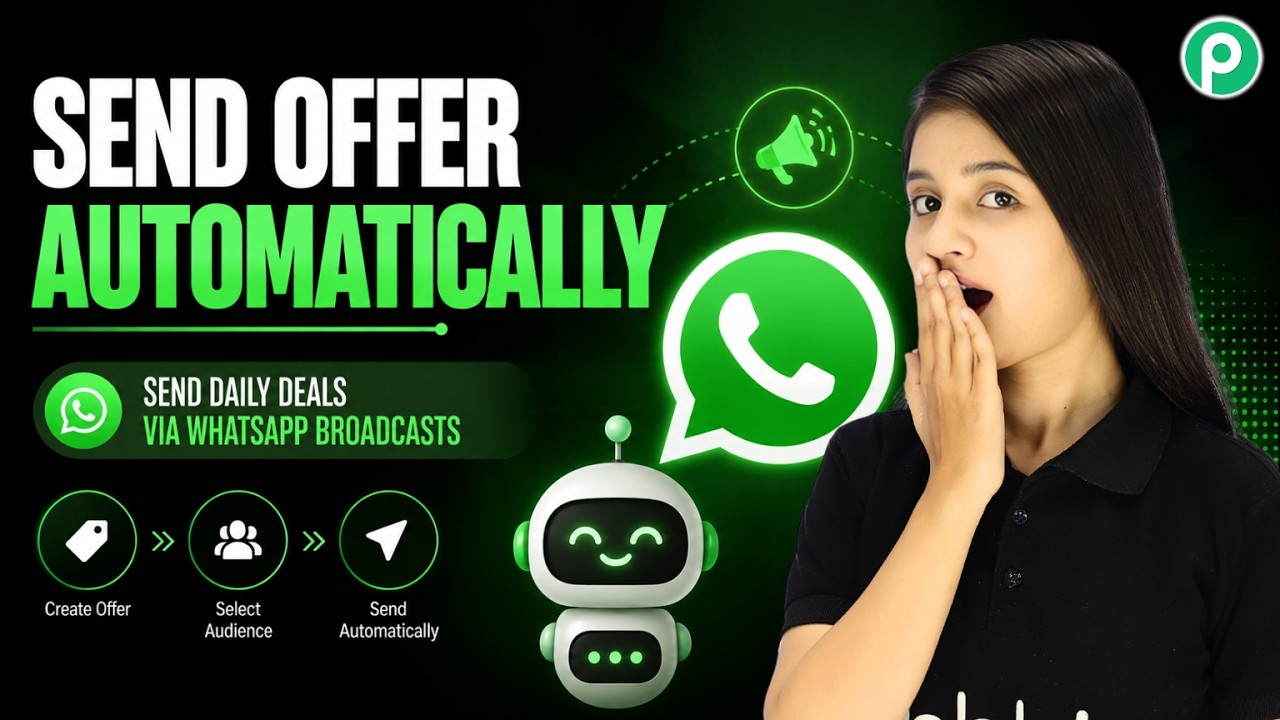
Reach 1,000 Customers on WhatsApp in Minutes

Watch Step By Step Video Tutorial Below


1. Accessing Pabbly Chatflow for WhatsApp Automation

To start automating WhatsApp messages, you need to open Pabbly Chatflow. If you are an existing user, simply log in. New users should visit pabbly.com/chartflow and sign up for free to explore its features.

Once you sign up, you will receive 100 free tasks each month, allowing you to send up to 200 WhatsApp messages. This is a great way to test Pabbly Chatflow and see its capabilities before committing to a subscription plan.


2. Adding Your WhatsApp Number in Pabbly Chatflow

Before sending messages, you must add your WhatsApp number in Pabbly Chatflow. This is crucial for the automation process. If you haven’t added your number yet, simply click on the “Add WhatsApp Number” button on the dashboard.

  • Click on the “Add WhatsApp Number” button.
  • Follow the instructions in the video tutorial to complete the process.

After adding your WhatsApp number, you will be ready to create a broadcast campaign using Pabbly Chatflow. This will allow you to send messages to multiple customers efficiently.


3. Creating a Broadcast Campaign in Pabbly Chatflow

To create a broadcast campaign, navigate to the broadcast feature in Pabbly Chatflow. Click on the “Add Broadcast” button and select the type of campaign you want to create. Choose “Broadcast Campaign” for sending messages to your customers.

Next, you will need to name your broadcast and select the contact list. For instance, you can name the broadcast “Globe 20” after your coupon code. Make sure to choose a contact list that includes all the customers you want to notify.

  • Select the contact list you have created earlier.
  • Optionally, refine your audience by excluding certain contacts.

Once your broadcast is set up, you can proceed to select the message type you wish to send. This can be a regular message or a pre-approved template message.


4. Sending WhatsApp Messages Using Pabbly Chatflow

After selecting the message type in Pabbly Chatflow, you can either compose a regular message or choose a pre-approved template. If you opt for a regular message, type your message and preview it on the right side of the screen.

If you decide to use a pre-approved template, ensure it has been approved by Meta. You can create or upload your template in the template section of Pabbly Chatflow. Once approved, select the template and insert any required media files.

  • Upload images or files as needed for your template.
  • Test your message by sending a test broadcast to your own WhatsApp.

Once everything looks good, you can schedule your broadcast or send it instantly. This flexibility makes Pabbly Chatflow a powerful tool for managing customer communications.


5. Tracking Broadcast Results in Pabbly Chatflow

After sending your broadcast through Pabbly Chatflow, you can track its performance. The dashboard will display the status of your broadcast, including how many messages were sent, delivered, read, or failed.

This tracking feature is essential for understanding your campaign’s effectiveness and making necessary adjustments for future broadcasts. With Pabbly Chatflow, you have a comprehensive view of your communication efforts.

By following these steps, you can efficiently manage your WhatsApp messaging campaigns and keep your customers informed about your latest offers.


Conclusion

In this tutorial, we explored how to automate WhatsApp messages using Pabbly Chatflow. By following the steps outlined, you can efficiently send messages to your customers and enhance your business communication.
Get Instant Google Chat Alerts for New Google Forms Submissions

Watch Step By Step Video Tutorial Below


1. Accessing Pabbly Connect for Integration

To start integrating Google Forms with Google Chat, you first need to access Pabbly Connect. Simply visit the Pabbly website by typing pabby.com in your browser. Once there, you will see options to sign in or sign up for free.

If you are an existing user, click on the “Sign In” option. New users can click on “Sign Up for Free” to get 100 tasks monthly. After signing in, navigate to the Pabbly apps page and select Pabbly Connect to begin your workflow.


2. Creating a New Workflow in Pabbly Connect

In Pabbly Connect, you can create a new workflow to connect Google Forms with Google Chat. Click on “Create Workflow” and name it “Get Instant Google Chat Alerts for New Google Form Submission”. Choose a folder for organization, such as “Forms Automation”.

  • Click on “Create” to finalize the workflow setup.
  • You will see a box for entering your trigger application.
  • Select Google Forms as your trigger application.

Once the workflow is created, you will be prompted to select a trigger event. Choose “New Response Received” from Google Forms and click on “Connect” to establish the connection.


3. Setting Up the Trigger for Google Forms

The next step in Pabbly Connect is to set up the trigger for Google Forms. A webhook URL will be provided, which acts as a bridge between Google Forms and Pabbly Connect. Copy this URL and proceed to your Google Forms.

Open your Google Form and navigate to the responses section. Click on “View in Sheets” to ensure that your form is linked to a Google Sheet. This connection allows form submissions to automatically populate the spreadsheet.

  • Ensure the toggle for accepting responses is turned on.
  • Perform a test submission to check if the data populates correctly in the Google Sheet.

Once the form submission is successful, you can proceed to configure the webhook by going to “Extensions” in Google Sheets, selecting “Add-ons”, and then “Get add-ons”. Search for “Pabbly Connect Webhooks” to install it.


4. Configuring the Webhook in Google Sheets

After installing the add-on, refresh your Google Sheets and navigate to the “Extensions” menu again. Click on “Pabbly Connect Webhooks” and then select “Initial Setup”. Here, paste the webhook URL you copied earlier.

In the setup, specify the trigger column, which is the final data column where new data entries will be sent. For example, if your final data entry is in column F, enter that in the trigger column field.

  • Click on “Send Test” to ensure the data is being sent successfully.
  • Submit the setup to confirm the configuration.

Once the setup is complete, you will need to enable the “Send on Event” option to ensure that new form submissions trigger the workflow in Pabbly Connect.


5. Sending Data to Google Chat Using Pabbly Connect

To send the form submission data to Google Chat, return to Pabbly Connect and select Google Chat as your action application. Choose “Create Message” as the action event and click on “Connect”.

In the message setup, you will need to enter the webhook URL for your Google Chat space. Go to Google Chat, click on the arrow next to your chat space, and select “Apps and Integrations” to add a webhook. Name it appropriately, such as “Google Forms”.

  • Copy the provided webhook URL and paste it into Pabbly Connect.
  • Compose your message, including details from the form submission.

Finally, click on “Save and Send Test Request”. If successful, you should see the message appear in your Google Chat space, confirming that the integration works seamlessly.


Conclusion

In this tutorial, we demonstrated how to integrate Google Forms with Google Chat using Pabbly Connect. This automation allows you to receive instant notifications for new form submissions, streamlining your communication process.

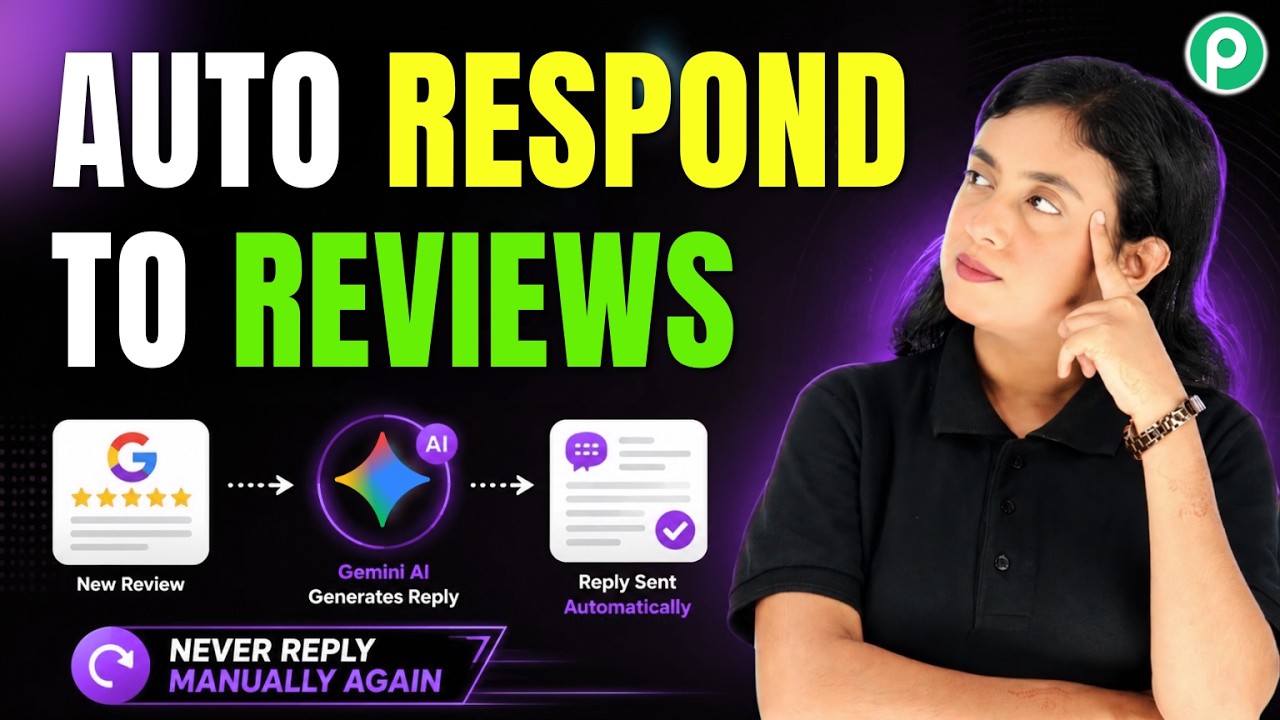
Let Gemini AI Reply to Your Google Reviews Automatically 🤯

Watch Step By Step Video Tutorial Below


1. Accessing Pabbly Connect to Set Up Your Integration

To start automating replies to Google Business reviews, access Pabbly Connect by visiting www.pabbly.com/connect. This platform allows you to create seamless integrations between various applications, including Google Business Profile and Gemini AI.

If you are a first-time user, sign up for free to receive 100 free tasks each month, which you can use to set up this automation. After exploring the features of Pabbly Connect, you might consider purchasing a one-time plan for unlimited access.


2. Setting Up the Trigger for Google Business Profile Reviews

The first step in this integration involves setting up a trigger in Pabbly Connect. Click on the connect button to add a new trigger. Select “Google Business Profile” and choose the “New Review” option.

  • Log in to your Google account to connect your Google Business Profile.
  • Select the business location from the dropdown menu.
  • Ensure there is at least one existing review for testing purposes.

After setting the trigger, click on the “Save and Send Test Request” button. This will capture the latest review posted on your Google Business Profile, allowing you to test the functionality of the integration.


3. Generating Personalized Replies Using Gemini AI

Once the trigger is set, the next step is to generate a personalized reply for the review using Pabbly Connect and Gemini AI. Click on the connect option for Gemini AI and add a new connection by providing your API key.

To obtain the API key, visit the Gemini API keys page, generate a key, and paste it into the connection field. After this, create a prompt for generating the reply. For example, your prompt could be: “You are a customer support expert for Urban Thread Studios…”

  • Map the customer’s name, rating, and comment from the previous step.
  • Select the model as Gemini 2.5 Pro for generating content.
  • Click on “Save and Send Test Request” to generate the reply.

Once the reply is generated, you will see a personalized response ready to be sent back to the Google Business Profile.


4. Posting the Generated Reply Back to Google Business Profile

The final step is to post the generated reply back to your Google Business Profile using Pabbly Connect. Select the existing connection for Google Business Profile and map the necessary fields.

For the review name, map the name from the previous step, and for the reply, map the generated response from Gemini AI. Then, click on the “Save and Send Test Request” button to post the reply.

Upon successful execution, you will see the reply posted on your Google Business Profile, ensuring timely responses to customer reviews. This automation not only enhances customer satisfaction but also builds your brand’s reputation.


Conclusion

In this tutorial, we explored how to automate replies to Google Business reviews using Pabbly Connect and Gemini AI. By setting up triggers and generating personalized responses, businesses can enhance their customer engagement effectively.

Utilizing Pabbly Connect for such integrations can save time and improve customer relationships, making it an essential tool for modern businesses.

Increase Flower Sales During Special Occasions with WhatsApp Broadcasts | Part 1

Watch Step By Step Video Tutorial Below


1. Accessing Pabbly Connect for WhatsApp Broadcasts

To increase flower sales during special occasions, you need to access Pabbly Connect. This platform is essential for integrating various applications, allowing you to send promotional messages efficiently.

Start by visiting the Pabbly website. If you’re a new user, sign up for an account. Once logged in, navigate to the Pabbly Connect dashboard, where you can manage your integrations seamlessly.


2. Setting Up WhatsApp Broadcasts with Pabbly Connect

In this section, we will set up a WhatsApp broadcast campaign using Pabbly Connect. First, click on the “Broadcast” feature in your Pabbly Chatflow dashboard.

  • Click the “Add Broadcast” button.
  • Select the broadcast type as “Broadcast Campaign”.
  • Enter a name for your broadcast, like “Flower Gifting Campaign”.

After setting up the broadcast name, choose the contact list you want to send the messages to. Ensure you have your contacts uploaded in CSV format to streamline the process.


3. Creating a Contact List for Effective Marketing

Creating a contact list is crucial for your WhatsApp broadcast. Use Pabbly Connect to manage your contacts efficiently. You can upload a CSV file containing customer details, which can be created using Google Sheets or Excel.

Follow these steps to create your contact list:

  • Click on the “Contacts” feature in Pabbly.
  • Select the “Add Contact” button to upload your CSV file.
  • Ensure your CSV file includes first name, last name, and phone number.

This will allow you to send messages to all your customers quickly and efficiently, maximizing your outreach during special occasions.


4. Scheduling Your WhatsApp Broadcast with Pabbly Connect

Once your contact list is ready, you can schedule your WhatsApp broadcast using Pabbly Connect. This feature allows you to send messages at a specific time, ensuring your promotions reach customers when they are most likely to engage.

To schedule your broadcast, follow these steps:

  • Select the “Schedule for Later” option.
  • Choose the date and time for your broadcast.
  • Click on the “Add Broadcast” button to finalize your schedule.

This allows you to automate your marketing efforts and reach your customers effectively, enhancing your flower sales during special occasions.


5. Testing Your WhatsApp Broadcasts

Before launching your broadcast campaign, it’s essential to test it using Pabbly Connect. This ensures that everything works correctly and looks professional when sent to your customers.

To test your broadcast:

  • Enter a test user name and phone number.
  • Click the “Send Test Message” button.
  • Check your WhatsApp for the received message.

This step confirms that your broadcast setup is functioning correctly and allows you to make any necessary adjustments before the actual campaign.


Conclusion

Using Pabbly Connect to create WhatsApp broadcasts can significantly enhance your flower sales during special occasions. By following these steps, you can efficiently reach your customers and automate your marketing efforts.

Automatically Add Justdial Leads to Your CRM

Watch Step By Step Video Tutorial Below


Accessing Pabbly Connect to Set Up Automation

To start using Pabbly Connect, open a new tab and type in pably.com/connect. This will take you to the Pabbly Connect landing page, where you can begin your automation journey. If you are a new user, click on the “Sign Up for Free” button to create an account and get 100 free tasks every month.

If you are an existing user, simply click on the “Sign In” button. Once logged in, you will be taken to the Pabbly dashboard, where you can manage your integrations. Pabbly Connect is designed to connect multiple applications seamlessly, making it an essential tool for automating your workflow.


Creating a Workflow in Pabbly Connect

After accessing Pabbly Connect, click on the “Create Workflow” button. You will see three options for creating your workflow: “From Scratch”, “Using Pabbly Agent”, and “Quick Workflow Builder”. For this integration, select “Create Using Quick Builder” to simplify the process.

In the quick builder, type in your application name, such as “Just Dial to Zoho CRM”. This will help Pabbly Connect analyze your request and set up the workflow accordingly. Once you input the application name, select the action you want to perform. In this case, choose “Insert/Update Record with Subform Data”.

  • Select the desired action for your workflow.
  • Confirm the workflow setup by clicking on “Approve and Create”.
  • Open the created workflow to begin connecting applications.

After confirming the workflow, you will need to build connections between Just Dial and Zoho CRM using Pabbly Connect. This ensures that leads generated from Just Dial are automatically added to your Zoho CRM account.


Connecting Just Dial and Zoho CRM via Pabbly Connect

To connect Just Dial to Pabbly Connect, you will receive a webhook URL. This URL acts as a bridge between the two applications, allowing data to flow seamlessly. Copy this webhook URL and contact your Just Dial account manager to integrate it into your Just Dial account.

Once the webhook is set up, every time a new lead is generated on Just Dial, Pabbly Connect will capture the lead details automatically. You can refresh the workflow to check if the lead data is being captured correctly. This is a crucial step to ensure that your automation is functioning as intended.

  • Copy the webhook URL provided by Pabbly Connect.
  • Integrate the webhook URL into your Just Dial account.
  • Verify that leads are being captured in Pabbly Connect.

After confirming that leads are captured, the next step is to connect your Zoho CRM account with Pabbly Connect. This will allow the captured leads to be added directly into your Zoho CRM system.


Adding Captured Leads to Zoho CRM

With the connection established, it’s time to add the captured leads to Zoho CRM. Click on the “Connect” button in Pabbly Connect and select the option to add a new connection for Zoho CRM. You will need to enter your Zoho CRM domain, which can be found in your Zoho account URL.

After entering the domain, click on “Save” and provide the necessary authorization to allow Pabbly Connect to access your Zoho CRM account. Once connected, select the module name as “Leads” to ensure that the new leads are added correctly. You will then need to map the fields to ensure all necessary lead details are transferred accurately.

  • Enter your Zoho CRM domain in the connection settings.
  • Authorize Pabbly Connect to access your Zoho CRM account.
  • Map the necessary fields to ensure accurate data transfer.

Mapping is a critical step as it allows Pabbly Connect to automatically update lead information whenever new data is received from Just Dial. This automation ensures that your lead management process is efficient and error-free.


Testing the Integration Between Just Dial and Zoho CRM

After setting up the mapping, it’s essential to test the integration to ensure everything is functioning correctly. Click on “Save and Send Test Request” in Pabbly Connect. This will send a test lead to your Zoho CRM account. Refresh your Zoho CRM dashboard to check if the new lead has been added successfully.

You should see the lead details such as name, email ID, contact number, and city appear in your Zoho CRM account. This confirms that Pabbly Connect is effectively capturing and transferring lead data from Just Dial to Zoho CRM. If the test is successful, your automation is now fully operational.

  • Click “Save and Send Test Request” to initiate the test.
  • Refresh your Zoho CRM dashboard to verify the lead addition.
  • Check for all lead details to confirm successful integration.

This successful integration allows you to automate your lead management process, saving time and reducing manual effort. With Pabbly Connect, your leads from Just Dial will be automatically added to Zoho CRM without any manual intervention.


Conclusion

In this tutorial, we explored how to integrate Just Dial leads with Zoho CRM using Pabbly Connect. By following the steps outlined, you can automate your lead management process effectively. This integration not only saves time but also enhances your business’s efficiency.

Automatically Add Google Ads Leads to MailerLite Subscribers & Grow Your Email List

Watch Step By Step Video Tutorial Below


1. Accessing Pabbly Connect for Integration

To start integrating Google Ads with MailerLite, you need to access Pabbly Connect. Begin by visiting the Pabbly website at pabbly.com. Once there, sign in to your existing account or sign up for a free trial to explore its features.

After logging in, navigate to the Pabbly Connect dashboard. Here, you can create new workflows that will automate the integration between Google Ads and MailerLite. The platform allows you to easily manage your integrations and monitor their performance.


2. Creating a New Workflow in Pabbly Connect

In this section, you will create a new workflow specifically for capturing leads from Google Ads. Click on the “Create Workflow” button in the Pabbly Connect dashboard. Name your workflow something descriptive, like “Automatically Add Google Ads Leads to MailerLite Subscribers.” Select a suitable folder for better organization.

  • Click on “Create” to finalize the workflow setup.
  • You will see a prompt to select your Trigger Application.
  • Choose Google Ads as your Trigger Application.

After selecting the trigger application, you will set the trigger event to “New Lead Form Entry”. This means the workflow will activate whenever a new lead is generated in Google Ads. Click on “Connect” to proceed with the setup.


3. Connecting Google Ads to Pabbly Connect

To connect Google Ads with Pabbly Connect, you will need a webhook URL. This URL acts as a bridge between Google Ads and Pabbly Connect. After selecting the trigger event, a webhook URL will be generated for you.

Open your Google Ads account and navigate to the lead generation form you are using. In the lead delivery options, paste the webhook URL provided by Pabbly Connect. Make sure to enter the correct key as instructed. Once done, click on “Send Test Data” to check if the connection is working properly.

  • Ensure all fields in the form are correctly configured to capture necessary lead information.
  • Test the connection to confirm that data is being sent to Pabbly Connect successfully.

After sending the test data, return to your Pabbly Connect workflow to verify that the response from Google Ads is received. This confirms that the integration is set up correctly.


4. Adding MailerLite as an Action Step

Now that Google Ads is connected to Pabbly Connect, the next step is to add MailerLite as an action application. Click on “Add New Action Step” and search for MailerLite. Choose the action event “Create or Update Subscriber” and click on “Connect” to set up the connection.

To authenticate the connection, you will need an API token from your MailerLite account. Go to the integrations section in MailerLite and generate a new API token. Copy this token and paste it into Pabbly Connect to establish the connection.

  • Make sure to map the fields correctly to ensure data flows seamlessly from Google Ads to MailerLite.
  • Toggle on the necessary fields such as email, name, and company name to capture all relevant lead information.

Once all details are mapped, click “Save and Send Test Request” to check if the subscriber is created successfully in MailerLite. This step is crucial for confirming that your automation is functioning as intended.


5. Final Verification of Integration

After the test request, verify that the subscriber has been added to your MailerLite account. Go to the subscribers section in MailerLite and check for the newly created subscriber. You should see the email address and other details you mapped from Google Ads.

This final verification step ensures that the integration between Google Ads and MailerLite through Pabbly Connect is working smoothly. If everything appears correctly, your automation is now live and ready to capture leads efficiently.

By following these steps, you have successfully integrated Google Ads with MailerLite using Pabbly Connect. This automation will help you grow your email list and manage your leads effectively.


Conclusion

In this tutorial, we explored how to integrate Google Ads with MailerLite using Pabbly Connect. By setting up this automation, you can effortlessly capture leads and grow your email list.

The Easiest Way to Automate Customer Communication

Watch Step By Step Video Tutorial Below


1. Introduction to Pabbly Connect for Automation

Pabbly Connect is your go-to platform for automating communication in your business. By using Pabbly Connect, you can seamlessly integrate various applications like Let, Pabi, So I, and others. This integration allows you to automate workflows, saving time and enhancing efficiency.

To get started, log into your Pabbly Connect account. If you don’t have an account yet, sign up for free. Once logged in, you can begin creating workflows that link your applications. This tutorial will guide you through the setup process step by step.


2. Setting Up Your First Integration with Pabbly Connect

Setting up your first integration on Pabbly Connect is straightforward. First, select the trigger app; for this example, we will use Let. This is the application that will initiate the workflow. After choosing Let, specify the trigger event that will start the automation.

  • Select ‘New Message’ as the trigger event in Let.
  • Connect your Let account to Pabbly Connect.
  • Test the trigger to ensure it works correctly.

Once you have set up the trigger, you will need to add an action step. This action will define what happens when the trigger is activated. In this case, you can choose Pabi as the action app to send messages through WhatsApp. By using Pabbly Connect, you can automate this process effectively.


3. Customizing Your WhatsApp Chatbot with Pabbly Connect

Your WhatsApp chatbot can be customized to fit your business needs using Pabbly Connect. After setting the action app to Pabi, you can define the messages that will be sent to users. Start by creating a welcome message that greets users when they initiate a conversation.

  • Select the ‘Text Button’ option in Pabi to create your welcome message.
  • Add buttons for user interaction, such as ‘Book Service’ and ‘Ask Question.’
  • Customize the responses based on user selections to enhance engagement.

With Pabbly Connect, you can ensure that your chatbot responds accurately to user inputs. This level of customization allows you to provide a more personalized experience for your customers, improving satisfaction and engagement.


4. Finalizing Your Chatbot Setup in Pabbly Connect

After customizing your WhatsApp chatbot, it’s time to finalize the setup. Make sure to save your flow in Pabbly Connect. This step is crucial to ensure that all your configurations are stored correctly.

Next, test your chatbot to verify that it responds as expected. Send a message to your WhatsApp number and observe the interaction. Ensure that the responses align with the triggers you set up using Pabbly Connect.

Finally, monitor the performance of your chatbot. Analyze user interactions to identify areas for improvement. Pabbly Connect provides insights that can help you enhance your chatbot’s performance over time.


5. Conclusion: Automate Your Business with Pabbly Connect

In conclusion, Pabbly Connect is an essential tool for automating your business communication. By integrating Let, Pabi, So I, and other applications, you can streamline processes and enhance customer interactions. Start using Pabbly Connect today to create efficient workflows that save time and improve service delivery.

With the steps outlined in this tutorial, you can build a powerful WhatsApp chatbot that meets your business needs. Don’t hesitate to explore further features of Pabbly Connect to maximize your automation efforts.

Send Daily Deals via WhatsApp Broadcasts

Watch Step By Step Video Tutorial Below


1. Introduction to Pabbly Connect for WhatsApp Integration

Pabbly Connect is a powerful integration platform that enables users to automate tasks seamlessly. In this tutorial, we will focus on how to use Pabbly Connect to send broadcast messages via WhatsApp. This integration allows businesses to reach out to their customers effectively with just a click.

Using Pabbly Connect, you can streamline your communication strategy, ensuring that your promotional offers and daily deals reach your audience instantly. This method enhances customer engagement and drives sales without the hassle of manual messaging.


2. Setting Up Pabbly Connect for WhatsApp

To start using Pabbly Connect, you first need to create an account. Visit the Pabbly Chartflow website and sign up for an account. After signing up, you will receive 100 free credits each month to explore the software. This is ideal for testing your setup.

  • Go to Pabbly Chartflow and log in to your account.
  • Add your WhatsApp number in the settings to enable messaging.
  • Navigate to the broadcast feature to start creating your campaign.

By following these steps, you ensure that Pabbly Connect is ready to facilitate your WhatsApp broadcasts efficiently. This setup is crucial for automating your messaging processes.


3. Creating a WhatsApp Broadcast Using Pabbly Connect

Once you have set up your account, the next step is to create a WhatsApp broadcast campaign. Within the Pabbly Chartflow dashboard, navigate to the broadcast feature. This allows you to send a single message to multiple contacts simultaneously.

To create your broadcast, select the type as a “broadcast campaign” and enter a name for it, such as “Deal Alert.” Then, choose the contact list from which you want to send the broadcast. This ensures that your message reaches the right audience.

  • Select the broadcast type as “broadcast campaign”.
  • Enter a name for your broadcast.
  • Choose the appropriate contact list for the broadcast.

After selecting your audience, you can refine it by excluding specific contacts if necessary. This ensures that your broadcast message is tailored to your audience’s needs.


4. Uploading Contacts for Your Broadcast

To effectively utilize the broadcast feature, you need to upload your contacts into Pabbly Connect. You can add contacts manually, but it is more efficient to upload them in bulk using a CSV file. This method allows you to add up to 200,000 contacts at once.

Create a CSV file containing your contacts’ first names, last names, and phone numbers. Once your file is ready, upload it through the Pabbly Chartflow interface. Click on the “add new file” option and drag your CSV file into the designated area.

  • Prepare a CSV file with the required contact information.
  • Upload the CSV file through the Pabbly Chartflow interface.
  • Select the contact list and click “insert” to add them.

This process simplifies the management of your contact list, enabling you to efficiently reach out to a large audience using Pabbly Connect.


5. Scheduling Your WhatsApp Broadcast

After setting up your broadcast message and uploading your contacts, the final step is to schedule your broadcast. You can either send the message immediately or set a specific date and time for it to be sent.

Choose the scheduling option and specify the date and time for your broadcast. For example, you can set it for June 26th at 5:00 PM. Once scheduled, click on the “add broadcast” button to finalize your setup.

  • Select the option to schedule your broadcast.
  • Specify the date and time for sending the message.
  • Click “add broadcast” to complete the scheduling.

By scheduling your broadcasts through Pabbly Connect, you can ensure timely communication with your customers, enhancing their engagement with your brand.


Conclusion

In this tutorial, we explored how to use Pabbly Connect to create WhatsApp broadcast messages effectively. By following these steps, you can automate your messaging processes, reach your audience efficiently, and enhance customer engagement. Start utilizing Pabbly Connect today for seamless integration!