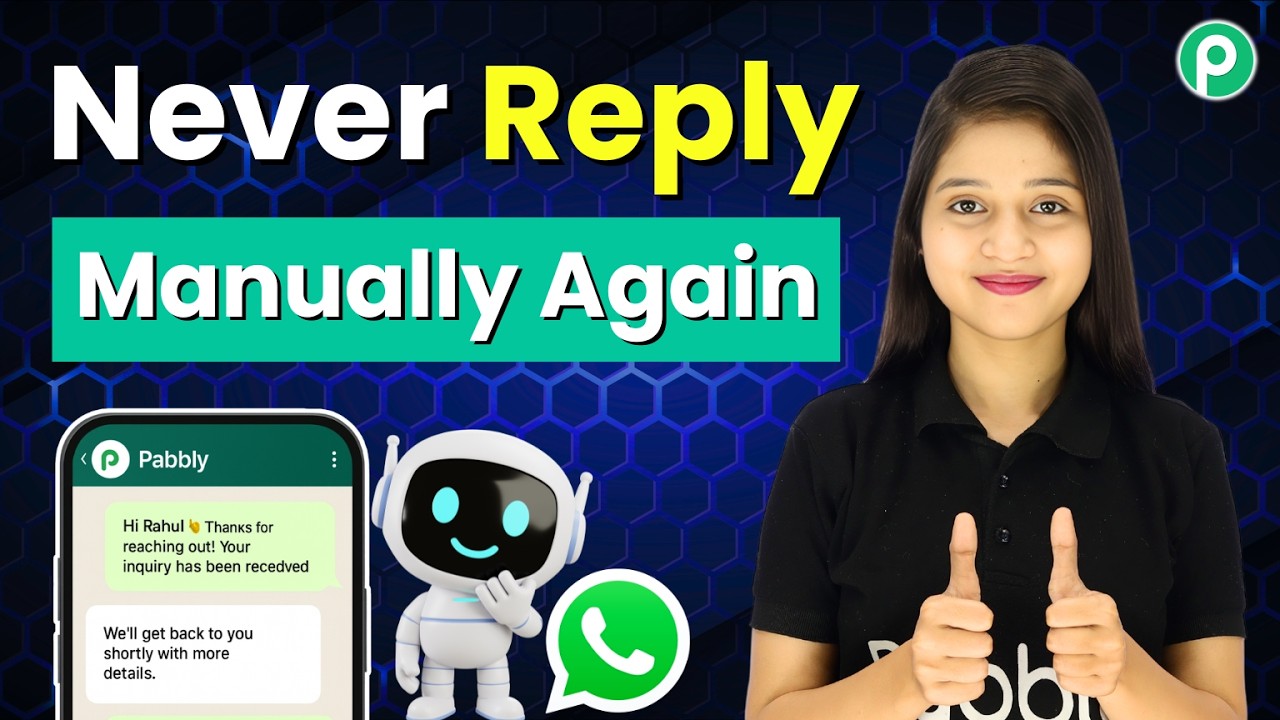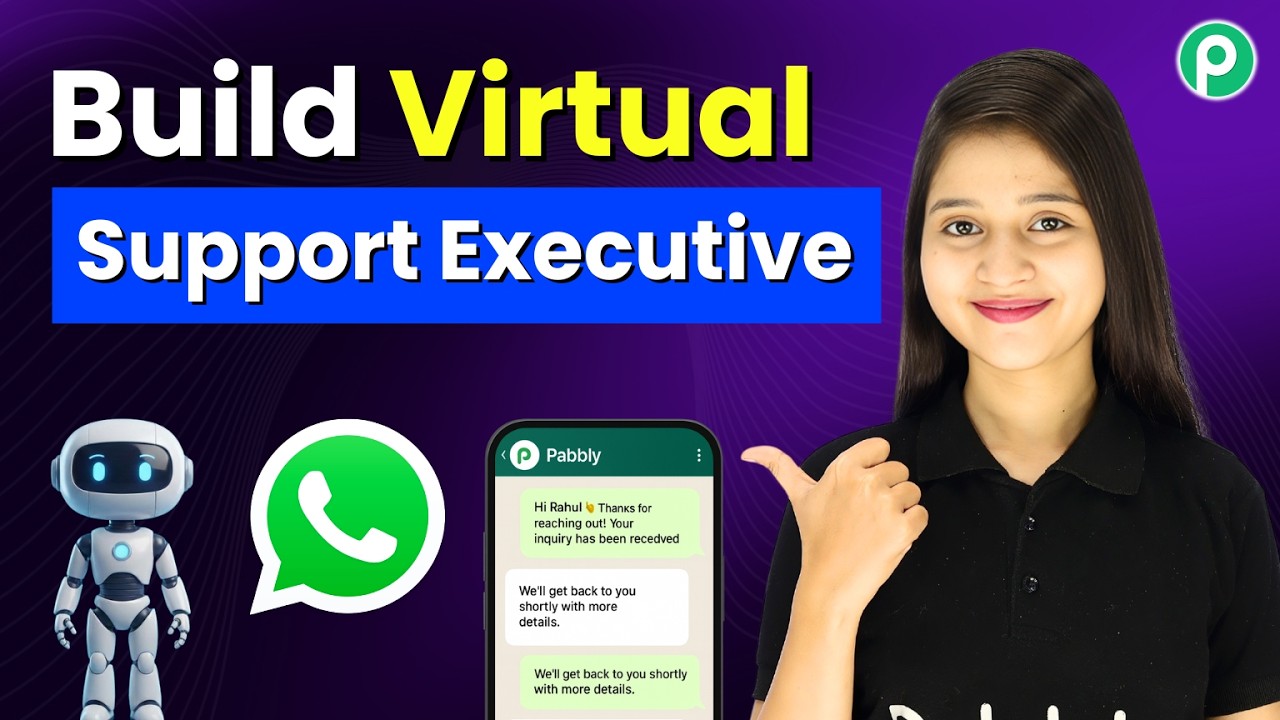
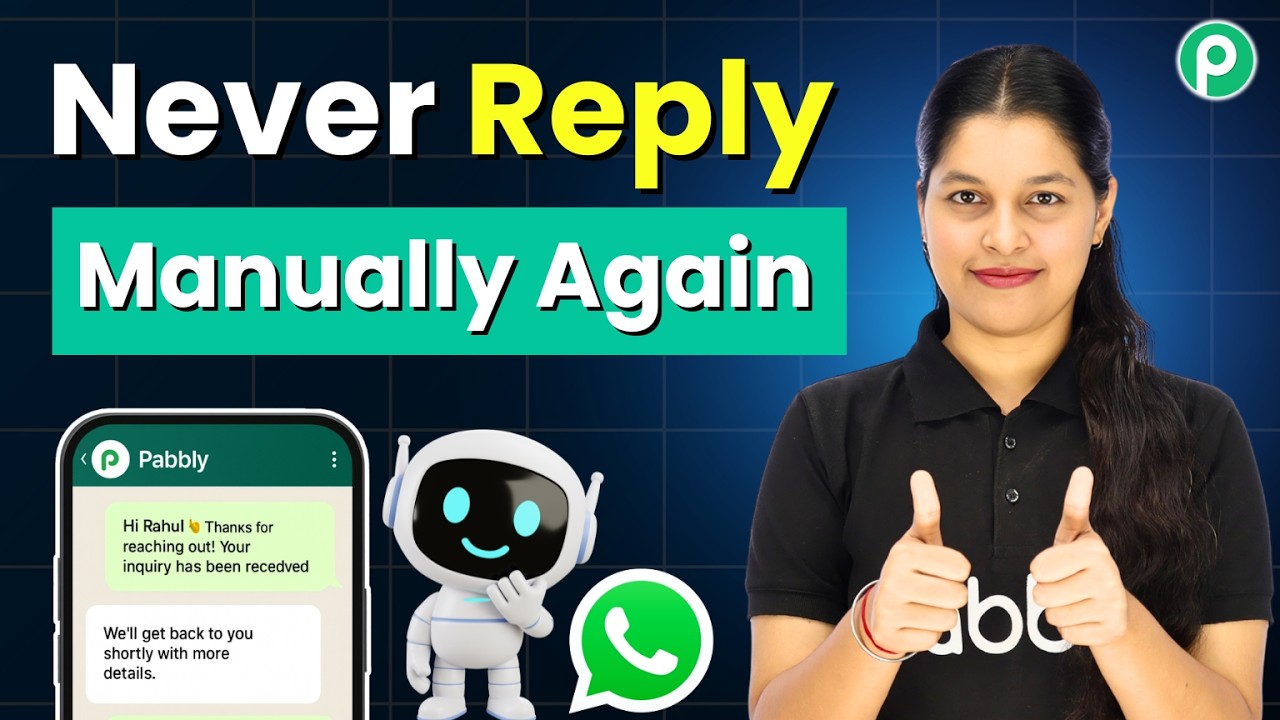
Build a Virtual Customer Support Executive on WhatsApp (Pabbly Chatflow)

Watch Step By Step Video Tutorial Below


1. Accessing Pabbly Connect to Create Your Assistant

To start building your AI-powered customer support assistant, first access Pabbly Connect. This platform is essential for integrating WhatsApp with your assistant. If you don’t have an account yet, visit Pabbly’s website and create one to explore its features.

Once you are logged in, navigate to the Pabbly Connect dashboard. From here, you can manage your integrations and set up your WhatsApp assistant. Ensure that your WhatsApp number is linked to Pabbly Connect for seamless operation.


2. Creating Your WhatsApp Assistant in Pabbly Connect

After accessing Pabbly Connect, the next step is to create your WhatsApp assistant. Click on the “Add Assistant” button in the dashboard. This will open a new window where you can name your assistant, such as “Virtual Customer Support Executive on WhatsApp”.

  • Click on the “Add Assistant” button.
  • Enter a descriptive name for your assistant.
  • Select the instruction type as “AI Agent”.

Once created, you can customize the assistant’s behavior by selecting the instruction type. This will determine how the assistant interacts with users, ensuring it provides accurate responses based on your business requirements.


3. Configuring AI Settings for Your Assistant

Next, you will configure the AI settings for your assistant using Pabbly Connect. Set the temperature to control the creativity of responses. A lower temperature will yield more stable replies, while a higher temperature allows for creative answers. For instance, setting it to 0.5 balances both aspects.

  • Set the temperature based on desired response creativity.
  • Choose OpenAI as the model provider.
  • Enter your OpenAI API key to connect.

After entering the API key, click on the “Connect” button to save your settings. This integration allows your assistant to leverage AI capabilities for providing customer support through WhatsApp.


4. Uploading Knowledge Base for Accurate Responses

To enhance the performance of your assistant, upload a knowledge base file through Pabbly Connect. This file will contain all the necessary information your assistant needs to answer customer queries accurately. Ensure that the file is in text or PDF format.

  • Create a knowledge base file with relevant business information.
  • Upload the file using the “Add New File” option.
  • Ensure the file size is less than 90 MB and follows format guidelines.

Once uploaded, the assistant will use this knowledge base to provide specific answers to customer inquiries, making it a vital part of your setup.


5. Activating Your Assistant for Customer Interaction

Finally, to activate your assistant, go to the inbox settings in Pabbly Connect. Enable the AI auto-reply settings to allow your assistant to respond to all contacts automatically. Select your assistant from the dropdown menu and save your settings.

This activation ensures that your assistant is ready to handle customer queries 24/7, providing instant support even when you are unavailable. You can also embed the assistant on your website for broader accessibility.


Conclusion

In this tutorial, we explored how to integrate WhatsApp with Pabbly Connect to create an AI-powered customer support assistant. By following these steps, you can automate responses and enhance customer engagement effectively.
Automatically Save AWeber Subscribers to Google Sheets

Watch Step By Step Video Tutorial Below


1. Accessing Pabbly Connect for Integration

To start using Pabbly Connect, navigate to www.pabbly.com/connect. This platform is essential for integrating various applications, such as AWeber and Google Sheets.

If you are new to Pabbly, you can sign up for free to get 100 tasks every month. This allows you to explore the features and capabilities of Pabbly Connect before committing to a paid plan.


2. Setting Up AWeber Trigger in Pabbly Connect

The next step is to set up the trigger for the integration. In Pabbly Connect, choose “AWeber” as your application and select “New Subscriber” as the trigger event. This will ensure that every new subscriber added in AWeber is captured.

Click on the “Connect” button, and then select “Add New Connection”. You will be prompted to log in to your AWeber account. After logging in, grant access to Pabbly Connect to manage your AWeber data.

  • Select your AWeber account.
  • Choose the list from which you want to capture subscriber data.

Once you have selected these details, click on the button to fetch the latest subscriber information. This ensures that Pabbly Connect is correctly set up to receive data from AWeber.


3. Adding a New Subscriber in AWeber

Now that your trigger is set up, you can add a new subscriber to AWeber. For example, add a subscriber named “Ameez Lead” with the email “[email protected]” and phone number details.

After adding the subscriber, return to Pabbly Connect and click on the button to fetch the latest subscriber data. This action will capture the details of the subscriber you just added.

Ensure that the new subscriber’s details, including their name, email, and phone number, are displayed correctly in Pabbly Connect. This confirms that the trigger is working as expected.


4. Setting Up Google Sheets Action in Pabbly Connect

Next, configure the action step in Pabbly Connect to send the subscriber details to Google Sheets. Click on the “Connect” button and select “Google Sheets” as the application.

Choose “Add Row” as the action event. You will need to sign in to your Google account and grant access to Pabbly Connect for managing your spreadsheets.

  • Select the spreadsheet you created for AWeber subscribers.
  • Choose the specific sheet where you want to store the data.

Once you have selected the spreadsheet and sheet, you need to map the fields from the AWeber trigger to the Google Sheets columns. This mapping ensures that the subscriber’s details are correctly recorded in your spreadsheet.


5. Testing the Integration

Finally, it’s time to test the integration to ensure everything works seamlessly. Click on the “Save and Send Test Request” button in Pabbly Connect. This action will send the subscriber’s details to Google Sheets.

Check your Google Sheets to confirm that the new subscriber’s information has been added correctly. If the data appears as expected, your integration between AWeber and Google Sheets is successful!

Now, every time a new subscriber is added in AWeber, their details will automatically be sent to Google Sheets through Pabbly Connect, streamlining your subscriber management process.


Conclusion

In this tutorial, we explored how to integrate AWeber with Google Sheets using Pabbly Connect. This automation simplifies subscriber management and ensures that you have accurate records without manual entry.

One WhatsApp Chatbot to Handle All Customer Enquiries 💬

Watch Step By Step Video Tutorial Below


1. Accessing Pabbly Connect for Integration

To begin integrating Now, Are, and WhatsApp, you first need to access Pabbly Connect. This platform serves as the central hub for automating workflows and connecting various applications.

Start by visiting the Pabbly Connect website and signing up or logging in. Once you are in, you can create a new workflow that will allow you to connect Now and Are with WhatsApp. This is crucial for managing customer inquiries effectively.


2. Setting Up Your Workflow in Pabbly Connect

After accessing Pabbly Connect, you will need to create a new workflow specifically for the integration of Now, Are, and WhatsApp. This step is essential for automating the process.

  • Click on “Create New Workflow”.
  • Name your workflow, for example, “Now and Are Integration”.
  • Select the trigger app, which in this case is Now.

Once you have set up the workflow, you will be prompted to configure the trigger settings. This setup is necessary to ensure that your WhatsApp messages are sent based on the actions taken in Now and Are.


3. Configuring WhatsApp Messaging in Pabbly Connect

Next, you will configure the WhatsApp messaging feature within Pabbly Connect. This step is crucial as it allows you to send automated messages to customers based on their inquiries.

Choose the action app as WhatsApp and set up the message template. You will need to specify the content of the message that should be sent to customers when they interact with the Now and Are applications.

  • Select the message type (text, image, etc.).
  • Input the message content, such as “Welcome to our service!”.
  • Test the message to ensure it is being sent correctly.

Once the message template is set up, you will be able to send automated responses to customer inquiries through WhatsApp, streamlining communication.


4. Testing the Integration with Pabbly Connect

After configuring the messaging settings, it’s important to test the integration within Pabbly Connect. Testing ensures that everything works as intended before going live.

Send a test message from Now or Are to your WhatsApp number to see if the automated response is triggered. This step is essential for confirming that the integration is functioning properly.

If the test is successful, you will see the automated message appear in your WhatsApp chat. If not, review your workflow settings and make necessary adjustments.


5. Finalizing Your Pabbly Connect Integration

Once testing is complete, you can finalize your integration setup with Pabbly Connect. This step involves saving your workflow and ensuring all settings are correct.

Make sure to activate your workflow so that it can start processing real customer inquiries. This activation is key to automating your customer service via WhatsApp effectively.

Now you can enjoy the benefits of a fully automated system that handles customer inquiries through WhatsApp, using Now and Are.


Conclusion

In this tutorial, we explored how to integrate Now, Are, and WhatsApp using Pabbly Connect. By following these steps, you can automate your customer interactions efficiently and enhance your service quality.

Add GoHighLevel Contacts to Google Sheets Automatically

Watch Step By Step Video Tutorial Below


1. Accessing Pabbly Connect for Integration

To begin integrating GoHighLevel with Google Sheets, first access Pabbly Connect. Open a new tab and search for www.pabbly.com/connect. This platform allows you to automate workflows without coding skills.

If you are a first-time user, sign up for free. You will receive 100 free tasks each month, allowing you to create setups without any cost. Once logged in, you can explore various automation options with Pabbly Connect.


2. Setting Up the Trigger in Pabbly Connect

Next, set up the trigger in Pabbly Connect. Choose the trigger event as “Lead Connector V2: Contact Created” from the available options. This step is crucial as it allows Pabbly Connect to listen for new contacts created in GoHighLevel.

  • Select “Lead Connector V2” as your application.
  • Copy the provided webhook URL.
  • This URL will connect your GoHighLevel account to Pabbly Connect.

After copying the URL, head over to your GoHighLevel account. Navigate to the automation section and create a new workflow. Name the workflow appropriately, such as “New Contact Created.” This setup will trigger actions whenever a new contact is added.


3. Configuring GoHighLevel to Work with Pabbly Connect

In GoHighLevel, set the trigger for your new workflow to “Contact Created.” This step ensures that every time a new contact is added, the data is sent to Pabbly Connect.

Add an action to your workflow that uses the webhook URL you copied earlier. Set the method to POST and save this action. By publishing this automation, you enable the connection between GoHighLevel and Pabbly Connect.

Once saved, test the connection by creating a new contact in GoHighLevel. After saving the contact, return to Pabbly Connect and click on the “Recapture” button to see if the new contact information has been captured successfully.


4. Adding Google Sheets as an Action in Pabbly Connect

Now, it’s time to add Google Sheets as the action step in Pabbly Connect. Click on the action option and select Google Sheets. You will need to connect your Google account to allow Pabbly Connect to access your sheets.

  • Select the spreadsheet you want to use for storing contact details.
  • Choose the specific sheet within the spreadsheet.
  • Map the fields from the GoHighLevel contact to the corresponding columns in Google Sheets.

After mapping the fields, save the action and send a test request. If successful, you will see the new contact information appear in your Google Sheets. This confirms that the integration is working as intended through Pabbly Connect.


5. Conclusion: Automating Your Workflow with Pabbly Connect

In conclusion, integrating GoHighLevel with Google Sheets using Pabbly Connect allows for seamless data transfer. Whenever a new contact is created in GoHighLevel, their details will automatically appear in Google Sheets, ensuring you have a backup of all your leads in one place.

This automation not only saves time but also minimizes errors in data entry. With Pabbly Connect, you can easily set up this integration without any technical skills, making it a valuable tool for businesses looking to streamline their workflows.

Utilizing Pabbly Connect for this process enhances your operational efficiency and ensures that your data remains organized and accessible.

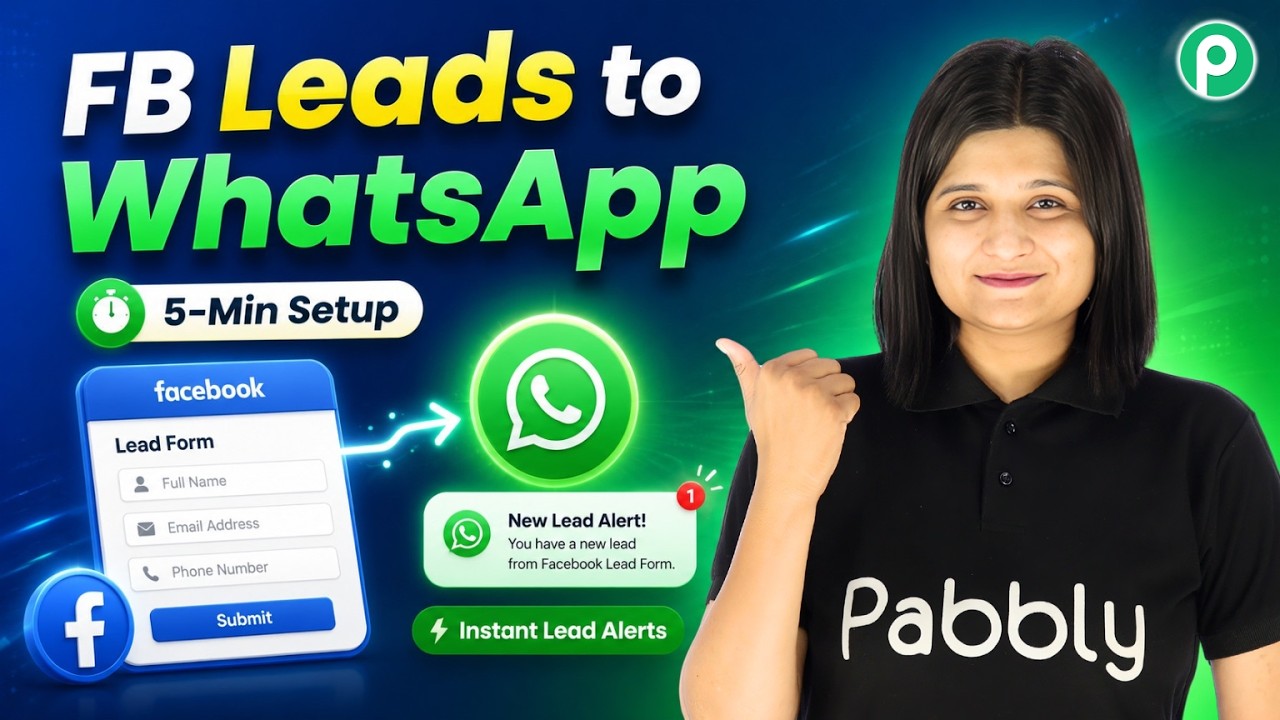
Connect Facebook Leads to WhatsApp in 5 Minutes | Instant Lead Notifications

Watch Step By Step Video Tutorial Below


1. Access Pabbly Connect for Integration

To connect Facebook leads to WhatsApp, you first need to access Pabbly Connect. Start by visiting the Pabbly website at pabby.com and signing into your account. If you are a new user, you can sign up for free and get 100 tasks monthly to test the platform.

Once logged in, navigate to the “All Apps” page and select Pabbly Connect. You will be directed to the app dashboard where you can create a new workflow. Click on “Create from Scratch” to begin setting up your integration.


2. Creating a Workflow in Pabbly Connect

In this step, you will create a workflow named “Connect Facebook Leads to WhatsApp in 5 Minutes” in Pabbly Connect. Select your preferred folder and click on “Create”. This will open a new box where you can set up the trigger application.

  • Select “Facebook Lead Ads” as the trigger application.
  • Choose the trigger event as “New Lead Instant”.
  • Click on “Connect” to establish the connection.

After connecting, select your Facebook page and the lead form you are using. This setup will allow Pabbly Connect to capture leads from Facebook effectively.


3. Testing the Integration with Facebook Leads

Once you have set up the trigger, it’s essential to test the integration. You will need to submit a test lead through your Facebook lead form. After submitting, return to Pabbly Connect and check if the lead details have been captured successfully.

To do this, follow these steps:

  • Open the lead form and enter test details like name, email, and phone number.
  • Submit the form and return to Pabbly Connect to see if the response is recorded.

If successful, you will see the lead information displayed in your workflow, confirming that Pabbly Connect is working correctly to capture leads from Facebook.


4. Sending WhatsApp Notifications via Pabbly Connect

Now that your leads are captured, the next step is to send WhatsApp notifications. In Pabbly Connect, select the action application as “Pabbly Chatflow” and choose the event “Send Text Message”. This will enable you to send personalized messages to your leads.

You will need to connect your Pabbly Chatflow account. To do this:

  • Access the Pabbly Chatflow dashboard and navigate to “Settings”.
  • Copy your API token and paste it into the connection field in Pabbly Connect.

After saving the connection, map the phone number received from the Facebook lead to ensure the WhatsApp message is sent to the correct recipient. This setup will allow you to automate notifications seamlessly through Pabbly Connect.


5. Finalizing Your Workflow in Pabbly Connect

With the WhatsApp message setup complete, you can finalize your workflow in Pabbly Connect. Ensure all fields are correctly mapped, including the lead’s name and phone number, for personalized messaging.

Before completing, test the workflow by sending a message. Click on “Save and Send Test Request” to verify that the WhatsApp message is sent successfully. You should receive a confirmation message in WhatsApp, indicating that your integration is functioning as intended.

This final step confirms that Pabbly Connect has successfully connected Facebook leads to WhatsApp, enabling instant notifications for your business. Now, you can manage your leads effectively and enhance your communication strategy.


Conclusion

In this tutorial, we demonstrated how to connect Facebook leads to WhatsApp using Pabbly Connect. By following the outlined steps, you can automate lead notifications efficiently, enhancing your business communication.

This 5-Minute Hack Generates 1,000 Certificates 🤯

Watch Step By Step Video Tutorial Below


1. Accessing Pabbly Connect for Certificate Generation

To begin generating certificates, you need to access Pabbly Connect. Open a new tab and search for ‘www.pabbly.com/connect’. This will take you to the Pabbly Connect landing page.

If you are a first-time user, sign up for a free account to receive 100 free tasks every month. This allows you to create the setup alongside this tutorial without any cost. Once logged in, you can start building your automation.


2. Setting Up Google Sheets with Pabbly Connect

Next, you’ll set up Google Sheets to store participant details. This is crucial for Pabbly Connect to function properly. Create a new spreadsheet and input all participant data in the designated columns.

  • Add participant names, email addresses, and event dates.
  • Ensure the last column is designated for triggering certificate generation.

After entering the data, connect Google Sheets to Pabbly Connect by setting up a trigger. This will ensure that when new data is added, it automatically sends the information to Pabbly Connect.


3. Connecting Google Sheets to Pabbly Connect

To connect Google Sheets with Pabbly Connect, you need to set up a webhook. Copy the webhook URL provided by Pabbly Connect. Then, open your Google Sheets, go to Extensions, and select Add-ons to find and install the Pabbly Webhooks add-on.

Once installed, refresh your spreadsheet. Navigate to Extensions, select Pabbly Webhooks, and click on Initial Setup. Paste the webhook URL into the dialog box and set the trigger column to the last data column. Click Submit to complete the setup.


4. Creating Certificates Using Google Slides with Pabbly Connect

Now that Google Sheets is connected to Pabbly Connect, it’s time to create the certificate template in Google Slides. Open Google Slides and design a certificate template, ensuring to include placeholders for participant names and event dates.

In Pabbly Connect, add a new action step to create a presentation from the template. Choose the Google Slides connection, select your certificate template, and map the participant data from Google Sheets to the corresponding fields in the certificate.

  • Map the participant’s name to the name placeholder in the template.
  • Map the event date to the date placeholder in the template.

After mapping the data, click on Send Test Request. This will create a certificate for the first participant, confirming that everything is working correctly.


5. Generating Bulk Certificates with Pabbly Connect

With everything set up, you can now generate certificates for all participants. In Google Sheets, click on Extensions, go to Pabbly Webhooks, and select Send All Data. This action will trigger the webhook and send all participant data to Pabbly Connect.

As the data is processed, certificates will be automatically created and stored in your specified Google Drive folder. You can check the folder to see all generated certificates appearing one by one.

This process allows you to generate certificates efficiently for any number of participants, making it perfect for events, workshops, or training sessions.


Conclusion

In summary, using Pabbly Connect to generate 1,000 certificates is a straightforward process with Google Sheets and Google Slides. By following these steps, you can automate certificate generation for any event effortlessly.

The ONLY WhatsApp Chatbot Your Small Business Needs

Watch Step By Step Video Tutorial Below


1. Introduction to Pabbly Connect for WhatsApp Integration

In this section, we will explore how to use Pabbly Connect to integrate a WhatsApp chatbot for your business. This integration enhances customer interaction and automates responses for better service.

To begin, you need to access Pabbly Connect. Log into your account and navigate to the dashboard. Here, you will find various features that enable seamless integration with WhatsApp.


2. Setting Up Your WhatsApp Chatbot with Pabbly Connect

Setting up your WhatsApp chatbot using Pabbly Connect is straightforward. First, ensure your WhatsApp number is connected to the chatbot. This allows the chatbot to send and receive messages effectively.

Follow these steps to set up your chatbot:

  • Open the Pabbly Connect dashboard.
  • Select the WhatsApp integration option.
  • Connect your WhatsApp account with the chatbot.

Once you have completed these steps, your WhatsApp chatbot will be ready to interact with customers automatically.


3. Creating Interactive Responses Using Pabbly Connect

With Pabbly Connect, you can create interactive responses for your WhatsApp chatbot. This allows you to engage customers effectively by providing options like browsing products or checking offers.

Here’s how to set up interactive responses:

  • Define welcome messages that greet users when they initiate a chat.
  • Add buttons for actions such as browsing products or viewing offers.
  • Link these buttons to specific responses or actions within the chatbot.

By configuring these features, your chatbot will provide a more engaging experience for users.


4. Collecting Customer Information with Pabbly Connect

Collecting customer information is crucial for any business. Using Pabbly Connect, you can easily gather details such as names, contact numbers, and delivery addresses through your WhatsApp chatbot.

To set this up, follow these steps:

  • Create custom fields in your chatbot to capture user information.
  • Ask users for their details in a structured manner.
  • Ensure all responses are saved in your database for future reference.

This process will help streamline order placements and improve customer service.


5. Finalizing Your WhatsApp Chatbot Flow with Pabbly Connect

Finalizing your WhatsApp chatbot flow is essential for ensuring it operates smoothly. With Pabbly Connect, you can review and activate your chatbot to start serving customers.

To complete your setup:

  • Test your chatbot to ensure all flows work as intended.
  • Enable the chatbot flow in Pabbly Connect to make it live.
  • Monitor interactions to gather feedback and improve your service.

Activating your chatbot ensures it can respond to customers 24/7, enhancing your business efficiency.


Conclusion

In summary, integrating a WhatsApp chatbot using Pabbly Connect significantly improves customer interaction. By following the steps outlined in this tutorial, you can enhance your business communication and automate responses effectively.

Create Microsoft To Do Tasks Automatically Using Google Sheets

Watch Step By Step Video Tutorial Below


1. Accessing Pabbly Connect for Integration

To begin integrating Google Sheets with Microsoft To-Do, first access Pabbly Connect by visiting www.pabbly.com/connect. This platform is essential for automating workflows between different applications.

If you are a new user, sign up for a free account, which allows you to run 100 tasks each month. This will enable you to create the integration setup as demonstrated in the tutorial.


2. Setting Up Google Sheets with Pabbly Connect

In this step, you will configure Google Sheets to trigger actions in Microsoft To-Do via Pabbly Connect. Start by creating a new spreadsheet or use an existing one where you will input task details.

  • Open Google Sheets and navigate to Extensions > Add-ons > Get add-ons.
  • Search for Pabbly Connect Webhooks and install it.
  • Refresh the spreadsheet to enable the add-on.

After installation, go back to Extensions > Pabbly Webhooks > Initial Setup. Here, you will enter the webhook URL provided by Pabbly Connect and select the trigger column, which will be the final data column that sends the information to the webhook.


3. Configuring Microsoft To-Do with Pabbly Connect

Next, you will set up Microsoft To-Do as the action application in your Pabbly Connect workflow. Click on ‘Add New Connection’ and select Microsoft To-Do. You will need to grant permission for the connection.

Once connected, choose the task list where you want the tasks to be created. For the task title, map the title from the Google Sheets data. Set the priority and status as needed. Ensure the due date is formatted correctly in UTC.

  • Map the task title from the previous response.
  • Set priority to high and status to not started.
  • Format the due date using the Date Time Formatter by Pabbly.

This ensures that every new task added in Google Sheets will automatically be reflected in Microsoft To-Do.


4. Testing the Integration with Pabbly Connect

To verify that your integration works, add a new task in Google Sheets. For example, enter a task titled ‘Follow up with new Facebook leads’ and set a due date.

Once you save the changes, switch to your Microsoft To-Do account and refresh the page. You should see the new task created automatically, demonstrating the effectiveness of Pabbly Connect in linking these two applications.


Conclusion

Integrating Google Sheets with Microsoft To-Do using Pabbly Connect simplifies task management. By following these steps, you can automate your workflow and enhance productivity effortlessly.

Build a 24/7 WhatsApp AI Support Bot (No Code)

Watch Step By Step Video Tutorial Below


1. Accessing Pabbly Connect and Pabbly Chartflow

To create a WhatsApp assistant, the first step is accessing Pabbly Connect and Pabbly Chartflow. You can easily sign up for a free account on the Pabbly website. Once logged in, you will receive 100 free credits to start building your assistant.

After signing up, navigate to the Pabbly Chartflow dashboard. Here, you can begin configuring your WhatsApp assistant. Remember, Pabbly Connect is crucial for linking all the necessary applications seamlessly.


2. Setting Up Your WhatsApp Assistant

Creating your WhatsApp assistant involves several steps in Pabbly Connect. First, select the instruction type as “AI Agent”. This will allow the assistant to respond to customer queries automatically. You can rename your assistant based on your business requirements.

  • Choose AI Agent as the instruction type.
  • Set the assistant’s name according to your needs.
  • Configure the assistant’s settings as required.

Once these initial settings are done, proceed to configure the AI settings. This includes setting the temperature for responses, which ranges from 0 (focused) to 1 (creative). A temperature of 0.5 is generally recommended for balanced responses.


3. Configuring API and Knowledge Source

Next, integrate the OpenAI API key within Pabbly Connect. This step is essential for enabling the assistant to generate intelligent replies. You can generate the API key from the OpenAI website and paste it into the designated field in Pabbly Chartflow.

Additionally, you need to upload a knowledge base that outlines your business details. This will help the assistant understand how to respond to customer queries effectively. Make sure to include all relevant information about your services.

  • Generate and copy your API key from OpenAI.
  • Paste the API key into Pabbly Chartflow.
  • Upload a comprehensive knowledge base for your assistant.

With the API key and knowledge base in place, your assistant will be equipped to handle various customer inquiries effectively.


4. Customizing the Assistant Interface

Now it’s time to customize the assistant’s interface using Pabbly Connect. Adjust the visual elements to align with your branding. You can change the theme, colors, and add a profile picture for the assistant.

Additionally, you can configure the first message that users will see when they interact with the assistant. This personalization enhances user experience and ensures your branding is consistent across platforms.

  • Edit the header and footer messages.
  • Customize the first user message.
  • Adjust styling elements like colors and images.

Once you are satisfied with the customization, remember to save your settings. This ensures that your assistant reflects your brand identity effectively.


5. Activating the WhatsApp Assistant

The final step involves activating your WhatsApp assistant through Pabbly Connect. Navigate to the settings and enable the auto-reply feature. This allows the assistant to respond to all incoming messages automatically.

Select the specific contacts or groups to which you want to assign the assistant. This ensures that your assistant is always ready to assist customers, providing timely responses and improving customer satisfaction.

After saving all settings, test your assistant by sending various queries. This will help you confirm that it responds correctly to customer inquiries, enhancing your business operations.


Conclusion

Creating a WhatsApp assistant using Pabbly Connect and Pabbly Chartflow is a straightforward process that requires no coding skills. This tutorial has guided you through the essential steps to set up your assistant effectively, ensuring you can provide 24/7 support to your customers.

Automatically Add Google Ads Leads to Salesflare CRM | Instant Lead Capture

Watch Step By Step Video Tutorial Below


1. Accessing Pabbly Connect for Integration

To begin integrating Google Ads with Salesflare, you first need to access Pabbly Connect. Visit the Pabbly website by typing pabbly.com in your browser. Once there, you can either sign in or sign up for a free account, which grants you 100 tasks monthly.

After logging in, navigate to the Pabbly Connect dashboard. Here, you can create new workflows and manage existing ones. Click on “Create Workflow” to initiate the process of connecting Google Ads with Salesflare.


2. Creating a New Workflow in Pabbly Connect

In this section, you will create a new workflow in Pabbly Connect for automating lead capture. Name your workflow as “Automatically Add Google Ads Lead to Salesflare CRM” and select a folder for organization.

  • Click on “Create” to finalize your workflow setup.
  • This will prompt you to select a trigger application.
  • Choose Google Ads as your trigger application.

Once the trigger is set, you will need to define the trigger event. Select “New Lead Form Entry” to ensure that every new lead from Google Ads activates this workflow.


3. Connecting Google Ads to Pabbly Connect

After setting up the trigger in Pabbly Connect, you must connect Google Ads. A webhook URL will be provided, which acts as a bridge between Google Ads and Pabbly Connect.

Open your Google Ads account and navigate to the lead delivery option. Here, paste the webhook URL you received from Pabbly Connect. Ensure you also enter a random key before clicking on “Send Test” to verify the connection.

  • Check for successful test data reception in Pabbly Connect.
  • Ensure that the test data reflects the fields you set in your Google Ads lead form.

Once the test data is received, you will see confirmation in Pabbly Connect that the connection is working correctly. This allows you to capture new leads automatically.


4. Adding Leads to Salesflare Using Pabbly Connect

With Google Ads connected, the next step is to add the captured leads to Salesflare. In Pabbly Connect, select Salesflare as your action application and choose “Create Contact” as the action event.

To connect Salesflare, you will need an API token. Navigate to Salesflare settings, find the API keys section, and copy your token. Paste this token back into Pabbly Connect to establish the connection.

  • Map the fields from Google Ads to Salesflare to ensure accurate data transfer.
  • Enter the details like first name, last name, email, phone, and company name using the mapping feature.

This mapping is crucial as it allows new lead data to be dynamically updated in Salesflare whenever a new lead is captured from Google Ads.


5. Testing the Integration Between Google Ads and Salesflare

After setting up the action in Pabbly Connect, it’s essential to test the integration. Hit the “Save and Send Test Request” button to check if the contact is created successfully in Salesflare.

Once the test is executed, navigate to Salesflare and search for the newly created contact. You should see all the details populated correctly, confirming that the integration works seamlessly.

  • Verify that the contact ID appears in Salesflare.
  • Ensure all mapped fields show the correct data from Google Ads.

This successful test confirms that the automation is set up correctly, allowing you to capture leads from Google Ads effortlessly into Salesflare using Pabbly Connect.


Conclusion

In this tutorial, we detailed how to integrate Google Ads with Salesflare using Pabbly Connect. By following these steps, you can automate lead capture, ensuring that your CRM stays updated without manual effort. Utilizing Pabbly Connect streamlines your workflow and enhances productivity.