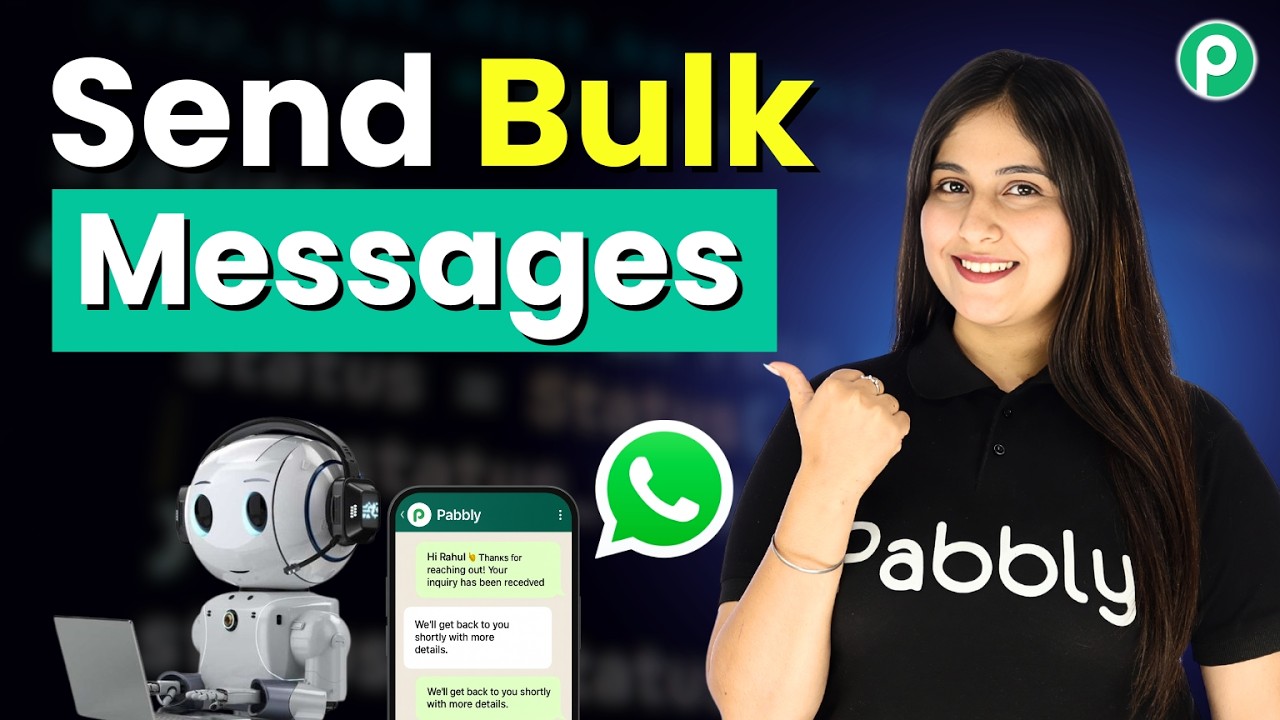
How Businesses Send Bulk WhatsApp Messages at Scale

Watch Step By Step Video Tutorial Below


1. Accessing Pabbly Connect for WhatsApp Integration

To start integrating WhatsApp with Pabbly Connect, visit the Pabbly website. Click on the “Sign Up for Free” button if you are a new user. This will allow you to create your account and access the platform’s features.

Once signed up, log in to your Pabbly account. You will see the dashboard where you can access various applications. Click on the “Pabbly Connect” option to proceed with the integration process.


2. Setting Up WhatsApp Broadcast with Pabbly Connect

After accessing Pabbly Connect, navigate to the “Broadcast” section. Here, you can create a new WhatsApp broadcast message. This feature allows you to send messages in bulk to your customers efficiently.

  • Click on the “Add Broadcast” button.
  • Select the broadcast type as “Broadcast Campaign”.
  • Name your broadcast, e.g., “New Grocery Deal”.

This setup allows you to efficiently manage your messaging campaigns. Ensure that you have a pre-approved message template ready for use.


3. Creating a Contact List in Pabbly Connect

Next, you need to create a contact list for your broadcast. Using Pabbly Connect, you can upload contacts directly from a CSV file or manually add them. This step is crucial for ensuring that your messages reach the intended recipients.

To upload a contact list, follow these steps:

  • Go to the “Contacts” section in Pabbly Connect.
  • Click on “Add Contact” and select the option to upload a CSV file.
  • Ensure your CSV file is formatted correctly with all necessary details.

Once your contacts are uploaded, you can select them for your broadcast campaign. This ensures that your messages are sent to the right audience.


4. Creating a Message Template for WhatsApp

Before sending out your broadcast, you need a message template. With Pabbly Connect, you can create and manage these templates easily. This template will be used to format your messages consistently.

To create a message template:

  • Navigate to the “Templates” section in Pabbly Connect.
  • Click on “Create New Template” and fill in the necessary details.
  • Make sure to upload any media files needed for the template.

After creating the template, you can preview it to ensure everything looks good before sending it out to your contacts.


5. Testing and Scheduling Your Broadcast

Once you have set up your broadcast message and selected your contact list, it’s time to test the broadcast using Pabbly Connect. This ensures that your messages are correctly formatted and delivered.

To test and schedule your broadcast:

  • Click on the “Test Broadcast” button to send a test message to your WhatsApp number.
  • If successful, proceed to schedule your broadcast by selecting a date and time.
  • Finally, click on the “Schedule Broadcast” button to confirm.

This testing phase is crucial to ensure that your audience receives the message as intended. Once confirmed, your broadcast will be scheduled for the selected time.


Conclusion

Integrating WhatsApp with Pabbly Connect allows businesses to efficiently send bulk messages. By following the steps outlined in this tutorial, you can streamline your communication processes and enhance customer engagement.
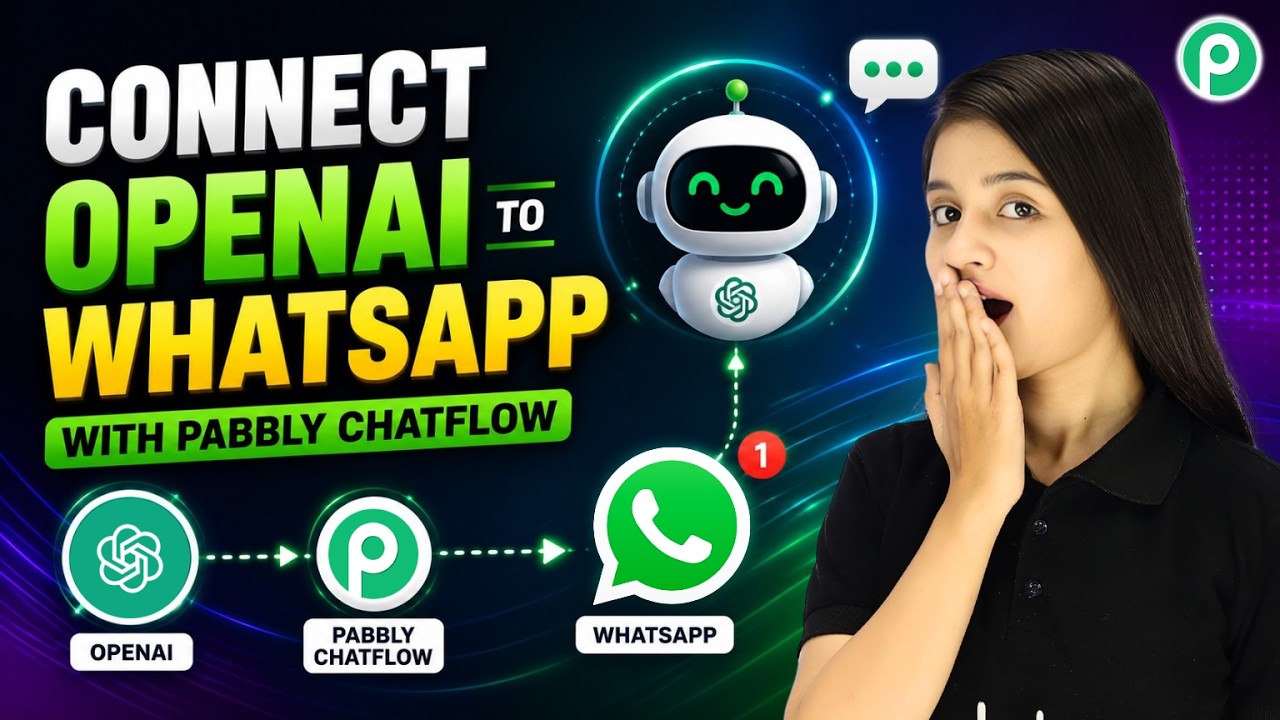
How OpenAI Works with WhatsApp in Pabbly Chatflow | Complete Explanation

Watch Step By Step Video Tutorial Below


1. Introduction to Pabbly Connect for WhatsApp and OpenAI Integration

In this tutorial, we will learn how to use Pabbly Connect to integrate WhatsApp with OpenAI. This integration allows businesses to provide intelligent, human-like replies to customer inquiries automatically. By connecting these two platforms, you can enhance customer service and engagement.

Pabbly Connect serves as the central hub for this integration. It enables seamless communication between WhatsApp and OpenAI, allowing you to automate responses based on your business information. This setup is beneficial for various industries, from grocery stores to electronic shops.


2. Setting Up Pabbly Connect for WhatsApp Integration

To get started, you need to access Pabbly Connect and create a new workflow. This involves selecting WhatsApp as the trigger application and OpenAI as the action application. Follow these steps to set up your workflow:

  • Log into your Pabbly Connect account.
  • Create a new workflow and name it appropriately.
  • Select WhatsApp as the trigger app.
  • Choose the appropriate trigger event for WhatsApp.

Once you have completed these steps, you will need to connect your WhatsApp account to Pabbly Connect. This connection allows Pabbly Connect to receive messages from your WhatsApp account, which can then be processed by OpenAI.


3. Configuring OpenAI in Pabbly Connect

After setting up WhatsApp, the next step is to configure OpenAI within Pabbly Connect. This involves selecting OpenAI as the action application and specifying the action event. Here’s how to do it:

  • Choose OpenAI as the action app in your workflow.
  • Select the action event that corresponds to generating responses.
  • Connect your OpenAI account by providing the API key.

With OpenAI configured, Pabbly Connect will facilitate the transfer of messages from WhatsApp to OpenAI, allowing it to generate intelligent responses based on your business knowledge base.


4. Utilizing Your Business Knowledge Base

One of the key features of this integration is the ability to use your business knowledge base with OpenAI. This allows the AI to generate responses that are not only intelligent but also tailored to your specific business needs. Here’s how to set it up using Pabbly Connect:

To effectively utilize your knowledge base, follow these steps:

  • Upload your business information, such as FAQs and product details, into Pabbly Connect.
  • Ensure that the knowledge base is accessible to OpenAI during the response generation process.
  • Test the integration by sending sample queries through WhatsApp.

By leveraging your knowledge base, Pabbly Connect ensures that the responses generated by OpenAI are specific and relevant to your customers’ inquiries.


5. Testing Your WhatsApp Assistant

Once everything is set up, it’s time to test your AI-powered WhatsApp assistant. This step is crucial to ensure that Pabbly Connect is functioning as intended and that OpenAI is providing accurate responses. Here’s how to proceed:

Start by sending various queries through WhatsApp to see how the assistant responds. For example, ask about product availability or delivery options. Monitor the responses closely:

  • Check if the assistant understands different phrasings of the same question.
  • Evaluate the accuracy and relevance of the responses based on your knowledge base.

Through these tests, you can fine-tune your setup in Pabbly Connect, ensuring that your WhatsApp assistant meets your business requirements and enhances customer engagement.


Conclusion

Integrating WhatsApp with OpenAI using Pabbly Connect allows businesses to automate customer interactions effectively. By following this tutorial, you can create a powerful AI assistant tailored to your specific needs. This setup not only saves time but also enhances customer satisfaction through intelligent responses.

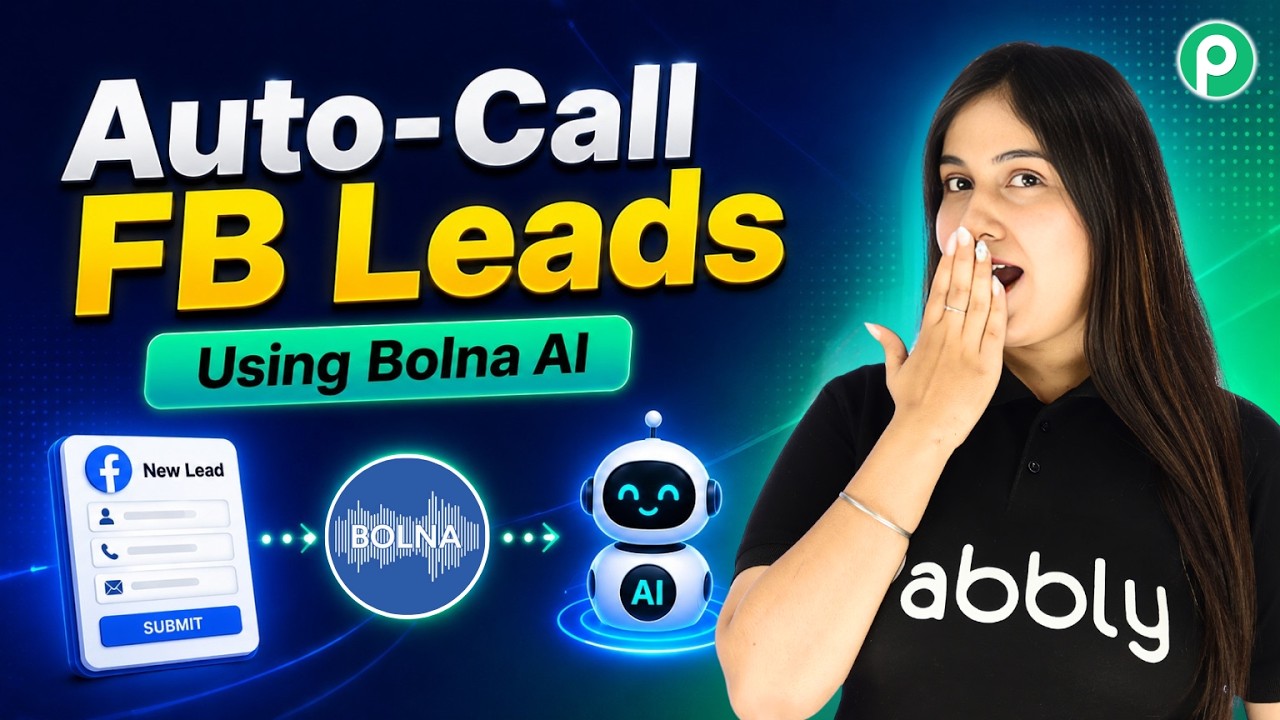
Call New Facebook Leads Automatically Using Bolna AI

Watch Step By Step Video Tutorial Below


1. Accessing Pabbly Connect for Integration

To begin integrating Facebook Leads with Bolna AI, you must access Pabbly Connect. Start by navigating to Pabbly’s official website and selecting the “Connect” option. If you are a new user, click on “Sign Up for Free” to create an account and receive 100 free tasks monthly.

Once logged in, you can access the Pabbly Connect dashboard. Here, you will see options to create a new workflow. Click on “Create New Workflow” to start the integration process. This is where you will set up the connection between Facebook Leads and Bolna AI using Pabbly Connect.


2. Creating a Workflow in Pabbly Connect

Creating a workflow in Pabbly Connect involves a few simple steps. Click on “Create from Scratch” to build your workflow. You will be prompted to describe your workflow. Enter a name that reflects the integration, such as “Facebook Leads to Bolna AI Call”.

  • Select “New Lead” from Facebook Leads as the trigger event.
  • Choose “Make a Phone Call” as the action event for Bolna AI.
  • Preview your workflow to ensure accuracy.

After confirming the details, click on “Approve and Create” to finalize your workflow. This step ensures that your integration is set up correctly within Pabbly Connect.


3. Connecting Facebook Leads and Bolna AI

Now that your workflow is created, it’s time to connect Facebook Leads to Bolna AI through Pabbly Connect. Begin by selecting your Facebook account and granting the necessary permissions. This allows Pabbly Connect to access your Facebook Leads data.

Next, you need to select the specific lead form you wish to use. Make sure to choose the form that captures the relevant information for your business. After selecting the form, click on “Save and Send Request” to test the connection.


4. Setting Up Bolna AI for Phone Calls

With the Facebook Leads connected, the next step is to set up Bolna AI for making phone calls. Go to your Bolna AI account and create a new agent. You can set up an agent named as per your business needs.

  • Fill in the agent’s details like name, industry, and designation.
  • Upload any necessary documents to provide context for the calls.
  • Save the agent details and ensure it is linked to Pabbly Connect.

Once your agent is set up, return to Pabbly Connect and map the necessary fields such as the lead’s phone number and other details for personalized communication.


5. Testing the Integration

Finally, it’s crucial to test your integration to ensure everything works seamlessly. Generate a test lead through your Facebook lead ads. Once the lead is submitted, Pabbly Connect will trigger the workflow to initiate a call via Bolna AI.

Monitor the call through the Bolna AI dashboard to verify that the details are captured correctly. You can check the call history and ensure that the integration is functioning as intended. This step is vital to confirm that your leads are being engaged effectively.


Conclusion

In this tutorial, we explored how to integrate Facebook Leads with Bolna AI using Pabbly Connect. This automation helps in engaging leads immediately, enhancing your business efficiency. By following these steps, you can streamline your lead management process effectively.

Bulk Import Contacts to Google Contacts

Watch Step By Step Video Tutorial Below


1. Accessing Pabbly Connect for Integration

To begin the integration process using Pabbly Connect, first navigate to the Pabbly Connect website. If you are a new user, go to pabbl.com/connect and sign up for a free trial. This trial offers 100 hours of usage every month, allowing you to explore its features.

Once signed up, log into your Pabbly Connect account. You will be directed to the workflow builder, which is essential for setting up your automation. This area allows you to create and manage integrations effectively.


2. Setting Up Google Sheets with Pabbly Connect

For this integration, the first step is to set up Google Sheets as your trigger application in Pabbly Connect. Click on the “Add Trigger” button and select Google Sheets as your application. Choose the event as “New or Updated Spreadsheet Row” and connect your Google account.

  • Select Google Sheets as the trigger application.
  • Choose the event “New or Updated Spreadsheet Row”.
  • Connect your Google account to access your spreadsheets.

After connecting, you will receive a webhook URL. Copy this URL, as it is crucial for the next steps in your automation process.


3. Installing Pabbly Connect Add-On in Google Sheets

Now, you need to install the Pabbly Connect Webhooks add-on in Google Sheets. Go to “Extensions” and then “Add-ons” to search for the Pabbly Connect Webhooks add-on. Install it to enable the webhook functionality.

After installation, refresh your Google Sheets to ensure the add-on is active. Once refreshed, navigate to “Extensions” and find the Pabbly Connect Webhooks option. Click on it to access the initial setup.


4. Configuring the Webhook in Google Sheets

In the initial setup of the Pabbly Connect Webhooks add-on, paste the copied webhook URL and specify the trigger column. The trigger column is where the final data will be added, which will automatically send the entire row to your Pabbly Connect workflow.

For instance, if your final data is in column D, set the trigger column to D. Click on “Submit” to save your configuration. You will see a message indicating that the setup was configured successfully.

  • Paste the webhook URL in the setup.
  • Specify the trigger column for data.
  • Click “Submit” to save the settings.

Now, you can send test data to confirm that the integration is working properly. Click on the “Send Test” option to proceed.


5. Creating Google Contacts Using Pabbly Connect

Next, you will set up Google Contacts as the action application in Pabbly Connect. Click on “Add New Action Step” and select Google Contacts. Choose the event as “Create Contact” and connect your Google account.

Once connected, you will need to map the fields from your Google Sheets to the Google Contacts. This means linking the data from your spreadsheet directly to the fields in Google Contacts. After mapping, click on “Save and Send Test Request” to create a contact.

  • Select Google Contacts as the action application.
  • Map the fields from Google Sheets to Google Contacts.
  • Click “Save and Send Test Request” to create the contact.

After successfully creating a contact, you can return to your Google Contacts to verify that the new contact has been added. You can also send all data from your spreadsheet to create multiple contacts at once using the “Send All Data” option in the Pabbly Connect Webhooks add-on.


Conclusion

In this tutorial, we explored how to integrate Google Sheets with Google Contacts using Pabbly Connect. This powerful automation allows you to create contacts effortlessly from your spreadsheet data. By following these steps, you can streamline your workflow and enhance productivity.

Automatically Add Google Leads to Your CRM

Watch Step By Step Video Tutorial Below


1. Accessing Pabbly Connect for Integration

To start integrating Google Ads with Zo CRM, you first need to access Pabbly Connect. Open a new tab and type ‘pabbly.com/connect’ in your browser. This will take you to the Pabbly Connect landing page.

If you are a new user, click on the ‘Sign Up for Free’ button to create an account. Existing users can simply log in by clicking the ‘Sign In’ button. Once logged in, you will see the Pabbly Connect dashboard where you can create new workflows.


2. Creating a New Workflow in Pabbly Connect

After accessing your dashboard, click on the blue ‘Create Workflow’ button on the right side. This is where you will set up the automation process. You can either build from scratch or use Pabbly’s Quick Workflow Builder.

  • Choose the name for your workflow, such as ‘Connect Google Ads with Zo CRM.’
  • Select the trigger event, which in this case is receiving a new lead from Google Ads.
  • Click on ‘Create’ to finalize the setup of your workflow.

Your workflow is now ready to connect Google Ads and Zo CRM through Pabbly Connect. You will now proceed to set up the connections for data transfer.


3. Connecting Google Ads to Pabbly Connect

To connect Google Ads, you need to set up the webhook URL provided by Pabbly Connect. This URL acts as a bridge between Google Ads and your Pabbly Connect workflow.

Copy the webhook URL and navigate to your Google Ads account. Create a lead form if you haven’t done so already. In the lead form settings, you will find an option for lead delivery. Here, paste the copied webhook URL and enable the option to capture web responses.


4. Connecting Zo CRM to Pabbly Connect

Next, you will connect Zo CRM to Pabbly Connect. Click on ‘Add Connection’ and select ‘Connect with Zo CRM’. You will be prompted to enter your Zo CRM domain.

  • Enter the domain part of your Zo CRM URL (e.g., zo.in).
  • Authorize the connection by clicking ‘Accept’.
  • Choose the module for leads to create new entries in Zo CRM.

Once authorized, you can map the fields from Google Ads to Zo CRM using Pabbly Connect. This mapping ensures that the data flows correctly from one application to the other.


5. Finalizing the Integration and Testing

After mapping the fields, click on ‘Save and Send Test Request’ to finalize the integration. This action sends test data from Google Ads to Zo CRM through Pabbly Connect.

Check your Zo CRM account to see if the test lead has been added successfully. If everything is set up correctly, you will see the lead details reflecting in your Zo CRM dashboard.

This automation saves you time and ensures that no leads are manually missed. You can also add more steps in your workflow using Pabbly Connect to notify your team via Slack or store data in Google Sheets.


Conclusion

In this tutorial, you learned how to integrate Google Ads with Zo CRM using Pabbly Connect. Automating this process ensures that you efficiently manage leads without any manual effort, enhancing your business operations.

Share YouTube Videos on Social Media Automatically

Watch Step By Step Video Tutorial Below


1. Accessing Pabbly Connect for Automation

To start sharing your YouTube videos automatically, first access Pabbly Connect. This integration platform allows you to connect various applications seamlessly.

Open your browser and navigate to Pabbly Connect by typing ‘pabbly.com’ in the address bar. If you are a new user, click on ‘Sign Up for Free’ to create an account. Existing users should click ‘Sign In’ to access their dashboard.


2. Creating a Workflow in Pabbly Connect

Once you are logged into Pabbly Connect, the next step is to create a workflow. Click on ‘Create Workflow’ on the dashboard. This is where you will set up the automation for sharing your YouTube videos.

  • Choose a name for your workflow, such as “Connect YouTube to Facebook and LinkedIn”.
  • Select the trigger app as YouTube.
  • Set the event to trigger when a new video is published.

After setting the trigger, click on ‘Save’ to proceed. This will allow Pabbly Connect to monitor your YouTube channel for new uploads.


3. Connecting YouTube and Social Media Accounts

The next step involves connecting your YouTube account to Pabbly Connect. Click on ‘Add New Connection’ and choose ‘Sign in with Google’ to link your YouTube account.

After authorization, select the channel you want to connect. Then, proceed to connect your Facebook and LinkedIn accounts in a similar manner. For Facebook, choose ‘Connect with Facebook Pages’, and for LinkedIn, select ‘Connect with LinkedIn’. Ensure that you authorize both accounts.


4. Setting Up Automation for Sharing Videos

Now that your accounts are connected, you can set up the automation. In Pabbly Connect, define the actions that will occur when a new video is published on YouTube.

  • For Facebook, choose ‘Create Page Post’ and map the video title and URL.
  • For LinkedIn, select ‘Share Article with URL’ and map the same details.

This step ensures that every time a new video is uploaded, Pabbly Connect automatically shares it on both platforms without any manual effort.


5. Testing Your Automation Workflow

After setting up your automation, it’s crucial to test the workflow. Publish a new video on your YouTube channel and monitor Pabbly Connect for the trigger.

Once the video is published, check your Facebook and LinkedIn accounts to confirm that the video details are shared correctly. If everything is set up properly, your video link should appear on both platforms almost immediately.

This testing phase is essential to ensure that your automation is functioning as expected, allowing you to share YouTube videos on social media automatically.


Conclusion

By using Pabbly Connect, you can effortlessly share your YouTube videos on social media platforms like Facebook and LinkedIn. This automation saves time and enhances your video reach effectively.

Build a WhatsApp Chatbot For Immigration WhatsApp | Pabbly Chatflow

Watch Step By Step Video Tutorial Below


1. Accessing Pabbly Connect for WhatsApp Integration

To start integrating WhatsApp chatbots, you first need to access Pabbly Connect. This platform allows seamless automation between various applications, including WhatsApp.

Once you log in to your Pabbly Connect account, navigate to the dashboard where you can create new workflows. Make sure to select the appropriate application for the integration.


2. Setting Up Your WhatsApp Chatbot Flow with Pabbly Connect

In this section, we will create a WhatsApp chatbot flow using Pabbly Connect. Begin by selecting the “Add Flow” button on the Pabbly dashboard.

  • Click on “Add Flow” to create a new chatbot flow.
  • Name your flow based on the services you provide.
  • Select the trigger event to start the flow.

Once the flow is created, you can start adding various components like messages and actions to enhance the functionality of your chatbot.


3. Adding Keywords and Messages in Pabbly Connect

The next step involves adding keywords that will trigger responses from your WhatsApp chatbot. In Pabbly Connect, you can easily add these keywords.

For instance, you can enter keywords like “visa” or “consultation” that users might send. Once a keyword is detected, your chatbot will send a welcome message.

  • Select the “List” button to create options for users.
  • Enter your welcome message in the body section.
  • Add multiple visa options for users to choose from.

This setup will ensure that your chatbot can effectively guide users through their queries by providing relevant options.


4. Collecting User Information with Pabbly Connect

After the initial interaction, your chatbot needs to collect user information. This is where Pabbly Connect excels, allowing you to gather essential data from users.

Ask users for their full name, contact number, and email address through the chatbot. You can set up these questions using the “Ask Question” feature in Pabbly Connect.

  • Use the “Ask Question” feature to prompt users for their details.
  • Set validation messages for incorrect formats.
  • Collect additional information like visa type and qualification.

This process ensures that you have all the necessary information to assist your clients effectively.


5. Finalizing Your WhatsApp Chatbot with Pabbly Connect

Once you’ve collected all the necessary user information, it’s time to finalize your chatbot flow. In Pabbly Connect, you can create a personalized confirmation message for users.

Your confirmation message should include details like the visa type, country, and user contact information. This ensures that users receive a tailored response based on their input.

  • Create a confirmation message using the “Text” button.
  • Use contact custom fields to personalize messages.
  • Add a button for users to contact the team directly.

Finally, ensure to save your flow and activate it for immediate use. With Pabbly Connect, your WhatsApp chatbot is now fully functional and ready to assist clients.


Conclusion

This tutorial demonstrated how to integrate a WhatsApp chatbot using Pabbly Connect. By following the outlined steps, you can create an automated system that enhances client interaction and provides instant support.

Build a WhatsApp AI Agent for Your Marketing Agency

Watch Step By Step Video Tutorial Below


1. Accessing Pabbly Connect for WhatsApp Chatbot Integration

To create a WhatsApp chatbot for your marketing agency, start by accessing Pabbly Connect. This platform allows seamless integration between various applications, including WhatsApp and Pabi Chat Pro. Begin by visiting the Pabbly website and signing in to your account.

Once logged in, navigate to the dashboard where you can see all Pabbly applications. Select Pabbly Connect to initiate the integration process. This platform will facilitate the connection between WhatsApp and other applications you may use for your marketing strategies.


2. Setting Up Pabi Chat Pro with Pabbly Connect

To set up your WhatsApp chatbot, you first need to configure Pabbly Chat Pro. Click on the “Add WhatsApp Number” option in Pabbly Chatflow. This is essential for connecting your WhatsApp account and allows the chatbot to respond to inquiries.

  • Select the preferred method to connect WhatsApp.
  • You can either use a manual token or the WhatsApp connect option.
  • Follow the on-screen instructions to complete the setup.

After adding your WhatsApp number, proceed to create an AI assistant. This assistant will handle customer queries automatically, making use of Pabbly Connect to ensure all messages are processed efficiently.


3. Creating an AI Assistant in Pabbly Chatflow

In this step, you will create an AI assistant using Pabbly Chatflow. Navigate to the “AI Assistant” section and click on “Create New Assistant”. Name your assistant, for example, “WhatsApp AI Agent for Marketing”. This AI will respond to customer queries related to your services.

Choose the instruction type as “AI Agent” and configure the AI settings. Set the creativity level, and ensure you input the OpenAI API key for enhanced responses. This integration is crucial, as Pabbly Connect ensures that your AI assistant can communicate effectively with users through WhatsApp.


4. Configuring AI Assistant Settings with Pabbly Connect

Now, configure the settings for your AI assistant. In this section, you can set up a header message, footer message, and a stop keyword. The stop keyword allows users to opt-out of automated replies, providing a human touch when needed. This feature is vital for maintaining customer satisfaction.

  • Input fallback messages for instances when the AI cannot respond.
  • Upload any necessary files that provide information to the AI.
  • Toggle the settings to activate your assistant.

Once all settings are configured, save your assistant. This will ensure that the assistant is operational and ready to engage with customers through WhatsApp, all facilitated by Pabbly Connect.


5. Assigning the AI Assistant to Contacts Using Pabbly Connect

Finally, to maximize the effectiveness of your WhatsApp AI assistant, you need to assign it to specific contacts or groups. Within the settings of Pabbly Connect, you can enable auto-replies and select which contacts will receive responses from your AI assistant.

By selecting the appropriate lists or groups, you ensure that your AI assistant engages with the right audience. This targeted approach enhances the overall efficiency of your marketing efforts, leveraging the capabilities of Pabbly Connect for optimal results.


Conclusion

In this tutorial, we explored how to create a WhatsApp chatbot using Pabbly Connect. By following these steps, you can automate customer interactions and enhance your marketing strategies. The integration of Pabbly Connect with WhatsApp and Pabi Chat Pro allows for a seamless customer experience.

Build a 24/7 WhatsApp AI Assistant for Any Business 🚀

Watch Step By Step Video Tutorial Below


1. Accessing Pabbly Connect for Integration

To start integrating your WhatsApp AI assistant, access Pabbly Connect. This platform simplifies the process of connecting various applications seamlessly.

Once you log in, navigate to the dashboard where you can create a new workflow. Ensure that you have your WhatsApp number ready for integration.


2. Creating Your AI Assistant with Pabbly Chatflow

Creating an AI assistant is straightforward using Pabbly Connect. Visit the Pabbly Chatflow page by entering the URL in your browser. You can sign up for free and explore the features.

  • Sign up for a free account to receive 100 free credits monthly.
  • Log in if you already have an account.

After logging in, ensure to link your WhatsApp number to the Pabbly Chatflow account. This allows the AI assistant to respond to customer inquiries effectively.


3. Configuring AI Assistant Settings in Pabbly Connect

In this step, you will configure your AI assistant settings using Pabbly Connect. Select the instruction type and set the temperature for the AI, which determines its creativity level.

For optimal performance, set the temperature to 0.5. Next, you need to enter your OpenAI API key. This key is essential for the AI to respond to customer queries.

  • Visit the OpenAI API key page to create a new secret key.
  • Save the API key in your Pabbly Connect settings.

Once configured, your AI assistant will be equipped to handle customer inquiries 24/7.


4. Enabling Auto Replies for Your AI Assistant

To enable auto-replies, navigate to the settings in Pabbly Connect. This feature allows your AI assistant to respond automatically to incoming messages.

Scroll down to the inbox settings and enable the auto-replies option. Here, you can choose to enable it for all contacts or specific ones.

  • Select the AI assistant you created for your contacts.
  • Ensure the assistant is activated for the selected contacts.

With auto-replies enabled, your AI assistant will handle customer inquiries without manual intervention.


5. Embedding Your AI Assistant on a Website

To embed your AI assistant on your website, use Pabbly Connect. After saving your assistant, click on the embed button to get the script code.

Copy this code and paste it into your website’s HTML. This allows your AI assistant to interact with visitors directly from your site.

  • Ensure to test the assistant after embedding.
  • Customize the appearance if needed.

Embedding the assistant enhances customer engagement, allowing for seamless communication through WhatsApp.


Conclusion

Using Pabbly Connect, you can effortlessly create and integrate a WhatsApp AI assistant to automate customer inquiries. This setup not only saves time but also enhances customer satisfaction by providing instant responses.

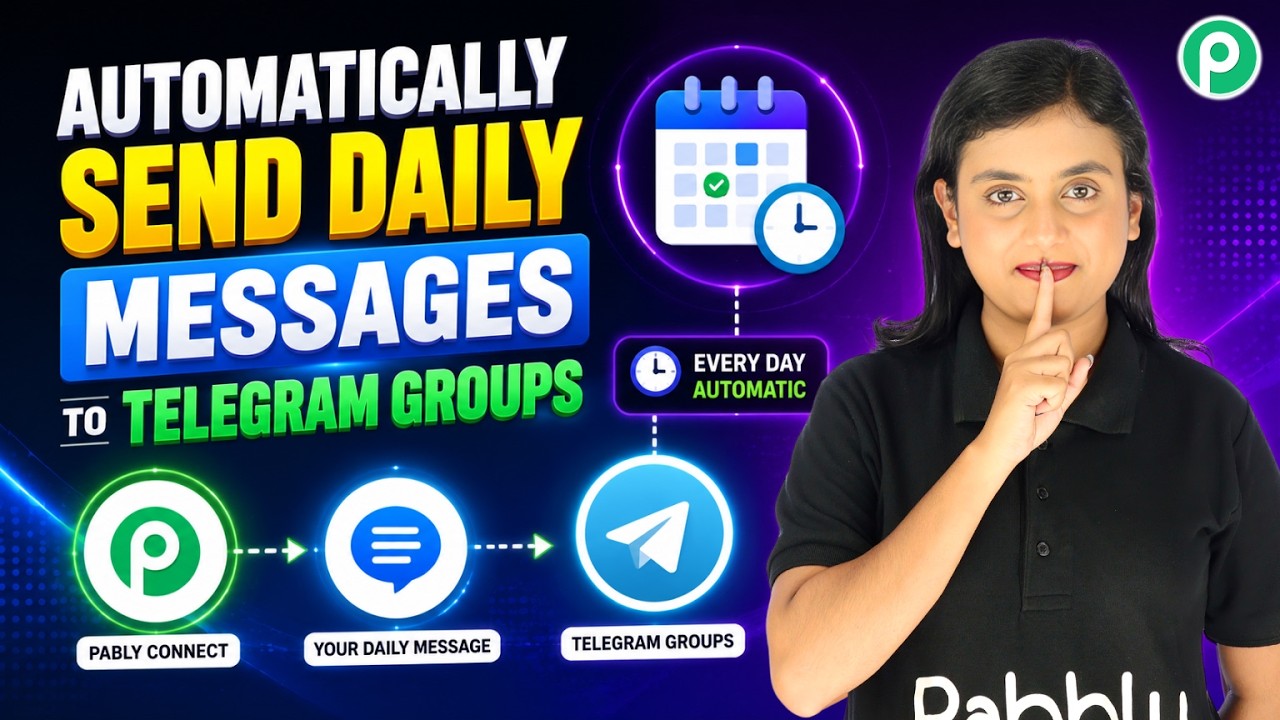
Automatically Send Daily Messages to Telegram Groups

Watch Step By Step Video Tutorial Below


1. Accessing Pabbly Connect for Telegram Integration

To automate daily messages on Telegram, start by accessing Pabbly Connect. Open a new tab and visit www.pabbly.com/connect. If you’re new, sign up for a free account to access 100 free tasks each month.

Once logged in, you can create your automation setup. This initial access is crucial as it allows you to leverage the features of Pabbly Connect effectively. After signing up, familiarize yourself with the dashboard where your workflows will be managed.


2. Setting Up the Trigger in Pabbly Connect

The first step in automating your messages is to set up a trigger using Pabbly Connect. For this purpose, select the “Schedule by Pabbly” trigger. This feature allows you to schedule your messages automatically every day at a specified time.

  • Choose the frequency as daily.
  • Set the time for 10:00 AM.
  • Click on the save button to confirm your settings.

After saving, Pabbly Connect will automatically trigger the workflow at the specified time. This ensures that your messages are sent daily without manual intervention, streamlining your communication process.


3. Sending Messages via Telegram with Pabbly Connect

Once the trigger is set, the next step is to send a message to your Telegram group. In Pabbly Connect, select the action event as “Send a Text Message” using the Telegram Bot. This is where the automation takes shape.

To connect your Telegram bot, you need to create a new bot using the BotFather in Telegram. Search for BotFather in your Telegram app, click on “Start,” and follow the prompts to create a new bot. You will need to provide a name and username for the bot.

  • Copy the API token provided by BotFather.
  • Paste this token in the corresponding field in Pabbly Connect.
  • Select the chat ID where the bot will send messages.

After configuring these settings, you can test the message sending functionality. This integration is crucial as it allows you to automate daily notifications seamlessly through Pabbly Connect.


4. Finalizing the Automation Setup

With the Telegram bot configured, you can now finalize the automation setup in Pabbly Connect. Enter the message you wish to send daily. For example, you can write: “Good morning team! Hope you’re doing well and ready for a productive day.” This personalized message will be sent automatically.

Make sure to review all the details and then click on the “Save and Send Test Request” button. This action will trigger a test message to your Telegram group, confirming that everything is set up correctly.

Upon successful testing, you will see the message appear in your Telegram group. This confirms that Pabbly Connect is functioning as intended, automating your daily communication with ease.


5. Conclusion

Automating daily messages on Telegram using Pabbly Connect is a straightforward process. By following the steps outlined, you can ensure timely communication with your team without manual effort. This setup not only saves time but also minimizes errors in sending messages.

With Pabbly Connect, you can streamline your workflows and enhance productivity in your business. Start using this powerful tool today to automate your communication effectively.