Automatically Add Google Ads Leads to CRM

Watch Step By Step Video Tutorial Below


1. Accessing Pabbly Connect for Integration

To begin integrating Google Ads with Salesforce, you need to access Pabbly Connect. Start by typing pabbly.com/connect in your browser. This will take you to the Pabbly Connect homepage.

Here, you’ll see options to either sign in or sign up for free. If you are a new user, click on “Sign Up for Free” to get started with 100 free tasks every month. Existing users should simply sign in to their accounts.


2. Creating a New Workflow in Pabbly Connect

Once logged into Pabbly Connect, navigate to the dashboard where you can create a new connection. Click on “Create New Workflow” to begin setting up your integration.

You will have three options: create from scratch, use AI props, or quick builder. For this tutorial, select “Create from Scratch”. This allows for a detailed setup tailored to your needs.

  • Choose a name for your workflow.
  • Select the trigger event as “New Lead Form Entry” from Google Ads.
  • Set the action event to “Create Contact” in Salesforce.

After configuring these settings, click on “Save” to proceed with your workflow creation.


3. Setting Up Google Ads in Pabbly Connect

In this section, you will set up Google Ads to send leads to Pabbly Connect. Copy the provided webhook URL from Pabbly Connect and navigate to your Google Ads account.

In Google Ads, create or edit your lead form. Under the lead delivery options, find the webhook integration section and paste the copied URL. This setup allows Google Ads to send lead data directly to Pabbly Connect.

  • Add required fields such as first name, last name, email, and phone number.
  • Test the lead form to ensure it triggers the webhook correctly.

Once the lead form is ready, you can proceed to test the integration by submitting a test lead.


4. Mapping Data to Salesforce

Now that you have set up Google Ads, it’s time to map the lead data to Salesforce using Pabbly Connect. After receiving a test lead, you will see the data fields in Pabbly Connect.

For mapping, select the appropriate fields from the test lead data to match Salesforce fields. This includes mapping first name, last name, email, and phone number. This step ensures that the correct data is sent to Salesforce when a new lead is generated.

  • Map the first name to the corresponding Salesforce field.
  • Do the same for last name, email, and phone number.

After mapping all necessary fields, click on “Save” to finalize the setup.


5. Testing the Integration

To ensure everything works correctly, it’s crucial to test the integration between Google Ads and Salesforce via Pabbly Connect. Submit a test lead through your Google Ads lead form.

After submission, check your Salesforce account to see if the new contact has been created successfully. If everything is set up correctly, you should see the new lead with the mapped details.

In case of any issues, revisit your Pabbly Connect workflow to ensure all steps are correctly configured. This testing phase is vital to confirm that leads from Google Ads are being captured accurately in Salesforce.


Conclusion

In this tutorial, we explored how to integrate Google Ads with Salesforce using Pabbly Connect. By following the steps outlined, you can automate your lead management effectively, ensuring that every new lead is captured and added to your CRM instantly.

Connect Facebook Lead Ads to Salesflare CRM | Auto-Sync New Leads

Watch Step By Step Video Tutorial Below


1. Accessing Pabbly Connect for Integration

To begin integrating Facebook Lead Ads with Salesflare, you first need to access Pabbly Connect. Start by visiting the Pabbly website and signing into your account. If you are a new user, you can sign up for free to explore the platform’s features.

Once signed in, navigate to the Pabbly Connect dashboard. Here, you can create a new workflow to automate your lead management process. This step is crucial as it sets the foundation for the integration between Facebook Lead Ads and Salesflare.


2. Creating a New Workflow in Pabbly Connect

In Pabbly Connect, the next step is to create a new workflow. Click on the “Create Workflow” button, and name your workflow something descriptive, like “Connect Facebook Lead Ads to Salesflare.” Select a relevant folder for organization.

After naming your workflow, you will need to set the trigger application. The trigger is essential as it activates the workflow. For this integration, select Facebook Lead Ads as your trigger application. The trigger event should be set to “New Lead Instant.”

  • Select Facebook Lead Ads as the trigger application.
  • Choose “New Lead Instant” as the trigger event.
  • Click on “Connect” to establish a connection.

This setup is crucial for capturing new leads automatically.


3. Connecting Facebook Lead Ads in Pabbly Connect

To connect Facebook Lead Ads, you will need to authorize your Facebook account within Pabbly Connect. After clicking on “Connect,” select your Facebook account and follow the authorization prompts. This step ensures that Pabbly Connect can access your lead data.

Once connected, you must specify the page name and lead form you want to use. Navigate to your Facebook account to retrieve the page name and lead form details. You can find this information by accessing the Meta for Developers page and using the Lead Ads Debug Tool to verify the correct form.


4. Testing the Lead Capture in Pabbly Connect

After setting up the connection, it’s time to test the lead capture functionality. In Pabbly Connect, you will see an option to save and send a test request. This action will change the status to “Waiting for Webhook Response.”
To capture the webhook response, submit a test lead through the Facebook lead form you have set up.

Once you submit the test lead, return to Pabbly Connect to check if the details have been captured successfully. This confirmation indicates that the integration is functioning correctly. You should see the lead details reflected in your Pabbly Connect dashboard.


5. Adding Leads to Salesflare Using Pabbly Connect

The final step in this integration process is to add the captured leads to Salesflare. In Pabbly Connect, select Salesflare as your action application. The action event should be set to “Create a Contact.”
After clicking on connect, you will need to provide your Salesflare API key to establish a connection. This API key can be found in the settings section of your Salesflare account.

Once connected, you can map the fields from Facebook Lead Ads to Salesflare. This mapping ensures that the information from the lead form is correctly inputted into Salesflare. After mapping the necessary fields, click on “Save and Send Test Request” to finalize the integration. You should then verify in Salesflare that the new contact has been created successfully.


Conclusion

In this tutorial, we covered how to integrate Facebook Lead Ads with Salesflare using Pabbly Connect. This seamless automation allows you to manage leads efficiently without manual intervention, enhancing your workflow significantly.

Save Instagram Leads to Google Sheets Automatically

Watch Step By Step Video Tutorial Below


1. Accessing Pabbly Connect for Automation

To automate the process of saving Instagram leads to Google Sheets, you first need to access Pabbly Connect. Open your browser and go to pabbl.com/connect. For new users, click on the “Sign up for free” option in the top right corner, which allows you to explore Pabbly Connect with 100 free tasks every month.

If you find Pabbly Connect helpful for your business needs, you can opt for a subscription plan later. Make sure to check for any available discount codes to save on your subscription.


2. Creating Your Workflow in Pabbly Connect

Once you are logged into Pabbly Connect, the next step is to create a new workflow. Click on the “Add New Workflow” button. Here, you will define your trigger and action. The trigger indicates what will start the workflow, while the action specifies what will happen as a result.

  • Select “Instagram Lead Ads” as the trigger application.
  • Choose “New Lead Instant” as the event.
  • Click on “Connect” to establish a connection.

After this, if you have already created a connection between Instagram Lead Ads and Pabbly Connect, select the existing connection. If not, you will need to create a new connection by logging into your Instagram and Facebook accounts.


3. Capturing Lead Data from Instagram

To capture lead data effectively, ensure your Facebook page is connected to your Instagram ads. After connecting, you can select the specific Facebook page and the form you wish to use for lead retrieval. Click on “Save and Send Test Request” to capture the webhook response.

To test this, use the Meta for Developers site to access the Lead Ads Testing Tool. Here’s how to proceed:

  • Select the same Facebook page used in your workflow.
  • Fill in the lead form with sample data.
  • Submit the form to see the captured response in Pabbly Connect.

Once submitted, you will see that Pabbly Connect captures the lead data accurately, ready for the next steps in your automation process.


4. Saving Leads to Google Sheets via Pabbly Connect

The next step is to save the captured leads into Google Sheets. Click on “Add New Action Step” and select Google Sheets as the application. Choose the event “Add New Row” and click on “Connect”.

If you have an existing connection with Google Sheets, select it. If not, create a new connection by signing in with your Google account. Ensure to grant all necessary permissions for Pabbly Connect to access your Google Sheets.

  • Select the spreadsheet and the specific sheet where you want to save the leads.
  • Map the lead data from Instagram to the respective columns in Google Sheets.
  • Click on “Save and Send Test Request” to confirm the data is added successfully.

After mapping the details, you will see that Pabbly Connect successfully adds the lead information to your Google Sheets in real time.


5. Conclusion

By following these steps, you can automate the process of saving Instagram leads to Google Sheets using Pabbly Connect. This integration simplifies data management and enhances your lead tracking efficiency.

Start using Pabbly Connect today to streamline your workflows and improve your business operations.

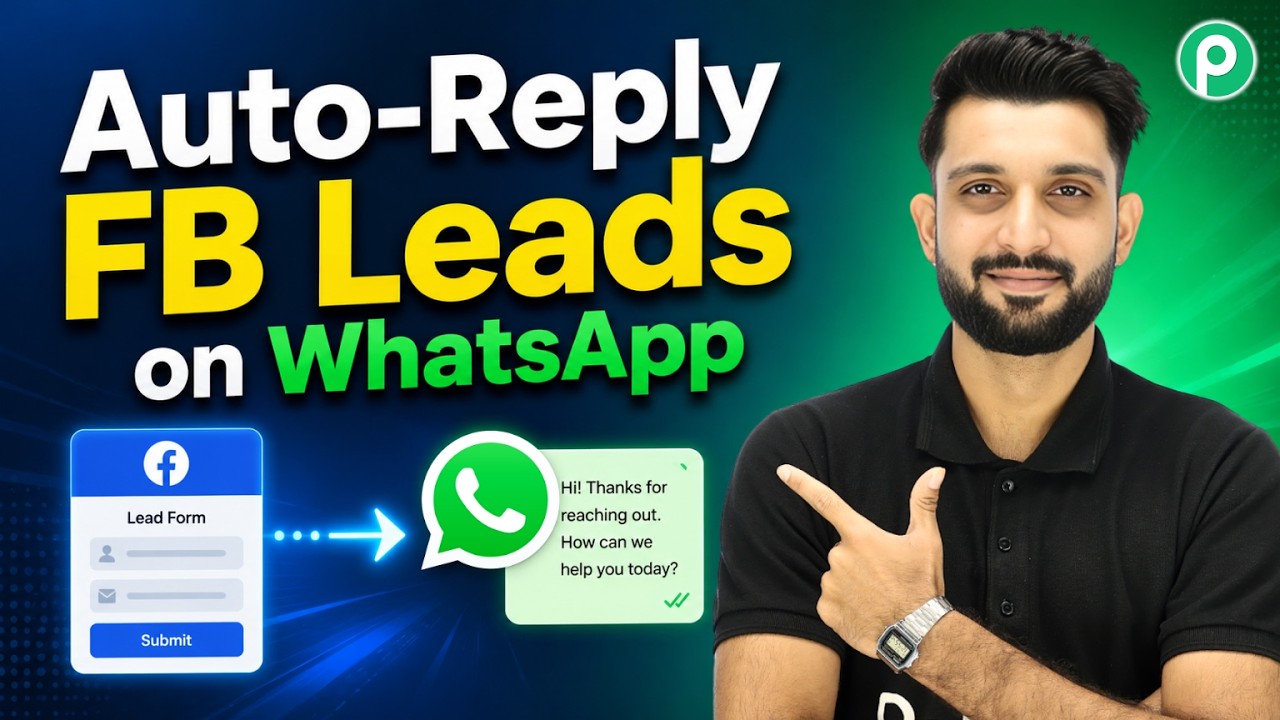
Reply to Facebook Leads Automatically on WhatsApp

Watch Step By Step Video Tutorial Below


1. Accessing Pabbly Connect for Integration

To start automating your Facebook Leads responses via WhatsApp, first access Pabbly Connect. Open a new tab and navigate to pably.com/connect. This platform enables seamless integrations between multiple applications.

Once on the Pabbly Connect landing page, you can either sign up for a free account or log in if you are an existing user. Signing up provides you with 100 free tasks monthly, allowing you to explore various automation possibilities with Pabbly Connect.


2. Creating a Workflow in Pabbly Connect

After logging into your Pabbly Connect account, click on the blue button labeled ‘Create Workflow’ on the right side of the dashboard. This will allow you to set up a new workflow that connects Facebook Leads with WhatsApp.

  • Select the option to create a workflow from scratch or use a quick workflow builder.
  • Type in the names of the applications you want to connect, specifically Facebook Lead Ads and Pabbly Chatflow.
  • Choose the action to send a template message once a new lead is captured.

After choosing your options, click ‘Approve and Create’. This sets up your workflow in Pabbly Connect, ready for further customization.


3. Connecting Facebook Lead Ads to Pabbly Connect

In this step, you will connect your Facebook Lead Ads to Pabbly Connect. Click on ‘Add New Connection’ and select ‘Connect with Facebook Lead Ads’.

Once prompted, log into your Facebook account if you haven’t already. After logging in, select the specific Facebook page and lead generation form you wish to use. This will allow Pabbly Connect to capture leads from your chosen form automatically.


4. Sending WhatsApp Messages Using Pabbly Chatflow

Now, it’s time to send WhatsApp messages to your leads. You will use Pabbly Chatflow for this purpose. Click on ‘Add New Connection’ and enter your API token from your Pabbly Chatflow account.

  • Log into your Pabbly Chatflow account and navigate to the settings.
  • Generate a new API token and copy it to use in your Pabbly Connect workflow.
  • Map the recipient’s mobile number from the previous step to ensure the message is sent to the right lead.

After setting up the message template, you can save and send a test request. This will confirm that your WhatsApp message is successfully sent via Pabbly Connect.


5. Conclusion

By using Pabbly Connect, you can automate the process of responding to Facebook Leads via WhatsApp effortlessly. This integration saves time and enhances customer engagement without manual effort.

In this tutorial, we explored how to set up a workflow to connect Facebook Leads with WhatsApp using Pabbly Connect. Automating this process can significantly improve your lead response time and customer satisfaction.


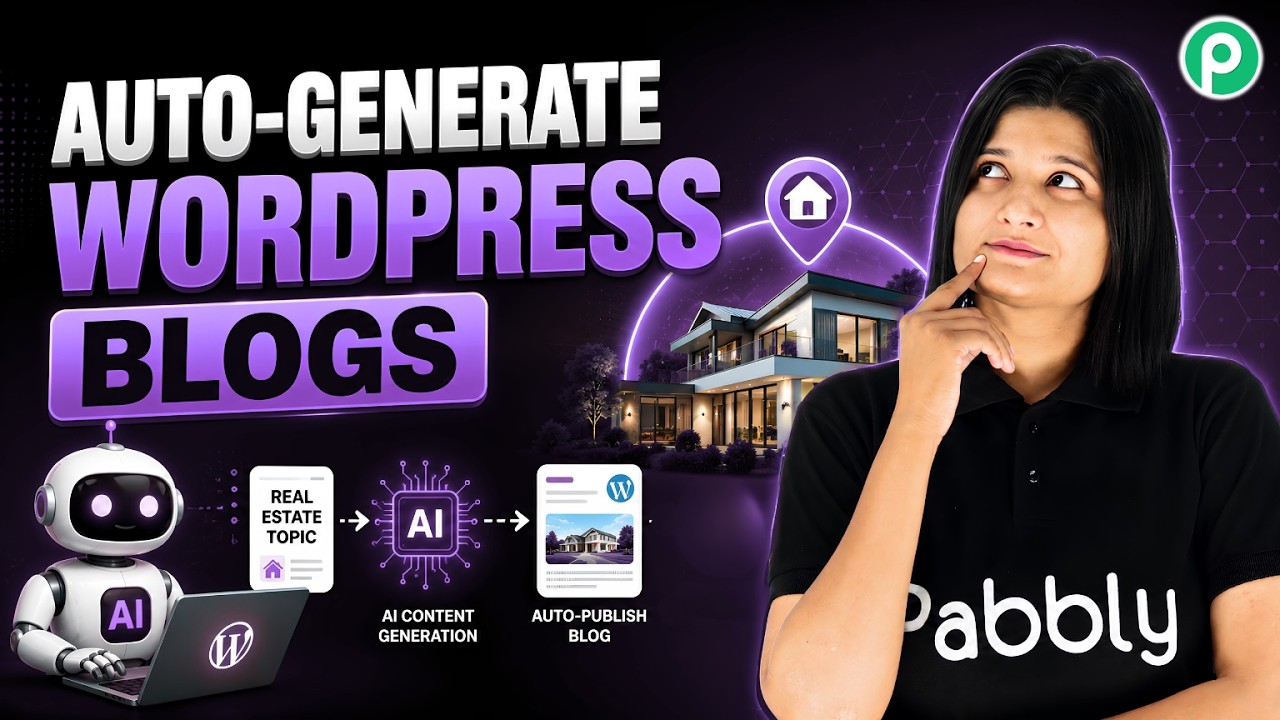
AI Blog Automation for Real Estate Websites | Auto-Generate WordPress Blogs

Watch Step By Step Video Tutorial Below


1. Accessing Pabbly Connect for Automation

To begin automating blog creation, first access Pabbly Connect by visiting pabby.com in your browser. If you are a new user, sign up for free to get 100 tasks monthly, which allows you to test the platform’s capabilities.

Once logged in, navigate to the Pabbly Connect dashboard where you can create new workflows. Click on the “Create from Scratch” option to initiate your automation process. This is where you will set up the integration between Google Sheets and WordPress using Pabbly Connect.


2. Creating a Workflow in Pabbly Connect

Now that you are in the Pabbly Connect dashboard, it’s time to create a workflow. Name your workflow appropriately, such as “AI Blog Automation for Real Estate Websites.” This will help you identify it later. Select the appropriate folder for organization.

  • Click on the “Create” button to finalize your workflow setup.
  • Choose Google Sheets as your trigger application.
  • Select “New or Updated Spreadsheet Row” as the trigger event.

After selecting your trigger, connect Pabbly Connect to Google Sheets by following the prompts to generate a webhook URL. This URL will allow Google Sheets to send data to Pabbly Connect whenever a new row is added.


3. Setting Up Google Sheets with Pabbly Connect

With your workflow created, open Google Sheets to set up your spreadsheet, which should contain all relevant fields for your blog posts, such as Topic, Location, and CTA. Install the Pabbly Connect Webhooks add-on if you haven’t already.

  • Go to Extensions > Add-ons > Get Add-ons.
  • Search for Pabbly Connect Webhooks and install it.
  • Refresh your Google Sheets to see the new add-on.

After refreshing, navigate to Extensions > Pabbly Connect Webhooks > Initial Setup to enter the webhook URL generated in Pabbly Connect and specify the trigger column. This setup ensures that every time a new blog idea is added in the specified column, it triggers the workflow in Pabbly Connect.


4. Integrating OpenAI for Blog Generation

Next, you will integrate OpenAI to generate blog content based on the data from Google Sheets. In your Pabbly Connect workflow, select OpenAI as the action application and choose “ChatGPT” as the action event.

  • Connect to OpenAI by entering your API key.
  • Select the model you wish to use, such as GPT-4 or another variant.
  • Enter a prompt that instructs OpenAI to generate a blog based on the data received.

Make sure to map the fields from Google Sheets to your prompt. This allows OpenAI to dynamically generate content based on the latest entries, ensuring your blog posts are always relevant and up-to-date.


5. Posting Generated Blogs to WordPress

Finally, set up the integration with WordPress to publish the generated blog posts. In your Pabbly Connect workflow, select WordPress as the action application and choose “Create a Post” as the action event.

  • Connect to your WordPress account by entering your base URL and credentials.
  • Map the title and content fields from the OpenAI response to the WordPress post fields.
  • Set the post status to “Published” for immediate posting.

After completing the mapping, save and send the test request to ensure everything works correctly. If successful, you will see your new blog post appear in WordPress, confirming that Pabbly Connect has effectively automated your blogging process.


Conclusion

In this tutorial, we explored how to automate blog creation using Pabbly Connect with Google Sheets and WordPress. By following these steps, you can streamline your content creation process and enhance your blogging efficiency.

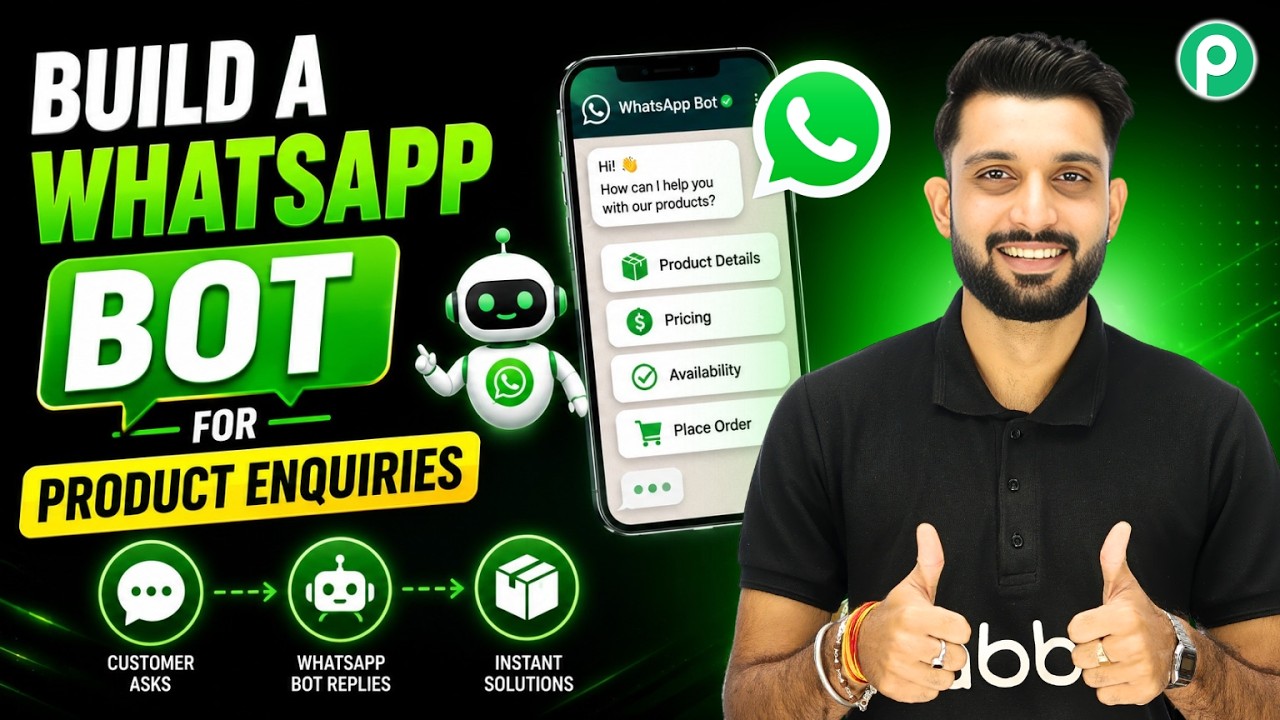
Build a WhatsApp Bot for Product Enquiries

Watch Step By Step Video Tutorial Below


1. Accessing Pabbly Connect for WhatsApp Integration

To start creating a WhatsApp chatbot, you need to access Pabbly Connect. Simply open a new tab in your browser and type in Pabbly.com. This will direct you to the Pabbly website where you can explore various features.

Once on the homepage, look for the Pabbly Connect option and click on it. You will need to sign in or create a new account. Pabbly Connect acts as the central platform for integrating WhatsApp with other applications seamlessly.


2. Creating Your WhatsApp Chatbot Using Pabbly Connect

After logging into Pabbly Connect, you can start creating your WhatsApp chatbot. Navigate to the chatbot section and select the option to create a new assistant. This assistant will handle customer inquiries automatically.

  • Choose a name for your assistant, such as “Product Inquiries”.
  • Select the type of AI agent you want to create, like customer support or sales.
  • Set the AI configuration, including the temperature settings for responses.

By following these steps in Pabbly Connect, you can create an efficient chatbot that responds to customer queries automatically. This ensures that your customers receive timely responses without manual intervention.


3. Connecting Your WhatsApp Number to Pabbly Connect

Next, you need to connect your WhatsApp number to Pabbly Connect. Go to the settings and find the option to add your WhatsApp number. If you are using a WhatsApp Business account, you can connect it directly.

Ensure that your WhatsApp number is verified and active. This step is crucial because it allows Pabbly Connect to send and receive messages through your WhatsApp account, enabling the chatbot functionality.


4. Configuring Your AI Assistant in Pabbly Connect

Once your WhatsApp number is connected, you can configure your AI assistant further. In Pabbly Connect, access the AI assistant settings where you can set the header and footer messages, as well as fallback messages for when the AI cannot answer a query.

Additionally, you need to upload a knowledge source file that contains all relevant information about your products and services. This file will guide the AI in providing accurate responses to customer inquiries.

  • Create a Google Doc with all necessary details about your products.
  • Download the document in PDF or TXT format.
  • Upload this file to your Pabbly Connect account.

This configuration is essential for ensuring that your AI assistant can effectively respond to customer inquiries based on the knowledge you provide.


5. Assigning Your AI Assistant to Customer Queries

Finally, you can assign your AI assistant to handle customer queries. In Pabbly Connect, navigate to the inbox settings and enable AI auto-reply. This allows the assistant to respond to any incoming messages automatically.

You can also choose to assign the assistant to specific contacts or enable it for all incoming messages. This flexibility ensures that your customers always receive timely responses, regardless of the volume of inquiries.

With Pabbly Connect, automating your customer inquiries through WhatsApp becomes a seamless process, allowing you to focus more on your business.


Conclusion

In this tutorial, we demonstrated how to integrate WhatsApp with Pabbly Connect to create a fully functional chatbot. By following these steps, you can automate customer inquiries efficiently and enhance your business operations.

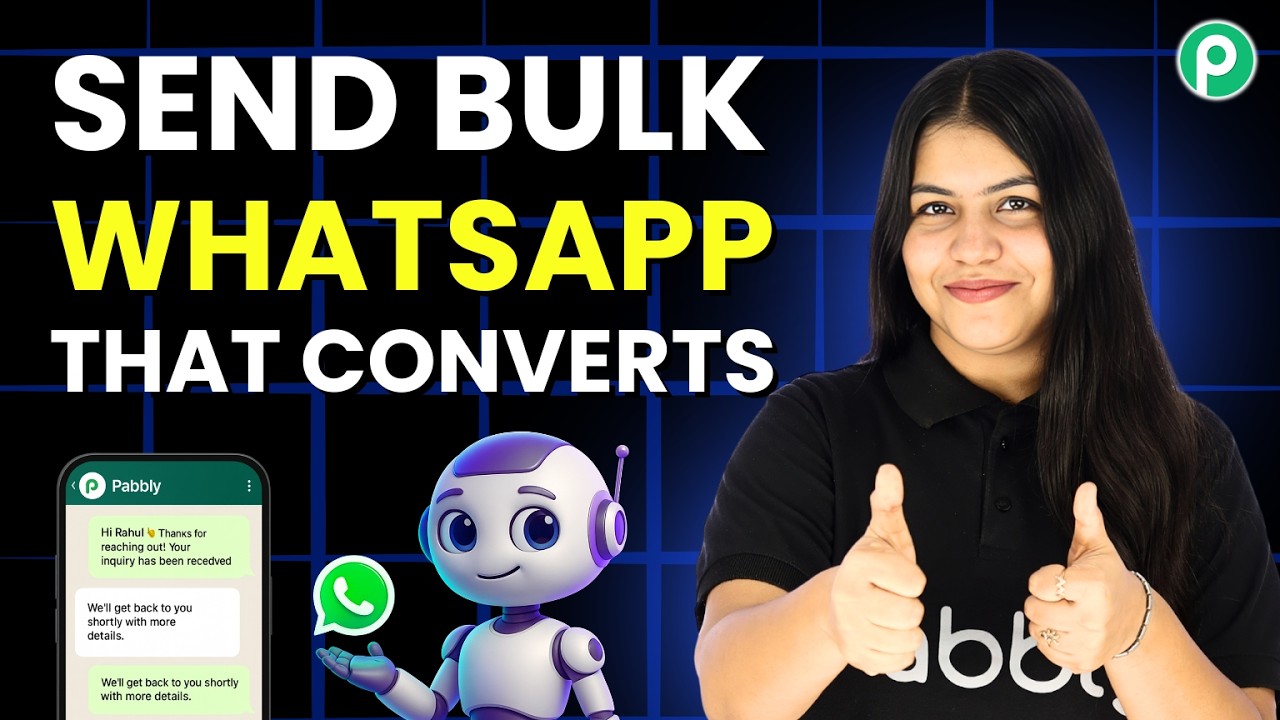
Bulk WhatsApp Messaging That Actually Gets Replies

Watch Step By Step Video Tutorial Below


1. Accessing Pabbly Chatflow for WhatsApp Messaging

To start using Pabbly Chatflow, open your browser and navigate to pabbly.com/chatflow. If you’re an existing user, simply log in to your dashboard. New users can sign up for a free trial by clicking on the “Sign Up for Free” button at the top right corner.

Once registered, you can send up to 100 WhatsApp messages for free. This initial trial allows you to explore the features of Pabbly Chatflow before deciding on a subscription plan. If you find it beneficial, consider using the special discount coupon provided in the video to save on your subscription.


2. Setting Up Broadcasts in Pabbly Chatflow

After logging into Pabbly Chatflow, ensure that you have added your WhatsApp number. You can do this by clicking on the “Add WhatsApp Number” button and following the instructions provided. Once your number is verified, you can proceed to set up your broadcast messages.

  • Navigate to the “Broadcast” section from the left sidebar.
  • Click on the “Add Broadcast” button.
  • Select “Broadcast Campaign” as the type.

Next, you’ll need to name your broadcast. For example, you can use “New Messages” as a placeholder. Then, select your contact list, which you should have already created in the “Contact” section. It’s essential to target only genuine customers to prevent your number from being flagged.


3. Creating and Sending Messages in Pabbly Chatflow

In this step, you will define the audience for your broadcast. You can refine your audience by excluding specific contacts or those who have messaged you in the last 24 hours. This ensures that your messages are relevant and timely, increasing the chances of engagement.

Choose the type of message you wish to send. You can either go for a pre-approved template or a regular message. If using a template, ensure it is already created and approved by WhatsApp. For regular messages, simply type your content in the provided message field, and a preview will appear on the right side.

  • To send a pre-approved message, select the template from the dropdown.
  • For regular messages, just enter your text directly.
  • You can include dynamic fields using the dollar symbol for personalization.

Once your message is ready, you can test it by sending a test message to yourself. This ensures everything appears correctly before sending it out to your entire contact list.


4. Scheduling and Analyzing Broadcasts in Pabbly Chatflow

After testing your message, you can choose to send it instantly or schedule it for later. If you opt for instant sending, click on the “Send Instantly” button. To schedule, select the “Schedule for Later” option and choose your desired date and time.

Once your broadcast is scheduled, you can monitor its performance. Navigate to the “Sent” section to check statistics such as how many messages were sent, delivered, or failed. This data is crucial for optimizing future broadcasts.

In case of failed messages, you can resend them by accessing the “Valid/Invalid” field. This feature helps you maintain engagement with your audience by ensuring that your messages reach them effectively.


5. Best Practices for Bulk Messaging with Pabbly Chatflow

To maximize engagement, focus on sending personalized messages rather than generic ones. Use Pabbly Chatflow to segment your audience based on their interests and preferences, ensuring that your messages are relevant to them.

Incorporate interactive elements like buttons in your messages to encourage responses. Always make sure to comply with WhatsApp policies to avoid being flagged as spam. By following these best practices, you can significantly improve your messaging strategy.

  • Send messages to users who have opted in to receive communications.
  • Personalize your messages using dynamic fields.
  • Monitor engagement metrics to refine your approach.

By utilizing the features of Pabbly Chatflow, businesses can create effective communication strategies that resonate with their audience.


Conclusion

Using Pabbly Chatflow for bulk WhatsApp messaging can significantly enhance customer engagement. By following the outlined steps, you can effectively reach your audience with personalized and relevant messages.

How to Build a FREE WhatsApp AI Agent

Watch Step By Step Video Tutorial Below


1. Accessing Pabbly Connect for WhatsApp Integration

To begin integrating WhatsApp with Pabbly Connect, you first need to access the Pabbly Connect platform. Start by visiting the official Pabbly website and signing up for an account or logging in if you are an existing user. This platform serves as the central hub for all your integration needs.

Once logged in, navigate to the Pabbly Connect dashboard. Here, you will find various applications available for integration. Make sure to select WhatsApp as one of the applications you wish to integrate. Pabbly Connect simplifies the process of connecting different applications seamlessly.


2. Creating a WhatsApp AI Agent Using Pabbly Connect

Next, you will create an AI agent for WhatsApp using Pabbly Connect. This AI agent can respond to customer queries automatically, enhancing your customer service. Click on the “Create New Assistant” button to start the process.

  • Select the instruction type, choosing “AI Agent” for customer support.
  • Set the temperature for the AI responses, where lower values yield more focused replies.
  • Connect your OpenAI API key to utilize advanced AI capabilities.

By following these steps, you can effectively create a WhatsApp AI agent. This integration through Pabbly Connect ensures that your customers receive immediate responses to their inquiries, improving overall engagement.


3. Configuring AI Agent Settings in Pabbly Connect

After creating your WhatsApp AI agent, it’s essential to configure its settings for optimal performance. Within Pabbly Connect, navigate to the “Settings” section of your AI agent. Here, you can customize various parameters to enhance the interaction quality.

Key settings to configure include:

  • Header and footer messages to provide context to users.
  • Stop keywords that will halt the AI from responding.
  • Fallback messages for when the AI fails to respond correctly.

These configurations ensure that your AI agent is effective and responsive. Using Pabbly Connect, you can easily manage these settings to create a tailored experience for your users.


4. Assigning the AI Agent to Your WhatsApp Account

The next step involves assigning your newly created AI agent to your WhatsApp account. In Pabbly Connect, navigate to the “Inbox Settings” to set up auto-reply options. This feature allows your AI agent to handle customer inquiries effectively.

To assign your agent, follow these steps:

  • Enable the auto-reply feature in the settings.
  • Select the contact list to which the AI agent will respond.
  • Click on the “Save” button to finalize the setup.

Once assigned, your AI agent will automatically respond to messages on WhatsApp, ensuring that no customer query goes unanswered. Pabbly Connect streamlines this entire process, making it user-friendly and efficient.


5. Testing Your WhatsApp AI Agent with Pabbly Connect

Finally, it’s crucial to test your WhatsApp AI agent to ensure everything is functioning correctly. Use the Pabbly Connect platform to send test messages to your WhatsApp number and observe how the AI agent responds.

During testing, pay attention to the following:

  • Response accuracy and speed.
  • Correct handling of stop keywords.
  • Overall user experience during interactions.

By thoroughly testing your AI agent, you can ensure it meets your business requirements. Pabbly Connect makes it easy to monitor and adjust settings based on real-time feedback, enhancing your customer engagement strategy.


Conclusion

Integrating WhatsApp with Pabbly Connect allows businesses to automate customer interactions efficiently. By following this tutorial, you can set up a responsive AI agent that enhances customer support. Embrace automation with Pabbly Connect for seamless communication.

WhatsApp AI Agent for Photography Studios | Automate Bookings 24/7

Watch Step By Step Video Tutorial Below


1. Accessing Pabbly Chatflow for Your WhatsApp Chatbot

To start using Pabbly Chatflow, visit the official website and sign in to your account. If you are a new user, you can sign up for free and receive 100 credits monthly to test the platform. Existing users should click on “Sign In” at the top right corner.

Once logged in, you will find a dashboard showing your available credits and WhatsApp number. To connect your WhatsApp, click on “Connect WhatsApp”. This is crucial as Pabbly Chatflow facilitates the integration between your WhatsApp account and the chatbot functionalities.


2. Creating Your AI Assistant in Pabbly Chatflow

After accessing Pabbly Chatflow, navigate to the AI Assistant section. Here, you can create a new AI assistant specifically for your photography studio. For this example, name it “Lenscraft Photography Studio” and click on “Add Assistant”.

  • Select the instruction type as AI agent.
  • Set the temperature to 0.7 for a balanced creativity level.
  • Enter your OpenAI API key to enable the AI functionalities.

By following these steps, you will effectively configure the AI assistant to respond appropriately to customer inquiries, showcasing the power of Pabbly Chatflow in automating your business communications.


3. Configuring Your AI Assistant Settings

Next, you need to configure the settings for your AI assistant within Pabbly Chatflow. This includes adding header and footer messages, setting stop keywords, and defining retry attempts for unanswered queries. These settings will enhance the user experience significantly.

For example, you can set:

  • Header message to greet users.
  • Footer message to include company contact information.
  • Stop keywords for users to opt-out of the conversation.

This detailed configuration ensures that your chatbot provides timely and relevant responses, making it a valuable asset for your photography studio through Pabbly Chatflow.


4. Uploading Your Knowledge Base to Pabbly Chatflow

To enhance your AI assistant’s capabilities, you need to upload a comprehensive knowledge base. This can be done by selecting the “Upload File” option in Pabbly Chatflow. Make sure your document contains essential business information, such as services offered, pricing, and contact details.

After uploading, confirm the file is correctly integrated into the system. This knowledge base will serve as the primary resource for your AI assistant, allowing it to answer queries accurately based on the information provided.


5. Enabling Your AI Assistant for WhatsApp Conversations

Finally, to enable your AI assistant to respond to WhatsApp inquiries, navigate to the settings in Pabbly Chatflow. Here, you can assign your AI assistant to specific contacts or groups, ensuring that it can handle incoming messages effectively.

To do this:

  • Select the AI assistant you created.
  • Toggle the auto-reply settings to enable responses.
  • Save your settings to finalize the integration.

By completing these steps, your AI assistant will be ready to engage with customers, showcasing the full potential of Pabbly Chatflow in automating your business communications.


Conclusion

By following this tutorial, you can successfully create and integrate a WhatsApp chatbot using Pabbly Chatflow. This system will streamline your customer interactions, making your photography studio more efficient and responsive.

AI Creates & Posts on LinkedIn Every Day

Watch Step By Step Video Tutorial Below


1. Accessing Pabbly Connect for Automation

To start automating your LinkedIn posts, first, access Pabbly Connect. If you’re a new user, open a new tab and search for pabbli.com/connect in your browser.

Once on the landing page, click on the “Sign Up for Free” option located in the top right corner. You can utilize 100 tasks free each month to explore Pabbly Connect and experience its capabilities for posting on LinkedIn.


2. Creating Your Workflow in Pabbly Connect

After signing in, navigate to the workflow builder within Pabbly Connect. This is where you will create your automation. Click on the “Add Trigger” button to start the process.

  • Select “Schedule by Pabbly” as the trigger application.
  • Choose “Schedule Workflow” for the event.
  • Set the frequency to run the workflow daily.

Now, specify the time you want the workflow to run, such as 2 PM daily, and click the “Save” button. Your automation is now scheduled to execute every day at the designated time.


3. Integrating OpenAI with Pabbly Connect

Next, you will integrate OpenAI to generate content for your LinkedIn posts. Click on the “Add New Action Step” and search for OpenAI, selecting it as your action application.

For the event, choose “GPT” and click on “Connect”. If you already have a connection set up, select it. If not, you will need to create a new connection by providing your OpenAI API key.

  • Log into your OpenAI account to retrieve your API key.
  • Navigate to the API key section and create a new secret key.
  • Copy the generated key and paste it into your Pabbly Connect workflow.

After saving the connection, select the AI model you wish to use, typically GPT-5, and enter your prompt for content generation. Once your prompt is ready, click on the “Save and Send Test Request” button to generate the LinkedIn post.


4. Posting Generated Content to LinkedIn

Now that you have generated content, it’s time to post it on LinkedIn. Click on “Add New Action Step” and search for LinkedIn, selecting it as your action application.

Choose the event as “Share a Simple Text” and click on “Connect”. If you have an existing connection, select it; otherwise, create a new connection by logging into your LinkedIn account.

  • Ensure your LinkedIn account is logged in to allow Pabbly Connect access.
  • Select the author and map the content generated from OpenAI.
  • Set the visibility to public and save your settings.

After saving, click on the “Save and Send Test Request” button to post the content on your LinkedIn account. Refresh your LinkedIn page to see the new post live.


5. Conclusion: Automate Your LinkedIn Posts with Pabbly Connect

By following these steps, you can successfully automate your LinkedIn posts using Pabbly Connect and OpenAI. This integration allows you to generate and post content effortlessly every day.

Utilizing Pabbly Connect streamlines your social media management, ensuring consistent engagement with your audience while saving you time. Start automating your posts today to enhance your online presence!