Looking for a way to add new MailChimp subscribers from Google Sheets rows in real-time?
If yes, here we are going to explain how easily you can transfer subscriber details from Google Sheets into MailChimp using Pabbly Connect.
Basically, Pabbly Connects is an application that integrates various applications in a couple of minutes without any coding skills. It helps you to transfer data in real-time.
Let’s understand the importance of adding subscribers to MailChimp directly from google sheet. We all know Google Sheet is a cloud platform that we used to store data from various sources. Whereas MailChimp is an all in one marketing platform that helps you manage a good relationship with customers.
By integrating Google Sheets and MailChimp, we can transfer entries of customers into MailChimp in real-time. And for doing so, we are using Pabbly Connect which lets you integrate multiple premium applications in a matter of time.
Why Choose This Method Of Integration?
In contrast with other integration services-
- Pabbly Connect does not charge you for its in-built apps like filters, Iterator, Router, Data transformer, and more
- Create “Unlimited Workflows” and smoothly define multiple tasks for each action
- As compared to other services which offer 750 tasks at $24.99, Pabbly Connect proffers 50000 tasks in the starter plan of $29 itself
- Unlike Zapier, there’s no restriction on features. Get access to advanced features even in the basic plan
- Try before you buy! Before spending your money, you can actually signup & try out the working of Pabbly Connect for FREE
Here in this article, we will learn how to add new MailChimp subscribers from Google Sheets Rows using an automation and integration tool i.e Pabbly Connect.
So, let’s start the process.
Step 1: Sign up to Pabbly Connect

Begin the process of connecting Google Sheet to MailChimp by clicking on the “Sign Up Free” icon on the Pabbly Connect dashboard. Also, we have a ready-made template for you to get started easily. Just click the “Use Workflow” button.

Also, we have App Directory, just look for the apps you want to integrate.
Step 2: Access Pabbly Connect

Next, after logging into the account, click on the “Access Now” button as shown in the above image.
Step 3: Workflow for Google Sheets & MailChimp Integration
(a) Start with a New Workflow

Start the process of building a workflow for Google Sheets- MailChimp integration by clicking on the “Create Workflow” button.
(b) Name the Workflow
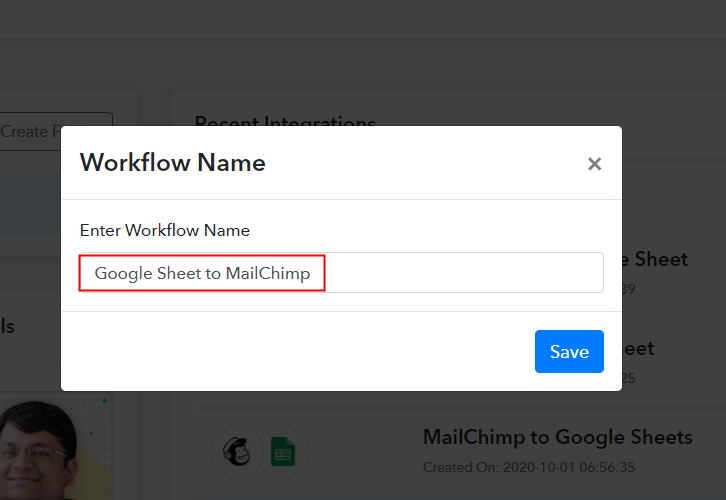
Moreover, add the name of workflow which in our case is “Google Sheets to MailChimp”. Nevertheless, you can always name the workflow according to your requirements.
Step 4: Setting Trigger for Google Sheets to MailChimp Integration
Next, after building a workflow, you have to choose the integration app to connect your Google Sheets to MailChimp. Pabbly Connect lets you build unlimited workflows within minutes, click here to sign up for unlimited workflows for free.
(a) Select Application you Want to Integrate
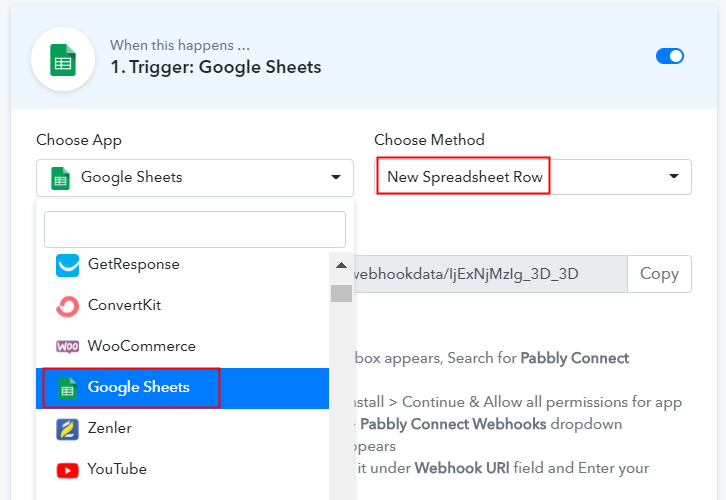
The following step is to select “Google Sheets” from the dropdown, then choose the “New Spreadsheet Row” option to append data from the sheet into our email marketing software.
(b) Copy the Webhook URL
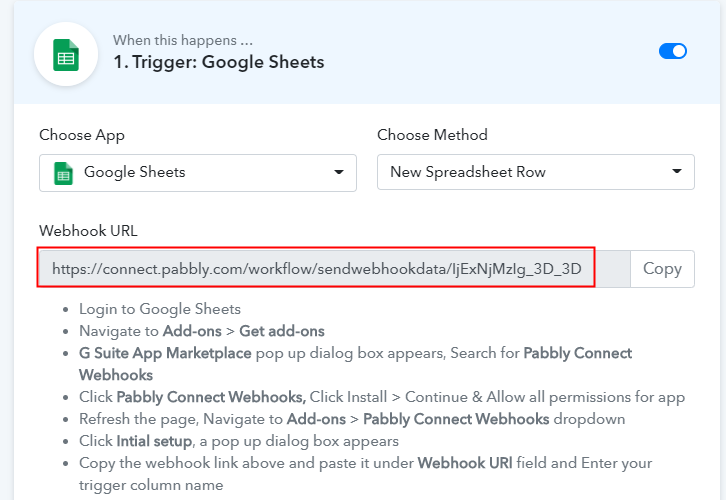
The next step is to copy the webhook URL which is appearing on the dashboard.
Step 5: Connecting Google Sheets with Pabbly Connect
To save subscribers in MailChimp, you gotta paste the copied Webhook URL in the sheet. But before that, you, have to install the Add-on named Pabbly Connect.
(a) Create a Google Sheets
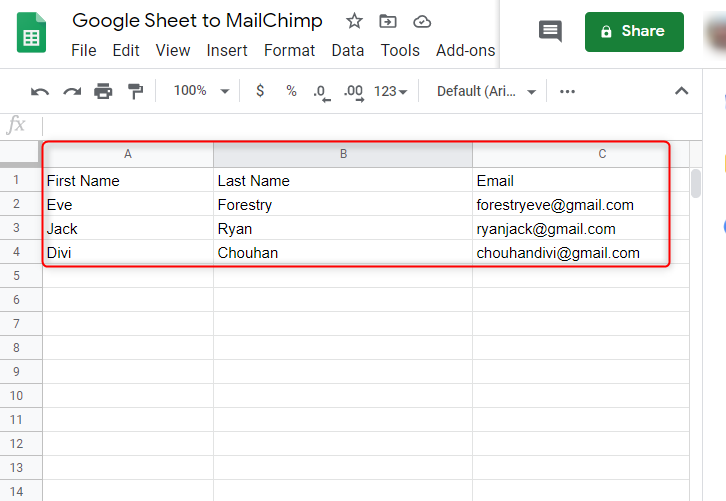
The next thing to do is create a Google Sheets with basic details like first name, last name, and email address. You can select a sheet of your choice too.
(b) Click on Add-ons
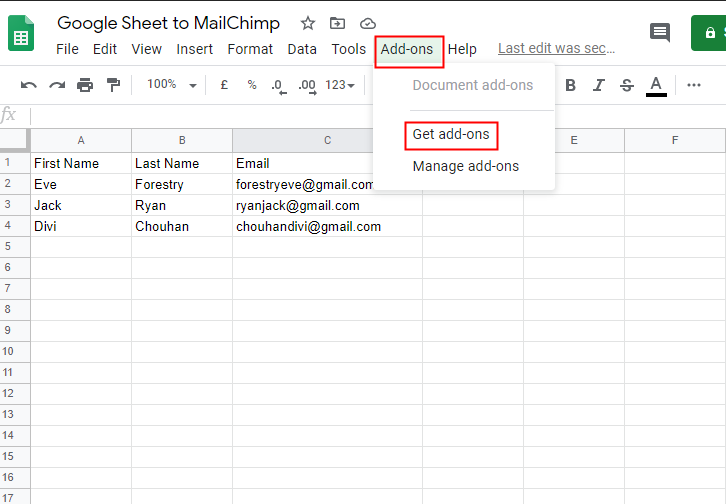
Further, in the add-on section, you have to click on the “Get add-ons” button to download the “Pabbly Connect Webhook”.
(c) Find Pabbly Connect in G Suite Market Place
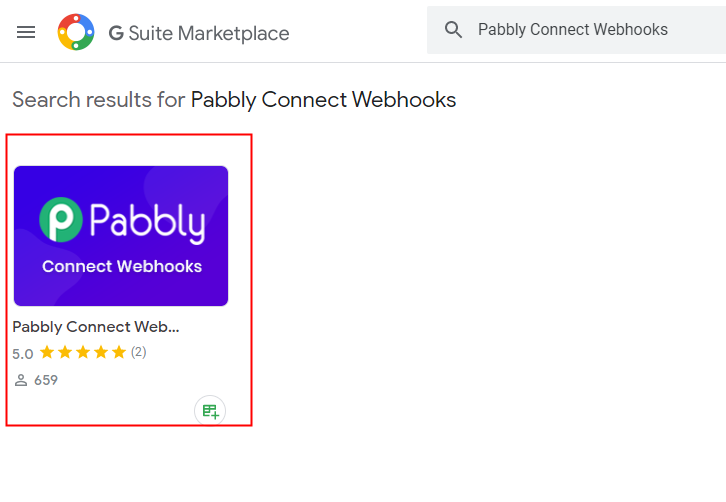
After clicking on ‘Get Add-on’ a new window will pop-up. Here in the search bar look for Pabbly Connect Webhooks.
(d) Install Pabbly Connect
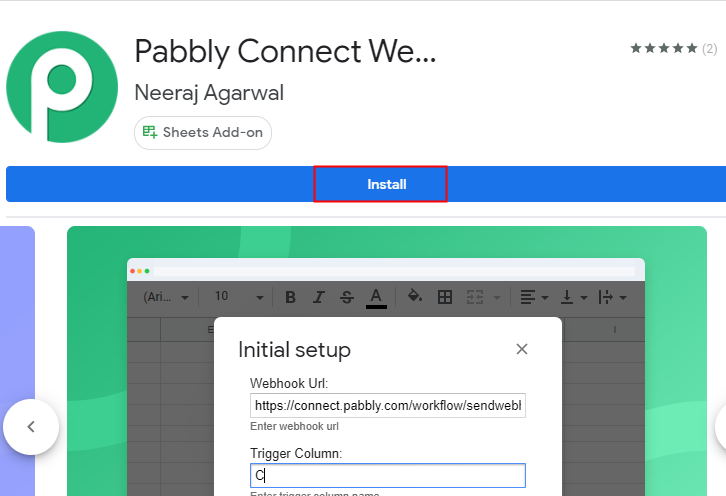
Now just click on the install option and within seconds it will get installed into your Google Sheets.
(e) Press Initial Setup In Google Sheets

Now, when you click on add-ons, Pabbly Connect Webhook will appear there. Just click on it, it will open certain options, select “Initial Setup” to smooth the whole Google Sheets integration process.
(f) Paste The Webhook URL
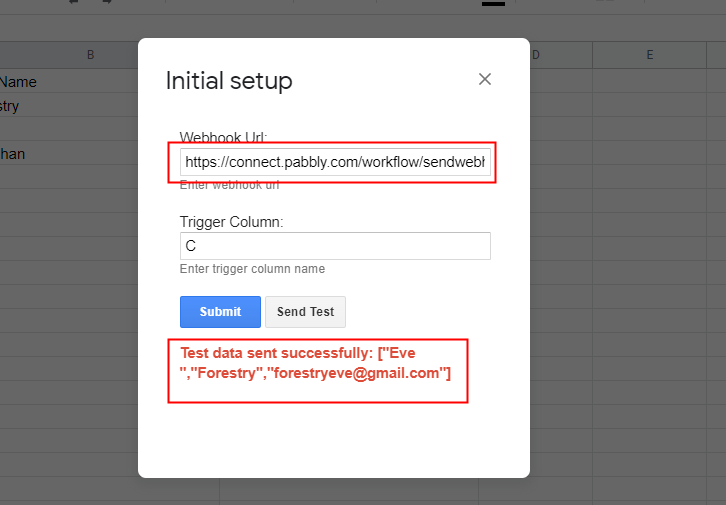
In addition, a window with two choices, the Webhook URL and Trigger Column, will appear when you press “Initial Set-Up”. In that segment, just paste your copied Webhook URL from Pabbly Connect and mention the trigger column as appropriate. To confirm the integration, then click on the ‘Send Test’ button. Before submitting a test message, make sure to press ‘Capture Webhook Response’ on the Pabbly Connect dashboard.
When the test request is received, a message in red letters will indicate that the data has been submitted.
(g) Click Send On Event In Google Sheets
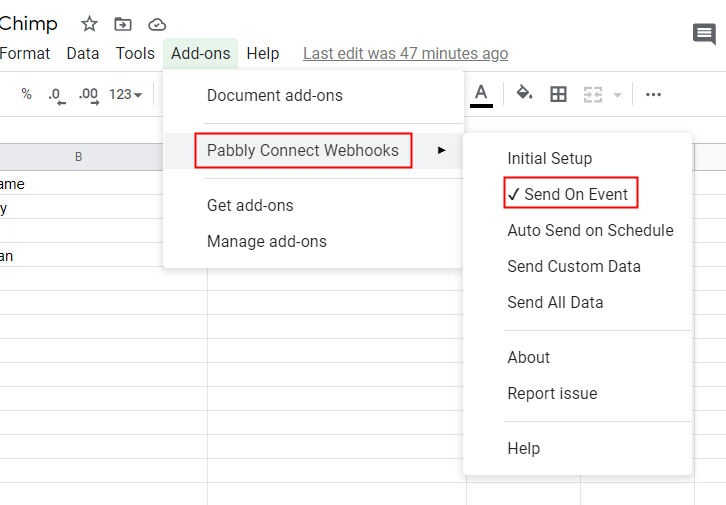
This is the additional step you have to do to ensure that every time new data added in the sheet it will automatically appear in your MailChimp account. For this, all you have to do is click on “Send on Event” in the “Add-On” option.
Step 6: Test the Response in Pabbly Connect Dashboard
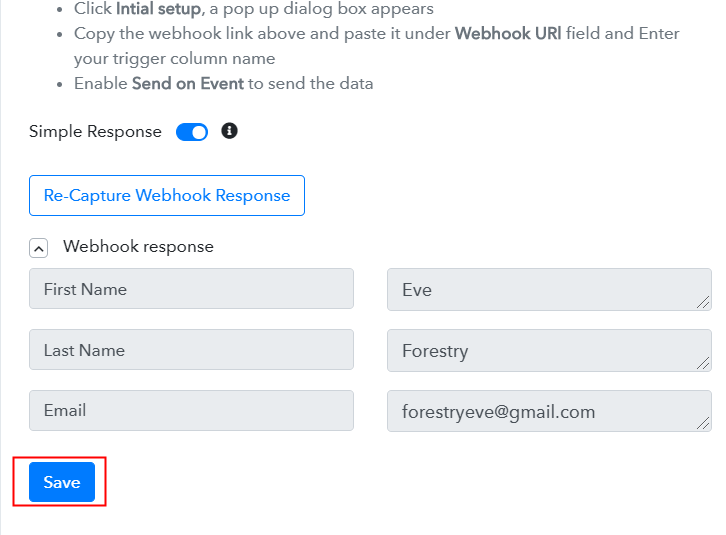
“The entry will appear on the” Pabbly Connect “dashboard as soon as you click on the” Send Test “option. Next, click on the ‘Save’ button.
Step 7: Setting Action for Google Sheets & MailChimp Integration
To make Google Sheets and MailChimp integration work, you have to choose the action for your trigger.
(a) Select Application you Want to Integrate
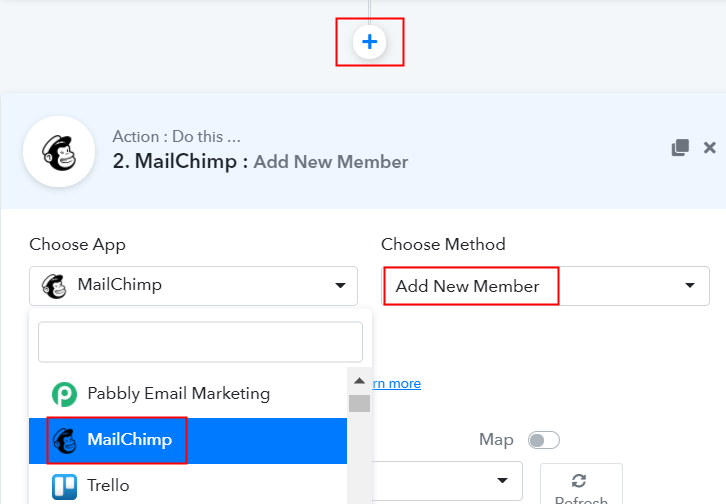
In addition, press the + icon to add an action to the trigger. Here we can pick “MailChimp” from the drop-down. Then choose the method “Add new member”.
(b) Click the Connect Button
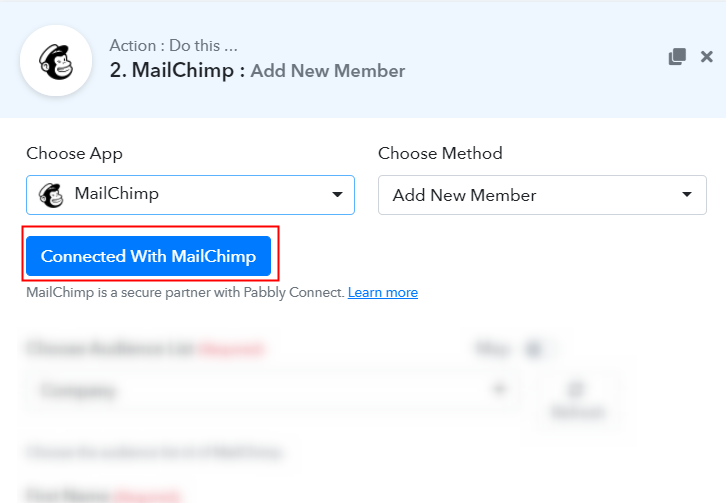
Tap on the “Connected with MailChimp” button after making all the necessary adjustments. In addition, the permission window will open for which you have to log in to your MailChimp account.
Step 8: Connecting MailChimp to Pabbly Connect
To connect Google Sheets to MailChimp, you need to paste the “Bearer Token” for which you have to log in to your MailChimp account.
(a) Click on MailChimp Account Settings
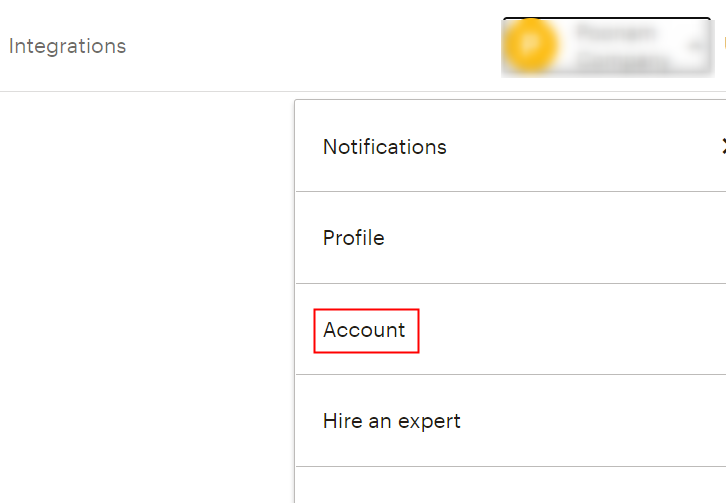
Tap on the “Account” option on the bottom of the dashboard after signing in.
(b) Move to Extras
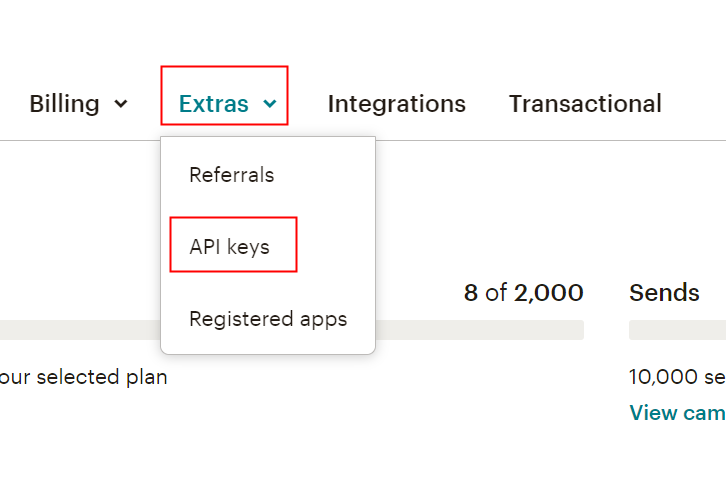
When you click on “Account” it will open up the new window. There you will see the “Extras” option, simply click on it. Then, click on the “API Keys” option.
(c) Create a Key
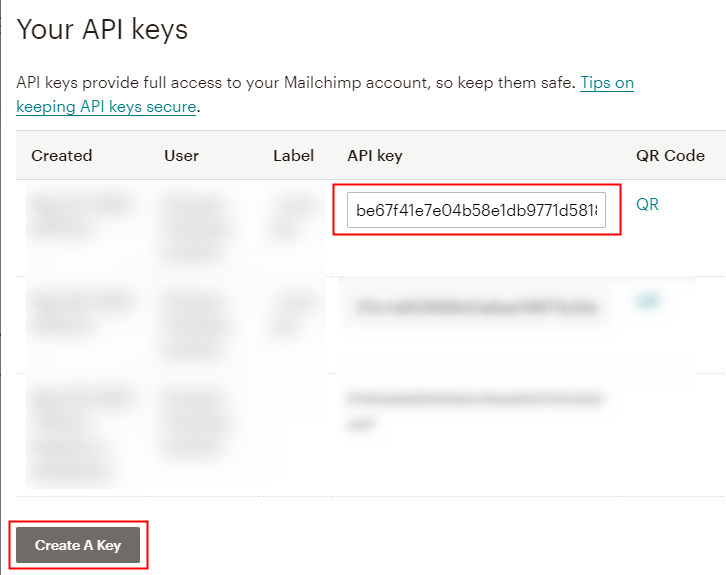
As soon as you will click on the “Create a Key” button, it will generate the key. Just copy it.
Step 9: Paste API Key in Pabbly Connect Dashboard
You need to move back to the Pabbly Connect dashboard and paste the API key in order to add customer details as subscribers to MailChimp.
(a) Fill API Key
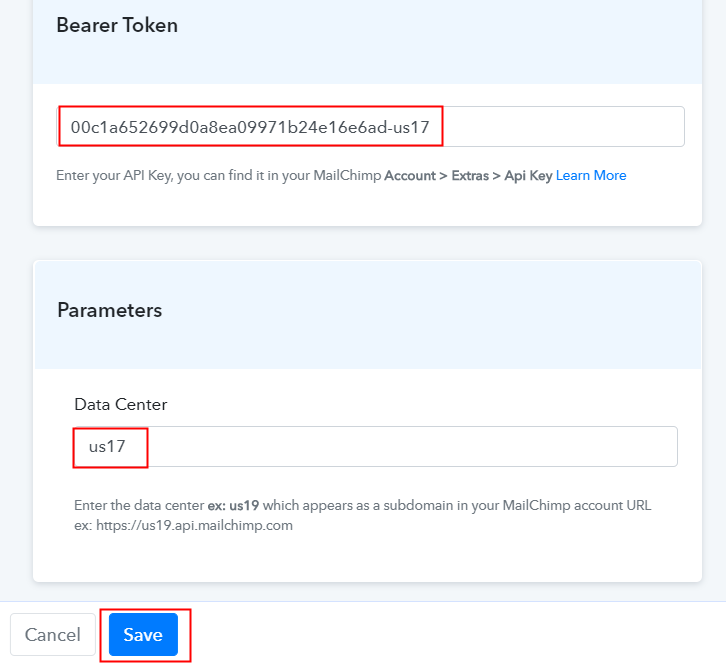
Just paste the API Key in the bearer token option and specify the MailChimp I d which appears at the start of your MailChimp URL in the “Data Center” section. Hit the “Save” button after all this is ensured.
(b) Map Field Data
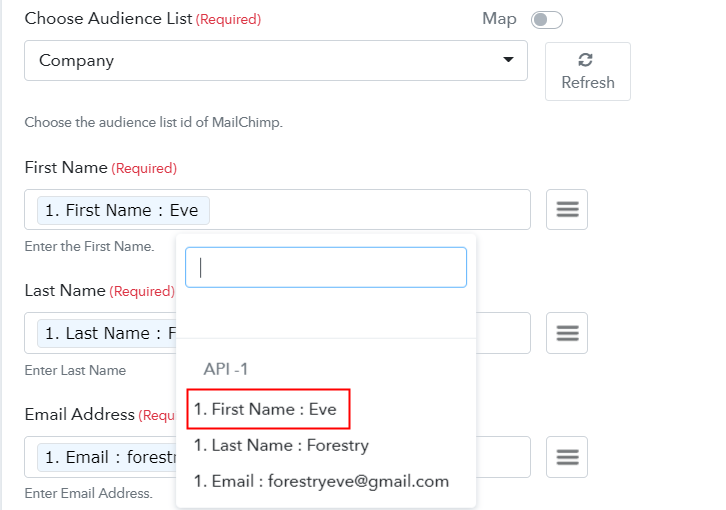
Now the app has already fetched the audience list as you see it. Just map the appropriate field from the drop-down region, such as the email field, select the email option, and select the name option for the name field.
(c) Save and Send Test Request
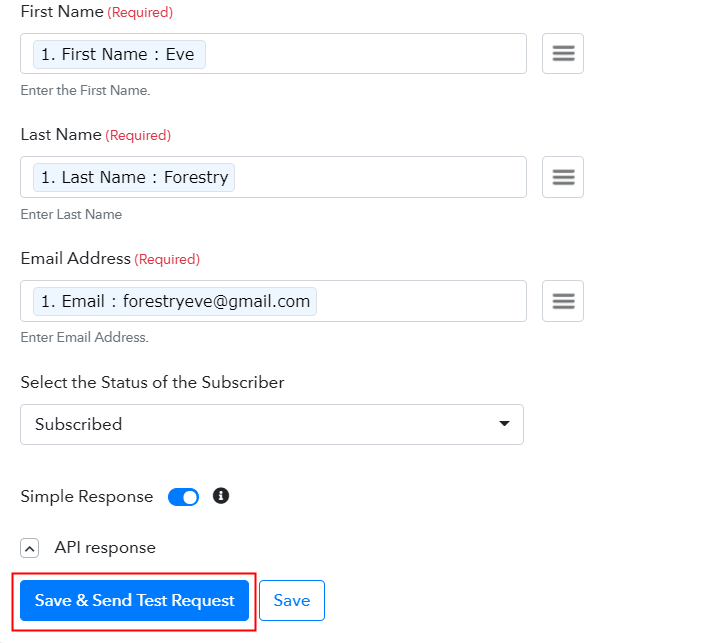
Subsequently, after filling all the details, save the setting and then “Send Test Request” to test the Google Sheets and MailChimp integration.
Step 10: Check Response in MailChimp Dashboard
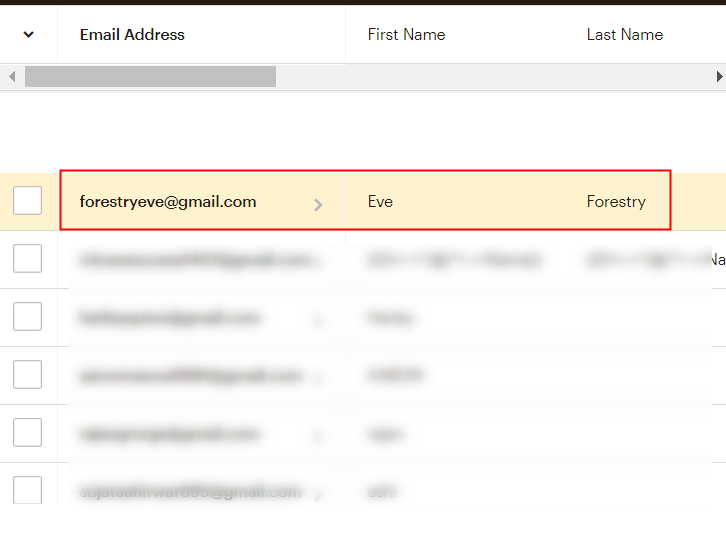
Finally, your submission will immediately appear there when you search the Audience segment of MailChimp.
You now know how to connect Google Sheets to MailChimp. This is a one-time operation. The online business automation platform, i.e. Pabbly Connect will now do all the manual work.
Conclusion –
That’s that! Here we have explained, “How to Add Mailchimp Subscribers from Google Sheets Rows” using the app. We realize how daunting a way of combining two applications can be. This is why individuals are searching for resources that can support them. And, trust us, one of the better Zapier alternatives available on the market is Pabbly Connect, which doesn’t put a hole in your pocket. Also during your free trial, you’ll have access to everything.
All right, what’s stopping you now! Go and catch your deal by signing up for a free account.


