Watch Step By Step Video Tutorial Below
1. Accessing Pabbly Connect for Integration
To start integrating Google Business reviews with WhatsApp, you need to access Pabbly Connect. Go to www.pabbly.com/connect, where you can sign up for a free account.
If you are a new user, you will receive 100 free tasks per month, allowing you to test the integration process without any cost. Once you are logged in, you will be directed to the Pabbly Connect dashboard.
2. Creating a Workflow Using Pabbly Connect
Next, you will create a new workflow in Pabbly Connect. On the dashboard, click on the “Create Workflow” option. Select the “Create Using Quick Builder” feature to get started quickly.
In the AI prompt, type “Google business profile review notification” to inform the AI what you want to achieve. The AI will analyze your request and suggest a template for your workflow.
- Click on “Create” after reviewing the suggested workflow.
- Open the workflow to view the template.
- Proceed to set up the trigger and action steps.
This setup will allow Pabbly Connect to capture new reviews from your Google Business profile and send notifications via WhatsApp.
3. Connecting Google Business Profile to Pabbly Connect
To connect your Google Business profile, select the trigger event for “New Review”. Click on the “Add New Connection” option and sign in with your Google account that manages the business profile.
After signing in, grant the necessary permissions to allow Pabbly Connect to access your Google Business profile. Choose the business name and location from which you want to capture reviews.
- Enter the business name as “Urban Thread Studios”.
- Select the location associated with the business.
- Save and send a test request to capture the latest review.
After setting up the connection, Pabbly Connect will begin monitoring for new reviews at the specified intervals.
4. Sending Notifications to WhatsApp Using Pabbly Connect
Now, it’s time to set up the WhatsApp notification feature. Click on the “Connect” button and choose “Add New Connection” for WhatsApp Cloud API. You will need to enter your API token, phone number ID, and WhatsApp Business Account ID.
To generate these details, refer to the tutorials on Pabbly’s forum page. Once you have gathered the information, paste it into the respective fields in Pabbly Connect.
- Copy the API token and paste it into the token field.
- Enter your recipient phone number for notifications.
- Compose the message format for the WhatsApp notification.
With this setup, whenever a new review is posted, Pabbly Connect will send an automated message to your WhatsApp, including the review details.
5. Finalizing the Setup and Testing
After configuring the WhatsApp connection, click on the “Save and Send Test Request” button. This will allow you to test whether the notification is working correctly. You should receive a message on your WhatsApp confirming the new review.
Ensure that the notification includes all relevant details such as the reviewer’s name, rating, and comments. This feedback confirms that Pabbly Connect is functioning as intended.
Once confirmed, your automation is complete. From now on, whenever a new review is posted on your Google Business profile, you will receive a WhatsApp notification instantly, streamlining your review management process.
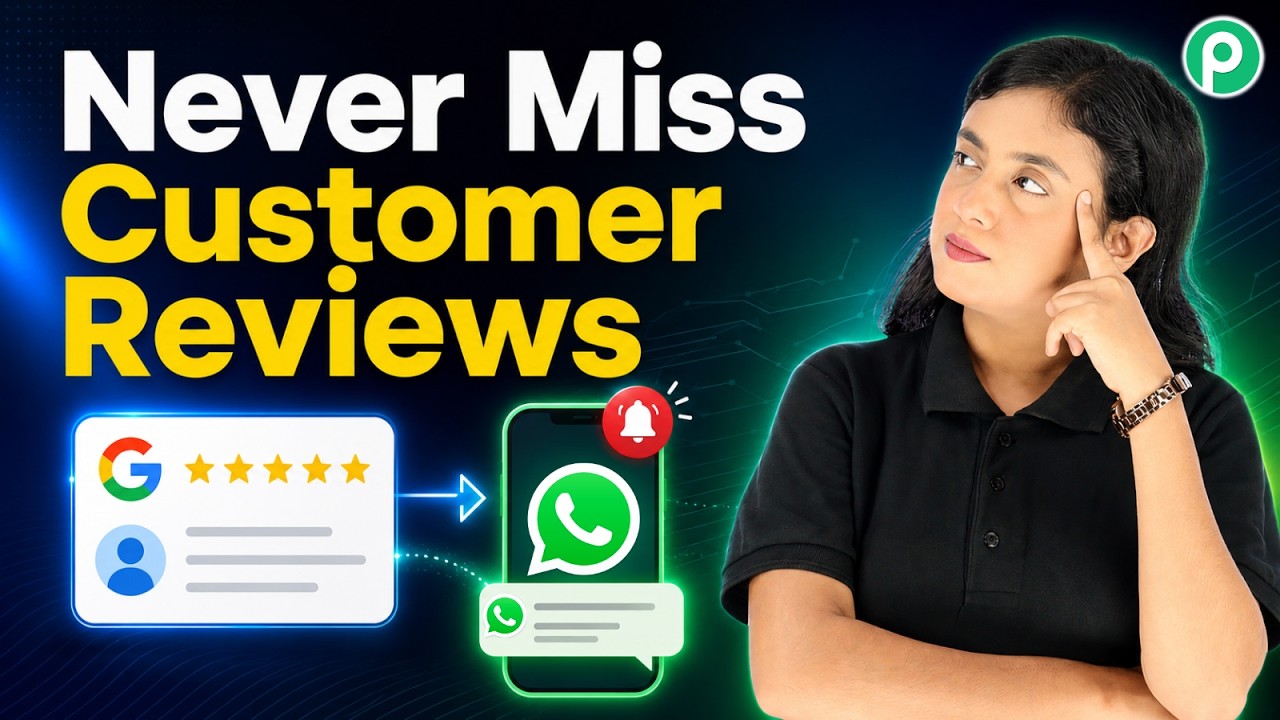
Conclusion
In this tutorial, we explored how to automate Google Business reviews notifications to WhatsApp using Pabbly Connect. By following these steps, you can efficiently manage customer feedback and enhance communication.