Watch Step By Step Video Tutorial Below
1. Accessing Pabbly Connect for Lead Management
To begin managing your website leads automatically, first access Pabbly Connect by visiting the official website. This integration platform allows you to connect various applications seamlessly.
Once on the Pabbly Connect homepage, you can either sign up for a free account or log in if you are an existing user. Signing up will give you access to 100 free tasks every month to create automations.
2. Creating a Workflow in Pabbly Connect
After logging in, you will be directed to the Pabbly Connect dashboard where you can create a new workflow. Click on the “Create Workflow” button to start.
- Choose a name for your workflow.
- Select the trigger application, in this case, Typeform.
- Add the actions for Google Sheets, Zo CRM, Slack, and Pabbly Chatflow.
As you define your workflow, make sure to specify the applications involved. This ensures that Pabbly Connect knows exactly how to link them together and automate the data flow.
3. Connecting Applications with Pabbly Connect
To connect Typeform with Pabbly Connect, click on “Add New Connection” and select Typeform. Follow the prompts to authenticate your account.
Once connected, choose the specific form you created for lead generation. This allows Pabbly Connect to capture lead details automatically when a user fills out your form on the website.
- Select the Google Sheets option to save lead data.
- Connect to Zo CRM to create a new lead entry.
- Set up Slack notifications for your team.
After connecting these applications, you will see a complete workflow ready to automate your lead management process. This is the power of using Pabbly Connect.
4. Sending Notifications and WhatsApp Messages
With your applications connected, it’s time to set up notifications. Use Pabbly Connect to send alerts to your Slack channel whenever a new lead is generated. This keeps your team informed in real-time.
Additionally, configure Pabbly Chatflow to send a WhatsApp message to the new lead. This engagement step is crucial for nurturing leads. You will need to authenticate your Chatflow account and select the appropriate message template.
- Choose the WhatsApp message template you created.
- Map the lead’s phone number from the Typeform submission.
- Test the setup to ensure messages are sent correctly.
By utilizing Pabbly Connect, you ensure that all notifications and messages are sent automatically, enhancing your lead management process.
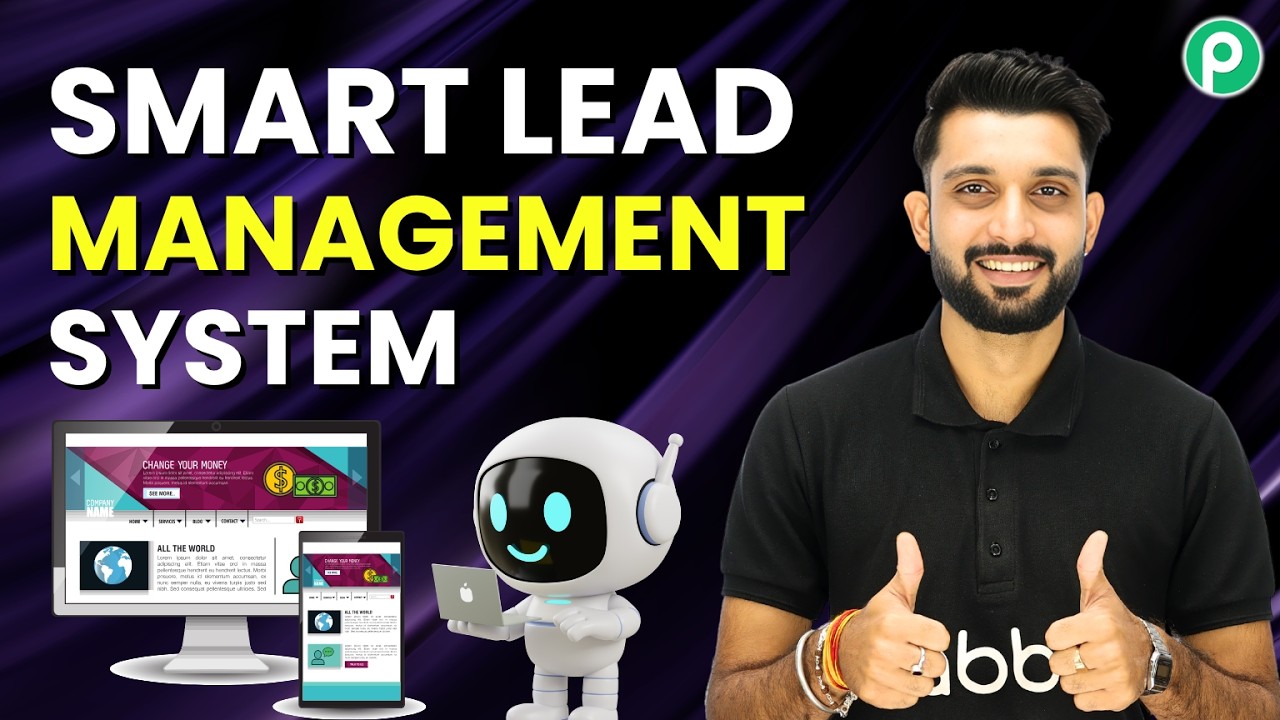
5. Conclusion
In this tutorial, we explored how to automatically manage website leads using Pabbly Connect. By integrating applications like WhatsApp, Zo CRM, and Google Sheets, you can automate your lead management effectively.
Using Pabbly Connect simplifies the entire process, ensuring that your team is notified and your leads are engaged promptly. Take advantage of this powerful integration platform to streamline your business operations.