Watch Step By Step Video Tutorial Below
1. Accessing Pabbly Connect for Automation
To begin automating Discord updates, you need to access Pabbly Connect. Start by navigating to pabbly.com/connect in your browser. This will take you to the Pabbly Connect homepage.
If you are a new user, click on “Sign Up for Free” to create an account, which allows you to explore Pabbly Connect with 300 tasks every month. Existing users should simply sign in to their accounts.
2. Creating a Workflow in Pabbly Connect
Once logged in, you will see the Pabbly apps window. Click on “Access Now” under Pabbly Connect to enter the dashboard. Here, you can create a new workflow.
- Select “Create from Scratch” for a manual setup.
- Choose “Create Using AI” for an AI-driven workflow.
- Use “Quick Builder” for a rapid setup.
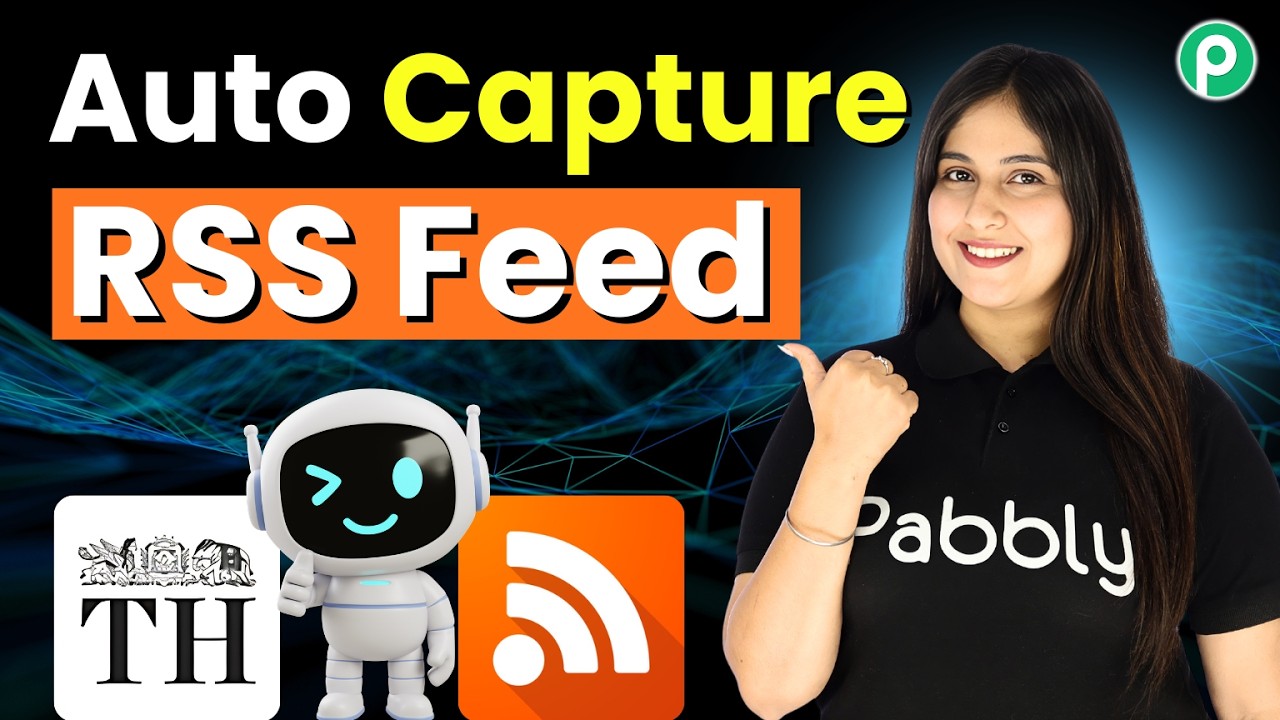
For this tutorial, we will use the Quick Builder. Enter the prompt: “When a new item in feed is captured in RSS PAB, send a message on Discord.” After analyzing, select the trigger as “New Item in Feed” for RSS PABY and the action as “Send Channel Message” for Discord.
3. Setting Up the RSS Feed Trigger
Now that you have selected your trigger and action, it’s time to set up the RSS feed. You will need the feed URL from The Hindu, which can be found at thehindu.com/rss/feeds. Choose your desired category, like India, and copy the URL.
Next, paste the RSS feed URL into Pabbly Connect. Select the recommended filter type and click on “Save and Send Test Request” to capture the latest feed. This action will pull the most recent updates from the RSS feed.
4. Connecting Discord to Pabbly Connect
After setting up the RSS trigger, it’s time to connect your Discord account. Click on “Connect with Discord” in Pabbly Connect. You will be prompted to authorize Pabbly Connect to access your Discord account.
- Navigate to your Discord channel and click on “Edit Channel”.
- Select “Integrations” and then “Webhooks”.
- Create a new webhook and copy the webhook URL.
Paste the webhook URL back into Pabbly Connect. You will need to extract the webhook ID and token from the URL to complete the setup. This allows Pabbly Connect to send messages to your Discord channel.
5. Finalizing the Automation Process
With your RSS feed and Discord connected, it’s time to finalize the automation. Enter the message text you want to send when a new feed item is captured. You can include dynamic data by mapping the title, description, and link from the RSS feed.
Click on “Save and Send Test Request” to test your setup. If successful, your message will appear in your Discord channel with the correct details from the RSS feed. This confirms that the automation is working correctly.
Conclusion
By using Pabbly Connect, you can automate updates from RSS feeds to your Discord channel seamlessly. This tutorial provided a step-by-step guide to set up the integration, ensuring you never miss important updates.