Pabbly Subscriptions is the best-in-class subscription management and billing services software. It has some amazing features that will make the management of your customer’s subscription, a matter of a few clicks.
This page serves as the guide to set up your Pabbly Subscriptions account.
Here is a quick demo for you –
1. How To Login To Your Pabbly Account?
You can log in to your Pabbly account from here- https://payments.pabbly.com/signin
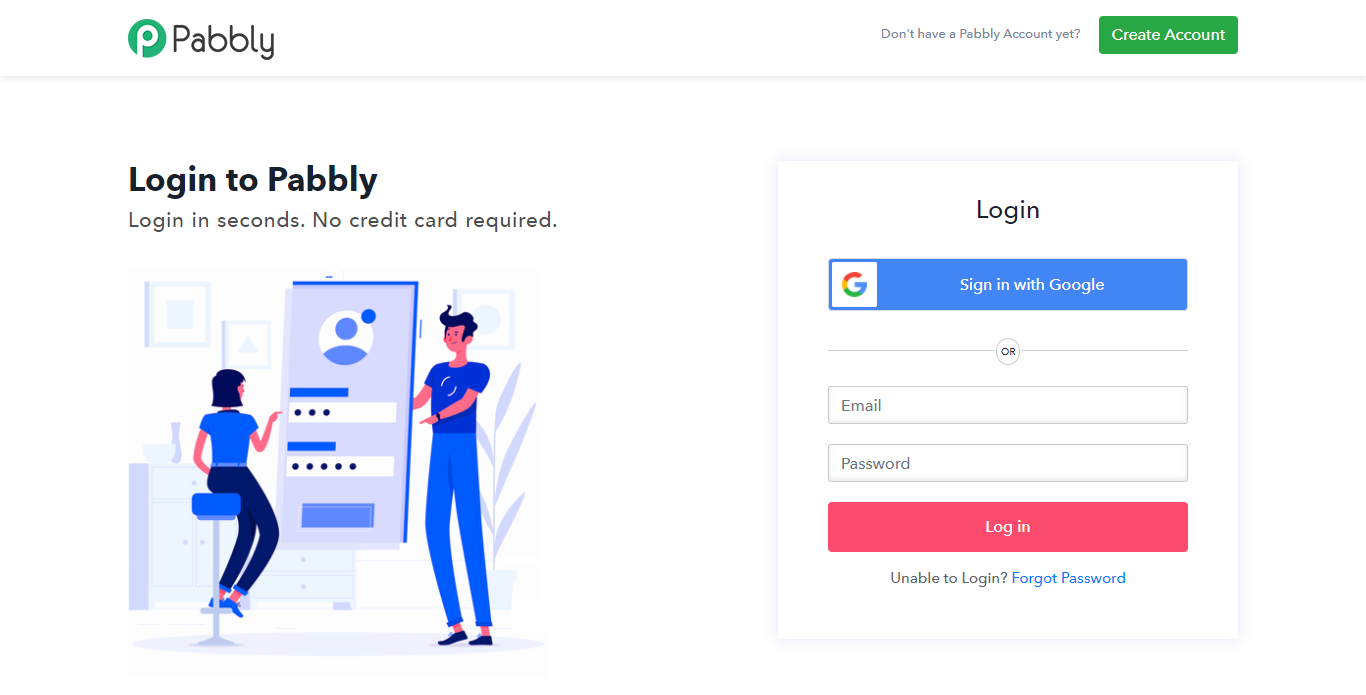
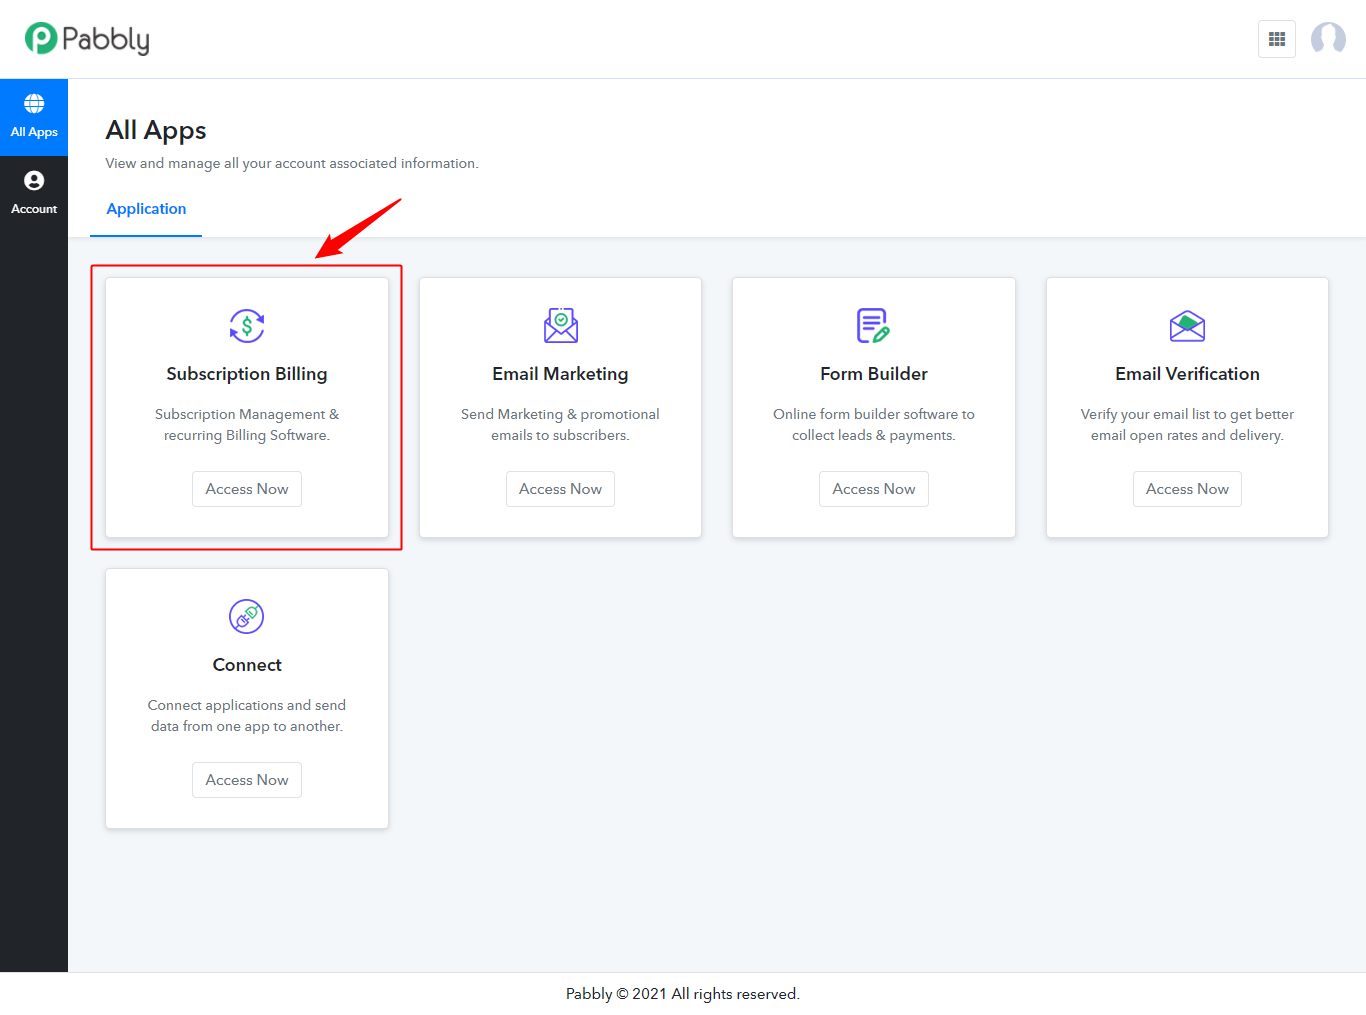
Logging into your account will redirect to Dashboard –
2. How Do I Setup My Profile?
To start using the Pabbly Subscriptions account the very first step is to set up your profile.
When you click on the “Setup profile” bubble then a form will be displayed.
Here is the profile set up form,
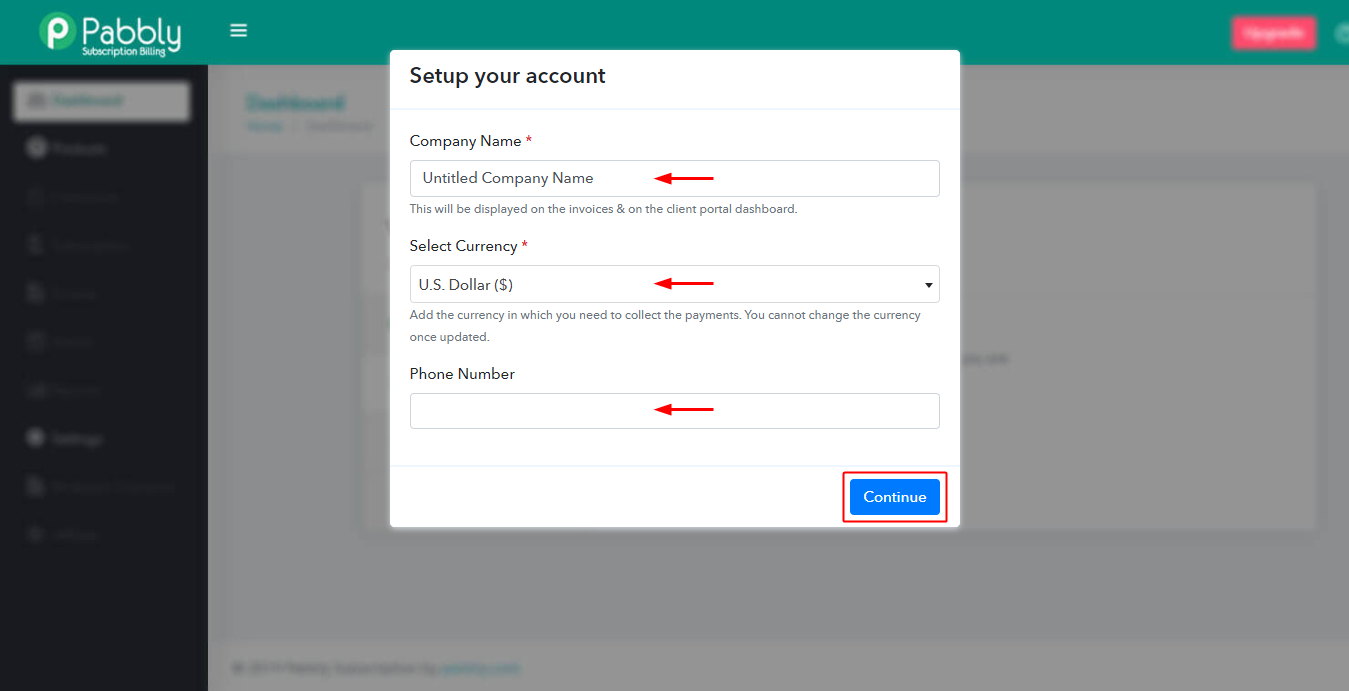
You need to fill some basic details in the form. Support Email, Currency and Company Name are the required fields.
The Support email will be shown on the thanks page and in the reply to the section of the email notifications.
You can choose your required currency. Only one currency is supported in a single Pabbly Subscriptions account.
The company name is shown in the heading of the email notification sent to the customer.
Further, there is a custom domain field in the form. A custom domain is the subdomain of your main website. When you fill your custom domain in this section then the default domain (payments.pabbly.com) will be changed to your custom domain in the client portal.
Check the Custom Domain documentation for better understanding.
Once you filled all the details just click on the ‘Update Profile’ button to save your details.
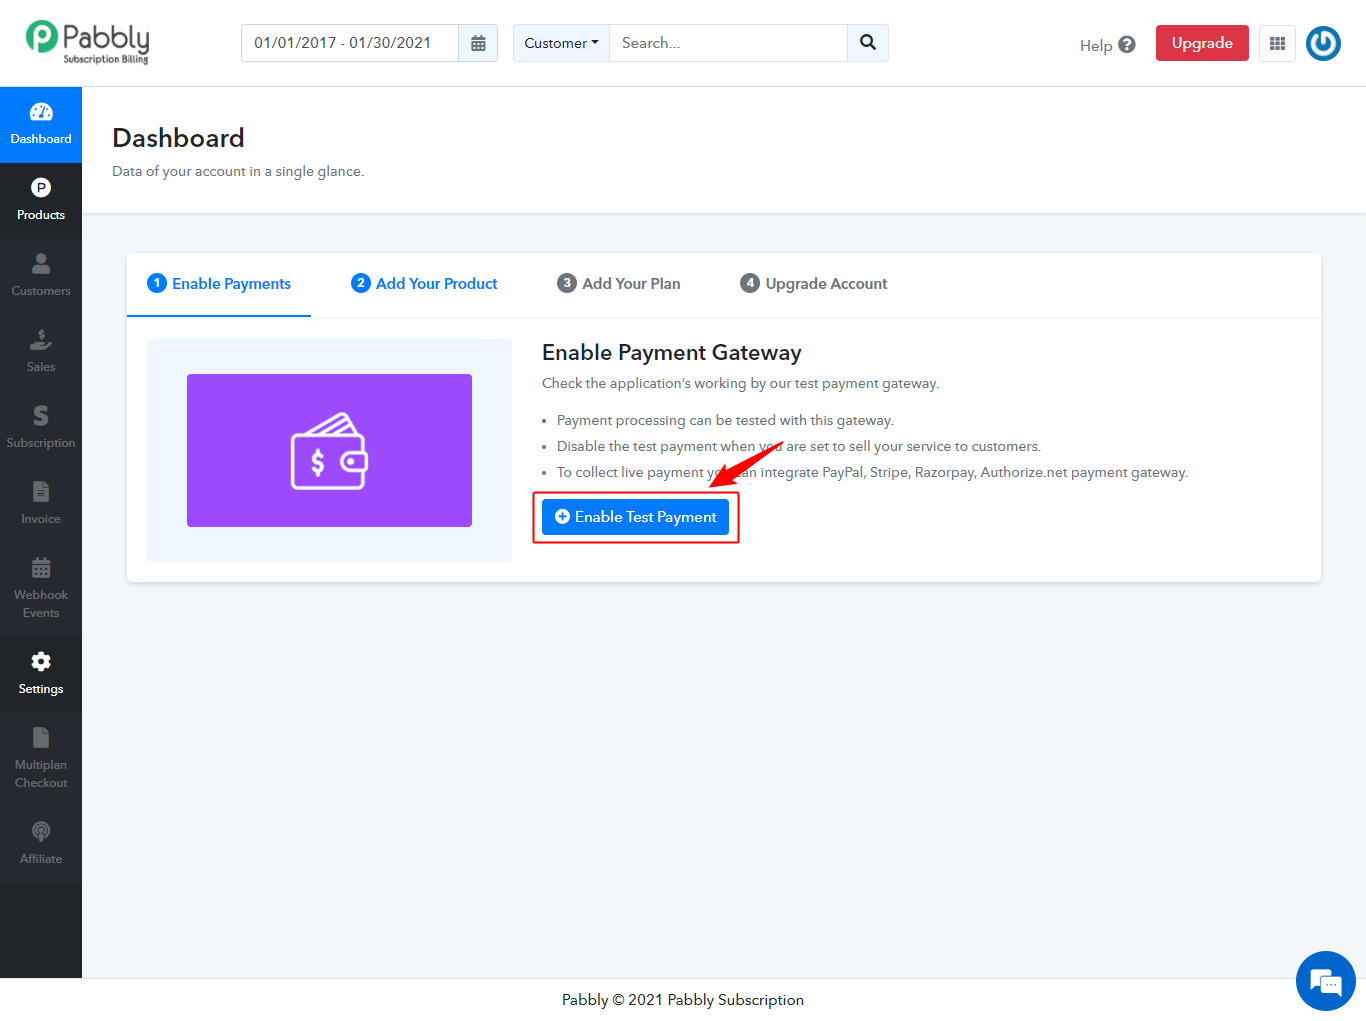
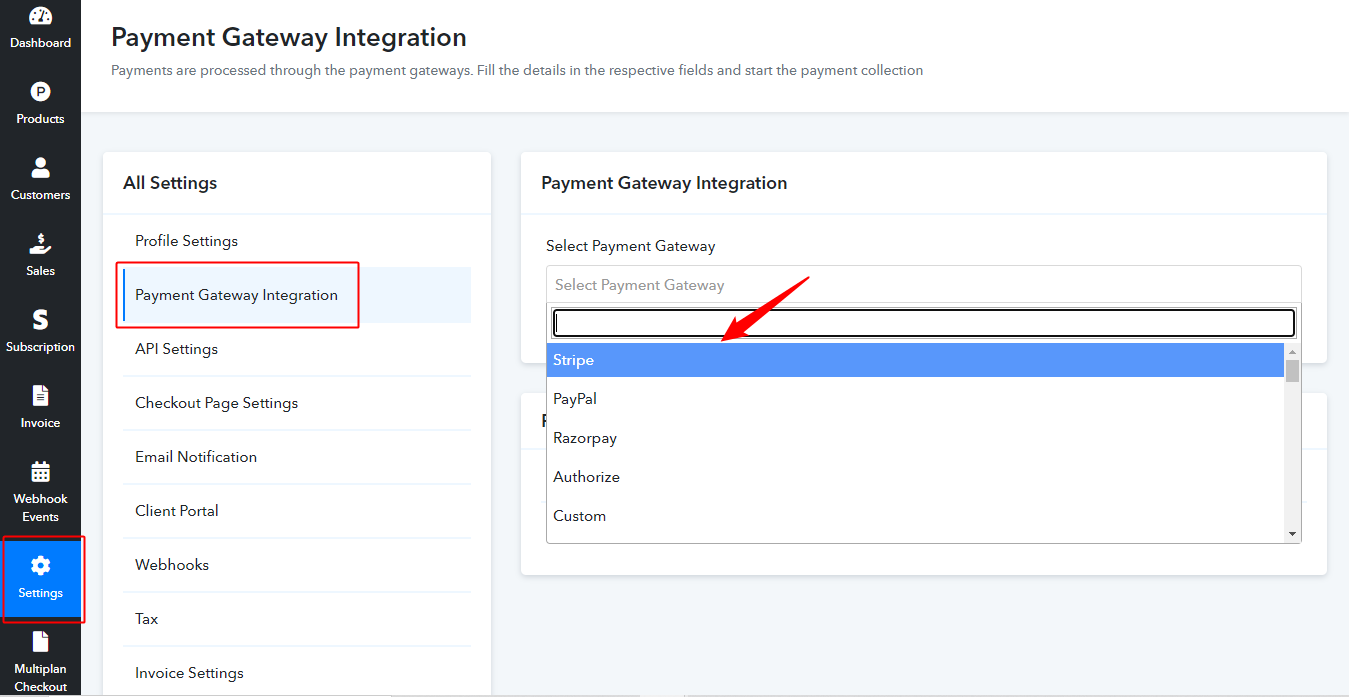
3. How To Integrate Payment Gateway In Pabbly Account?
Set up a Payment Gateway to collect online payments from your customers.
Direct Integration for PayPal and Stripe just by adding the API keys in the Pabbly Subscriptions account. Apart from that, you can add any payment gateway by using the custom payment feature.
Choose the default gateway, and click on “Add Payment Gateway“. This action will initiate the payment gateway integration process.
If you want to Integrate PayPal as your default gateway:-
- Choose “Live” as the gateway status.
- Enter Client ID, Secret ID and then “Save”.
If you want to integrate Stripe as your default payment gateway, select “Stripe” and enter the “Stripe Secret Key” then click on “Save“.
Apart from these two gateways, you can also integrate a Test Payment Gateway for testing purposes.
P.s: Rules of PayPal with Pabbly Subscriptions:
- PayPal refund feature is applicable for One-Time payment. In case of a recurring payment, PayPal refund is not applicable.
- Coupons will work with “Forever Redemption” type. Coupons will not work with “One Time” & “Limited number of times”.
- Upgrade/downgrade of plans will not work with PayPal.
4. Process To Create Products And Plans –
After integrating your default payment gateway, you have to create products and their subsequent plans/subscriptions.
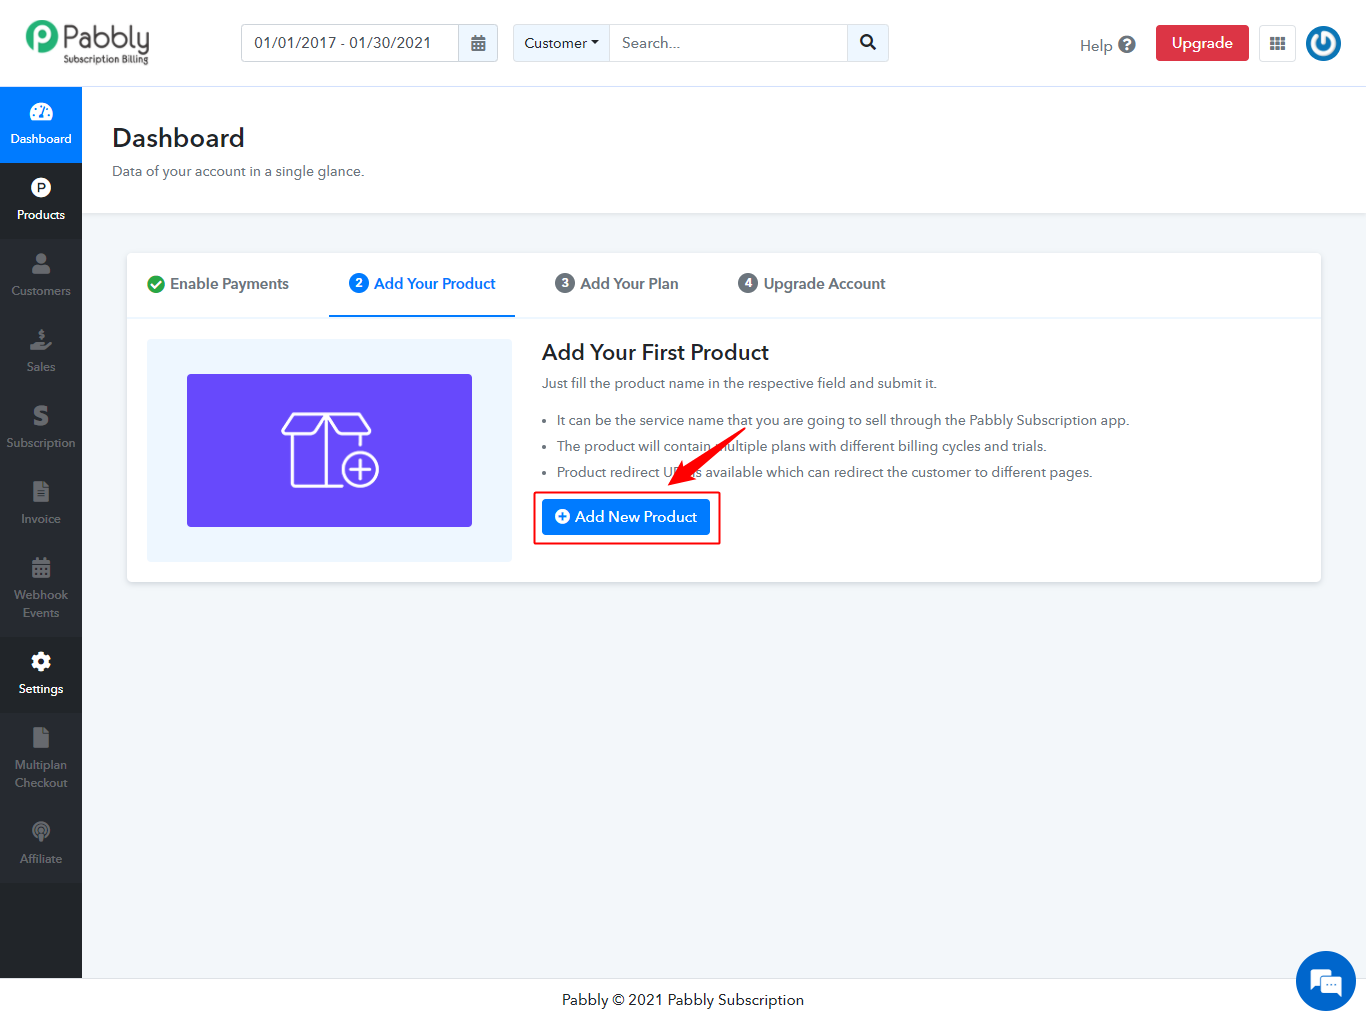
Click on the “Create Product” button or “Product” tab, then “Add New Product”
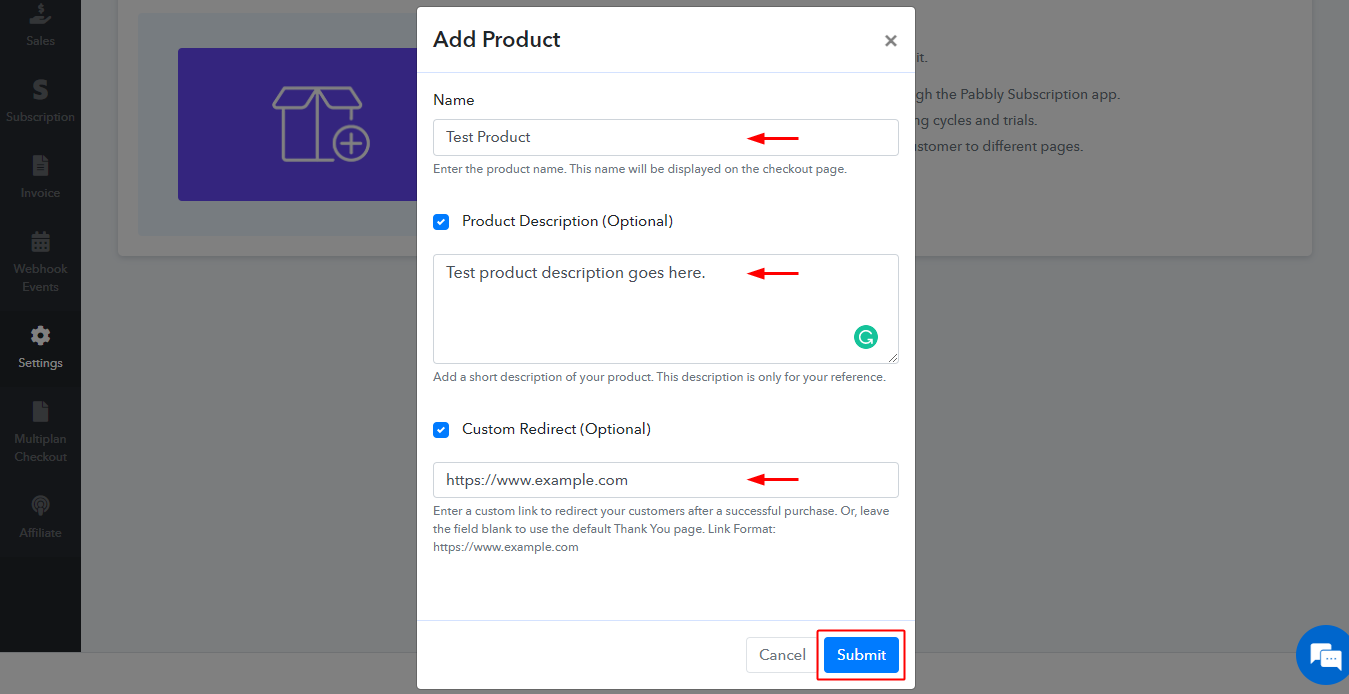
Now, enter the details of your product and “Save”
Your new products will appear under Product’s section, you can choose a product to add corresponding plans –
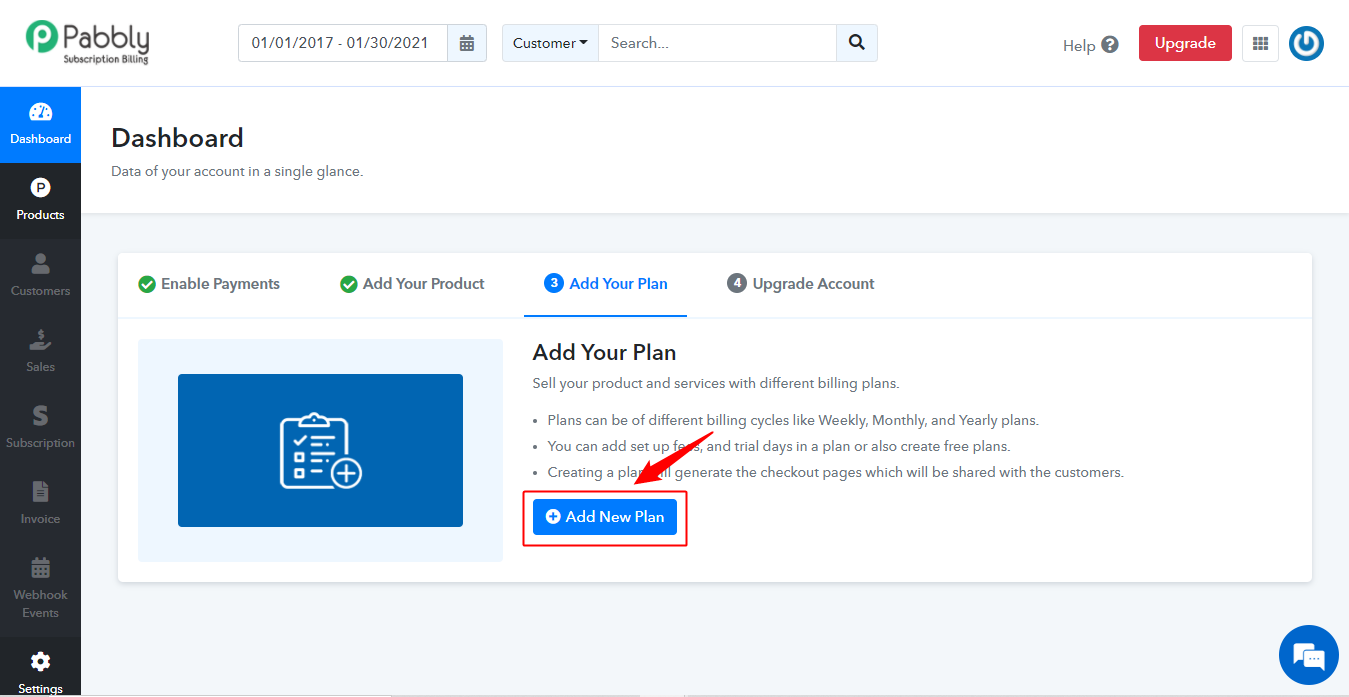
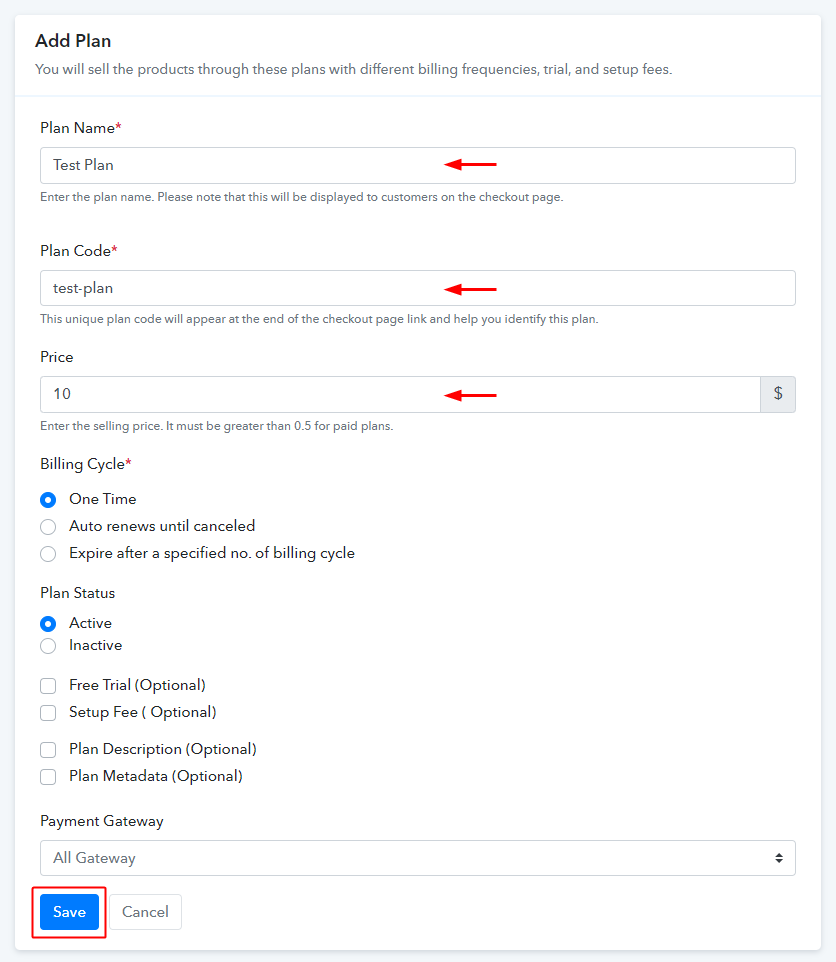
Click “Add Plan”, enter the details of your plan and “Submit”
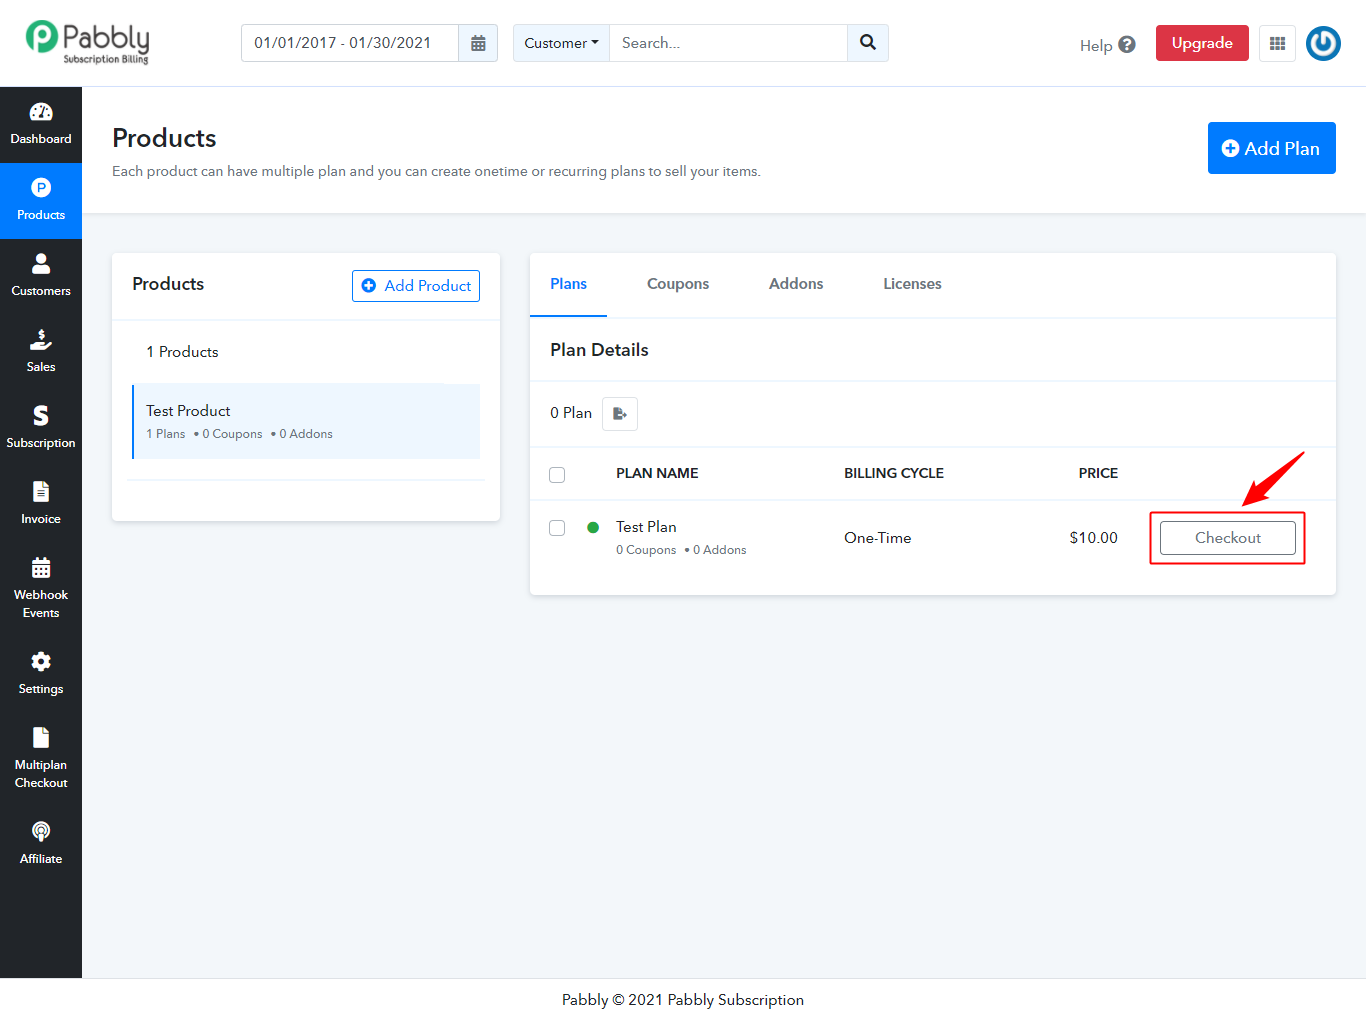
You get a unique “Checkout Link” for each of your products. You can share these Checkout links with your customers/ subscribers via email, Online Messengers, you can embed them on websites, via affiliate promotions or any other means of your choice.
5. How To Sell Products And Collect Payments?
Since the product and plans are created you will get a unique checkout page for every individual plan. You can send the checkout page link to your customer or embed the checkout page on your website.
Whenever a customer decides to buy your product or avail your services through your shared “Buying Links”, a “Default” checkout page will appear –
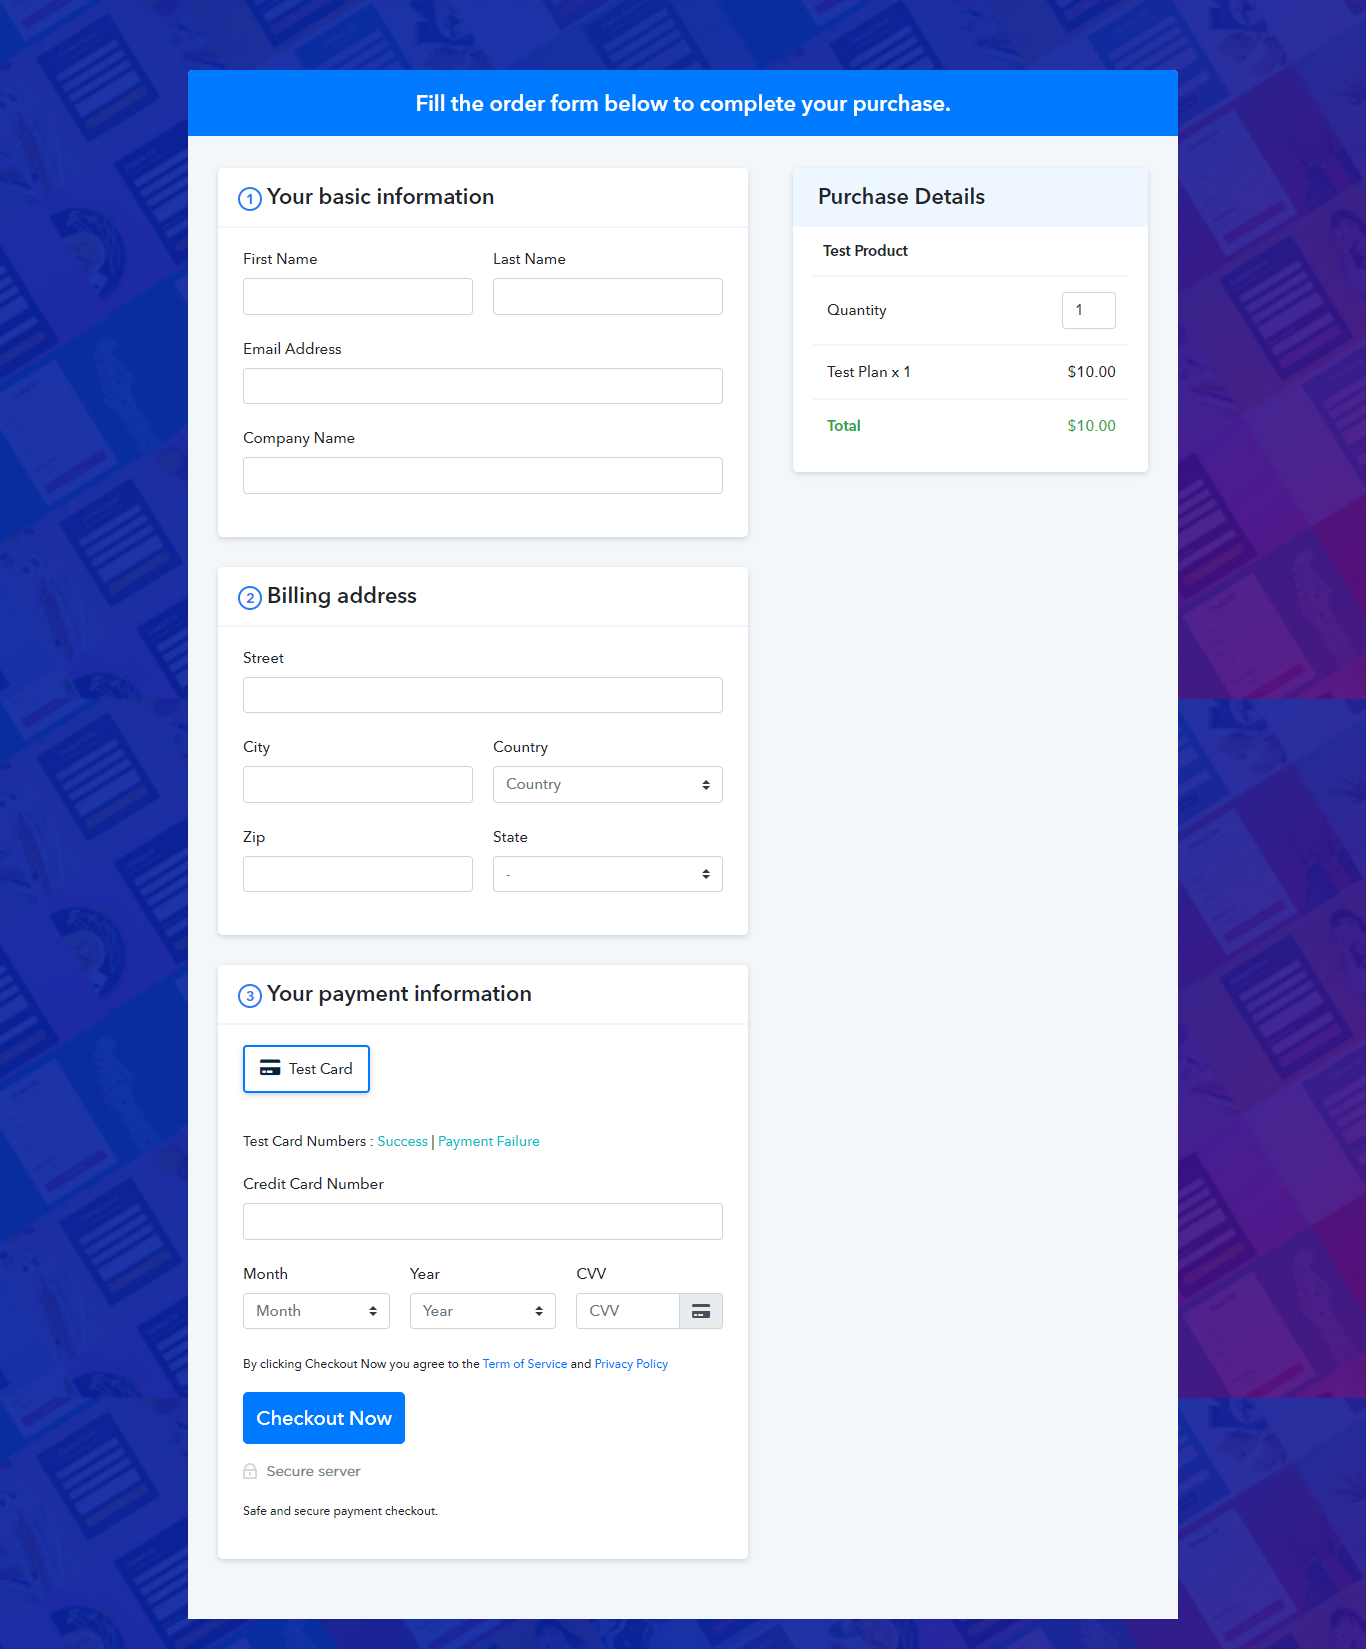
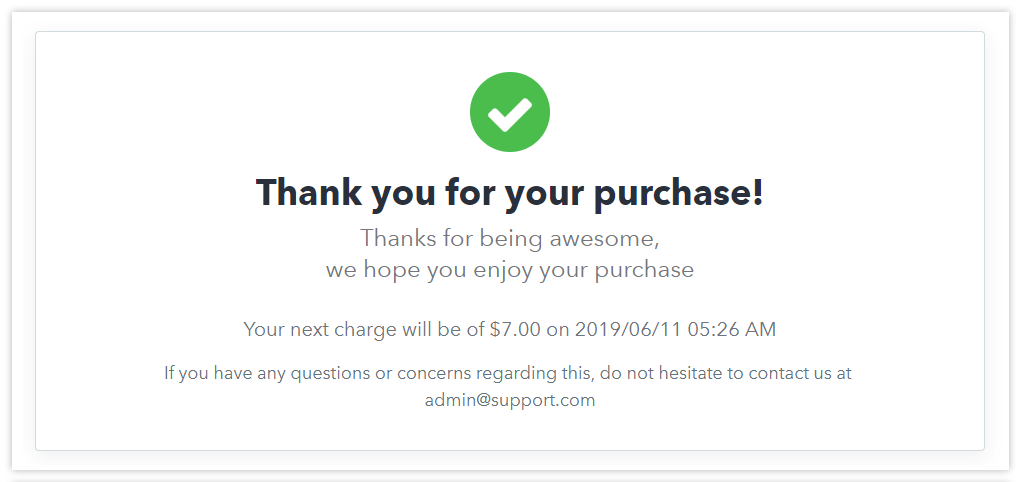
A customer completes the checkout form & “Subscribe Now“, you will collect payments through your chosen Payment Gateway and the customer will be redirected to the default Thank You page.
To stand out from the crowd, you can customize checkout pages –


