Successfully interact with all your customers using Zendesk, but still updating their information into Google Sheets manually?
Here is the step-by-step approach to automatically update new ticket info from Zendesk to Google Sheets using Pabbly Connect.
Pabbly Connect is an automation and integration software that lets you transfer data between two software applications without the need of any coding language or technical expertise.
But before moving ahead, let’s have a glimpse of the services as-well-as the need for integrating them.
By executing Zendesk and Google Sheets integration, the data of every newly generated ticket in Zendesk will be updated in Google Sheets automatically. Hence, you don’t have to sit and enter every single detail manually.
Why Choose This Method Of Integration?
In contrast with other integration services-
- Pabbly Connect does not charge you for its in-built apps like filters, Iterator, Router, Data transformer, and more
- Create “Unlimited Workflows” and smoothly define multiple tasks for each action
- As compared to other services which offer 750 tasks at $24.99, Pabbly Connect proffers 50000 tasks in the starter plan of $29 itself
- Unlike Zapier, there’s no restriction on features. Get access to advanced features even in the basic plan
- Try before you buy! Before spending your money, you can actually signup & try out the working of Pabbly Connect for FREE
Zendesk is a cloud-based helpdesk platform, that lets you interact with your customer. Whereas, Google Sheets is an online spreadsheet program through which you can create multiple worksheets, and keep track of your records.
Now, if you need to add your Zendesk chats related data to be automatically added in Google Sheets, you will need an integration software like Pabbly Connect.
Additionally, we’ve tied up a template for this integration to assist you to get started more briskly. You can click the ‘Use Workflow’ button below to get started. Also, you could visit the Marketplace & explore more apps/integrations.

Not only this, Pabbly Connect offers you ample features and also supports thousands of software integration.
Following is the process, you can follow to integrate Zendesk and Google Sheets.
Step 1: Sign up to Pabbly Connect

Commence the process by visiting the Pabbly Connect website. Now, click on the “Sign-Up Free” button and signing into Pabbly’s account by filling in your credentials.
Step 2: Access Pabbly Connect

On signing up, an “All Apps” dashboard will appear. Here, you need to select Connect by clicking on the “Access Now” button.
Step 3: Workflow for Zendesk to Google Sheets Integration
(a) Start with a New Workflow

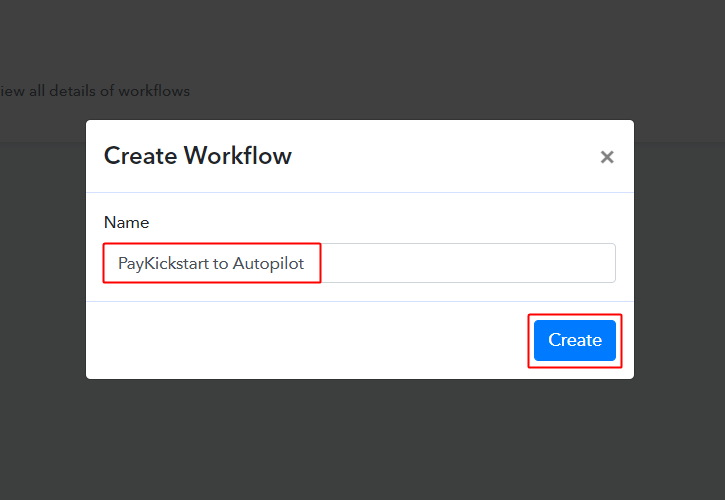
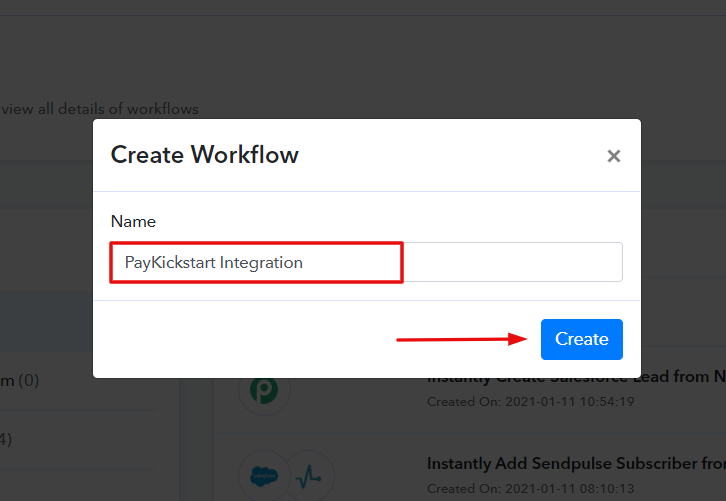
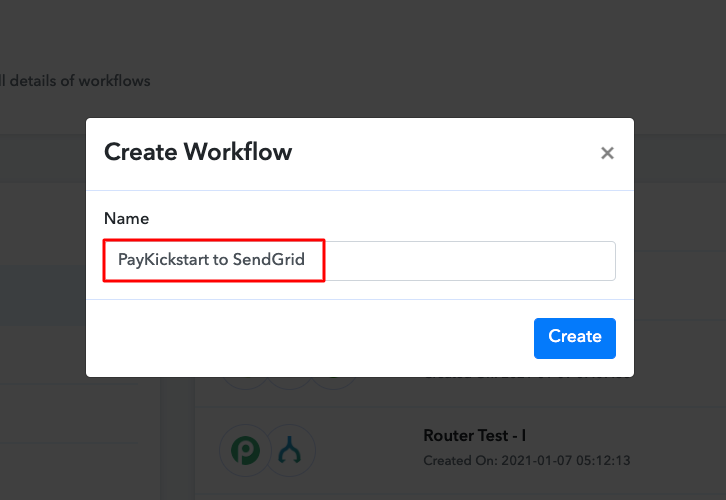
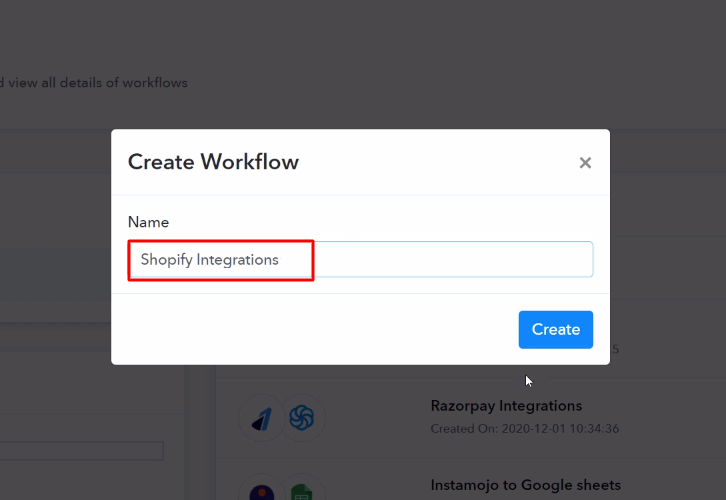
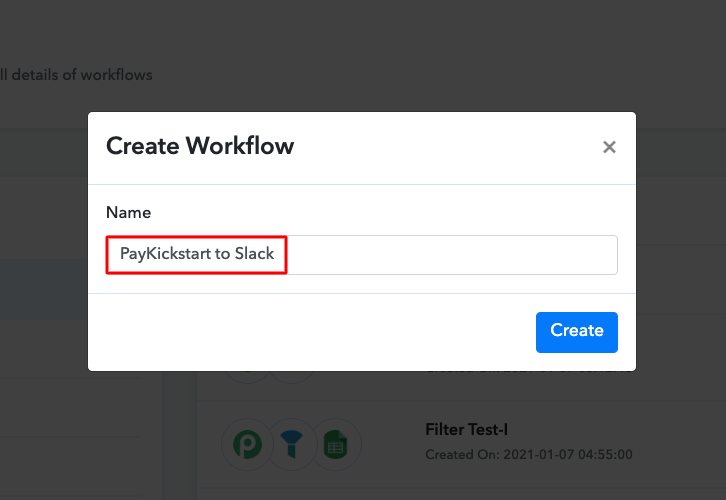
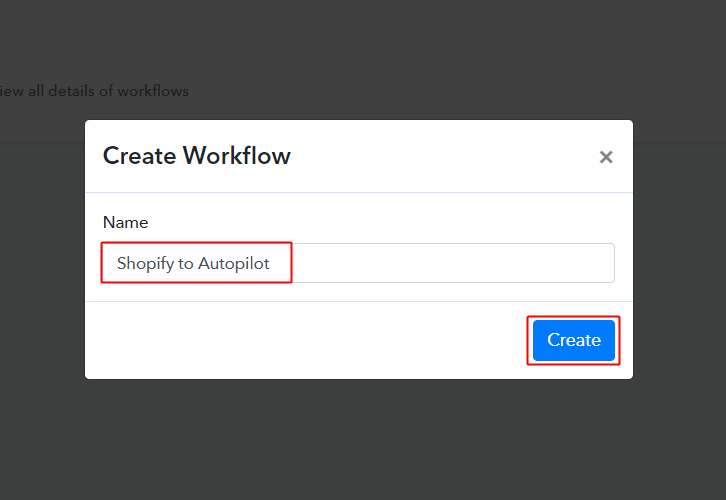
To start creating a workflow, click on the “Create Workflow” button, and name the workflow as per your requirement.
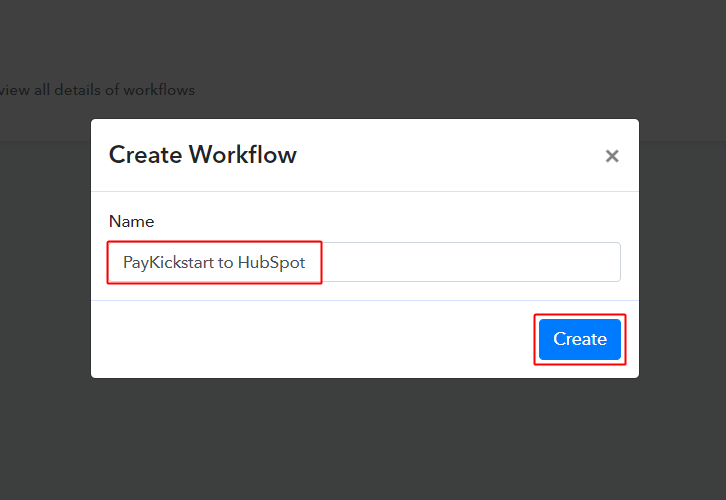
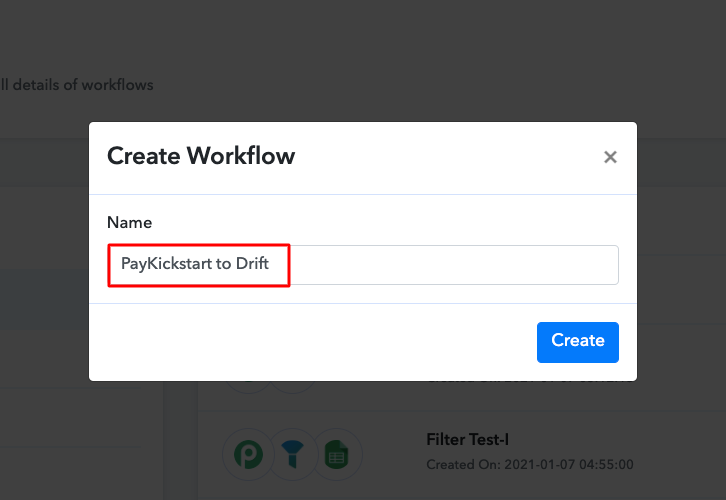
(b) Name the Workflow
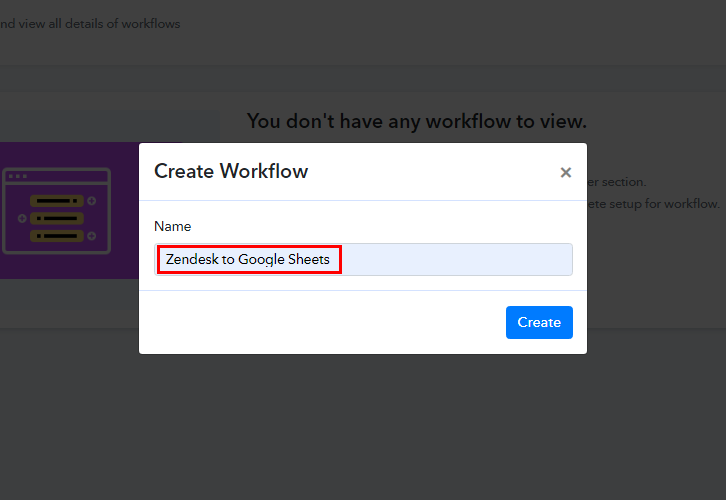
For this integration, I have named the workflow as “Zendesk to Google Sheets”. Once you have added the name, you gotta click on the “Create” button to create the workflow and move on to the next step.
Step 4: Setting Trigger for Zendesk to Google Sheets Integration
After naming your workflow, it’s time for setting triggers i.e. which software you want data to be transferred from and on which event you want the workflow to be triggered.
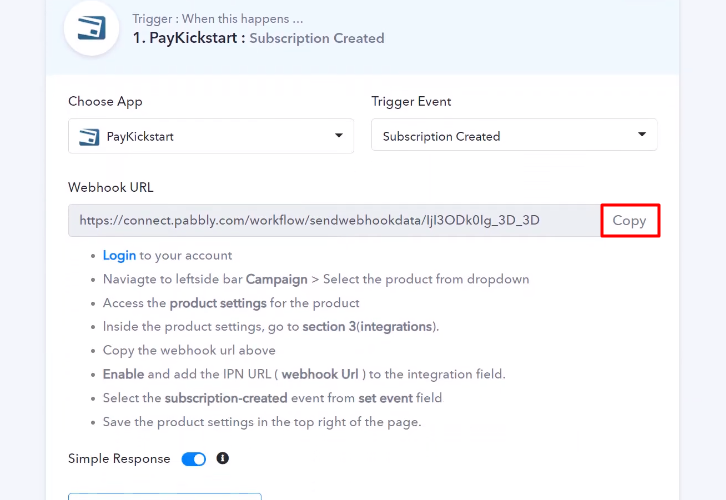
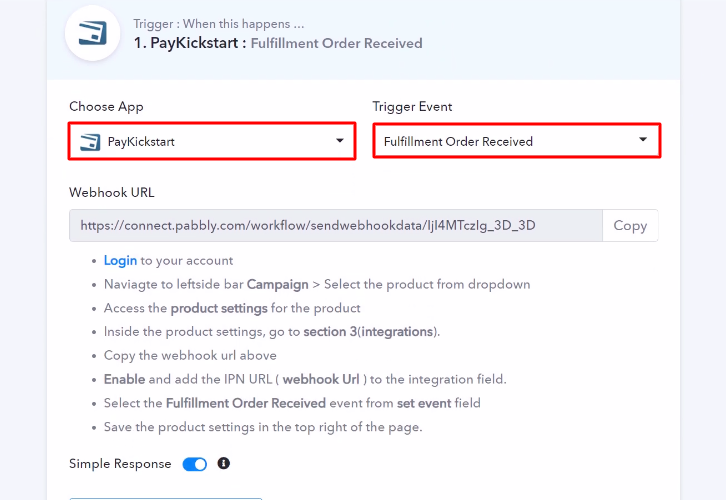
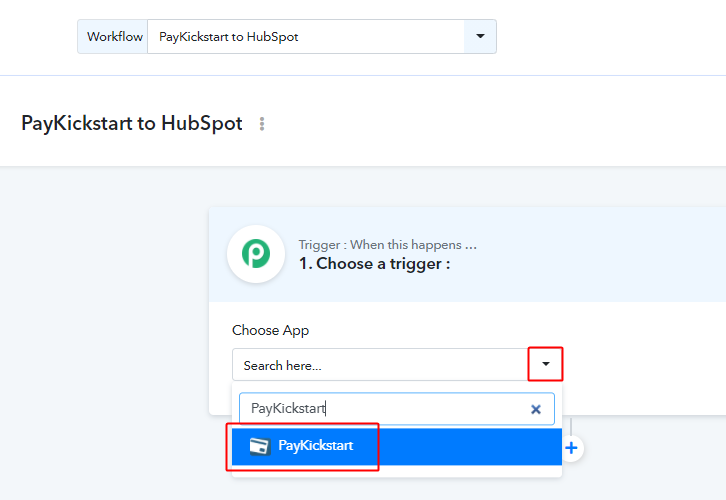
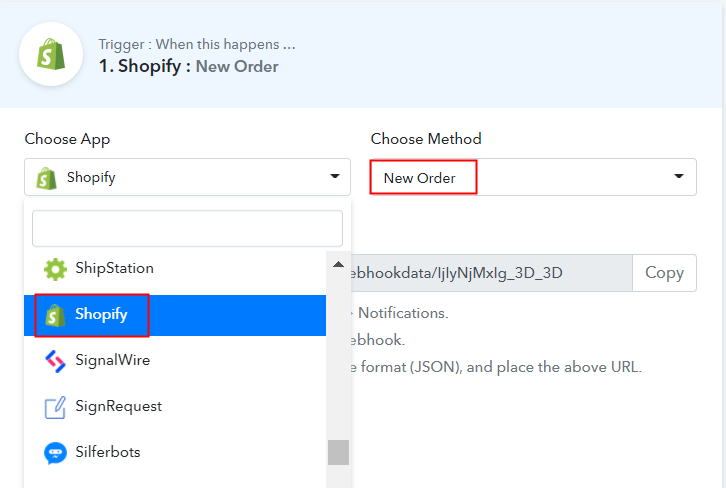
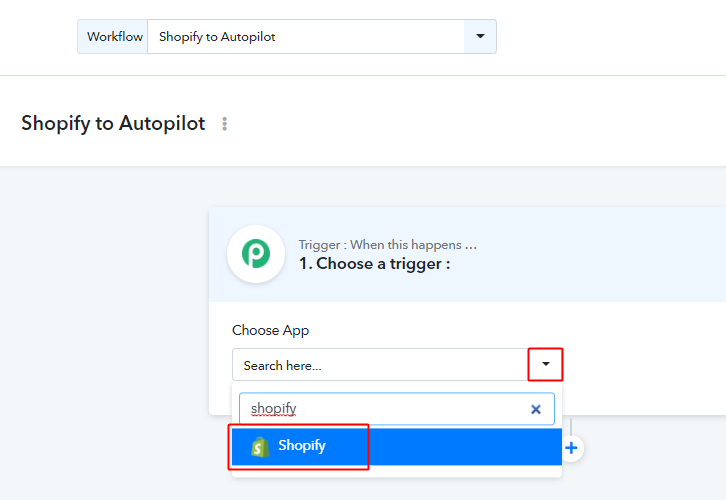
(a) Select Application you Want to Integrate
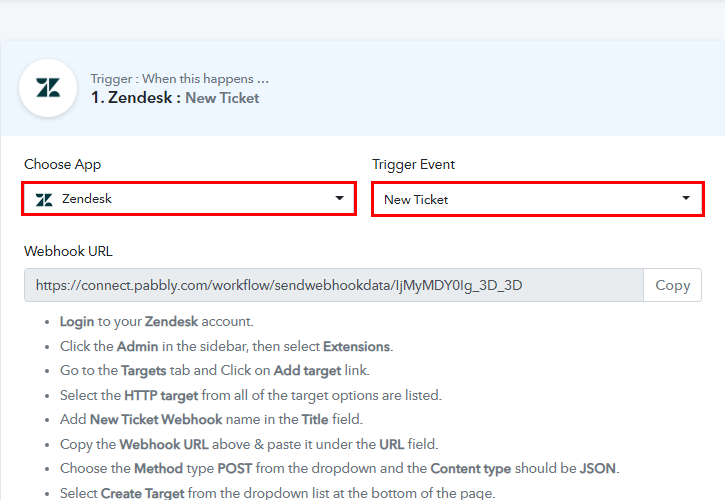
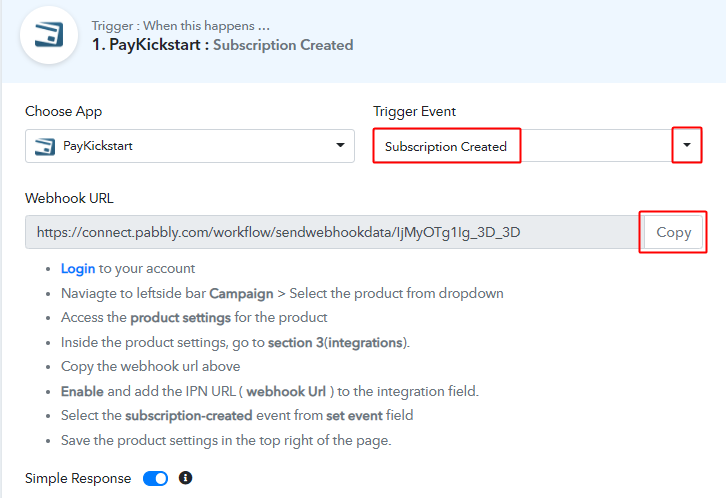
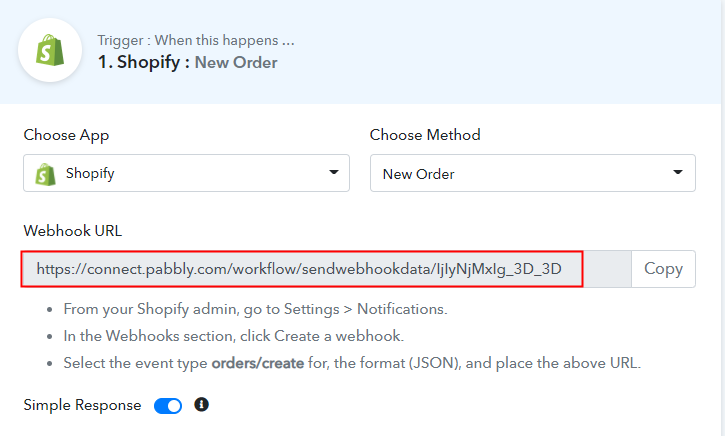
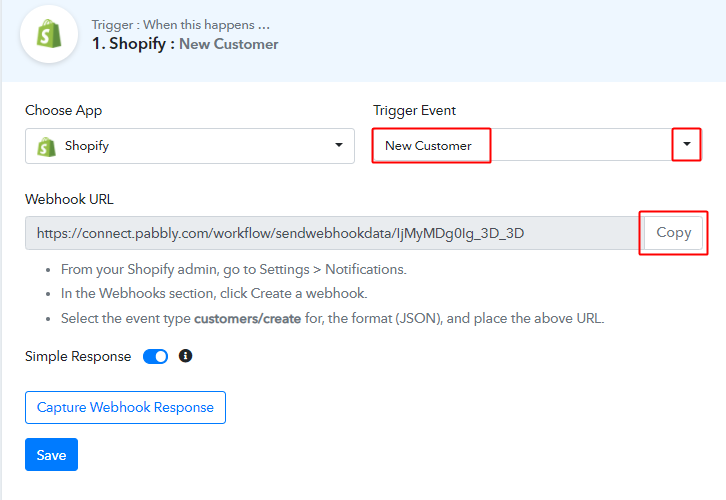
In this case, we are choosing the app as “Zendesk” & trigger event as “New Ticket”
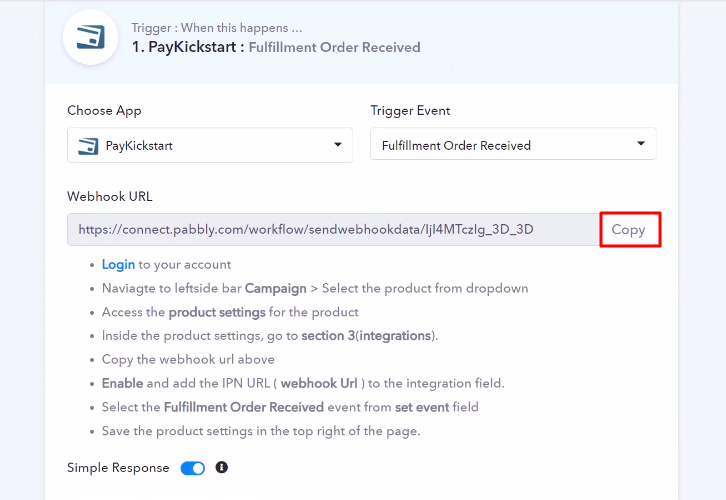
(b) Copy the Webhook URL
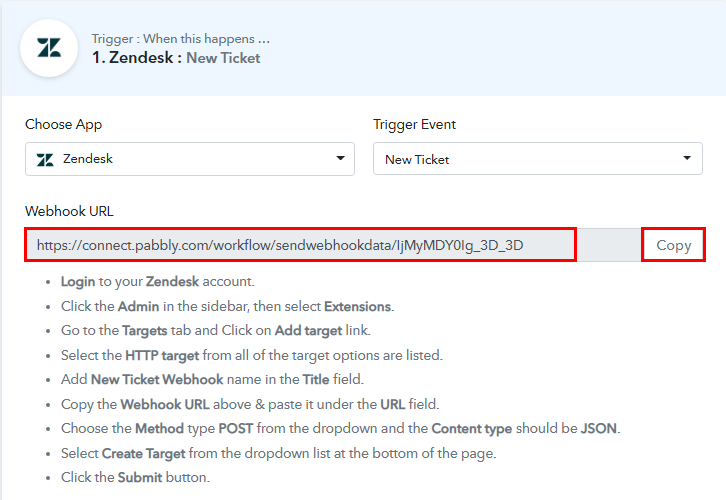
Following step 3, copy Webhook URL and follow the instructions step to paste it into the trigger software.
Step 5: Connecting Zendesk to Pabbly Connect
Now, you have to paste the copied Webhook URL into the Zendesk. Hence for that, you have to adhere to the following steps:
(a) Sign in to Zendesk
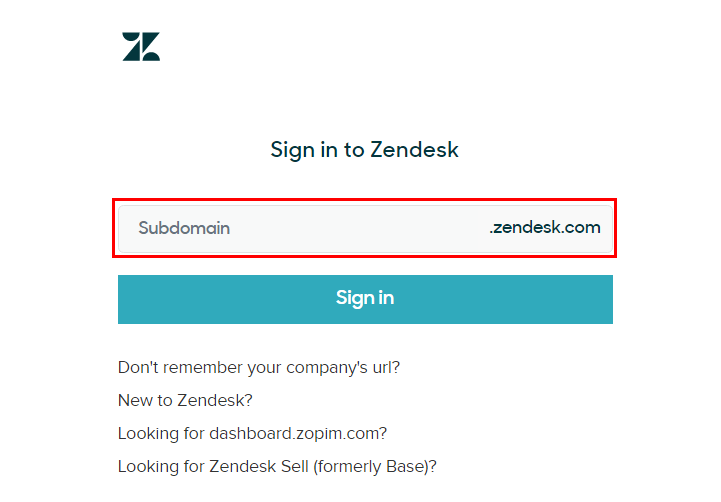
Login into your “Zendesk” account to paste the ‘Webhook’ URL.
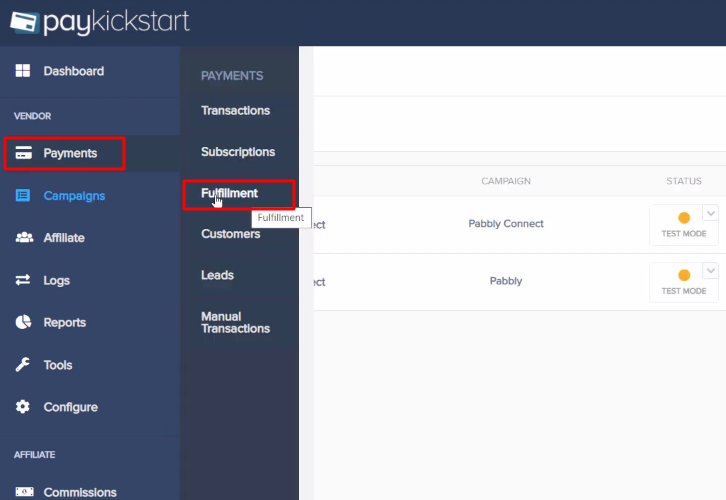
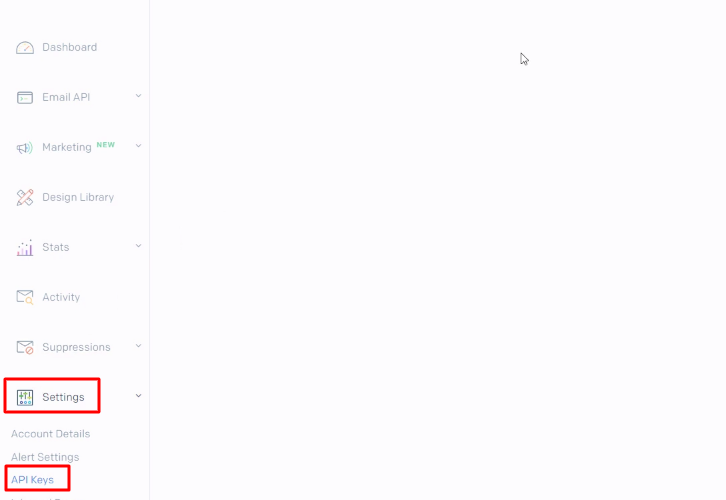
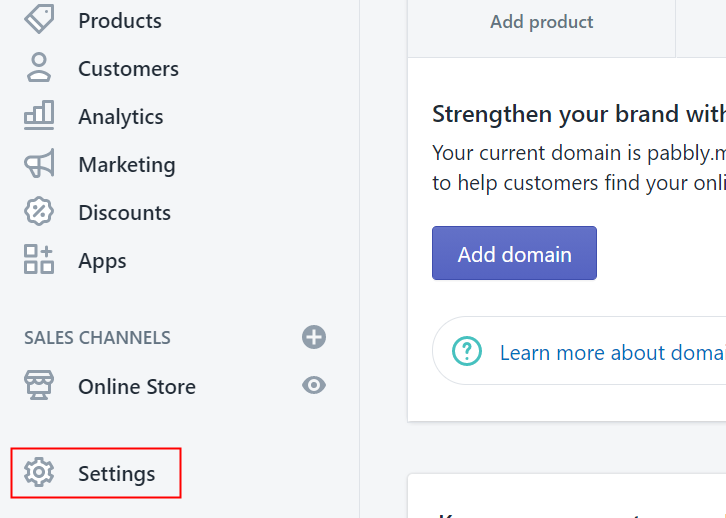
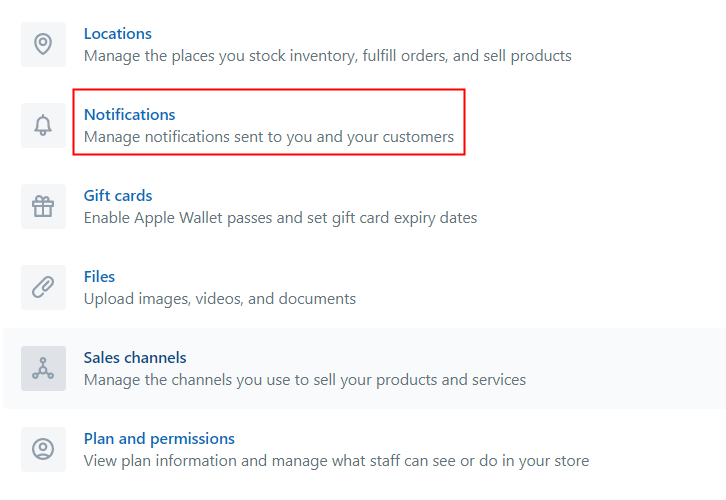
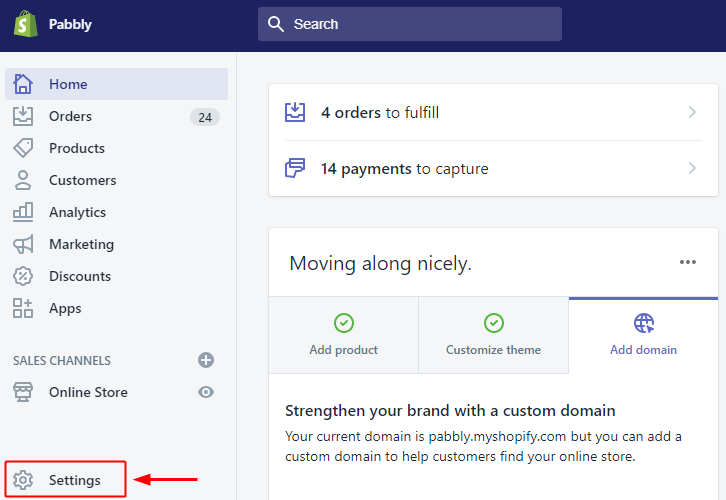
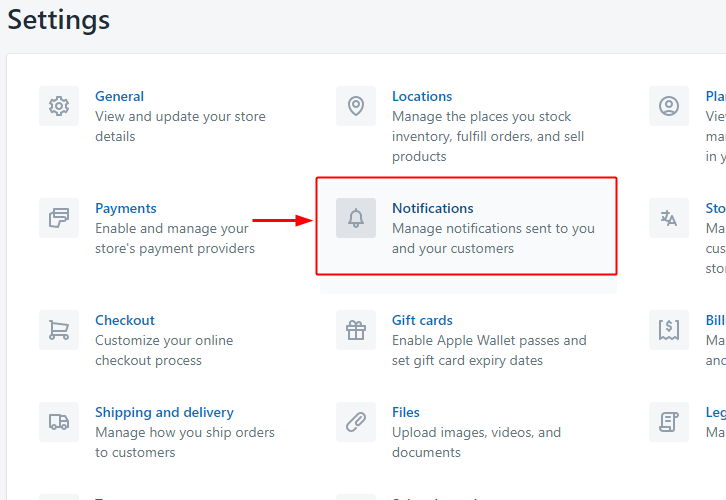
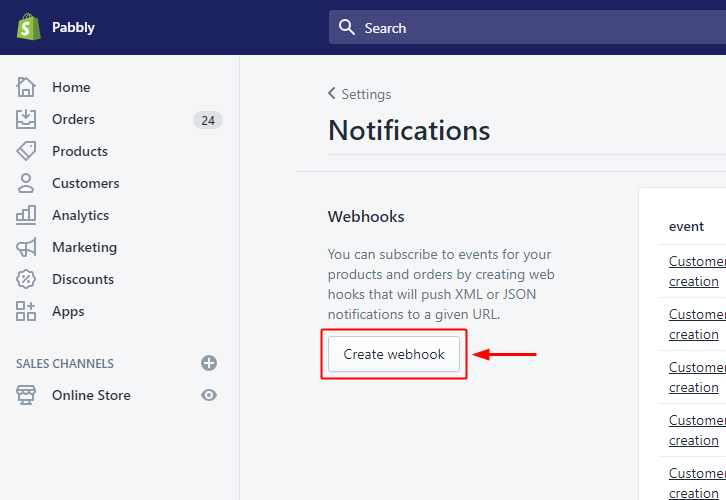
(b) Go to Admin
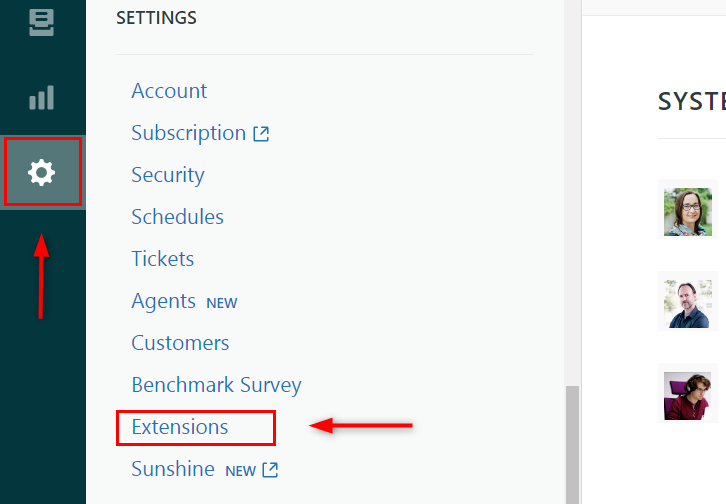
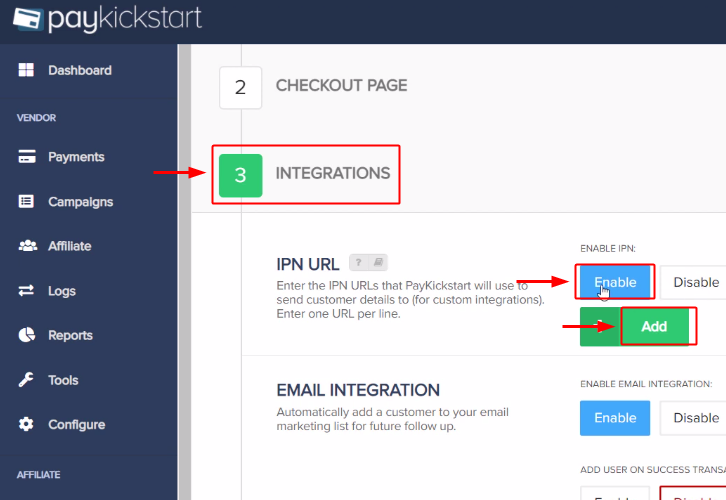
After logging in, click on the ‘Admin’ tab from the sidebar, and scroll down to see the “Extensions’ option, click on it.
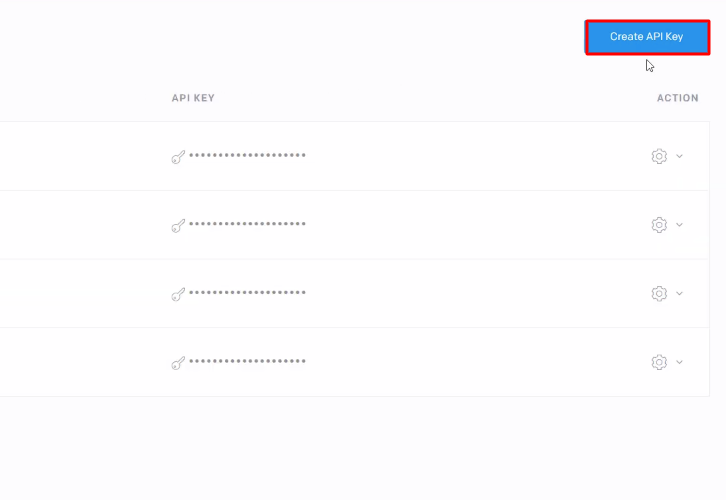
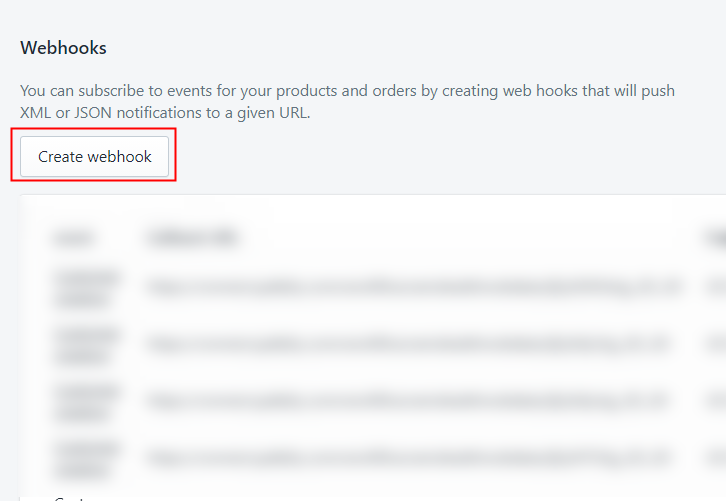
(c) Add Target
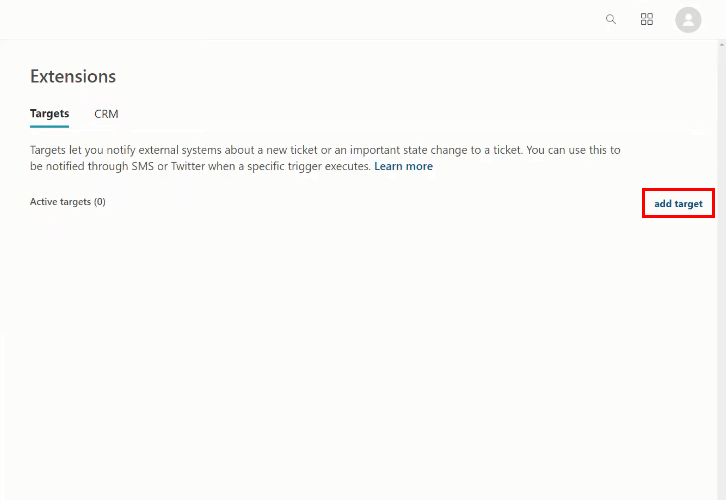
You will find a ‘Target’ tab. Simply, click on the ‘Add Target’ button.
(d) Select HTTP Target
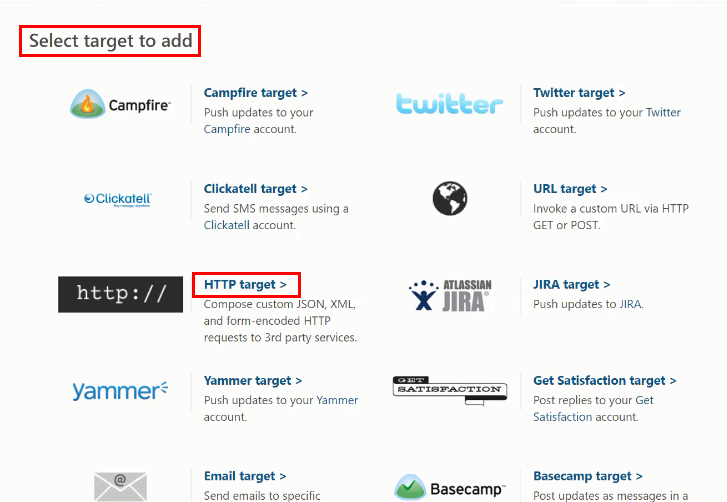
Here, you’ll find diverse options to add the target, you gotta select ‘HTTP Target’.
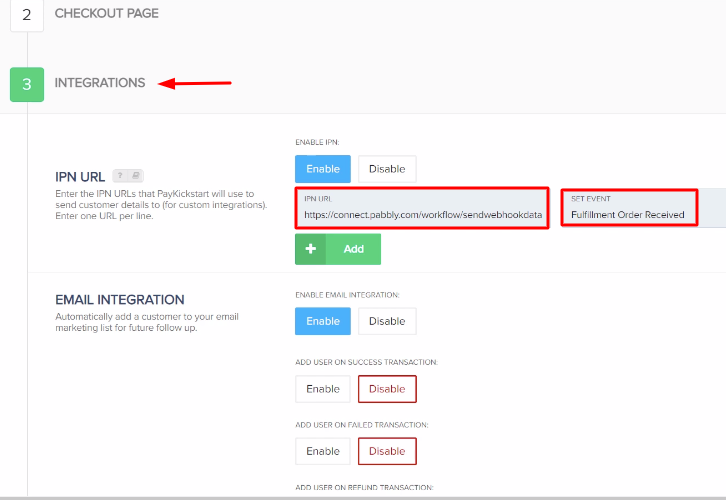
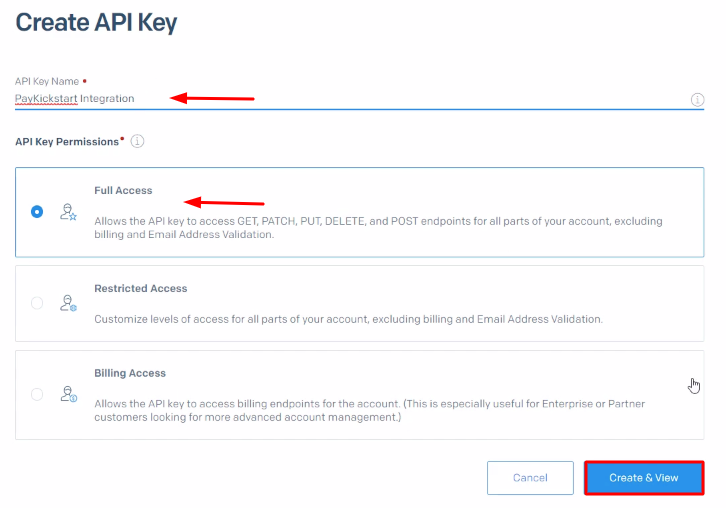
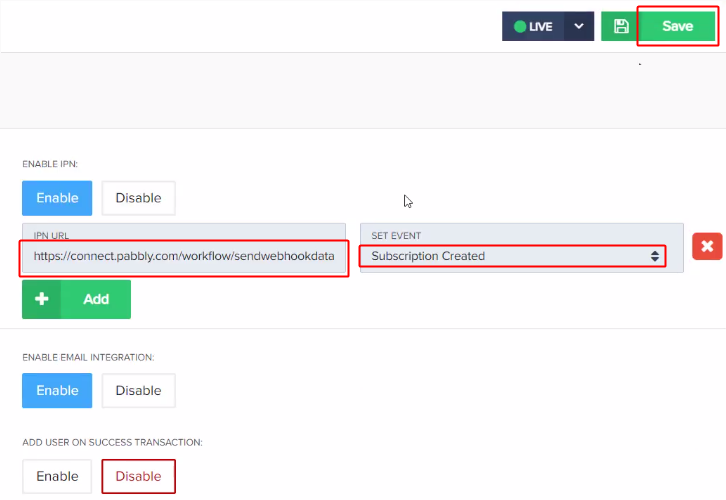
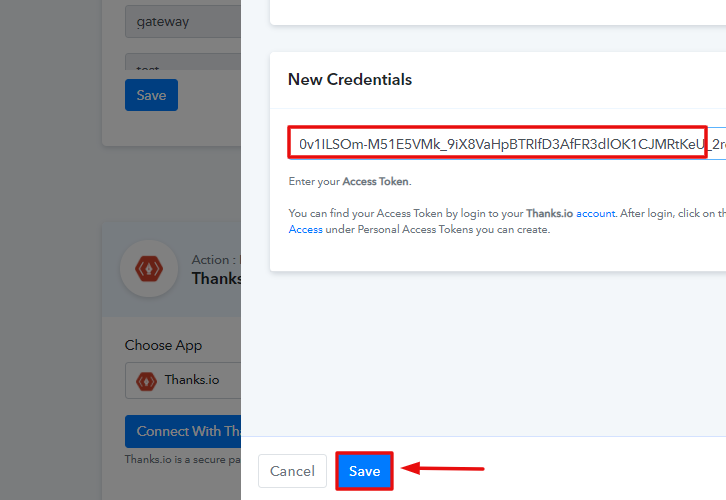
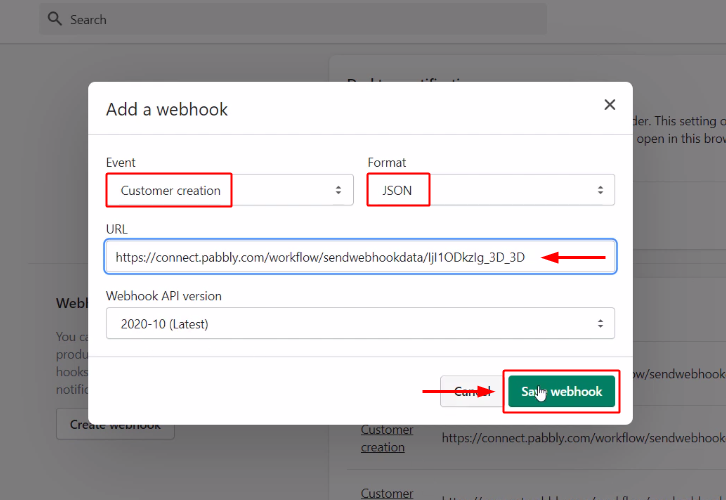
(e) Paste the Webhook URL
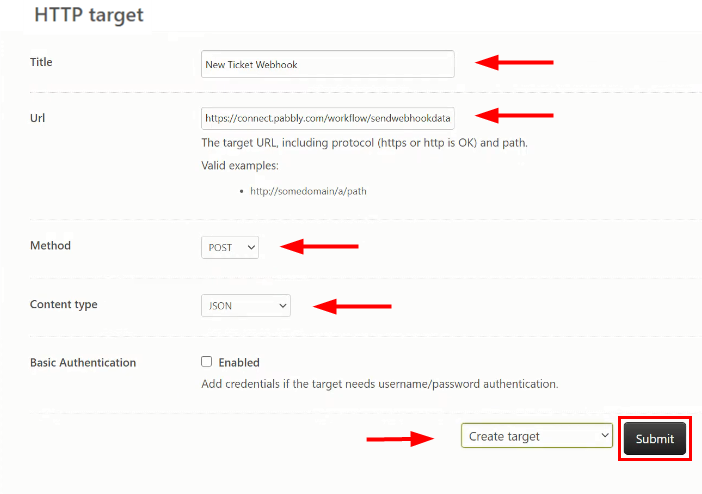
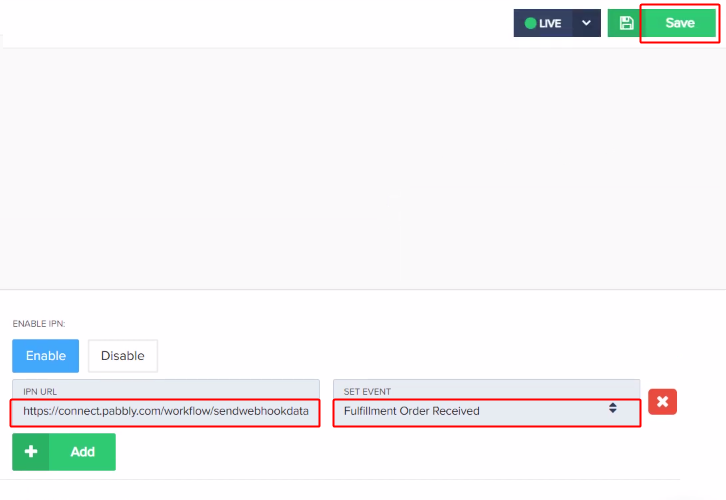
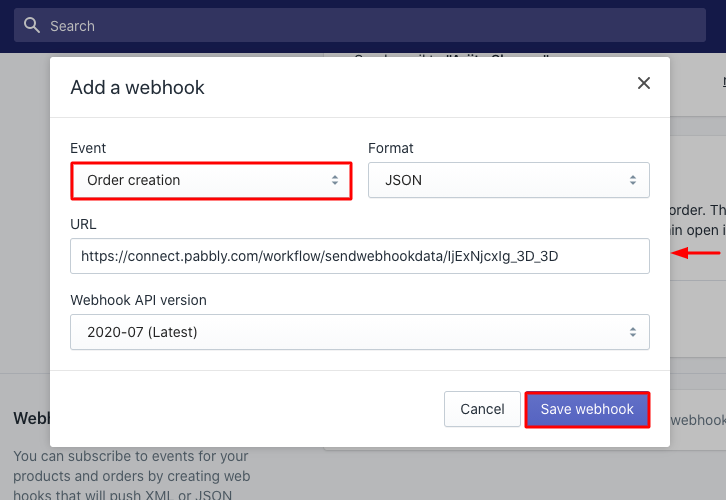
Now add the name of the ‘Title’ and paste the above copied ‘Webhook URL’ in the URL field. Choose the Method type as ‘POST’ and Content-type as ‘JSON’. At the bottom, there is a drop-down box, select ‘Create Target’, and at last click on the ‘Submit’.
(f) Go to Triggers
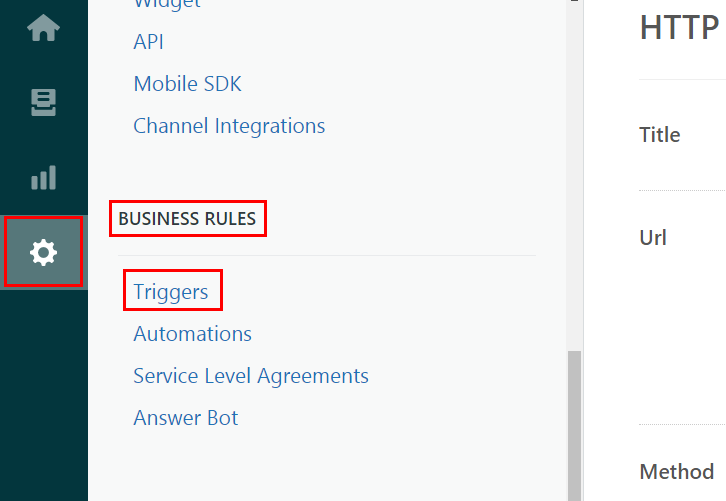
After setting up the target, navigate to the Settings option & select Business Rule. Further, in the Business Rules section, click on the ‘Triggers’ option.
(g) Add Triggers
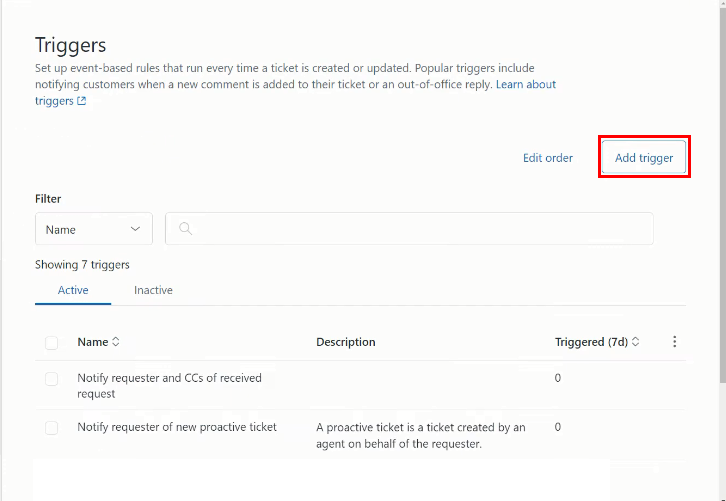
Now click on the ‘Add Trigger’ button to create a trigger.
(h) Setting Trigger Name
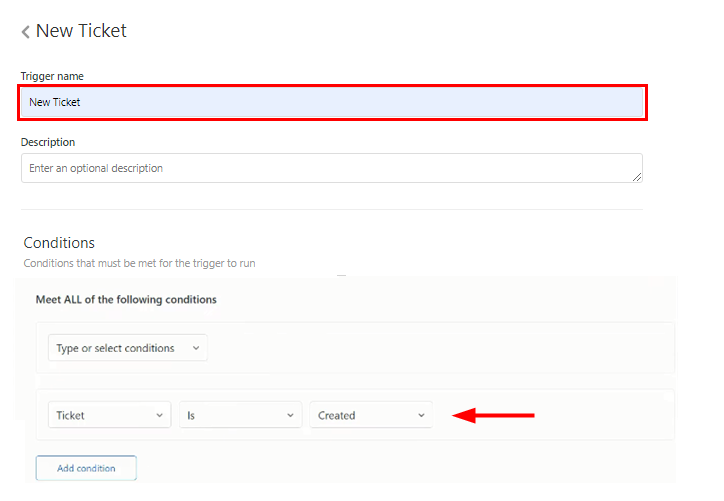
Now, create a Trigger name, then click on Add Condition from the Meet ALL of the following conditions and select Ticket > is > created condition.
(i) Choose Notify Target
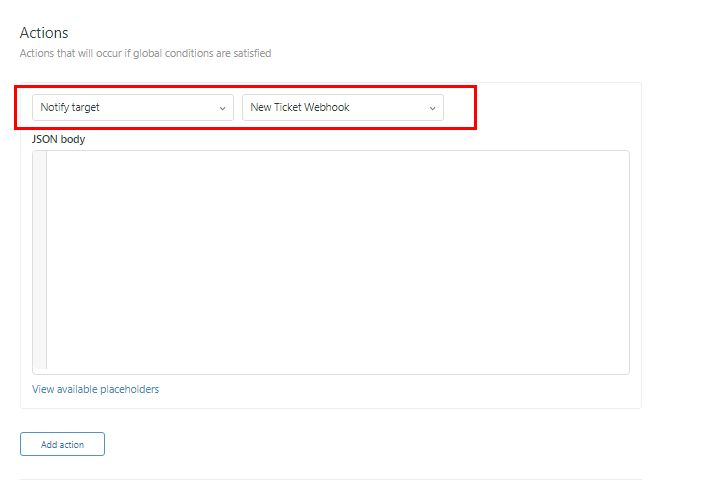
Click on Add Action and choose the “Notify Target” option and then select New Ticket Webhook. After that, the JSON body appears.
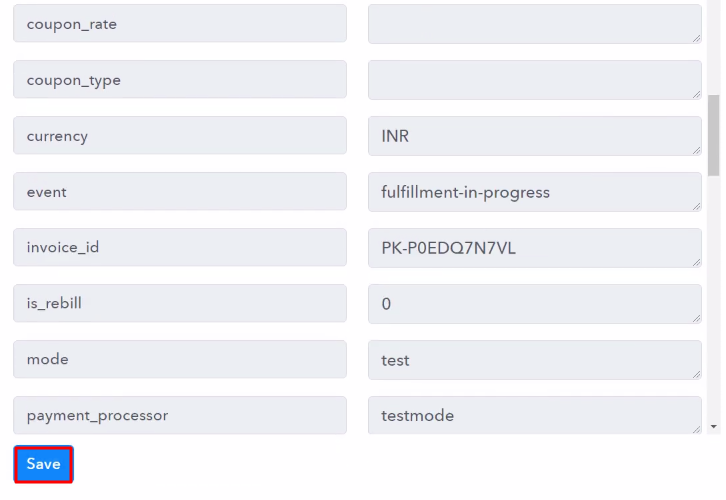
(j) Paste the JSON Body
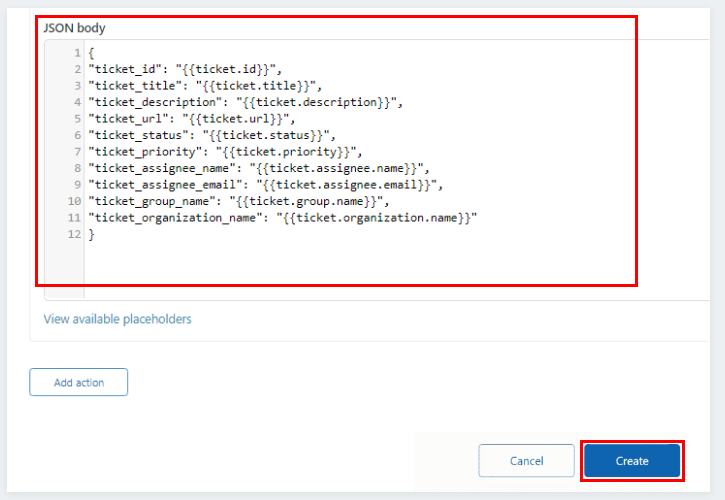
Copy and paste the JSON body from Pabbly Connect to Zendesk, and then click on the ‘Create’ button.
Step 6: Test the Response in Pabbly Connect Dashboard
We are done settings up the triggers for Zendesk to Google Sheets integration. So, let’s test the triggers by making a test ticket.
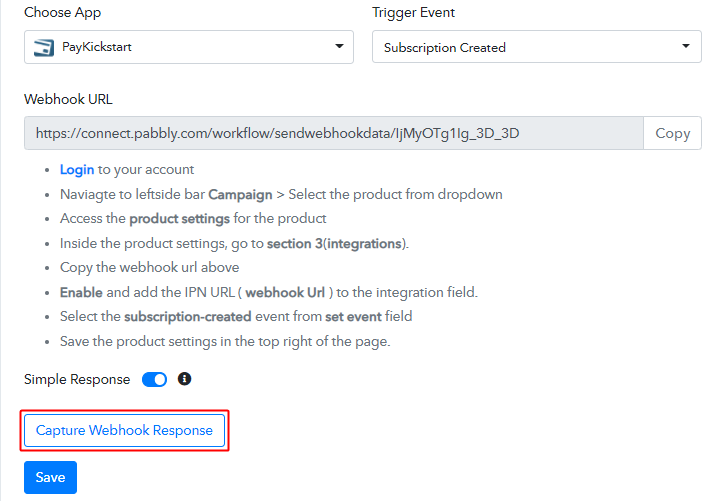
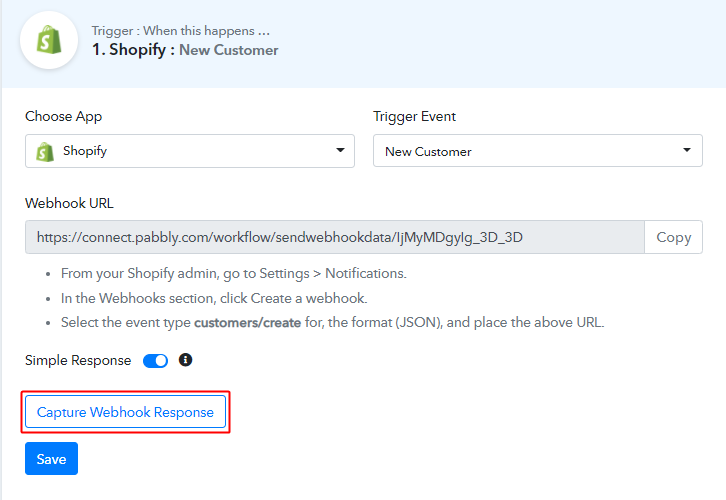
(a) Capture Webhook Response
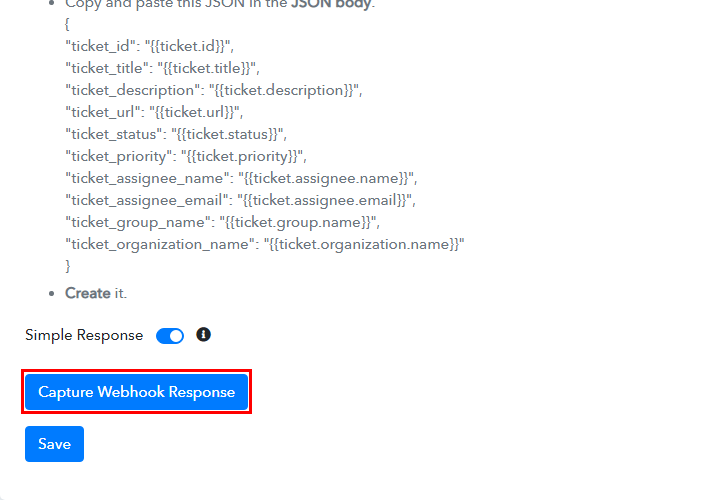
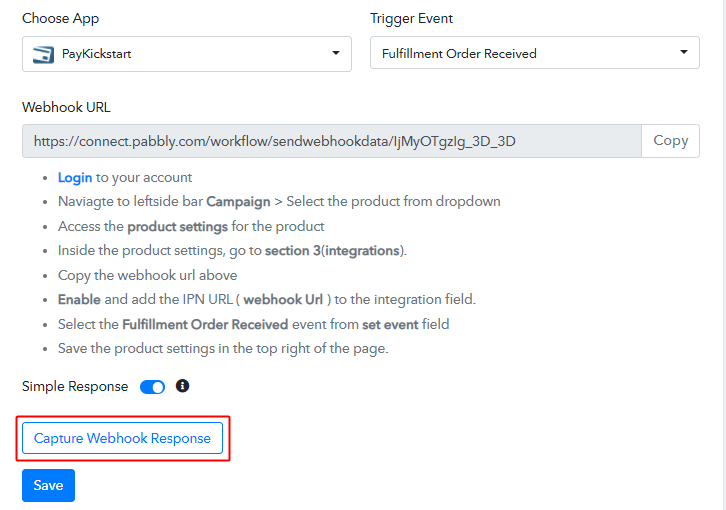
Click on the “Capture Webhook Response” button in the Pabbly Connect window to test the trigger settings.
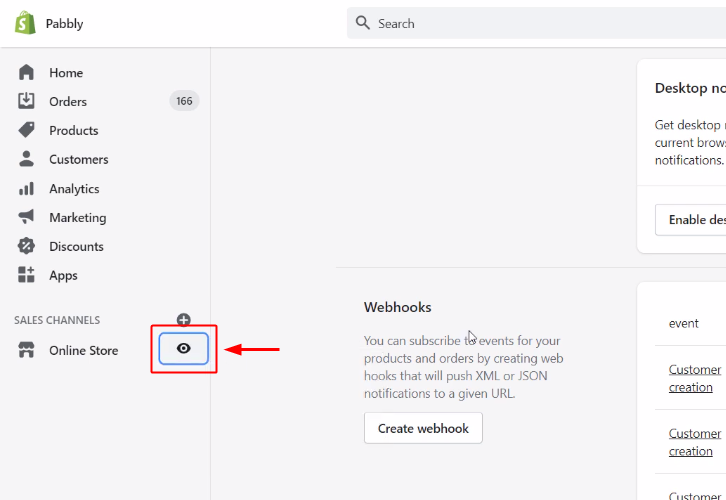
(b) Generate a Test Ticket
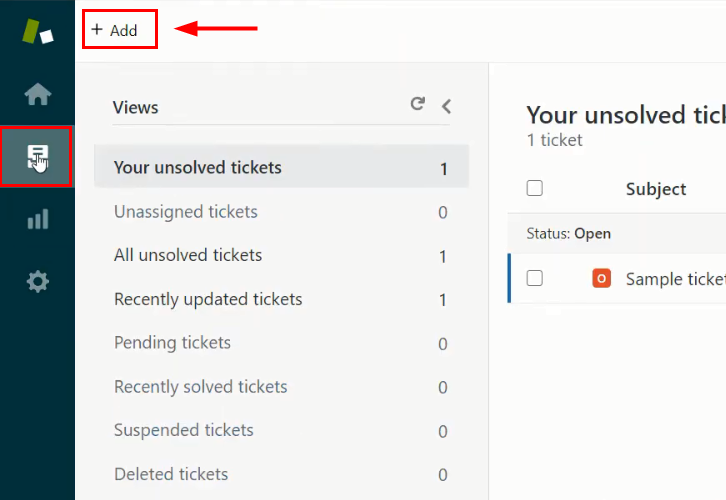
Go back to your ‘Zendesk’ account and select the ‘Views’ section from the sidebar, and after that click on the ‘Add’ button to create a new ticket.
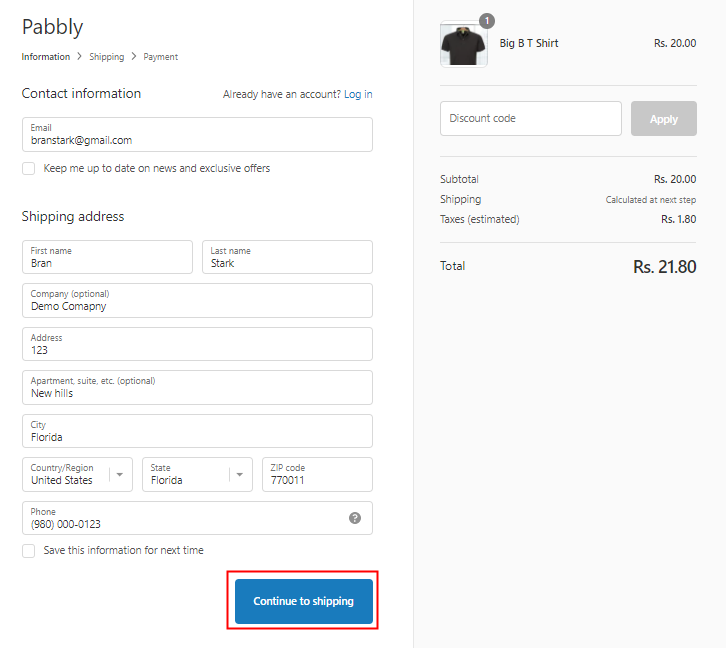
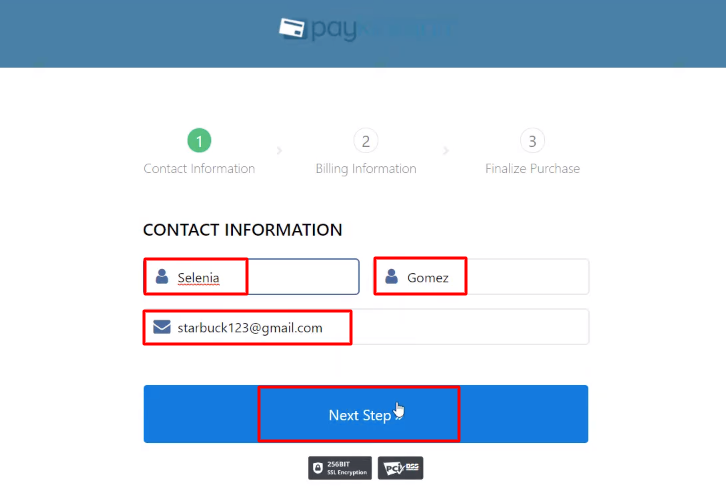
(c) Add Requester and Assignee
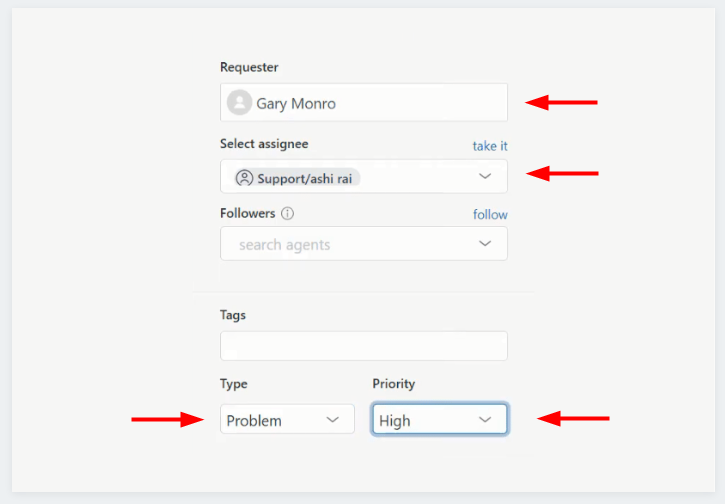
Now fill in all the mandatory fields like Requester, Assignee, Type, and Priority you want to set for the ticket.
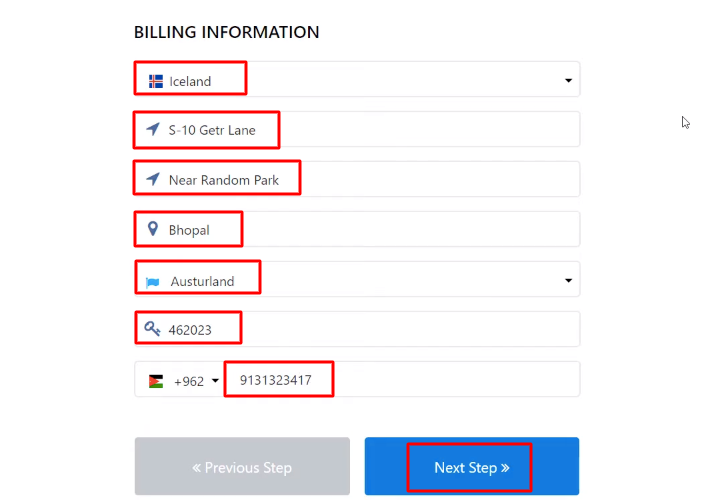
(d) Add Subject and Body
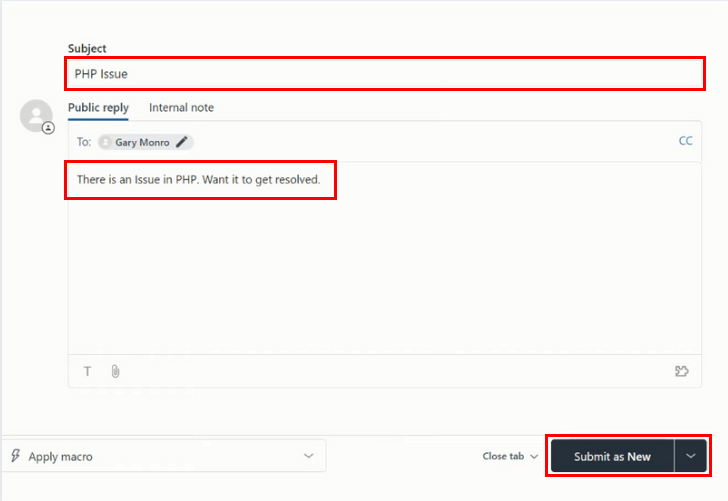
Further, you need to add the ‘Subject’ and ‘Body’ to the ticket. After that click on the “Submit As New” button to generate a new ticket.
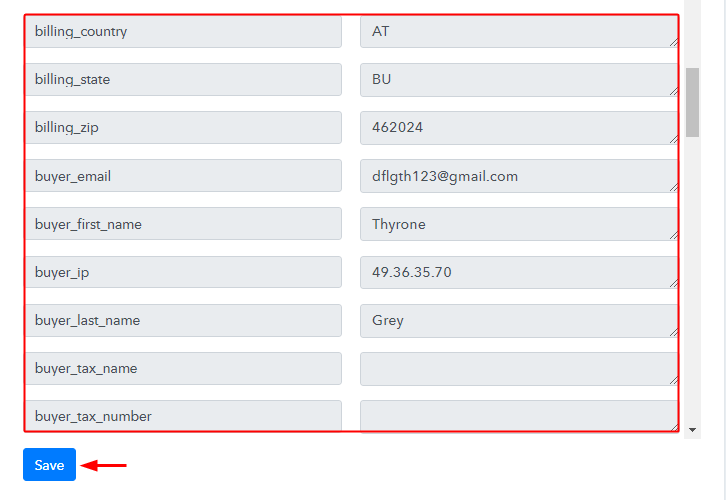
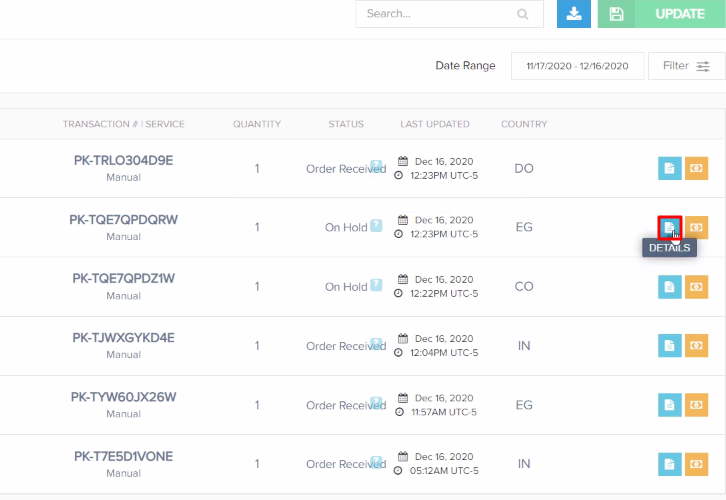
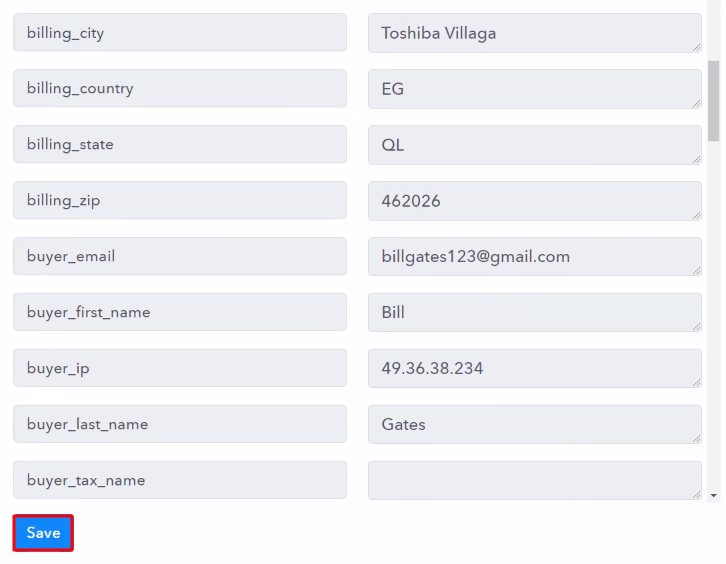
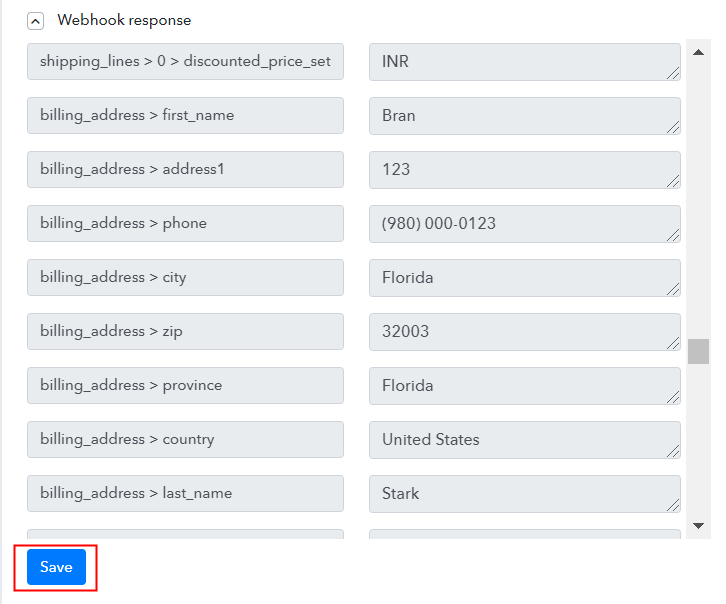
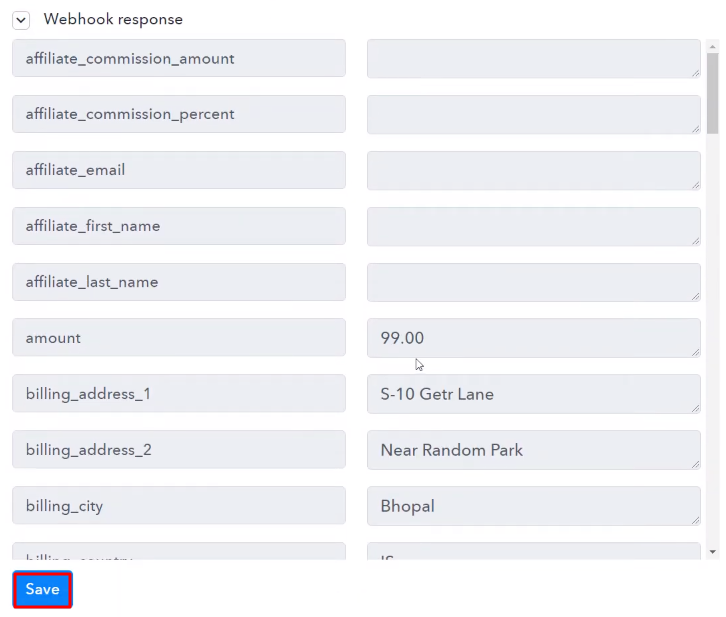
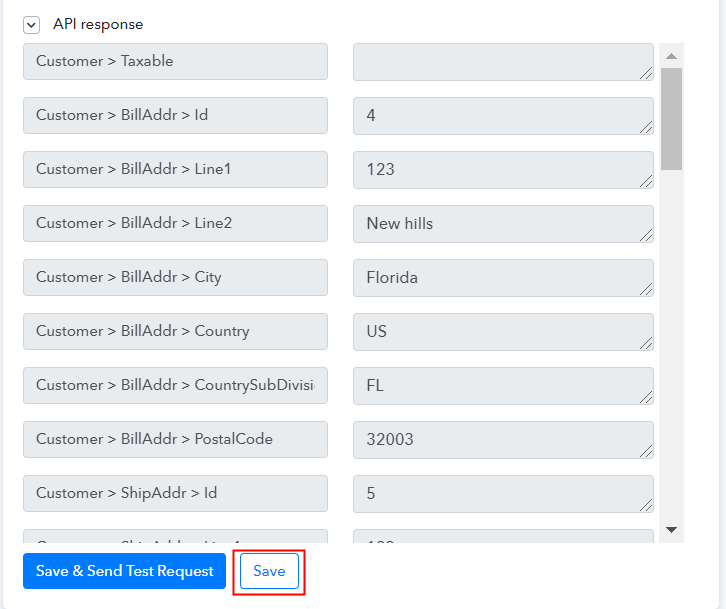
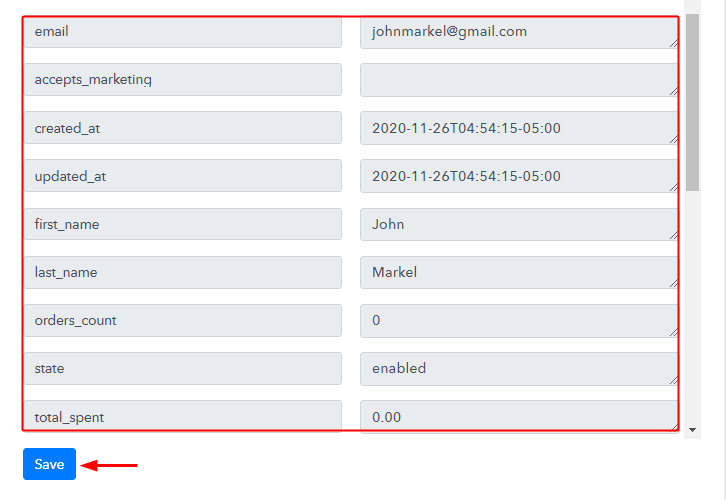
(e) Check & Save the Webhook Response
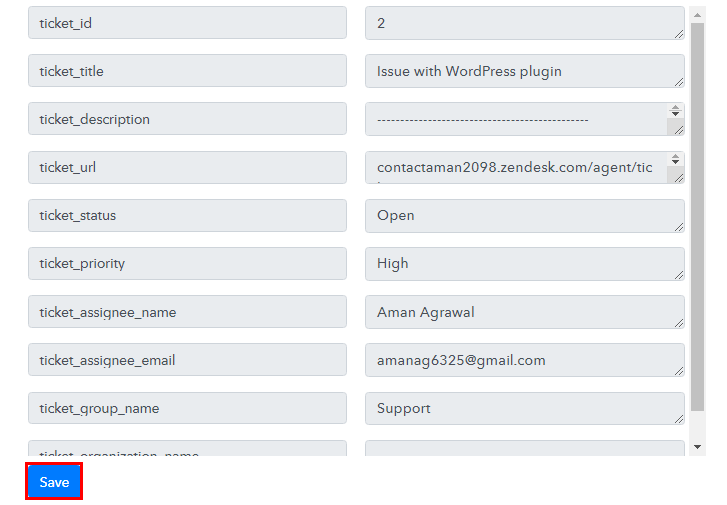
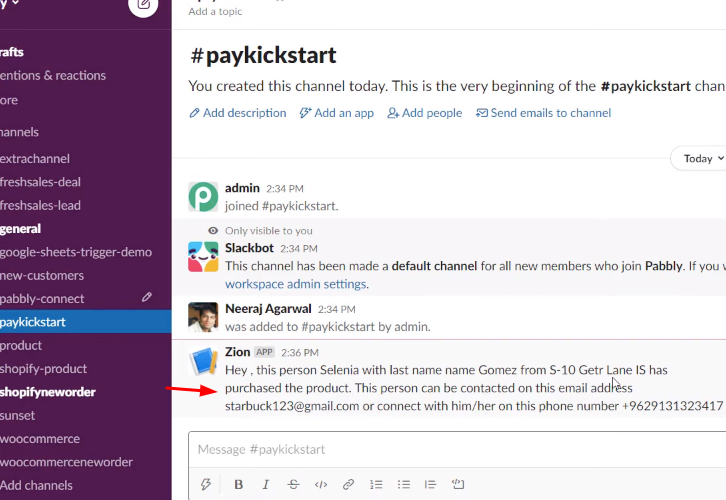
Head back to the Pabbly Connect window and you’ll see that the data is captured with various information like Ticket ID, Title, Assignee Name, Email, etc. Click on the ‘Save’ button to save this workflow.
Step 7: Setting Actions for Zendesk to Google Sheets Integration
We have done the first step of integration, now it’s time to begin the ‘Action’ step i.e. integrate ‘Pabbly Connect and Google Sheets’.
(a) Create a Google Sheets
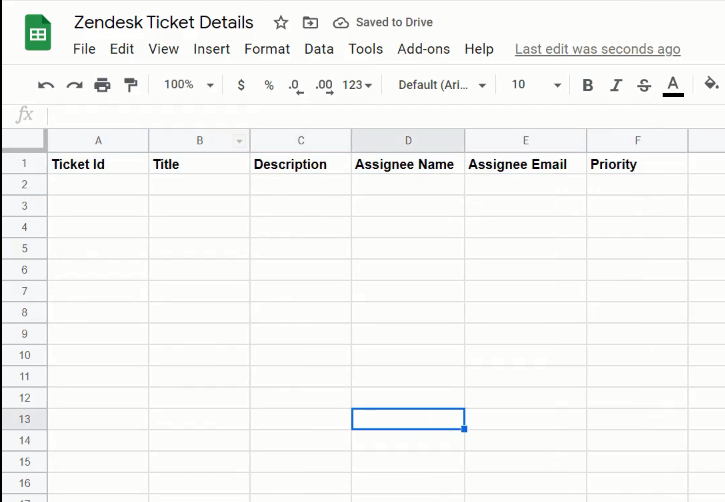
Create a worksheet in ‘Google Sheets’ and mentioning the heading of all the columns in which you want to insert the data.
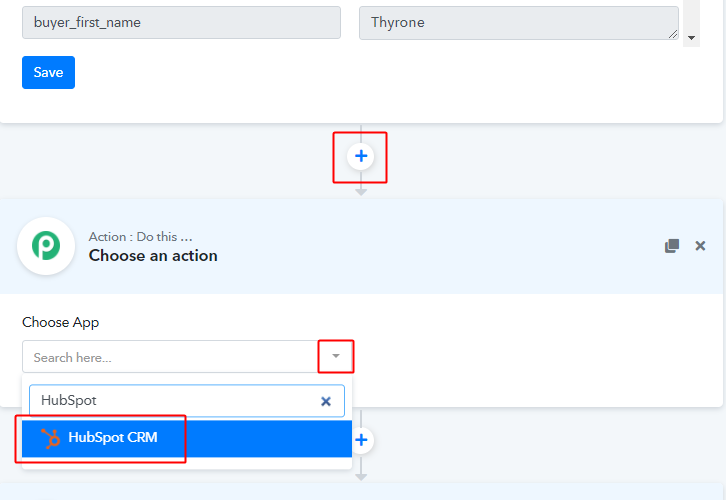
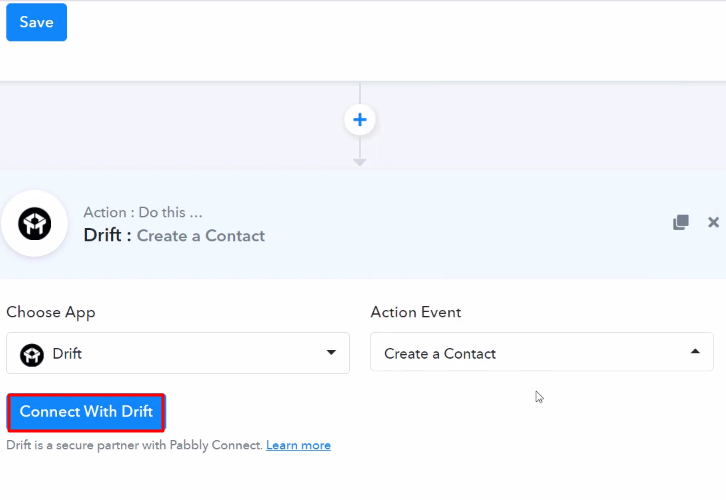
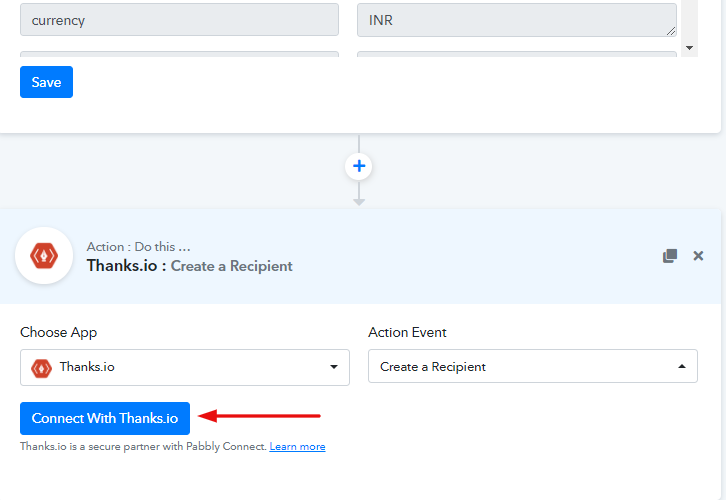
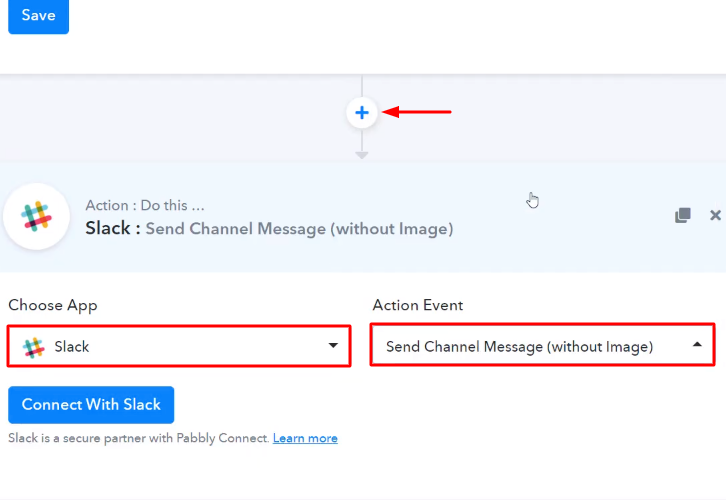
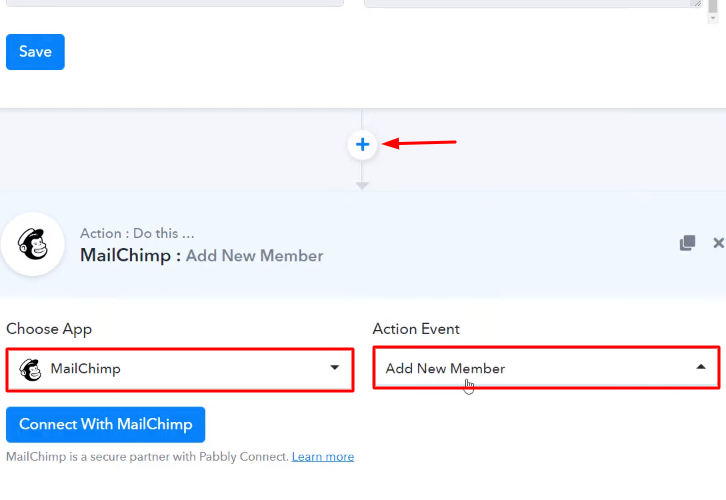
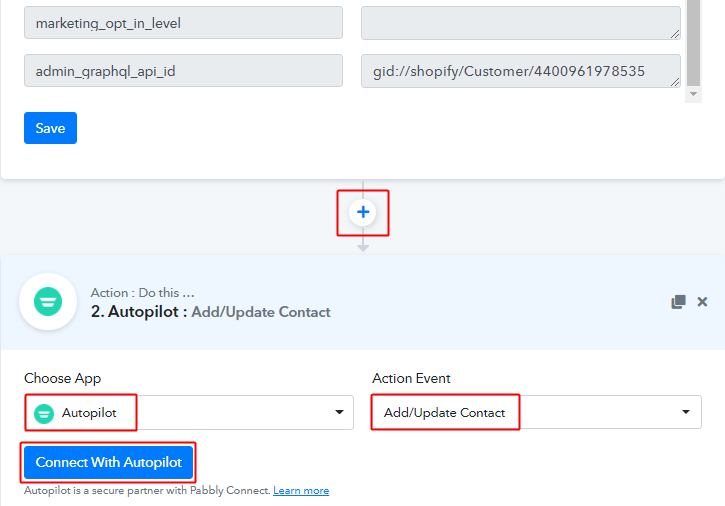
(b) Select Application you Want to Integrate
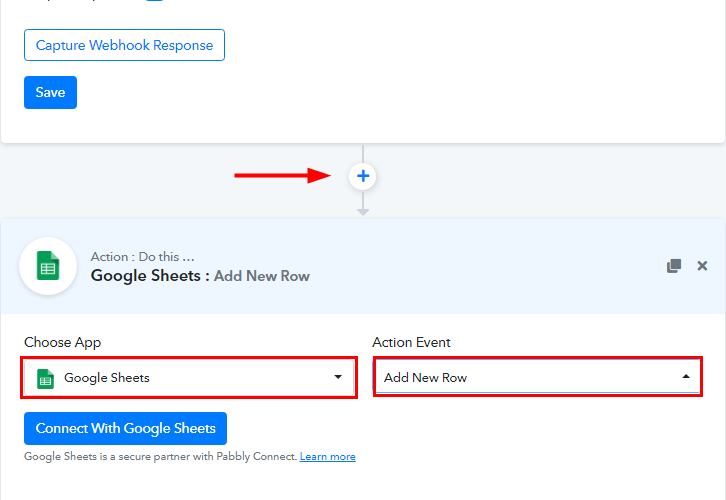
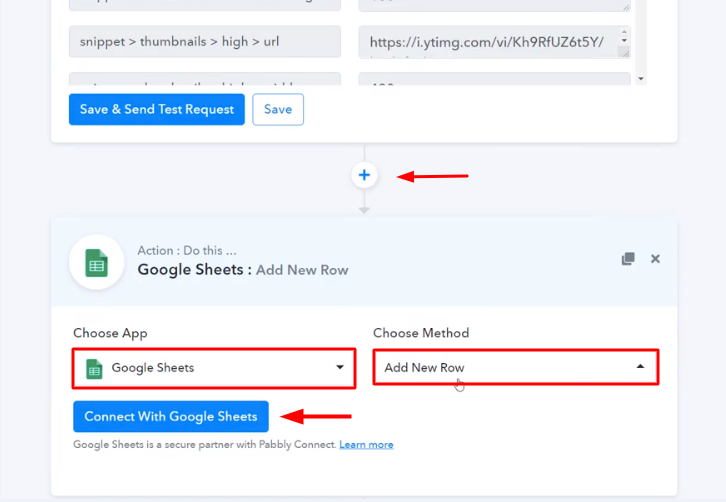
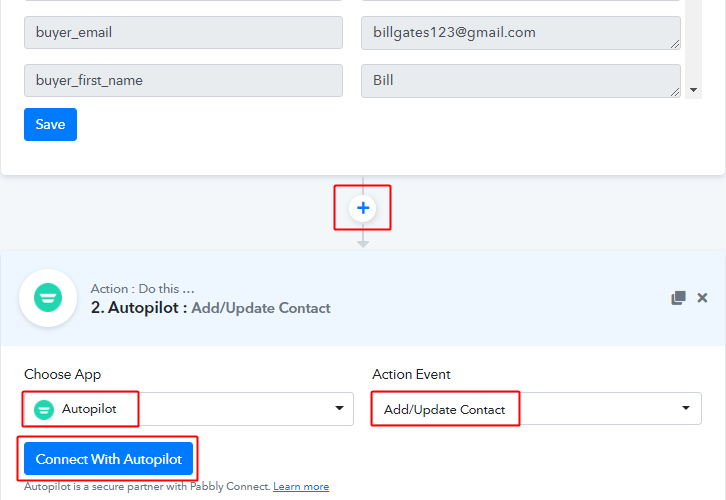
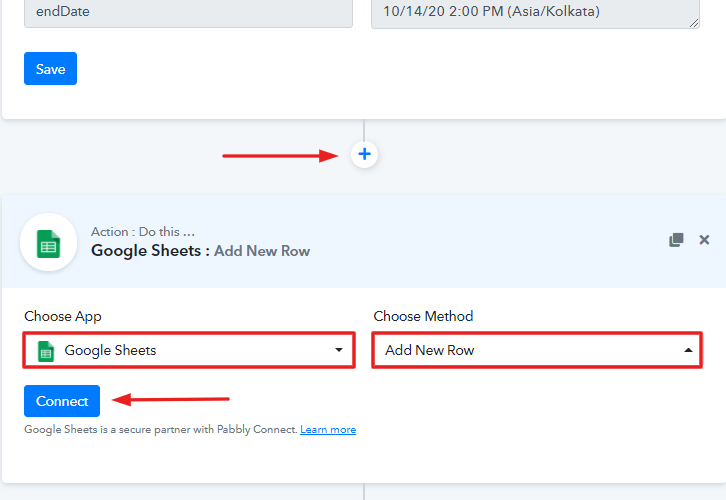
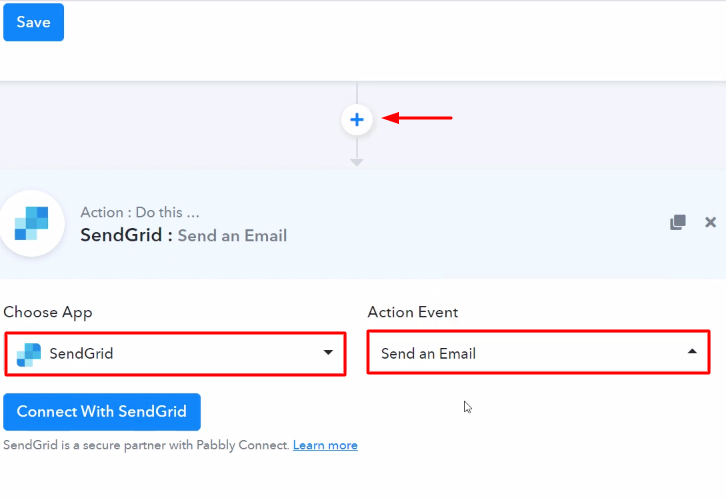
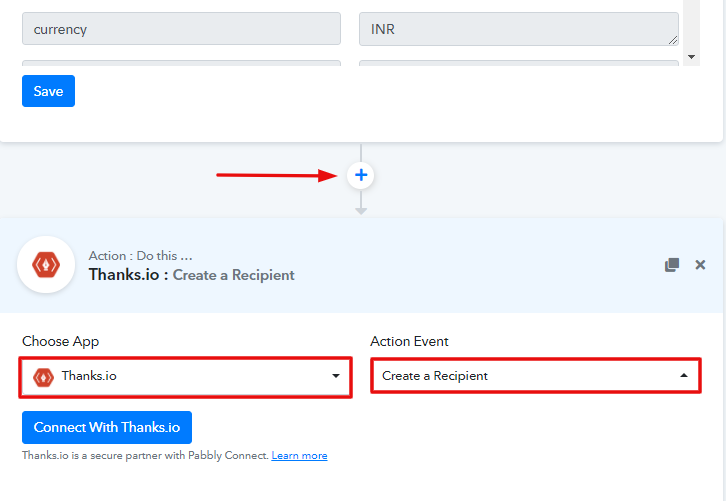
Now, head back to the Pabbly Connect window and click on the plus (+) button to select the application for integration.
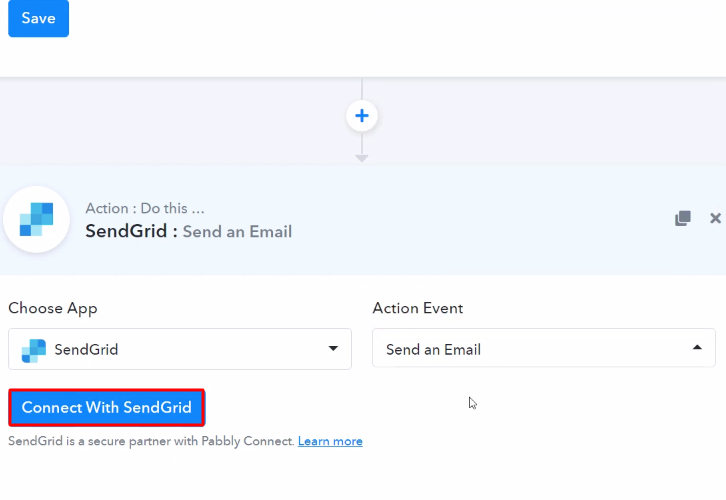
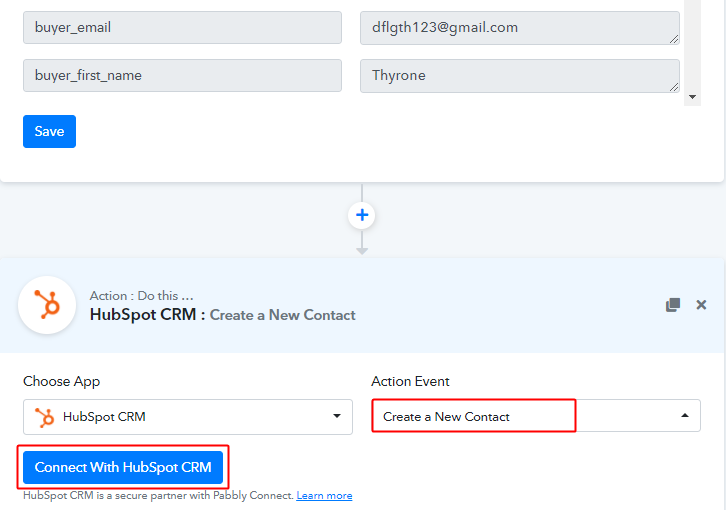
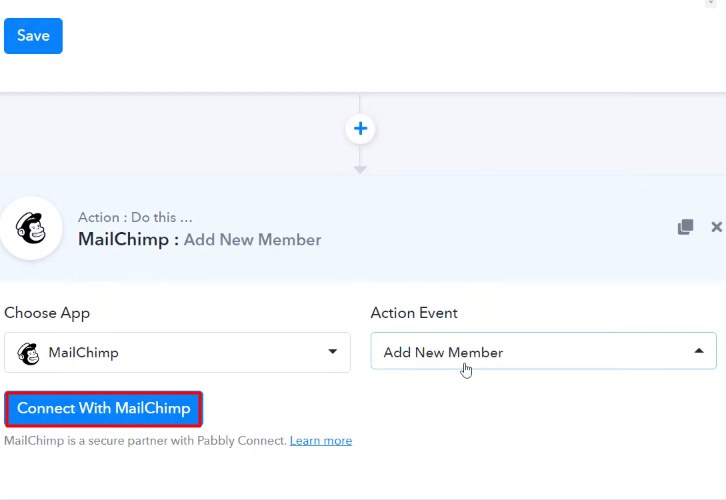
Select “Google Sheets” from the “Choose App” drop-down options and set “Add New Row” in “Action Event”. And then click on the ‘Connect With Google Sheets’ button.
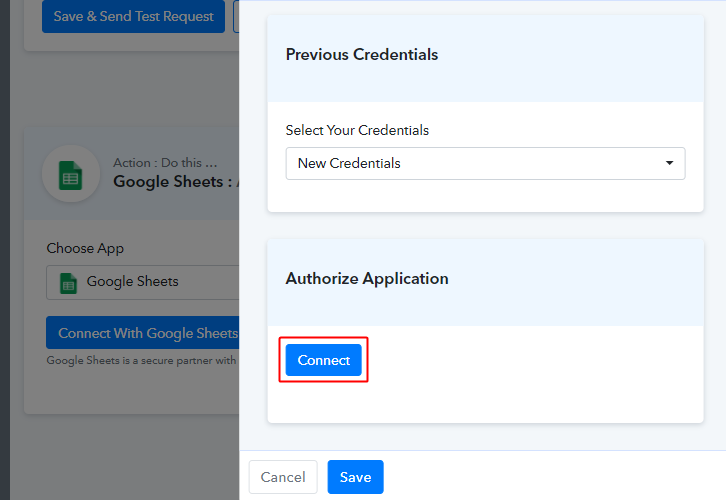
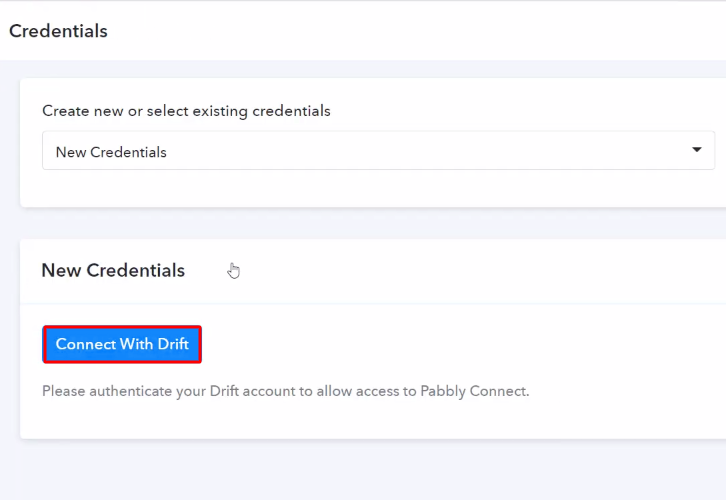
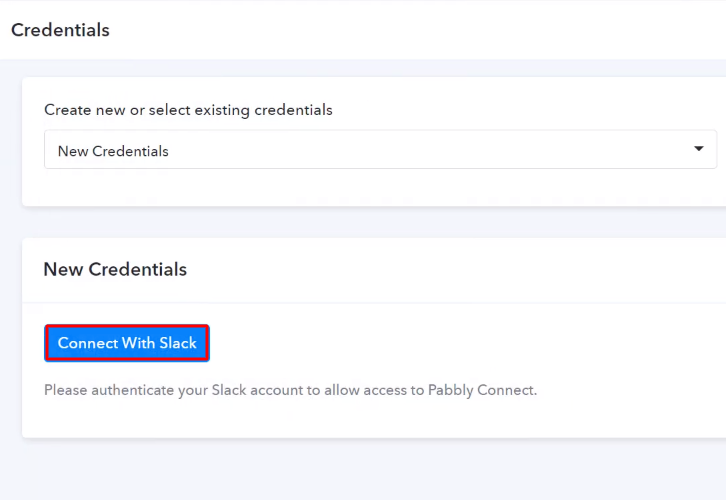
(c) Authorize your Google Sheets Account
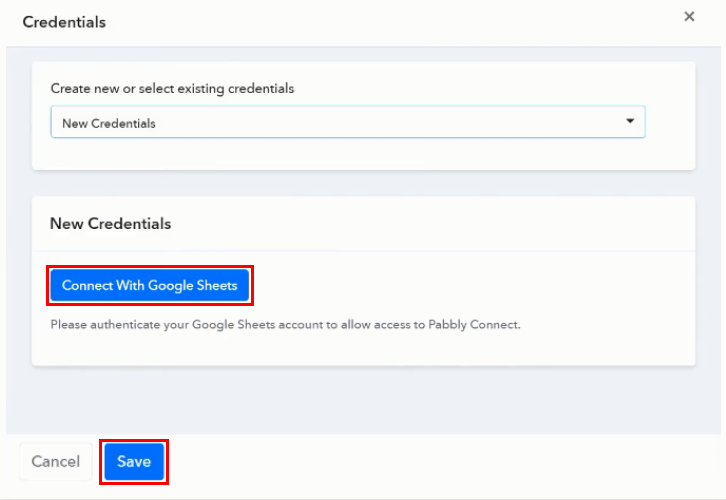
After creating a worksheet, authorize your Google account by clicking on “Connect With Google Sheets” and then click on the ‘Allow’ button.
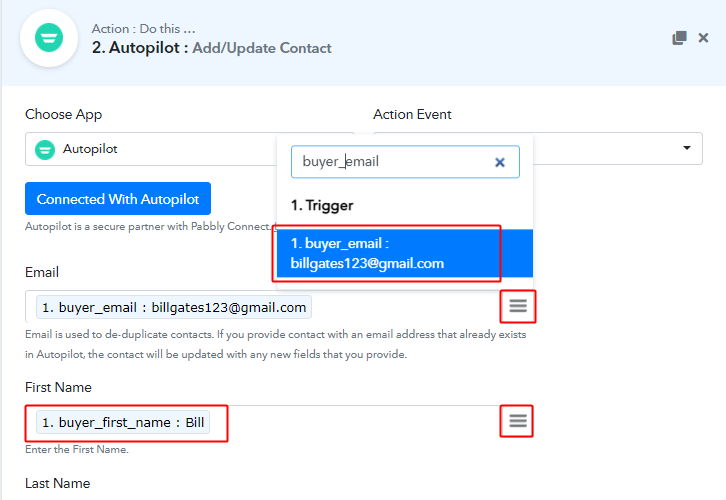
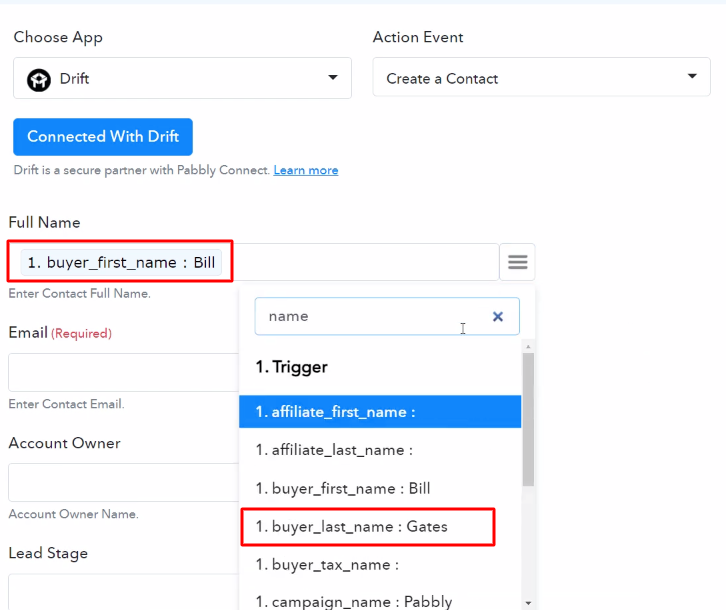
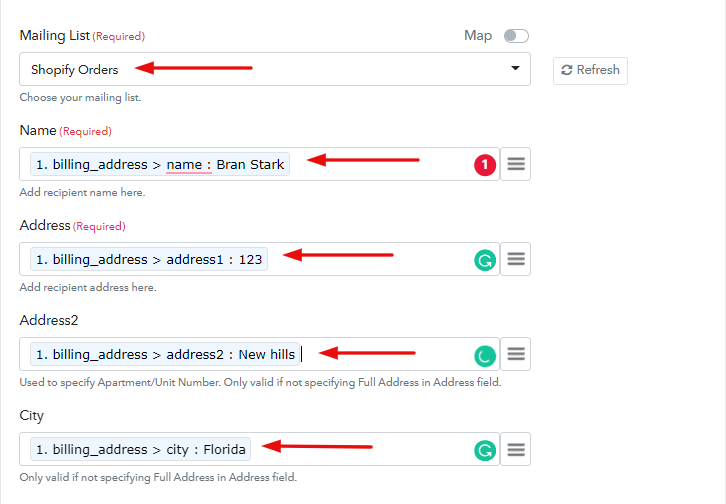
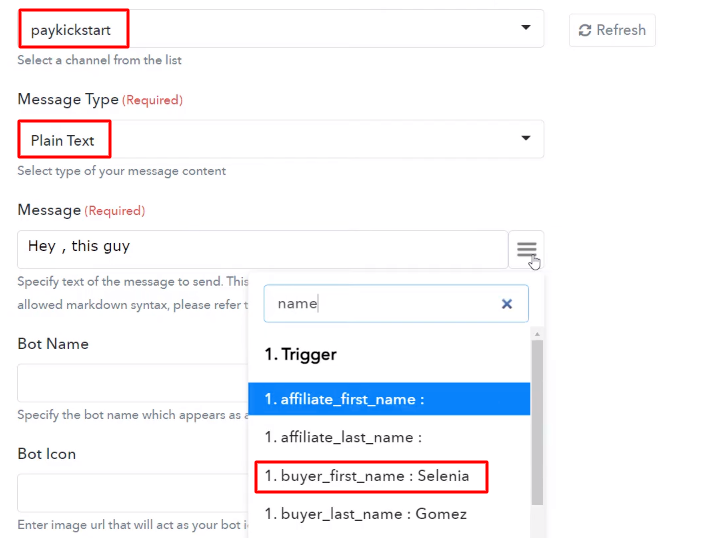
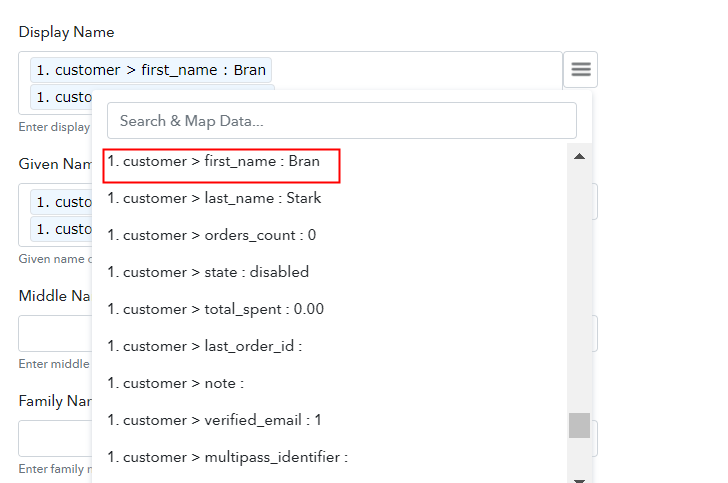
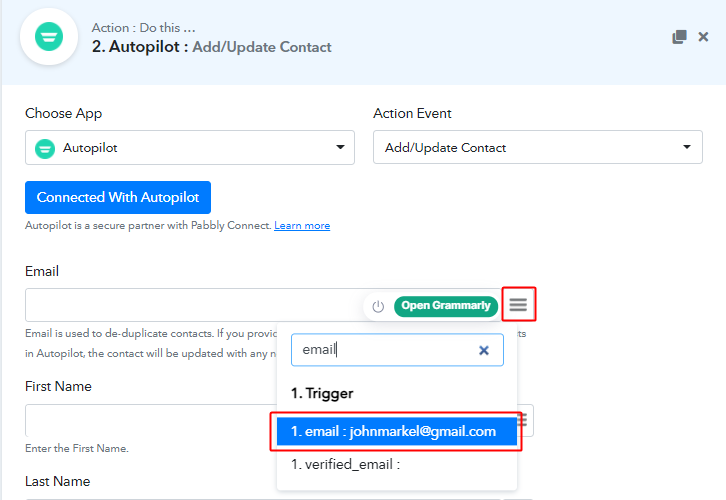
(d) Map Field Data
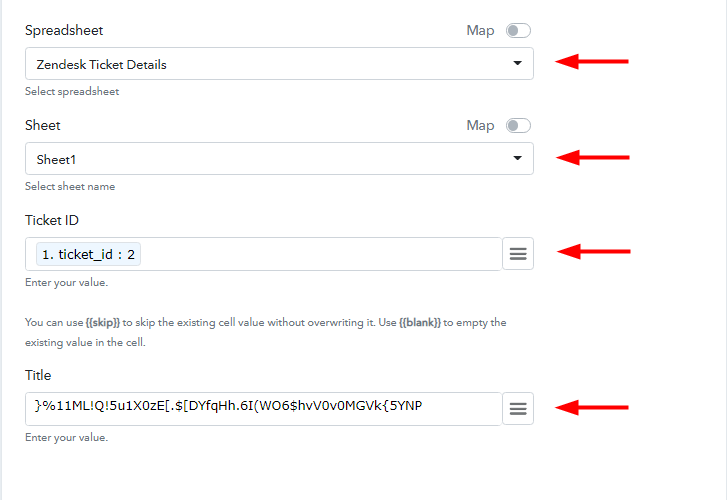
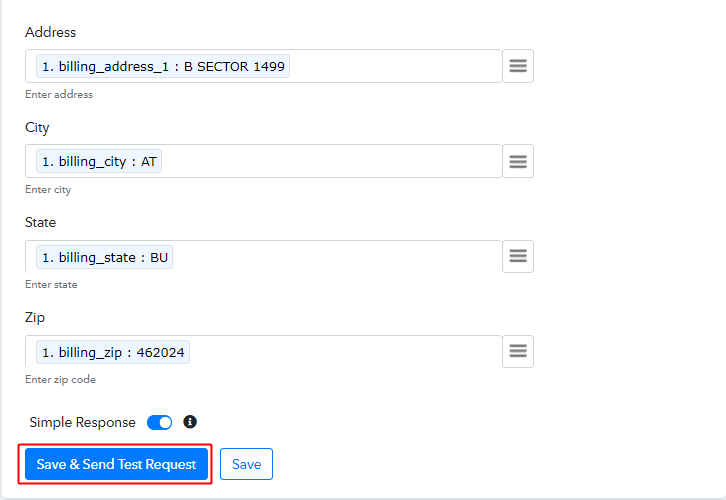
Pabbly Connect automatically fetches the worksheet from Google. Now it’s time to map the information in the fields. For the “Ticket ID” select the ticket ID option, for the “Title” select the title option, and so on.
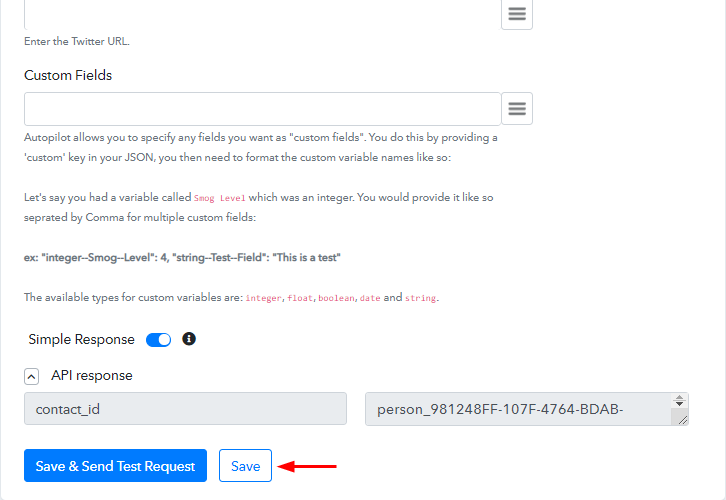
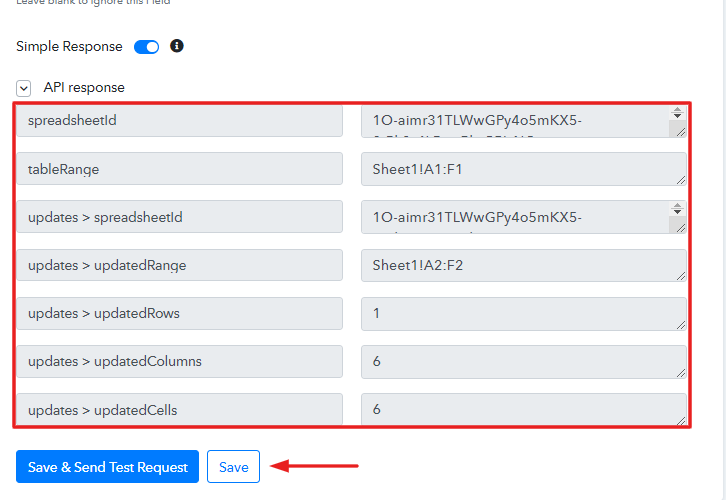
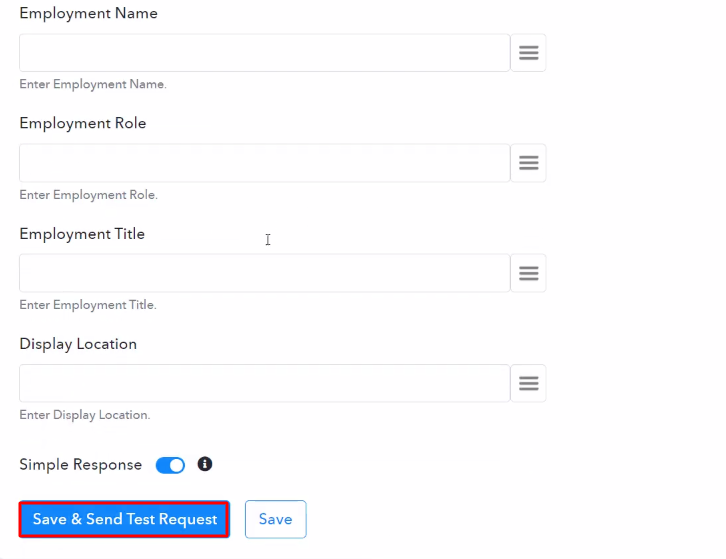
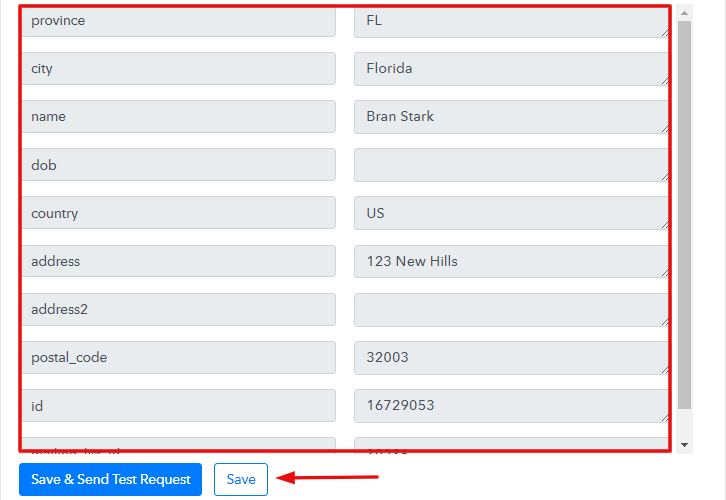
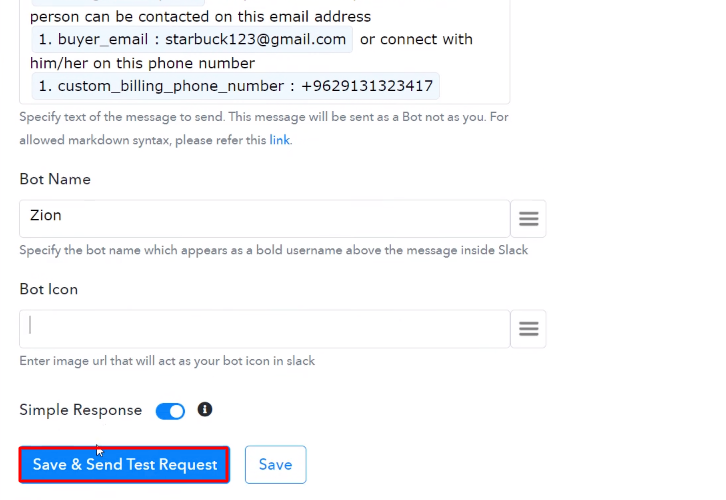
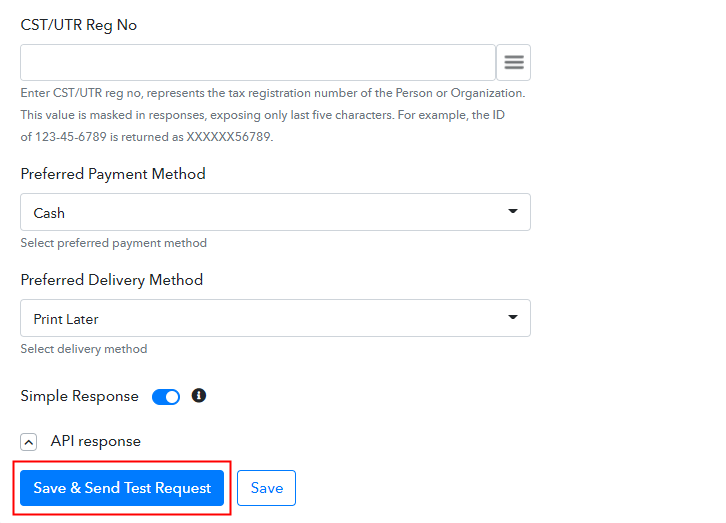
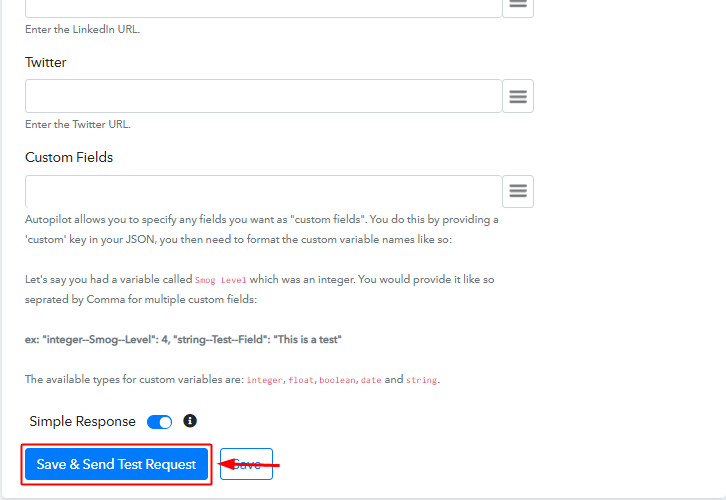
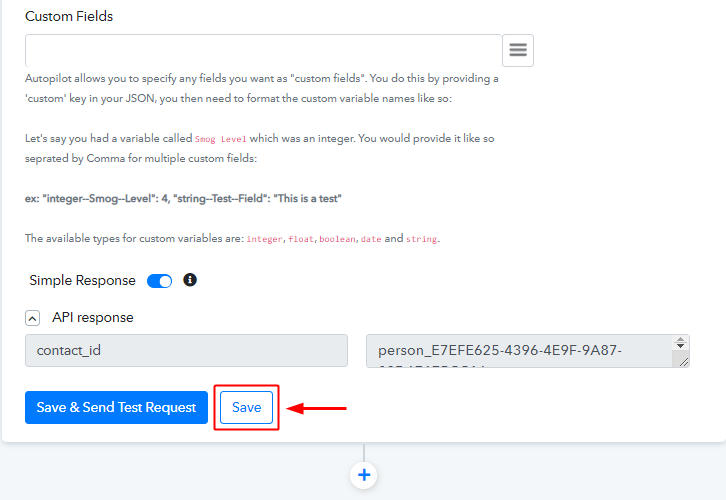
(e) Save & Send Test Request
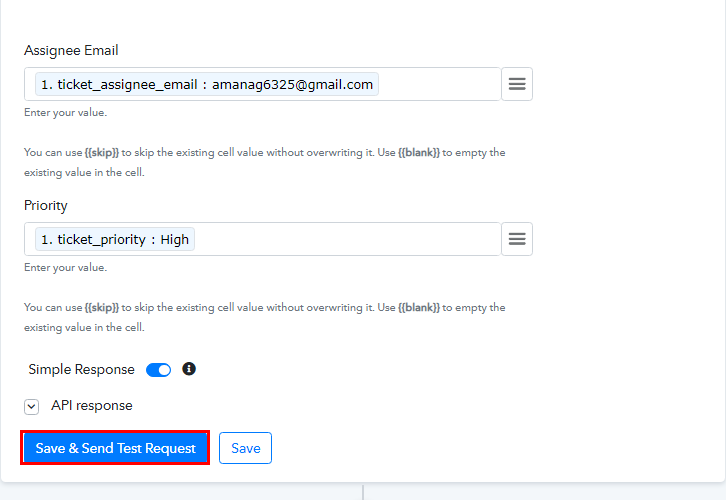
Click on the “Save & Send Test Request” button, after mapping all the pieces of information. It will send the data to Google Sheets. Click the “Save” button to save the whole workflow.
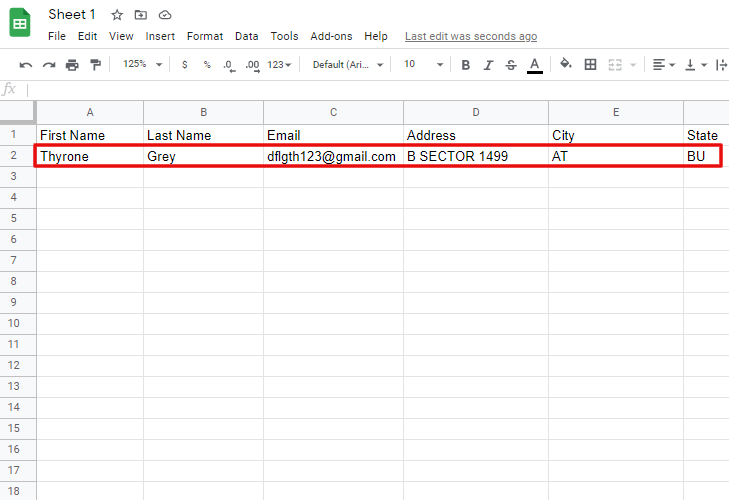
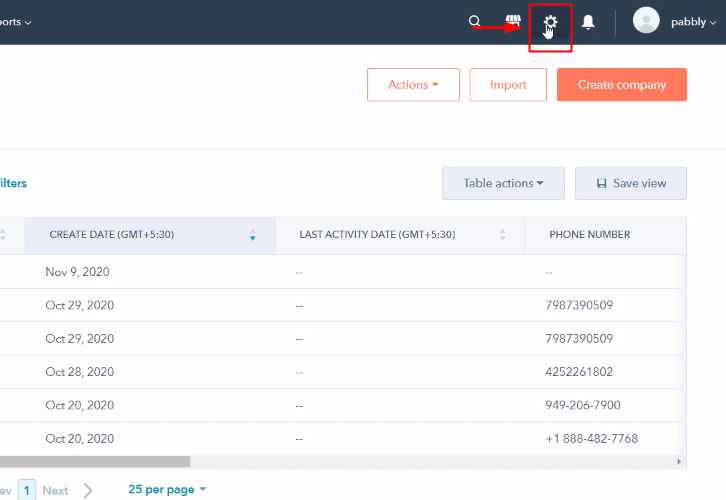
Step 8: Check Response in Google Sheets
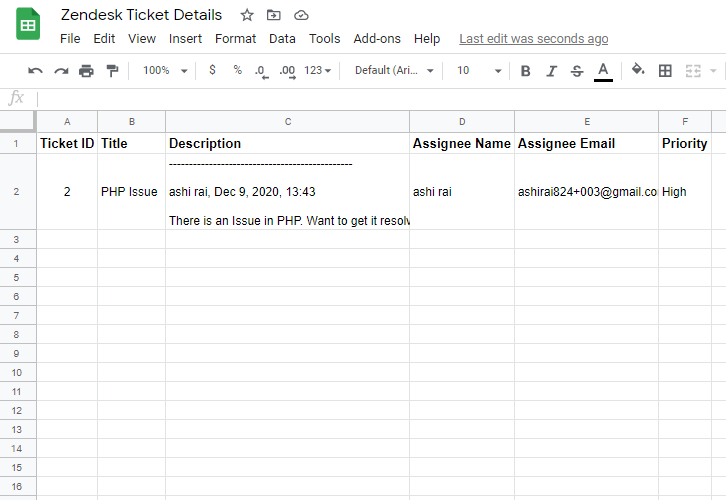
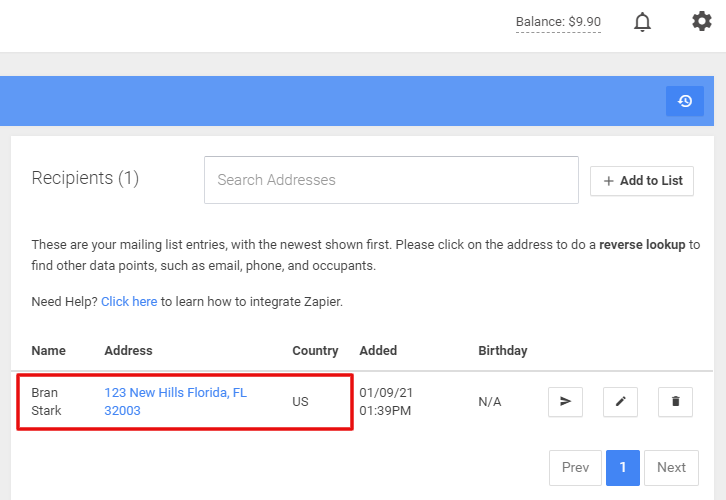
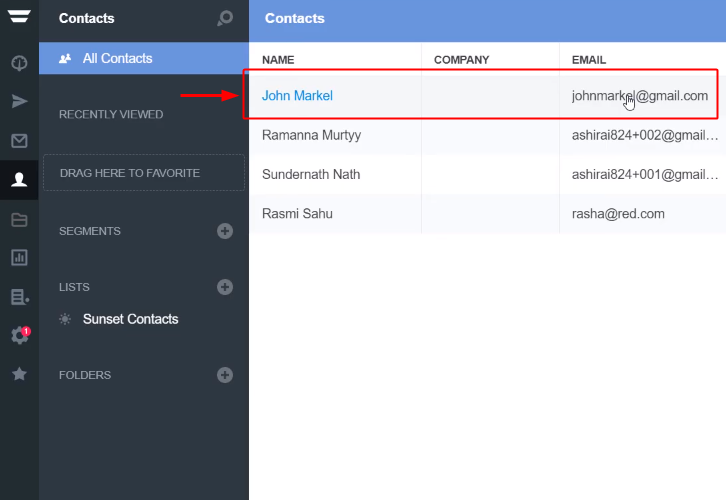
Head to the Google Sheets and you’ll see all the information is successfully filled in their respective columns.
Eventually, the integration is done. Now whenever a new ticket is created in Zendesk, its information is automatically added as a new row in Google Sheets.
Conclusion:
Now that you know the procedure of “How to Add New Ticket Info From Zendesk to Google Sheets”. With the help of Pabbly Connect, you can integrate multitudinous software applications with ease.
Meanwhile, you can get Pabbly Connect for FREE with all its premium features.
In case of any queries or suggestions, leave your comments below. We will try to get back to you as soon as possible.