Watch Step By Step Video Tutorial Below
1. Accessing Pabbly Connect for Integration
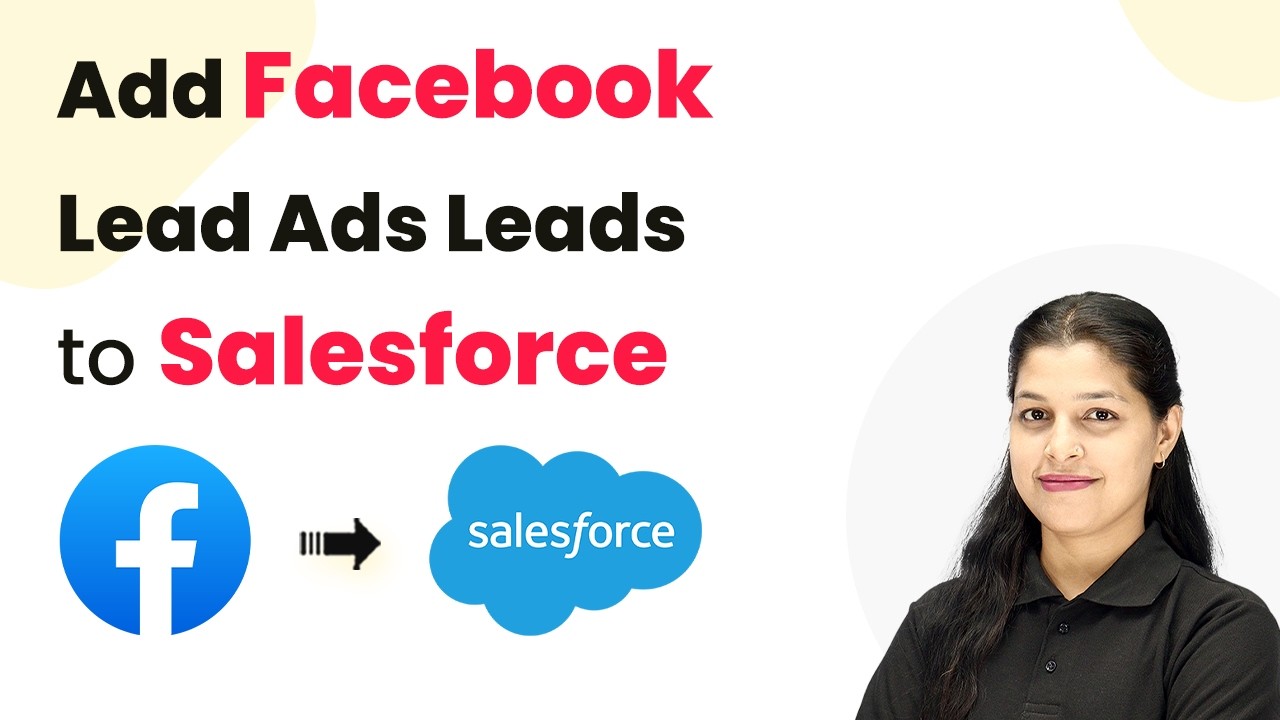
To automate the process of adding leads from Facebook Lead Ads to Salesforce, you need to access Pabbly Connect. Start by navigating to the Pabbly Connect homepage by typing pabbly.com/connect in your browser.
Once on the homepage, you will find options to either sign in or sign up. If you are new, click on the “Sign up free” button to create an account. Existing users can directly sign in. Pabbly Connect offers a free trial, so make sure to explore its features.
2. Creating a Workflow in Pabbly Connect
After signing in to Pabbly Connect, the next step is to create a new workflow. Click on the “Create Workflow” button to begin. You will be prompted to name your workflow, which helps in identifying it later.
- Select Facebook Lead Ads as your trigger application.
- Choose “New Lead Instant” as the trigger event.
- Click the “Connect” button to link your Facebook account.
Follow the prompts to log in to your Facebook account and allow access. Once connected, select the Facebook page and form from which you want to capture leads. This sets the stage for the automation process.
3. Testing the Facebook Lead Ads Integration
With your workflow set up in Pabbly Connect, it’s time to test the integration. Click on “Save and Send Test Request” to initiate the process. This will prompt you to fill out a test lead form on Facebook Lead Ads.
Navigate to the Meta for Developers page to access the Lead Ads Testing Tool. Here, you can select your Facebook page and the form you have configured. After deleting any previous test leads, fill out the form with your details and submit it.
- Fill in the email, first name, last name, phone number, and city.
- Click on the “Continue” and “Submit” buttons to send the lead.
- Return to Pabbly Connect to check for the new lead response.
After submission, Pabbly Connect will receive the lead data, confirming that the integration is functioning correctly. You will see the lead details in Pabbly Connect.
4. Adding Leads to Salesforce CRM
Now that the test lead has been successfully captured, the next step is to add this lead to Salesforce. In your workflow, select Salesforce as the action application and choose “Create Contact” as the action event.
Click the “Connect” button to establish a connection with Salesforce. Allow Pabbly Connect to access your Salesforce account, ensuring your data remains secure. Now, map the fields from the Facebook Lead Ads response to the corresponding Salesforce fields.
- Map the first name, last name, email, and phone number fields.
- Use the slash symbol to dynamically select data from the previous step.
- Click on “Save and Send Test Request” to finalize the integration.
After executing the test, check your Salesforce contacts page to confirm the new lead has been added successfully. Refresh the page, and you should see the lead details reflecting the information submitted through Facebook Lead Ads.
5. Conclusion: Automate Your Lead Management with Pabbly Connect
By following the steps outlined in this tutorial, you can efficiently automate the process of transferring leads from Facebook Lead Ads to Salesforce using Pabbly Connect. This integration not only saves time but also enhances your lead management process.
With Pabbly Connect, you can create multiple automations to streamline your business tasks. Start using Pabbly Connect today to simplify your workflows and improve your productivity.