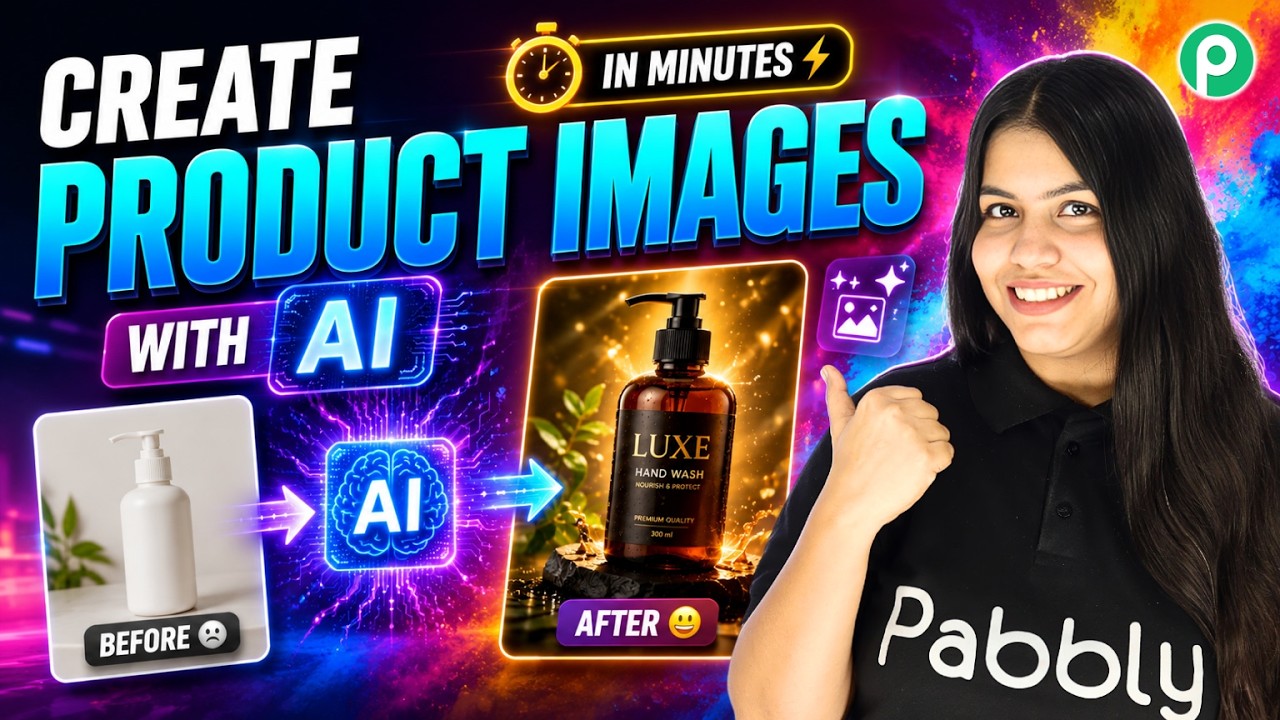
Create Product Images with AI in Minutes

Watch Step By Step Video Tutorial Below


1. Accessing Pabbly Connect for Automation

To start creating automated product images, first access Pabbly Connect by visiting pabbl.com/connect. As an existing user, you can directly open your workflow builder.

If you’re new, click on the “Sign Up for Free” button at the top right corner. This gives you a free trial to generate up to 100 product images, allowing you to explore Pabbly Connect features.


2. Integrating Google Sheets with Pabbly Connect

In this step, you will set up Google Sheets to work with Pabbly Connect. Begin by clicking the “Add Trigger” button in your workflow builder. Select Google Sheets as the trigger application and choose the event as “New or Updated Spreadsheet Row”.

  • Click “Connect” to receive the webhook URL.
  • Open your Google Sheet and ensure all product details are entered.
  • Leave the image cell blank for the generated image.

Next, go to Extensions, then Add-ons, and select “Get Add-ons”. Search for “Pabbly Connect Webhooks” and install it. Refresh your spreadsheet to see the new option.


3. Initial Setup in Pabbly Connect Webhooks

Once the add-on is installed, go back to your Google Sheet and find “Pabbly Connect Webhooks” under Extensions. Click on it and select “Initial Setup”. Here, input the webhook URL you copied earlier and set the trigger column to F.

After entering these details, click the “Submit” button. You will see a confirmation message indicating that the connection between Pabbly Connect and Google Sheets is established successfully.

  • Click the “Send Test” button to verify the connection.
  • Once the test data is sent successfully, you will see the captured response.

This step ensures that your Google Sheets is ready to send data to Pabbly Connect for image generation.


4. Generating Product Images Using Gemini

Now, let’s add an action step to generate images. Click on “Add New Action Step” and select Gemini as the action application. For the event, choose “Generate and Edit Image Nano Banana” and click “Connect”.

If you have an existing connection, select it; otherwise, create a new one by entering your API key from Google AI Studio. Once connected, select the Nano Banana model for image generation.

  • Enter the prompt for the image based on your product details.
  • Map the product details from Google Sheets dynamically.

After mapping the details, click on “Save and Send Test Request”. This sends the request to generate the product image, which will be stored in your spreadsheet.


5. Updating Google Sheets with Generated Images

In this final step, you will update your Google Sheets with the generated image. Click on “Add New Action Step” and select Google Sheets again. Choose the event “Update Cell Value” and click “Connect”.

After establishing the connection, specify the spreadsheet and the cell range that needs to be updated. Use G2 for the range; however, keep the row index dynamic while keeping G static.

  • Map the file URL of the generated image to the cell.
  • Click on “Save and Send Test Request” to confirm.

Once the test is successful, the image will appear in your Google Sheets, completing the automation process through Pabbly Connect.


Conclusion

In this tutorial, we demonstrated how to automate product image creation using Pabbly Connect, Google Sheets, and Gemini. By following these steps, you can streamline your workflow and enhance your product presentation effortlessly.

Get Instant Slack Notifications for Customer Enquiries

Watch Step By Step Video Tutorial Below


1. Accessing Pabbly Connect to Start Your Integration

To begin automating your business inquiries, you first need to access Pabbly Connect. Navigate to the Pabbly Connect homepage by entering the URL in your browser. You will see options to sign in or sign up.

If you are a new user, click on the ‘Sign Up Free’ button. This allows you to create an account and get 100 free tasks every month to explore Pabbly Connect. Existing users should click on ‘Sign In’ to access their accounts and start setting up integrations.


2. Setting Up Your Pabbly Connect Workflow

Once logged in, you will be directed to the workflow page of Pabbly Connect. Here, you can create a new workflow to automate notifications for new inquiries. Select Typeform as your trigger application, which will initiate the workflow.

  • Select ‘New Entry’ as the app event.
  • Click on ‘Add New Connection’ to connect your Typeform account.
  • Allow access by clicking the ‘Accept’ button.

After successfully connecting Typeform, select the specific form you want to use for inquiries. This form will be the source of the data sent to Slack through Pabbly Connect.


3. Testing the Integration with Typeform

With your Typeform connected, it’s time to test the integration. Fill out the Typeform with example data such as first name, last name, email, and inquiry details. Upon submission, the data will be sent to Pabbly Connect.

Check the Pabbly Connect dashboard to see if the response from Typeform is received correctly. You should see all the fields populated with the data you entered. This confirms that the connection is working as intended.


4. Notifying Your Team via Slack

Now that your Typeform is connected to Pabbly Connect, the next step is to notify your team on Slack. Select Slack as your action application and choose ‘Send Channel Message’ as the app event.

  • Connect your Slack account by clicking ‘Connect with Slack’.
  • Enter your Slack token as prompted.
  • Select the channel ID where you want to send notifications.

After setting up the connection, compose the message to be sent to your team. Use dynamic fields from the Typeform response to personalize the message, ensuring your team receives all relevant details about the inquiry.


5. Finalizing Your Pabbly Connect Workflow

After composing your message, save the action in Pabbly Connect. You will receive a positive response indicating that the channel message has been sent successfully. Check your Slack channel to confirm that your team received the notification.

This integration allows you to automate the follow-up process for inquiries, ensuring your team is promptly notified without manual intervention. Now you can efficiently manage inquiries with the help of Pabbly Connect.


Conclusion

By using Pabbly Connect, you can seamlessly integrate Typeform and Slack to automate your business inquiries. This process not only saves time but also ensures your team is always informed about new inquiries. Start using Pabbly Connect today to enhance your business efficiency!

Send Unlimited WhatsApp Broadcast Messages Like a Pro

Watch Step By Step Video Tutorial Below


1. Accessing Pabbly Connect to Get Started

To send WhatsApp marketing messages effectively, you first need to access Pabbly Connect. Start by visiting pave.com/chartflow in your browser. This will take you to the Pabbly Chatflow homepage, where you can either sign up for free or log in if you’re an existing user.

Once logged in, you will see various Pabbly applications. Click on “Access Now” under Pabbly Chatflow to enter the dashboard. Here, you can set up your WhatsApp communication channel. Make sure to connect your WhatsApp number to Pabbly Connect for seamless integration.


2. Creating a Message Template in Pabbly Connect

Creating a message template is essential for broadcasting messages via WhatsApp. Within your Pabbly Chatflow account, navigate to the template section. You can see a list of approved and pending templates. For this tutorial, ensure that your template is approved by Meta.

  • Navigate to the template section in Pabbly Chatflow.
  • Create a new template or select an existing approved one.
  • Ensure your template is ready for use by checking its approval status.

After confirming your template is approved, you can move on to the broadcast section to send your messages. This template will be used for bulk messaging to your customers, making the process efficient and quick.


3. Setting Up Your WhatsApp Broadcast Campaign

In Pabbly Connect, navigate to the broadcast section. Click on the “Add Broadcast” button to start setting up your campaign. You will be directed to a new window where you can select the type of broadcast campaign you wish to create.

  • Choose “Broadcast Campaign” as the type.
  • Name your campaign, e.g., “New Skin Care Test”.
  • Select your contact list which contains your customers’ data from Google Sheets.

Once you’ve set up your campaign name and contact list, you can refine your audience by excluding specific contacts if necessary. This ensures that your broadcast reaches the intended recipients effectively.


4. Sending a Test Message via Pabbly Connect

Before sending your broadcast to all contacts, it’s crucial to test your message. Pabbly Connect allows you to send a test message to your WhatsApp number. This ensures that everything appears correctly before the actual broadcast.

  • Enter your WhatsApp number to receive the test message.
  • Click on the “Send Test Message” button.
  • Check your WhatsApp for the received message to confirm it looks right.

After confirming the test message is correct, you can proceed to schedule or send the broadcast immediately. This step is essential for ensuring that your message aligns with your marketing goals.


5. Scheduling Your Broadcast with Pabbly Connect

Now that your test message is confirmed, you can schedule your broadcast. Pabbly Connect allows you to select a specific date and time for your broadcast, ensuring it reaches your audience at the right moment.

  • Select either to send the message immediately or schedule it for later.
  • If scheduling, choose a future date and time.
  • Click on the “Add Broadcast” button to finalize your scheduling.

After scheduling, you can view the broadcast stats, including sent, delivered, and read statuses. This feature helps you analyze the effectiveness of your marketing campaign.


Conclusion

Using Pabbly Connect to send WhatsApp marketing messages is an efficient way to reach your customers. By following these steps, you can easily create, test, and schedule broadcasts, ensuring your marketing efforts are effective and timely.

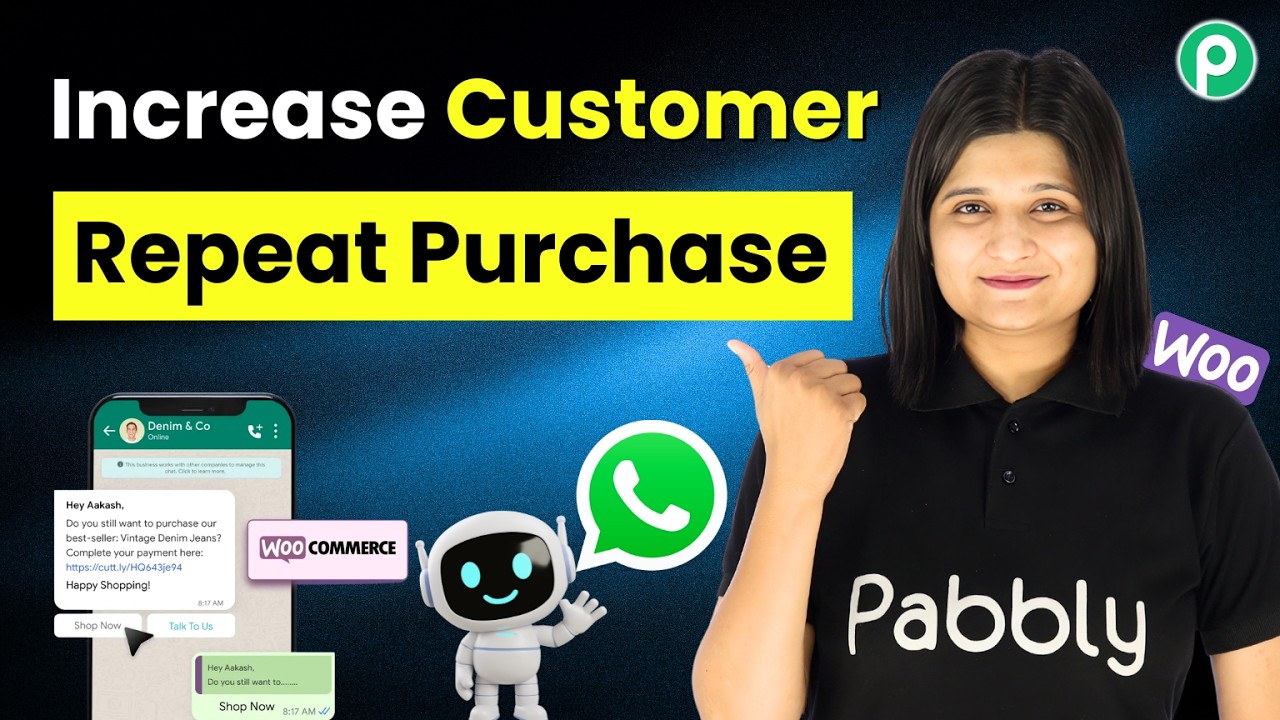
Increase Repeat Sales with Personalized WhatsApp Messages for WooCommerce Customers

Watch Step By Step Video Tutorial Below


1. Accessing Pabbly Connect for Integration

To start using Pabbly Connect, visit the Pabbly website by typing Pabbly.com in your browser. This platform serves as the central hub for integrating various applications, such as WooCommerce and Pabbly Chatflow.

Once on the site, you will need to sign in to your existing account or sign up for a new one. New users receive 100 free tasks monthly, allowing you to explore the features of Pabbly Connect and determine if it suits your business needs.


2. Creating a New Workflow in Pabbly Connect

After signing in, navigate to the dashboard of Pabbly Connect. Here, you can create a new workflow by clicking on the “Create Workflow” button. Name your workflow something like “Increase Repeat Sales with Personalized WhatsApp Messages for WooCommerce Customers”.

  • Select the folder where you want to save this workflow.
  • Click on “Create” to finalize your new workflow.

This step sets the foundation for automating WhatsApp messages whenever a new order is placed in WooCommerce, utilizing the capabilities of Pabbly Connect.


3. Setting Up the Trigger for WooCommerce Orders

Next, you’ll need to establish the trigger for your workflow. In Pabbly Connect, select WooCommerce as your trigger application. The specific trigger event to choose is “New Order Created”.

Once selected, click on the “Connect” button. You will be provided with a webhook URL that acts as a bridge between your WooCommerce store and Pabbly Connect. Copy this URL and head over to your WooCommerce settings.

  • Navigate to the WooCommerce settings and find the “Advanced” tab.
  • Click on “Webhooks” and then “Add Webhook”.
  • Fill in the details, including the webhook URL you copied from Pabbly Connect.

By saving this webhook, you enable WooCommerce to send order details directly to Pabbly Connect, triggering your automation.


4. Capturing the Webhook Response in Pabbly Connect

After setting up the webhook, return to Pabbly Connect and click on “Capture Webhook Response”. This action allows you to test the connection by creating a new order in your WooCommerce store.

Go to your WooCommerce store, select a product, and complete the checkout process. Once the order is placed, Pabbly Connect will capture the order details. You should see the order information, including the customer’s name, address, and the product ordered.

  • Ensure all necessary information is captured correctly in Pabbly Connect.
  • This confirms that your connection is functioning properly.

With this step completed, you are now ready to set up the action that sends WhatsApp messages using Pabbly Chatflow.


5. Sending WhatsApp Messages via Pabbly Chatflow

In the next step, select Pabbly Chatflow as your action application within Pabbly Connect. Choose the action event “Send Text Message” and click on “Connect”.

You will need to enter the connection token from your Pabbly Chatflow account. Navigate to your Pabbly Chatflow settings, find the API section, and copy the token. Paste it into Pabbly Connect to establish the connection.

  • Map the customer’s phone number from the WooCommerce response.
  • Craft a personalized message using the customer’s name and product details.

Once everything is set, click on “Save and Send Request”. If successful, you will receive a positive response confirming that the WhatsApp message has been sent, completing the integration process through Pabbly Connect.


Conclusion

In this tutorial, we explored how to integrate WooCommerce with Pabbly Connect and Pabbly Chatflow to automate personalized WhatsApp messages for new orders. By leveraging Pabbly Connect, you can enhance customer engagement and trust in your business.

Build a Smart WhatsApp AI Agent Without Coding

Watch Step By Step Video Tutorial Below


1. Accessing Pabbly Connect for WhatsApp Integration

To begin creating your WhatsApp AI chatbot, you need to access Pabbly Connect. Start by entering the URL pav.com/chartflow in your browser. This will direct you to the Pabbly Chatflow homepage.

If you are a new user, click on the “Sign Up for Free” button to create your account. Existing users can simply sign in. Once logged in, navigate to the Pabbly Chatflow dashboard to begin your integration process.


2. Creating Your AI Assistant in Pabbly Connect

Once you are in the Pabbly Chatflow dashboard, the next step is to create your AI assistant. Click on the “AI Assistant” feature. Here, you will see options for existing assistants and an “Add” button to create a new one.

  • Click the “Add” button to start creating your assistant.
  • Choose a name for your assistant and click “Add” again.
  • Select the instruction type, such as “AI Agent” from the dropdown menu.

After selecting the instruction type, configure the AI settings. Set the temperature for responses, select the AI model, and input your OpenAI API key. This key connects your assistant to the OpenAI model, allowing it to generate responses based on user queries.


3. Configuring AI Settings in Pabbly Connect

In this section, you will configure the specific settings for your WhatsApp AI assistant. Start by setting the temperature, which determines how focused or creative the responses will be. A lower value like 0.4 will yield more focused answers.

Next, input your OpenAI API key. To obtain this key, click the hyperlink provided in the settings and follow the prompts to create a new secret key. Once you have copied the key, paste it into the designated field in Pabbly Connect.

  • Enable the header and footer messages by toggling the respective buttons.
  • Add stop keywords to allow users to halt the assistant’s responses, such as “human”.
  • Specify fallback messages for instances when the API fails to respond correctly.

This configuration ensures that your assistant can handle various scenarios effectively, providing a seamless user experience.


4. Finalizing Your Assistant Settings in Pabbly Connect

After configuring the AI settings, you can finalize your assistant’s interface. Add your brand name and any initial messages that users will see when they start a conversation. You can also customize the appearance of your assistant by choosing colors and styles.

Once you have completed these settings, activate your assistant by clicking the “Save” button. This step is crucial as it ensures that all your configurations are stored correctly in Pabbly Connect.

  • Upload any relevant images for your assistant’s profile.
  • Review all settings to ensure accuracy before saving.

With these steps, your WhatsApp AI assistant is now fully configured and ready to respond to customer queries.


5. Assigning Your Assistant to WhatsApp Chats via Pabbly Connect

To assign your newly created assistant to your WhatsApp chats, navigate to the inbox settings in Pabbly Connect. Here, you can enable auto-reply for your contacts.

Scroll down to the AI auto-reply settings, where you will select the contact list for which the assistant will be active. Choose the assistant you created earlier and click “Save” to apply these changes.

  • You can also assign the assistant to individual chats by selecting a specific WhatsApp conversation.
  • Turn on the assistant button for that chat and select the appropriate assistant.

This way, your assistant will be able to respond to customer messages automatically, enhancing your business’s communication efficiency.


Conclusion

In this tutorial, we explored how to create a WhatsApp AI chatbot using Pabbly Connect. By following these steps, you can automate responses to customer queries seamlessly. Enhance your business communication with this powerful integration tool!

Save Form Leads to Apollo.io Automatically

Watch Step By Step Video Tutorial Below


1. Accessing Pabbly Connect for Integration

To begin integrating Let and Apollo, first access Pabbly Connect. If you’re a new user, open a browser and navigate to pabli.com/connect. Sign up for a free trial to explore the integration capabilities.

Once logged in, you’ll be taken to the workflow builder. This interface is where you can set up automations between different applications. Make sure to familiarize yourself with the layout as you will be using it extensively.


2. Setting Up the Workflow in Pabbly Connect

In the workflow builder of Pabbly Connect, you need to establish a trigger and an action. The trigger will start the automation process, while the action will determine what happens next. Click on the “Add Trigger” button to get started.

  • Select “Typeform” as the trigger application.
  • Choose “New Entry” as the trigger event.
  • Click on “Connect” to link your Typeform account.

Make sure your Typeform account is logged in to allow Pabbly Connect to access it. Accept all permissions requested to ensure smooth operation.


3. Capturing Data from Typeform

Once the trigger is set, you need to capture the data from Typeform. To do this, fill out the form you selected in the previous step. For example, enter a name like “Jane”, an email, and other necessary details.

After submitting the form, return to Pabbly Connect. Click on “Save and Send Test Request”. This action will allow you to see if the data has been captured correctly. If successful, you should see the details reflected in the workflow.


4. Connecting Apollo to Pabbly Connect

Now that you have captured the data, it’s time to set up the action step to connect Apollo. Click on “Add New Action Step” and search for “Apollo”. Select it as the action application.

  • Choose “Create Contact” as the action event.
  • Click on “Connect” to link your Apollo account.
  • Enter your Apollo API key when prompted.

To get the API key, go to your Apollo account, navigate to “Admin Settings”, then “Integrations”, and create a new API key. Copy this key and paste it into Pabbly Connect to establish the connection.


5. Mapping Data to Apollo and Testing the Integration

After connecting Apollo, you will need to map the data captured from Typeform to the fields in Apollo. This step is crucial for ensuring that the correct information is sent to Apollo.

For mapping, select the fields from the Typeform data and match them with the corresponding fields in Apollo. Once you finish mapping, click on “Save and Send Test Request” to test the integration. If successful, you will receive a confirmation that a new contact has been created in Apollo.

Now, you can check your Apollo account to see the newly created contact. This automation means that every time a new form is filled out, the contact will be created in Apollo without any manual effort, thanks to Pabbly Connect.


Conclusion

In this tutorial, we explored how to automate the integration of Let and Apollo using Pabbly Connect. By following these steps, you can streamline your workflow and ensure that every new lead is captured efficiently. Try it out today for a seamless experience!

Send Calendly Booking Alerts to Discord Automatically

Watch Step By Step Video Tutorial Below


1. Setting Up Pabbly Connect for Integration

To send Calendly booking alerts to Discord automatically, first, you need to access Pabbly Connect. This platform allows you to create automated workflows between various applications.

Visit the Pabbly Connect website by typing pabbly.com/connect in your browser. If you are a new user, click on the ‘Sign Up Free’ button to create an account. Existing users can simply sign in to their accounts.


2. Selecting Calendly as the Trigger Application

Once you are logged into Pabbly Connect, navigate to the workflow page. Here, you will select Calendly as your trigger application to start the automation process.

  • Click on the ‘Create Workflow’ button.
  • Choose Calendly from the list of applications.
  • Select the event as ‘Invite Created’.

After selecting the app event, connect your Calendly account. You will need to log in and authorize Pabbly Connect to access your Calendly data.


3. Configuring Webhook Response in Pabbly Connect

Once your Calendly account is connected, Pabbly Connect will prompt you to wait for a webhook response. This response will contain the details of the booking made in Calendly.

To test this, schedule a new event in Calendly. Fill in the necessary details, such as name, email, and phone number, then save the event. After scheduling, return to Pabbly Connect to see if the response has been captured.

  • Check for the response in Pabbly Connect.
  • Ensure all details like name, email, and booking time are displayed correctly.

This confirms that the integration is working correctly, and you are ready to proceed to the next step.


4. Formatting Date and Time for Discord

Now that you have the booking details, you need to format the date and time correctly before sending it to Discord. For this, you will use the Date Time Formatter provided by Pabbly Connect.

Select the Date Time Formatter and set it to format the date with the timezone. Map the date from the previous response and specify the input and output formats. Make sure to convert the time to your local timezone, Asia/Kolkata.

  • Map the start date and time from the previous step.
  • Select the input format as UTC.
  • Choose Asia/Kolkata as the output timezone.

After formatting, save the request and verify that the response contains the correctly formatted date and time.


5. Sending the Message to Discord

With the formatted date and time ready, it’s time to send the booking alert to Discord. Select Discord as your application in Pabbly Connect and choose the action event as ‘Send Channel Message’.

Connect your Discord account and enter the webhook URL obtained from your Discord channel settings. Customize the message to include the lead’s details, such as name, email, and the formatted date and time.

  • Map the lead’s first name and last name in the message.
  • Include the formatted date and time in the message.

Finally, send the request and check your Discord channel to confirm that the booking alert is received successfully. This completes the integration process using Pabbly Connect.


Conclusion

In this tutorial, we explored how to automate sending Calendly booking alerts to Discord using Pabbly Connect. This integration streamlines your booking notifications, ensuring your team is always informed about new events.

By following these steps, you can enhance your workflow and improve team communication effortlessly. Start using Pabbly Connect today to automate your processes efficiently!

How CA Firms Automate 90% of Client Chats on WhatsApp

Watch Step By Step Video Tutorial Below


1. Accessing Pabbly Connect for WhatsApp Integration

To start integrating WhatsApp with your business processes, you first need to access Pabbly Connect. This integration platform allows you to connect various applications seamlessly, including WhatsApp.

Once you log into your Pabbly Connect account, you can begin creating workflows that automate your WhatsApp messaging. This setup will enable you to respond to customer inquiries efficiently and manage your services effectively.


2. Setting Up Your WhatsApp Chatbot with Pabbly Connect

After logging into Pabbly Connect, navigate to the “Flows” feature where you can create your WhatsApp chatbot. This feature provides a no-code, drag-and-drop interface for building your chatbot flow.

  • Click on the “Add Flow” button to start a new chatbot.
  • Name your flow appropriately for easy identification.
  • Use the “Trigger” event to set keywords that will activate your chatbot.

Once your flow is created, you can add various actions and messages that will guide users through their inquiries, ensuring a smooth interaction.


3. Customizing Your Chatbot Responses in Pabbly Connect

With your chatbot flow set up, it’s time to customize the responses. Using Pabbly Connect, you can create personalized messages that respond to user inputs.

For example, after a user sends their full name and contact number, you can set the chatbot to respond with a tailored message thanking them for their inquiry. This can be done by utilizing the “Text” button feature in your flow.

  • Add a text button that includes placeholders for the user’s name and service type.
  • Ensure to connect each node properly to maintain the flow of conversation.

This approach ensures that your responses feel personal and engaging, enhancing customer satisfaction.


4. Implementing Advanced Features in Pabbly Connect

To further enhance your WhatsApp integration, Pabbly Connect allows you to implement advanced features such as automated assistant responses. This can be particularly useful for handling common queries.

For instance, when users click on the “Instant Help” button, you can assign a virtual assistant to take over the conversation. This can be set up by selecting the “Assign Assistant” option in your flow.

Here are some key steps to implement this feature:

  • Choose the assistant from the dropdown menu.
  • Set a welcome message for the assistant to greet users.
  • Ensure to save your settings for the changes to take effect.

This functionality allows your business to provide immediate assistance, improving customer engagement and service efficiency.


5. Finalizing Your WhatsApp Automation with Pabbly Connect

Once you have configured all necessary settings in Pabbly Connect, it’s crucial to finalize your automation. This involves reviewing your flow and ensuring all connections are properly set.

Activate your chatbot by toggling the activation switch and clicking the “Save” button. This step is essential for your chatbot to begin functioning as intended.

In conclusion, using Pabbly Connect to automate your WhatsApp interactions can significantly enhance your business operations. By following the steps outlined in this tutorial, you can create a responsive and efficient communication channel.


In summary, integrating WhatsApp with Pabbly Connect allows for seamless automation of customer interactions, enhancing overall service efficiency. Take advantage of this integration to streamline your business processes today!

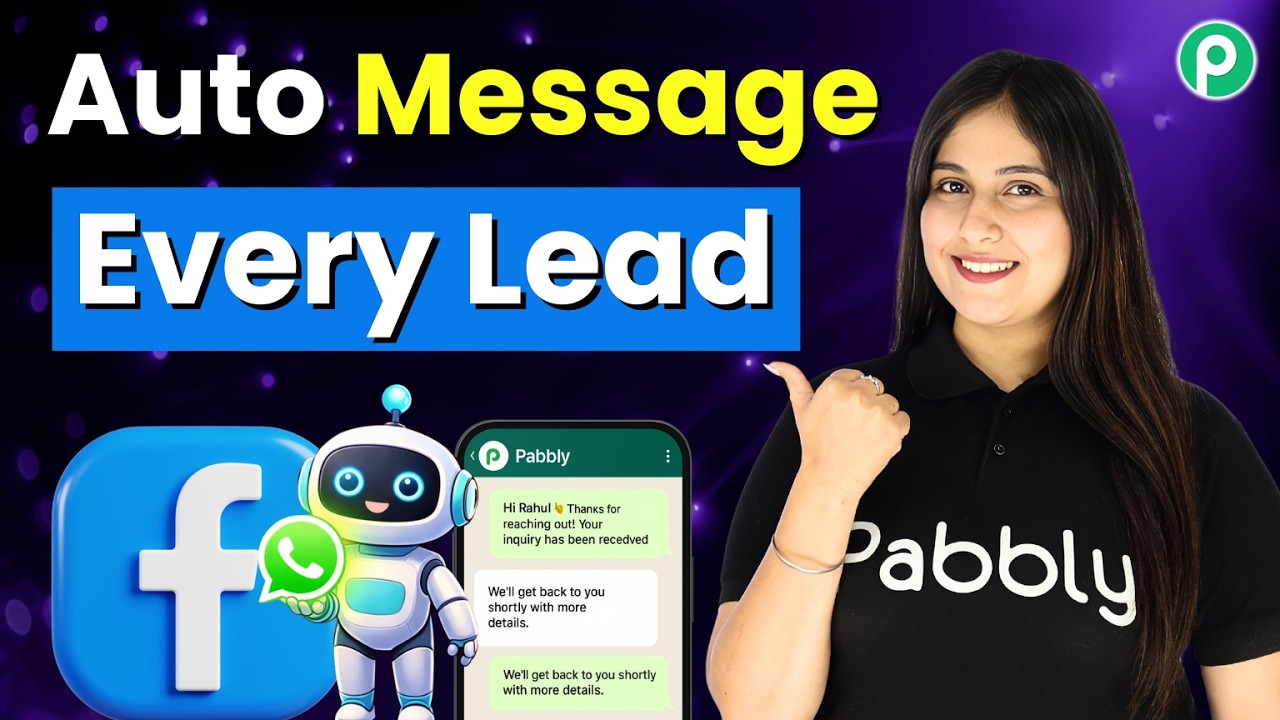
Automatically Send WhatsApp Messages to Meta Ads Leads

Watch Step By Step Video Tutorial Below


1. Accessing Pabbly Connect for Integration

To start using Pabbly Connect for integrating WhatsApp with Facebook Lead Ads, first navigate to the Pabbly Connect website. Here, you can either sign in or sign up for a free account. New users can explore the software with 100 free tasks monthly.

Once signed in, you will see the dashboard where you can select Pabbly Connect. This is where you will create a workflow to automate sending WhatsApp messages to your leads.


2. Creating a Workflow in Pabbly Connect

In this section, you will create a workflow in Pabbly Connect to automate WhatsApp messaging. Click on “Create from Scratch” to build your workflow. You will be prompted to describe your automation.

  • Select “New Lead” as the trigger from Facebook Lead Ads.
  • Choose “Send Text Message” for the action using Pabbly Chatflow.
  • Approve and create the workflow after reviewing the preview.

This setup allows Pabbly Connect to listen for new leads from your Facebook ads and automatically send a WhatsApp message to engage with them immediately.


3. Setting Up the Trigger for Facebook Lead Ads

Now, you need to configure the trigger for your workflow in Pabbly Connect. Click on “Connect with Facebook Lead Ads” and select your Facebook account. Grant the necessary permissions for Pabbly Connect to access your data.

Next, select the page and lead form you want to use. For example, if your page is named “Digital Dynamics,” choose it from the dropdown. This ensures that only leads from this specific form are captured by Pabbly Connect.


4. Sending WhatsApp Messages via Pabbly Chatflow

After setting up the trigger, you will configure the action to send a WhatsApp message. In this step, you will connect to Pabbly Chatflow to send personalized messages to your leads.

  • Access your Pabbly Chatflow account to retrieve your API token.
  • Map the lead’s phone number from the trigger response to the WhatsApp message field.
  • Compose your message, using dynamic mapping to personalize it.

Once you have configured the message, click on “Save and Send Test Request”. This will send a test message to ensure everything is working correctly through Pabbly Connect.


5. Testing the Integration and Finalizing Setup

Finally, it’s time to test your integration. Make a test submission using the Facebook lead ad testing tool. This will generate a lead that Pabbly Connect will capture and process.

Check your WhatsApp to confirm that the message was received successfully. If everything is set up correctly, you will see the personalized message sent to your lead. This confirms that Pabbly Connect is functioning as intended and automating your workflow efficiently.


Conclusion

In this tutorial, we explored how to use Pabbly Connect to automate WhatsApp messaging for leads generated through Facebook Lead Ads. By following the steps outlined, you can streamline your communication and improve lead engagement.

How to Send Bulk WhatsApp Messages Using Broadcasts

Watch Step By Step Video Tutorial Below


1. Setting Up Pabbly Connect for Integration

To start integrating applications, first, you need to set up Pabbly Connect. This application allows you to automate workflows by connecting various apps seamlessly. Begin by creating an account on the Pabbly Connect platform.

Once you’re logged in, navigate to the dashboard. Here, you’ll find options to create new workflows. Click on the ‘Create Workflow’ button to get started with your integration tasks.


2. Choosing Trigger Applications in Pabbly Connect

In this section, you will select the trigger application for your workflow. The trigger app is the one that initiates the automation process. Click on ‘Choose App’ and select your desired application.

  • Select the application from the dropdown list.
  • Choose the specific trigger event that will start the workflow.
  • Click on ‘Save & Continue’ to proceed.

After saving, you’ll need to connect your account. Follow the prompts to authorize Pabbly Connect to access your application data.


3. Setting Up Action Applications in Pabbly Connect

Next, you will set up the action application that will respond to the trigger. This is where the results of the workflow will be executed. Again, click on ‘Choose App’ and select the action application you want to integrate.

After selecting the action application, choose the specific action event. This could be creating a new record, sending an email, or any other action that the application supports. Click on ‘Save & Continue’ to finalize your choices.

  • Select the action event from the dropdown menu.
  • Map the necessary fields from the trigger application to the action application.
  • Test the action to ensure it works as intended.

This step is crucial as it ensures that the data flows correctly between the applications.


4. Testing and Activating Your Pabbly Connect Workflow

Once you have set up both the trigger and action applications, it’s time to test your workflow. Click on the ‘Test Workflow’ button to initiate a test. This will help you verify that everything is functioning correctly.

If the test is successful, you can activate your workflow. Click on the ‘Turn On’ button to make your automation live. You can always go back and edit the workflow if needed.

Testing is essential; ensure that you check every possible scenario to confirm that the integration works flawlessly. This will save you time and effort in the long run.


5. Monitoring and Managing Your Pabbly Connect Integrations

After activating your workflow, it’s important to monitor its performance. Pabbly Connect provides analytics to help you track the success of your integrations. You can view logs and see how many times your workflow has been triggered.

To manage your integrations effectively, return to the dashboard. Here, you can edit, pause, or delete workflows as needed. Regularly check your integrations to ensure they are functioning as expected.

By staying proactive, you can ensure that your automated processes continue to run smoothly and efficiently.


In conclusion, using Pabbly Connect to integrate applications can significantly enhance your workflow efficiency. By following the detailed steps outlined, you can automate processes between your favorite applications seamlessly.