AI Finds Viral YouTube Titles That Get More Views 🤯

Watch Step By Step Video Tutorial Below


1. Accessing Pabbly Connect for Integration

To start using Pabbly Connect, first navigate to the official Pabbly Connect website. You can access it by entering www.pabbly.com/connect in your browser. This platform is essential for automating workflows and integrating various applications seamlessly.

If you are a new user, you can sign up for free. Pabbly Connect offers 100 free tasks each month, allowing you to test its features without any cost. After signing up, you can explore various automation options available on Pabbly Connect.


2. Setting Up Google Sheets with Pabbly Connect

Once you have accessed Pabbly Connect, the next step is to set up Google Sheets as your primary data source. This integration allows you to collect YouTube video ideas in a structured format. To do this, create a new spreadsheet and prepare it for data entry.

Follow these steps to integrate Google Sheets with Pabbly Connect:

  • Open your Google Sheets and go to Extensions.
  • Select Add-ons and search for Pabbly Connect Webhooks.
  • Install the Pabbly Connect Webhooks add-on and refresh your spreadsheet.

After refreshing, you will see the Pabbly Webhooks option under Extensions. This is where you will configure the initial setup for your integration.


3. Configuring Pabbly Trigger for Google Sheets

To set up the trigger in Pabbly Connect, choose the option for New or Updated Spreadsheet Row. This allows any new data entered in your Google Sheets to trigger an action in Pabbly Connect. Copy the webhook URL provided by Pabbly Connect.

Next, go back to your Google Sheets, select Extensions, and then Pabbly Webhooks. From the dropdown, choose Initial Setup. Paste the webhook URL into the designated field and specify the trigger column (e.g., Column A). Click the Submit button to save your settings.


4. Generating YouTube Titles Using OpenAI with Pabbly Connect

Once your trigger is set up, the next step is to configure the action to generate YouTube titles using OpenAI. In Pabbly Connect, select OpenAI as your action app and choose the ChatGPT option. This will allow you to create engaging video titles based on your input.

To connect OpenAI, you will need to provide your API key. Go to the OpenAI API keys page, generate a new key, and paste it into Pabbly Connect. After establishing the connection, you can set up the prompt for title generation. Use a prompt like: “You are a world-class YouTube growth strategist. Generate 20 high clickable YouTube titles from the idea below.” This prompt will help you get the best results.


5. Updating Google Sheets with Generated Titles

After generating the titles, you can add them back to your Google Sheets for easy tracking. In Pabbly Connect, set up another action to update the cell values in your Google Sheets. Select the Google Sheets app and choose the Update Cell Value option.

Connect your Google account and select the spreadsheet where you want to update the titles. Specify the range (e.g., Column B) and map the generated titles from OpenAI. Click Save and Send Test Request to finalize the setup. Your Google Sheets will now automatically update with the generated titles whenever you add a new idea.


Conclusion

By utilizing Pabbly Connect, you can streamline your YouTube content creation process. This integration allows you to generate engaging video titles automatically, saving time and enhancing productivity. Start using Pabbly Connect today to elevate your YouTube channel!
How Do I Send Bulk WhatsApp Messages to Customers?

Watch Step By Step Video Tutorial Below


1. Accessing Pabbly Chatflow for WhatsApp Integration

To start using Pabbly Chatflow, you need to open the dashboard. If you’re a new user, simply search for pabbly.com/chartflow in your browser. The landing page will provide an option to sign up for free.

Once signed up, you can explore the features of Pabbly Chatflow. The platform allows you to send up to 100 WhatsApp messages for free each month. After testing, you can opt for a subscription plan if you find it beneficial.


2. Adding Your WhatsApp Number in Pabbly Chatflow

Before sending bulk messages, you must add your WhatsApp number in Pabbly Chatflow. Navigate to the dashboard and find the option to add your WhatsApp number. This step is crucial for enabling WhatsApp messaging.

  • Click on the ‘Add WhatsApp Number’ button.
  • Follow the prompts to enter your WhatsApp details.
  • Ensure your number is verified to send messages.

After adding your number, you can proceed to the broadcast section of Pabbly Chatflow to start creating your message campaigns.


3. Creating a Broadcast in Pabbly Chatflow

To send bulk messages, access the broadcast section in Pabbly Chatflow. Click on the ‘Add Broadcast’ button and select ‘Broadcast Campaign’ as the type. Name your broadcast, for example, “Grocery Deals”.

Next, select your contact list. If you haven’t created one yet, go to the contact section to add contacts either individually or via a bulk CSV upload. Once your contacts are ready, you can create a new contact list.

  • Click on the ‘Create Contact List’ button.
  • Name the list and set conditions for adding contacts.
  • Select the contacts you want to include.

After creating the list, return to the broadcast setup in Pabbly Chatflow and select your newly created contact list.


4. Sending WhatsApp Messages via Pabbly Chatflow

Now that your broadcast is set up, you can choose the message type in Pabbly Chatflow. You can send either a regular message or a pre-approved template message. For a regular message, enter the text and any media files you want to include.

If you opt for a template message, ensure you have created and approved the template in the template section of Pabbly Chatflow. Once your template is ready, select it from the dropdown menu.

  • Choose the media type (image, video, text).
  • Upload any images or files needed.
  • Preview your message to ensure it looks good.

Once satisfied, you can send a test message to verify everything is working correctly before sending it to your entire list through Pabbly Chatflow.


5. Finalizing and Sending Your Broadcast

After confirming your test message, you can choose to send your broadcast immediately or schedule it for later in Pabbly Chatflow. If you decide to schedule it, select the date and time using the calendar feature.

Click on the ‘Add Broadcast’ button to finalize your broadcast. You will see a notification indicating whether your broadcast is live or scheduled. You can track the status of your messages in the statistics section.

Using Pabbly Chatflow ensures that your WhatsApp number remains compliant with the API, preventing any blocks while sending messages.


Conclusion

In this tutorial, we explored how to use Pabbly Chatflow to send bulk WhatsApp messages efficiently. By following these steps, you can automate your messaging campaigns and engage customers effectively.

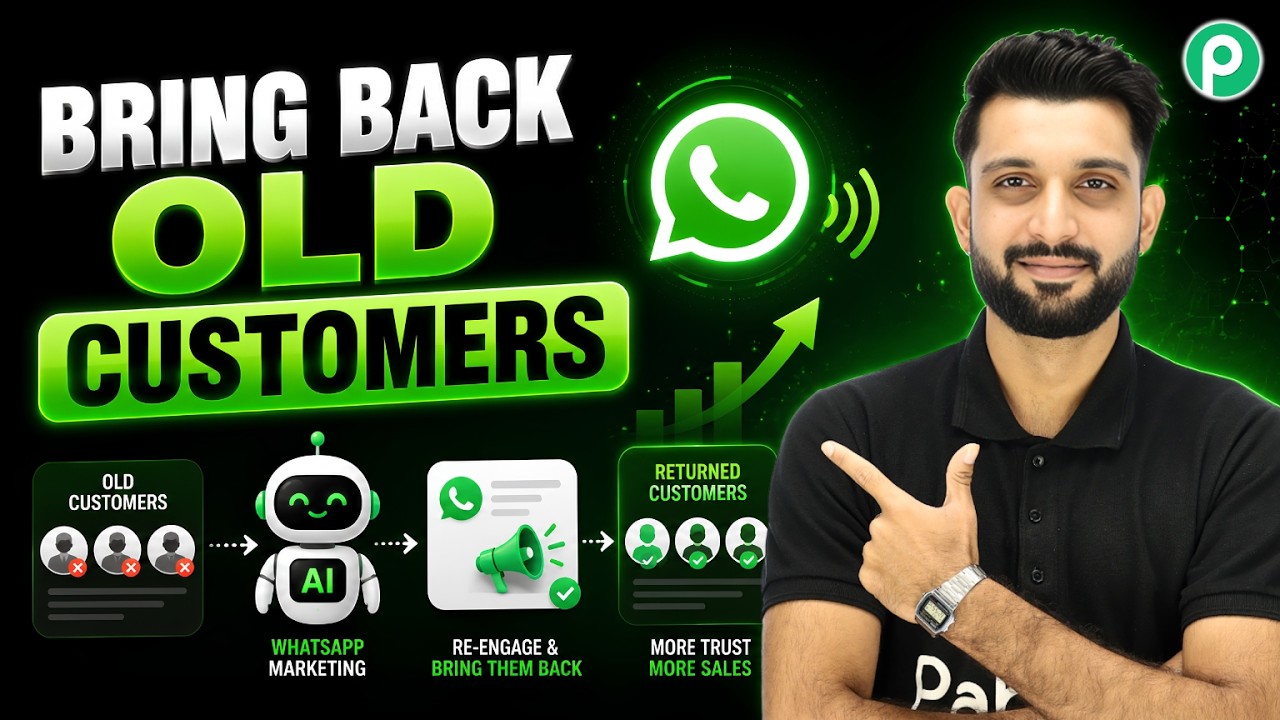
Bring Back Old Customers Using WhatsApp Marketing

Watch Step By Step Video Tutorial Below


1. Accessing Pabbly Connect for WhatsApp Integration

To start integrating WhatsApp with Pabbly Connect, first, navigate to the Pabbly Connect website. This platform serves as the central hub for connecting various applications, including WhatsApp and Pabbly Chatbot.

Once you’re on the Pabbly Connect dashboard, you can sign up or log in. After logging in, you’ll have access to the various features that allow you to set up automated workflows between WhatsApp, Pabbly Chatbot, and other applications.


2. Setting Up WhatsApp Chatbot with Pabbly Connect

To set up your WhatsApp Chatbot, you need to first add your WhatsApp Business number to the Pabbly Chatbot. This integration allows you to automate messaging and customer interaction through WhatsApp.

  • Navigate to the settings in Pabbly Chatbot.
  • Add your WhatsApp Business number.
  • Verify the number through the provided method.

Once your number is connected, you can utilize various features offered by Pabbly Chatbot, making your marketing efforts more effective through WhatsApp.


3. Importing Contacts for WhatsApp Marketing

After setting up your WhatsApp Chatbot, the next step is to import your customer contacts. Pabbly Connect facilitates this process by allowing you to upload CSV files containing customer data.

To import contacts, follow these steps:

  • Download your customer data in CSV format from Google Sheets or Excel.
  • Go to Pabbly Chatbot and click on ‘Add Contact’.
  • Select ‘Add Bulk Contacts’ and upload your CSV file.

Make sure to map the fields correctly to ensure that customer data is stored accurately in Pabbly Chatbot. This allows for personalized messaging in future campaigns.


4. Creating Broadcast Messages with Pabbly Connect

Once your contacts are imported, you can create broadcast messages to reach out to your customers. Pabbly Connect makes it easy to design and send these messages through WhatsApp.

To create a broadcast message, follow these steps:

  • Go to the ‘Broadcast’ section in Pabbly Chatbot.
  • Click on ‘Add Broadcast’ and name your broadcast.
  • Select the contact list you want to target.

After creating your message template, you can use dynamic fields to personalize the messages for each customer. This ensures that your communication feels more personal and engaging.


5. Tracking Broadcast Results with Pabbly Connect

After sending out your broadcast messages, it’s crucial to track their performance. Pabbly Connect allows you to monitor the success of your campaigns effectively.

To track results, go to the ‘Sent’ section in Pabbly Chatbot. Here, you can view metrics such as:

  • How many messages were sent.
  • Delivery status of each message.
  • Read receipts from customers.

This data helps you refine your marketing strategies and improve customer engagement in future campaigns.


Conclusion

In conclusion, integrating WhatsApp with Pabbly Connect and Pabbly Chatbot allows businesses to enhance their marketing efforts effectively. By following the steps outlined, you can successfully engage your customers and drive sales through targeted WhatsApp marketing campaigns.

Automatically Post on Social Media with AI

Watch Step By Step Video Tutorial Below


1. Accessing Pabbly Connect for Integration

To start integrating Lindin, Pabbly, Pab, Google, and Facebook, first access Pabbly Connect. Visit the official website and sign in or sign up for free to explore the features.

Once signed in, you will see various applications available for integration. Click on the “Access Now” button for Pabbly Connect to reach the dashboard where you can create new workflows.


2. Creating a Workflow in Pabbly Connect

Creating a workflow in Pabbly Connect is straightforward. Start by selecting “Create from Scratch” to build your automation. This allows you to customize your workflow according to specific needs.

In the workflow builder, you will set up triggers and actions. Here are the steps to follow:

  • Select “Schedule Workflow” to automate daily tasks.
  • Choose the time you want the automation to run.
  • Click on “Save” to confirm your settings.

With these steps, you have successfully set up the workflow schedule in Pabbly Connect. This will ensure your tasks run automatically every day.


3. Setting Up Triggers for Automation

Triggers are essential in Pabbly Connect to initiate the automation process. For this integration, you will set a trigger that activates at a specific time to generate content.

Follow these steps to set up triggers:

  • Choose “Schedule Workflow” and set it to run every day.
  • Select the time for the trigger to activate.
  • Click on “Save” to finalize the trigger settings.

Once the triggers are set, Pabbly Connect will automatically generate content for your social media platforms at the specified time.


4. Connecting Lindin and Facebook via Pabbly Connect

Next, you will connect Lindin and Facebook using Pabbly Connect. This integration allows you to share generated content on both platforms seamlessly.

To connect these applications, follow these steps:

  • Select “Connect with Facebook” and grant necessary permissions.
  • Choose the Facebook page you want to post on.
  • Map the content generated to the post field in Facebook.

By following these steps, you have successfully connected Lindin and Facebook through Pabbly Connect. Now, any content generated will be posted automatically on both platforms.


5. Finalizing Your Automation with Pabbly Connect

To finalize your automation, ensure all steps are correctly set up in Pabbly Connect. This includes confirming triggers, actions, and connections between Lindin and Facebook.

Review your workflow to ensure it meets your requirements. Once confirmed, click on “Save” to activate the automation. You will receive a success message indicating that your automation is ready.

With your automation finalized, Pabbly Connect will handle the posting of content to your Lindin and Facebook accounts daily, saving you time and effort.


Conclusion

This tutorial outlined how to integrate Lindin, Pabbly, Pab, Google, and Facebook using Pabbly Connect. By following these steps, you can automate your social media posting efficiently, enhancing your digital marketing strategy.

Notify Your Team on Slack About New Bookings

Watch Step By Step Video Tutorial Below


1. Accessing Pabbly Connect for Integration

To notify your team on Slack about new bookings, you will first need to access Pabbly Connect. If you are an existing user, simply open your workflow. For new users, go to your browser and search for pabbl.com/connect to reach the landing page.

On the top right corner, click on the “Sign Up for Free” option to create an account. This will allow you to explore Pabbly Connect with a free trial. Once you are familiar with its features, you can opt for a subscription plan using a discount coupon code provided on the platform.


2. Setting Up the Trigger for New Bookings

In this step, you will set up a trigger in Pabbly Connect to capture new bookings from Calendarly. Click on the “Add Trigger” button and search for “Calendarly” to select it as your trigger application.

  • Choose the event as “Invite Created”.
  • Decide whether to choose organization or user; select user.
  • Click “Connect” to establish the connection.

If you have previously connected Calendarly to Pabbly Connect, select the existing connection. Otherwise, click on “Add New Connection” and log into your Calendarly account to establish the connection.


3. Capturing the Webhook Response

Once your connection is set, click on the “Save and Send Test Request” button. Ensure that you have a Calendarly Pro plan to utilize this integration. Pabbly Connect will then wait for a webhook response.

To capture this response, copy the provided link and book a test appointment. Choose your desired date and time, fill in the necessary details, and click on “Schedule Event”. This action will trigger Pabbly Connect to capture the response from Calendarly.


4. Notifying Your Team on Slack

With the webhook response captured, the next step is to notify your team on Slack. Click on “Add New Action Step” and search for “Slack” as your action application. Select “Send Channel Message” as the event.

  • If you have an existing connection, select it; otherwise, create a new connection.
  • Choose the token type as either user or bot based on your requirements.
  • Click “Allow” to grant necessary permissions.

Now, select the channel ID where you want to send booking notifications. You can customize the message to include details such as the name, booking URL, and scheduled date and time.


5. Finalizing the Integration and Testing

After setting up the message, it’s time to format the date and time for better readability. Use Pabbly Connect’s DateTime Formatter feature to convert the date into a simpler format.

Map the start date and time from the previous step and select the appropriate time zones. Once all details are mapped, click on “Save and Send Test Request” to finalize the integration. Pabbly Connect will now send notifications to Slack whenever a new booking is made.

To test the integration, book another appointment using Calendarly. You should see the notification appear in your Slack channel almost instantly, confirming that your setup is working correctly.


Conclusion

In this tutorial, we demonstrated how to use Pabbly Connect to notify your team on Slack about new bookings. This integration streamlines communication and ensures your team stays informed in real-time. Try it out to enhance your workflow and improve team collaboration!

Send Bulk WhatsApp Messages to Thousands of Customers in 5 Minutes

Watch Step By Step Video Tutorial Below


1. Accessing Pabbly Chatflow for Bulk Messaging

To start sending bulk WhatsApp messages, you need to access Pabbly Chatflow. Begin by navigating to pabby.com/chatflow in your web browser. This will take you to the Pabbly Chatflow homepage where you can sign up or log in.

If you are a new user, click on the ‘Sign Up for Free’ button. For existing users, simply sign in. Once logged in, you will see multiple Pabbly applications, and you should click on ‘Access Now’ for Pabbly Chatflow.


2. Setting Up WhatsApp Integration in Pabbly Chatflow

After accessing Pabbly Chatflow, you need to connect your WhatsApp number. This is crucial for sending messages. You can find tutorials on how to connect WhatsApp in the Pabbly Chatflow dashboard or on their YouTube channel.

Once your WhatsApp number is connected, you will see a dashboard with various features. To send bulk messages, navigate to the ‘Broadcast’ feature. Here are the steps you need to follow:

  • Click on the ‘Broadcast’ option in the left sidebar.
  • Select ‘Add Broadcast’ to create a new broadcast campaign.
  • Choose the type as ‘Broadcast Campaign’.

With these steps, you will be ready to set up your first broadcast in Pabbly Chatflow.


3. Creating a Message Template for WhatsApp

Before sending messages, you need to create a message template in Pabbly Chatflow. This template will be used for your WhatsApp broadcast. Navigate to the ‘Template’ section and create a new template.

Your template should include personalized elements, like the customer’s name. Make sure your template is approved by Meta to ensure it can be used for broadcasting. Follow these steps:

  • Draft your message and include an image if necessary.
  • Submit the template for approval.
  • Check the status to ensure it is approved.

Once your template is approved, you can proceed to use it in your broadcast campaign.


4. Uploading Contacts and Sending the Broadcast

Now that you have your template ready, it’s time to upload your contacts to Pabbly Chatflow. You can do this by navigating to the ‘Contacts’ section and selecting ‘Add Contact’. For bulk uploads, you will need to upload a CSV file containing your customer data.

After uploading your contacts, select the contact list you wish to use for your broadcast. Here are the steps to follow:

  • Choose the contact list you uploaded.
  • Select the message type as ‘Pre-approved template message’.
  • Preview your message before sending.

Once everything is set, click on the ‘Send Broadcast’ button to initiate your bulk WhatsApp message campaign.


5. Testing and Scheduling Your Broadcast

Before sending your broadcast to all customers, it’s essential to test it. In Pabbly Chatflow, you can send a test message to your own WhatsApp number. This ensures that the message appears as intended.

To test your broadcast:

  • Input your own name and mobile number.
  • Click on ‘Send Test Message’ to receive a preview.

If the test is successful, you can choose to schedule your broadcast for a later time or send it immediately. Make sure to select the appropriate date and time for your broadcast to go live.


Conclusion

Using Pabbly Chatflow, you can efficiently send bulk WhatsApp messages to thousands of customers in just 5 minutes. This tutorial outlined the steps to set up your broadcast, create message templates, upload contacts, and test your messages. Streamline your customer communication with Pabbly Chatflow today!

Automatically Send Outlook Emails After Google Forms Submission

Watch Step By Step Video Tutorial Below


1. Accessing Pabbly Connect for Integration

To start your integration with Pabbly Connect, visit the website and create an account if you don’t have one. Pabbly Connect is essential for automating email responses from your Google Forms submissions.

Once logged in, you can utilize the free tasks offered to set up your automation. Pabbly Connect allows you to seamlessly connect various applications, making it easier to manage your workflows.


2. Setting Up Google Forms with Pabbly Connect

In this section, we’ll set up Google Forms to work with Pabbly Connect. First, create your Google Form and gather data from leads. This form will be the trigger for sending emails through Outlook.

  • Create a Google Form to collect lead data.
  • Go to the Responses section and link it to Google Sheets.
  • Ensure the data from the form is saved in a new spreadsheet.

By connecting your Google Form to Pabbly Connect, you ensure that every new submission is logged in Google Sheets, ready for the next step in your automation process.


3. Configuring Pabbly Connect for Email Automation

Next, we will configure Pabbly Connect to send emails via Outlook upon receiving a new form submission. In Pabbly Connect, select Google Sheets as your trigger application.

After setting up the trigger, you will need to connect your Microsoft Outlook account to Pabbly Connect. This allows Pabbly Connect to send automated emails directly from your Outlook account.

  • Choose Microsoft Outlook 365 as your action application.
  • Click on the connect option to link your Outlook account.
  • Map the email address field from your Google Sheets to the recipient field in Outlook.

This configuration ensures that every new lead receives a welcome email automatically, streamlining your communication process.


4. Testing the Integration with Pabbly Connect

After setting up your automation, it’s time to test the integration. Submit a new response in your Google Form to see if the email is sent through Outlook. This step is crucial for ensuring everything works as intended.

Once you submit the form, check your Outlook account to confirm that the welcome email has been sent. If everything is set up correctly, the email should appear in your sent items almost immediately.

By using Pabbly Connect, you can verify that the data flows smoothly from Google Forms to Outlook, allowing you to maintain efficient communication with your leads.


5. Finalizing Your Setup in Pabbly Connect

To wrap up the integration, ensure that all settings in Pabbly Connect are saved. You can also explore additional features to enhance your email automation further.

Consider setting up conditional workflows or using other applications in conjunction with Pabbly Connect for more complex automations. This flexibility allows you to tailor your processes to fit your business needs.

The integration of Google Forms with Outlook via Pabbly Connect not only saves time but also enhances your lead management process significantly.


Conclusion

Integrating Google Forms with Outlook using Pabbly Connect allows for efficient email automation. This setup ensures that every lead receives timely communication, enhancing your business’s responsiveness.

How Beauty Brands Automate Customer Recommendations

Watch Step By Step Video Tutorial Below


1. Introduction to Pabbly Connect for Automation

Pabbly Connect is an essential tool that allows beauty brands to automate customer recommendations seamlessly. By integrating various applications, brands can send personalized skincare product suggestions via WhatsApp.

To get started, visit Pabbly’s website and sign up for an account. Once registered, you can access the dashboard where you can manage all your integrations. Pabbly Connect acts as the central hub for connecting your applications, allowing for smooth workflows.


2. Setting Up WhatsApp Automation with Pabbly Connect

To set up WhatsApp automation for customer recommendations, first, navigate to the Pabbly Connect dashboard. Here, you will find options to create flows that automate messages.

  • Click on the ‘Create New Flow’ button to start a new automation.
  • Select the WhatsApp integration from the list of applications.
  • Choose the appropriate trigger event to initiate the workflow.

Once the flow is created, you can customize it to send skincare recommendations. This setup ensures that every customer receives tailored messages automatically through Pabbly Connect.


3. Creating an AI Assistant for Customer Interaction

Next, you will create an AI assistant that will handle customer inquiries. This assistant will be responsible for analyzing customer needs and providing suitable product recommendations.

Within Pabbly Connect, navigate to the AI assistant feature. Here, you can train your assistant with a knowledge base specific to your beauty brand. This knowledge base will enable the assistant to respond accurately to customer queries.

  • Click on ‘Add Assistant’ to create a new AI assistant.
  • Enter a descriptive name for your assistant.
  • Select the instruction type that will guide the assistant’s responses.

After configuring the assistant, link it to your WhatsApp automation. This integration allows customers to interact with the AI assistant directly, enhancing their experience with personalized recommendations.


4. Training the Assistant with Knowledge Base

Training your AI assistant is crucial for delivering accurate recommendations. In Pabbly Connect, you can upload a knowledge base that contains information about your skincare products.

To upload your knowledge base, click on the ‘Upload Knowledge Base’ option. Ensure that the document is well-structured and contains relevant information about your products and their uses.

  • Prepare your knowledge base document in Google Docs or any text format.
  • Make sure the file size is under 90 MB.
  • Upload the file and save your changes.

This knowledge base will enable your AI assistant to provide informed recommendations, making customer interactions more effective and personalized.


5. Conclusion: Automating Customer Recommendations with Pabbly Connect

By utilizing Pabbly Connect, beauty brands can automate customer recommendations efficiently. This integration not only saves time but also enhances customer satisfaction through personalized interactions.

With the ability to create AI assistants and manage WhatsApp communications, Pabbly Connect streamlines the process of recommending skincare products. This automation empowers brands to engage with their customers effectively, ensuring a seamless shopping experience.

In conclusion, leveraging Pabbly Connect for automating customer recommendations can significantly improve your beauty brand’s operations, making it easier to connect with customers and meet their skincare needs.

Every Google Form Lead Gets a Product Catalogue on WhatsApp

Watch Step By Step Video Tutorial Below


1. Accessing Pabbly Connect for WhatsApp Integration

To start the integration process, you need to access Pabbly Connect. Open a new tab and go to www.pabbly.com/connect. If you’re a new user, sign up for a free account to get 100 free tasks each month.

Once logged in, you will have the ability to create automations without any coding skills. You can explore various plans, including a one-time payment option for lifetime access to features. This makes Pabbly Connect an excellent choice for automating workflows.


2. Setting Up Google Forms with Pabbly Connect

The first step is to create a Google Form that collects lead information. Once the form is ready, you need to connect it to Pabbly Connect. Go to the form’s responses section and click on the “Link to Sheets” option to create a Google Sheet for responses.

  • Create a new Google Sheet for responses.
  • Install the Pabbly Webhooks add-on in Google Sheets.
  • Set up the webhook URL provided by Pabbly Connect.

After setting up the Google Sheet, you will need to refresh it to see the Pabbly Webhooks option. This is where you will paste the webhook URL to send data to Pabbly Connect.


3. Configuring the Webhook URL in Pabbly Connect

In this step, you will configure the webhook URL in your Google Sheet. Click on the Pabbly Webhooks option and select “Initial Setup.” Paste the webhook URL into the designated field and specify the trigger column, which will be the last data column in your sheet.

For example, if your last data column is J, you would enter “Column J” as the trigger column. After clicking the submit button, the setup will be configured successfully. This allows Pabbly Connect to capture data from Google Forms automatically.


4. Sending WhatsApp Messages Using Pabbly Connect

After the Google Form submission is captured, the next step is to send an automated WhatsApp message. This is done using Pabbly Chatflow. You need to connect your Pabbly Chatflow account to Pabbly Connect by entering your API token.

  • Log into your Pabbly Chatflow account and copy your API token.
  • Set up the action to send a template message in Pabbly Connect.
  • Map the recipient’s phone number from the previous step.

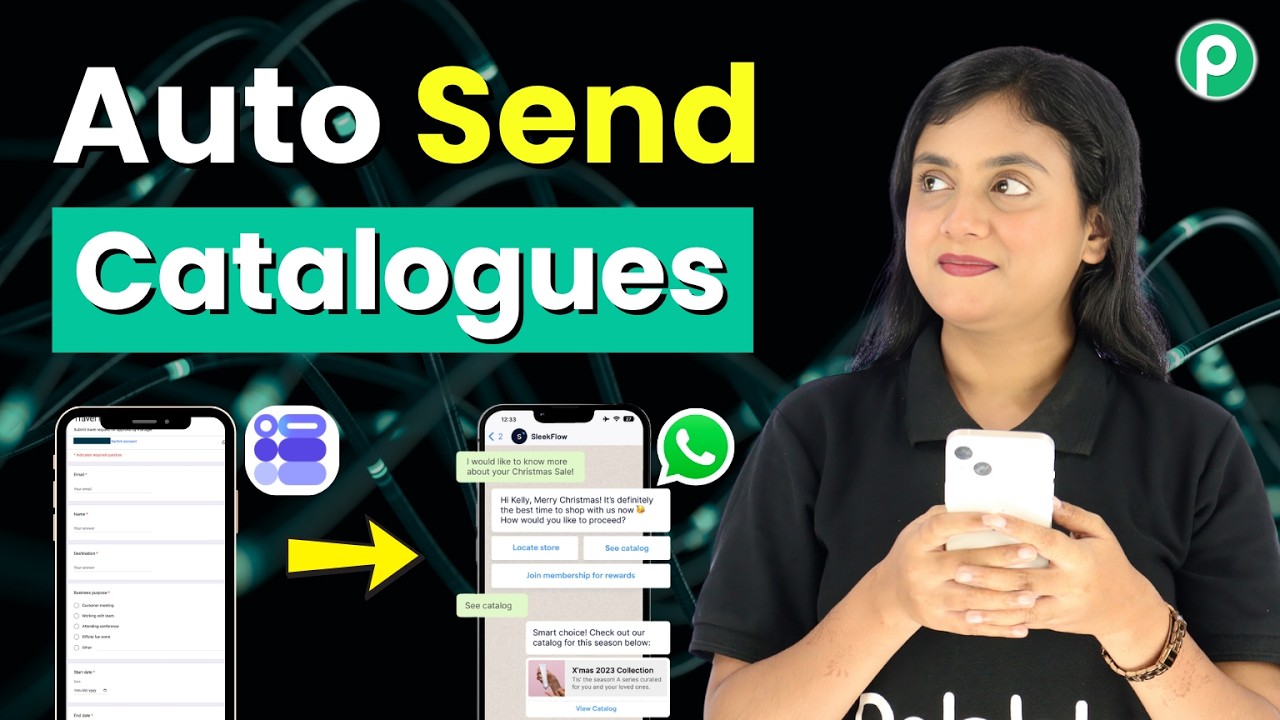
Once your message template is set up, you can send personalized WhatsApp messages that include the product catalog link. This integration allows for seamless communication with leads captured through Google Forms.


5. Testing the Integration and Confirmation

To ensure everything is working, perform a test by submitting a new response in your Google Form. Check your Google Sheet to confirm that the data appears correctly. Then, observe whether the WhatsApp message is sent automatically.

When the test is successful, you will receive a WhatsApp message that includes the product catalog. This confirms that your setup using Pabbly Connect is functioning as intended, automating your lead communication process efficiently.


Conclusion

This tutorial demonstrated how to automate WhatsApp messages for Google Form submissions using Pabbly Connect. By following these steps, you can enhance lead engagement and streamline your communication process effectively.

Sync Shopify Customers and Orders to Salesflare Automatically

Watch Step By Step Video Tutorial Below


1. Accessing Pabbly Connect for Integration

To start integrating Shopify with Salesflare, you’ll need to access Pabbly Connect. Begin by navigating to the Pabbly website at paby.com and signing in to your account. If you’re a new user, you can sign up for free and receive 100 tasks monthly to test the platform.

Once logged in, you will see the dashboard displaying all Pabbly applications. Click on Pabbly Connect to access your workflows. If you need to create a new workflow, simply click on the “Create from Scratch” button and name your workflow accordingly. This sets the stage for automating your order management process.


2. Creating a Workflow in Pabbly Connect

After accessing Pabbly Connect, it’s time to create a workflow that will automate the connection between Shopify and Salesflare. Click on the “Create from Scratch” button and name your workflow, such as “Sync Shopify Customers and Orders to Salesflare Automatically.” Select a folder for organization and click “Create” to proceed.

  • Click “Create from Scratch”.
  • Name your workflow.
  • Select a folder and click “Create”.

With your workflow created, you will now need to set a trigger application. This is where you will select Shopify V2 and the trigger event as “New Order.” Click on “Connect” to establish a connection between Pabbly Connect and Shopify.


3. Setting Up the Webhook in Shopify

To connect Shopify with Pabbly Connect, you need to set up a webhook. In your Shopify admin, navigate to “Settings” and then to “Notifications”. From there, select “Webhooks” and click on “Create Webhook”. Choose the event as “Order Creation” and set the format to JSON.

  • Select “Order Creation” as the event.
  • Set the format to JSON.
  • Paste the webhook URL from Pabbly Connect.

Once you save the webhook, return to Pabbly Connect where it will be waiting for the webhook response. To test the setup, create a new order in Shopify and check if the details are captured in your workflow.


4. Capturing Order Details in Pabbly Connect

After placing a test order in Shopify, return to Pabbly Connect to capture the order details. You should see the response with all relevant order information, such as payment details, customer name, and address. This confirms that the webhook is functioning correctly.

To verify, check the response details in your Pabbly workflow. You should see fields like total payment, customer name, and address. This indicates that your connection between Shopify and Pabbly Connect is successfully set up.


5. Adding Salesflare as the Action Application

The final step involves adding Salesflare as the action application in your Pabbly Connect workflow. Select Salesflare and choose the action event as “Create a Contact.” Connect your Salesflare account by entering your API key, which you can find in the Salesflare settings.

After connecting, map the order details from Shopify to the corresponding fields in Salesflare. This ensures that every new order creates a contact automatically. Once you save and test this action, you should see the new contact created in Salesflare.


Conclusion

Using Pabbly Connect, you can effectively automate the integration between Shopify and Salesflare. This tutorial guided you through accessing Pabbly Connect, creating workflows, setting up webhooks, capturing order details, and adding Salesflare as an action application. With this automation, you can streamline your order management process effortlessly.