How to Send WhatsApp Messages to Facebook Leads in 5 Minutes

Watch Step By Step Video Tutorial Below


1. Accessing Pabbly Connect for Integration

To start integrating WhatsApp with Facebook leads, you first need to access Pabbly Connect. Simply open a new tab and type in pabyt.com/connect to reach the platform’s landing page.

If you’re a new user, you can sign up for free and receive 100 tasks to test the integration. After signing up, log in to your account, and you will be directed to the Pabbly Connect dashboard.


2. Creating a Workflow in Pabbly Connect

Once you’re on the dashboard of Pabbly Connect, it’s time to create a new workflow. Click on the “Create Workflow” button and select the option to create using AI.

  • Search for “Facebook leads to WhatsApp PBY Chatflow” in the prompt section.
  • Select “Facebook Lead Ads New Lead Instant” as the trigger event.
  • Choose “Pabi Chatflow” for the action event.

After selecting these options, approve and create the workflow. This setup will allow you to automatically send WhatsApp messages whenever a new Facebook lead is generated.


3. Connecting Facebook Lead Ads to Pabbly Connect

The next step involves connecting your Facebook Lead Ads to Pabbly Connect. Navigate to the connected option and click on “Add New Connection”. Then, click on the “Connect with Facebook Lead Ads” button.

Once you do this, you will be prompted to continue with your Facebook account. Choose the account that manages your Facebook lead ads and complete the connection process. Your page and form details will appear, allowing you to select the necessary options.


4. Sending WhatsApp Messages Using Pabbly Connect

After setting up the connection, the next step is to send a WhatsApp message using Pabbly Connect. Select “Pabi Chatflow” and connect it by clicking on the “Add New Connection” option. You will need to provide an API token for this connection.

  • Navigate to the settings option in Pabi Chatflow and find the API and Webhook section.
  • Generate the token, copy it, and paste it into your Pabbly Connect workflow.
  • Map the recipient’s phone number and template name to send the message dynamically.

After mapping the necessary fields, click on the “Save and Send Test Request” button to test the setup. You should receive a confirmation message on WhatsApp, indicating that the integration is successful.


5. Conclusion

In this tutorial, we demonstrated how to integrate WhatsApp with Facebook leads using Pabbly Connect. This automation allows businesses to respond instantly to new leads, enhancing customer engagement and operational efficiency.

With the steps outlined, you can now set up your own automated notifications for leads generated through Facebook. This integration not only saves time but also ensures that your leads are promptly attended to, enhancing your business’s responsiveness.
Create WhatsApp AI Chatbot that Replies to Voice Messages Automatically

Watch Step By Step Video Tutorial Below


1. Accessing Pabbly Connect for WhatsApp Integration

To begin the integration process, first access Pabbly Connect. You can do this by visiting the Pabbly website and signing in or creating a new account. Once logged in, navigate to the dashboard where you can manage your integrations.

After accessing your dashboard, look for the option to create a new workflow. This is where you’ll set up the connection between WhatsApp and other applications like Pabbly and YouTube. Ensure you have your WhatsApp number ready for the next steps.


2. Setting Up WhatsApp in Pabbly Connect

In this section, we will focus on how to set up your WhatsApp account within Pabbly Connect. Start by clicking on the “Add Application” button on your dashboard. Select WhatsApp from the list of available applications. This action will initiate the integration process.

  • Select your WhatsApp account from the dropdown menu.
  • Enter your WhatsApp number to link it with Pabbly Connect.
  • Click on the “Connect” button to establish the integration.

Once your WhatsApp account is connected, you will see a confirmation message. This indicates that Pabbly Connect is now ready to send and receive messages through your WhatsApp account.


3. Configuring Automated Responses with Pabbly Connect

Now that your WhatsApp account is connected, you can configure automated responses using Pabbly Connect. Begin by selecting the type of response you want to set up, such as a text or voice message. This will be crucial in managing customer interactions effectively.

To set up automated responses, follow these steps:

  • Choose the response type from the dropdown menu.
  • Input the message you want to send automatically.
  • Save the settings to activate the automated response.

Once configured, Pabbly Connect will handle incoming messages and respond based on your settings, enhancing your communication efficiency.


4. Integrating YouTube with Pabbly Connect and WhatsApp

In this section, we will integrate YouTube with WhatsApp using Pabbly Connect. This allows you to send notifications about your latest videos directly to your WhatsApp users. Start by selecting YouTube as the application to integrate.

Follow these steps to complete the integration:

  • Select “YouTube” from the application list.
  • Choose the action event, such as “New Video Uploaded”.
  • Connect your YouTube account to Pabbly Connect.

After connecting YouTube, configure the message format that will be sent to WhatsApp users. This integration ensures that your audience stays updated with your latest content seamlessly.


5. Testing the Integration between WhatsApp and Pabbly Connect

Finally, it’s crucial to test the integration you’ve set up using Pabbly Connect. Send a test message through WhatsApp to confirm that everything works as expected. This step ensures that your automated responses and notifications are functioning correctly.

To test the integration, follow these steps:

  • Send a message to your WhatsApp number.
  • Check if the automated response is received.
  • Verify that notifications from YouTube are sent correctly.

If all tests are successful, your integration is complete. You can now enjoy the benefits of automated communication through Pabbly Connect, enhancing your business interactions.


Conclusion

Integrating WhatsApp with Pabbly Connect is a powerful way to streamline your communication. By following these steps, you can automate responses and notifications, ensuring efficient customer interactions.

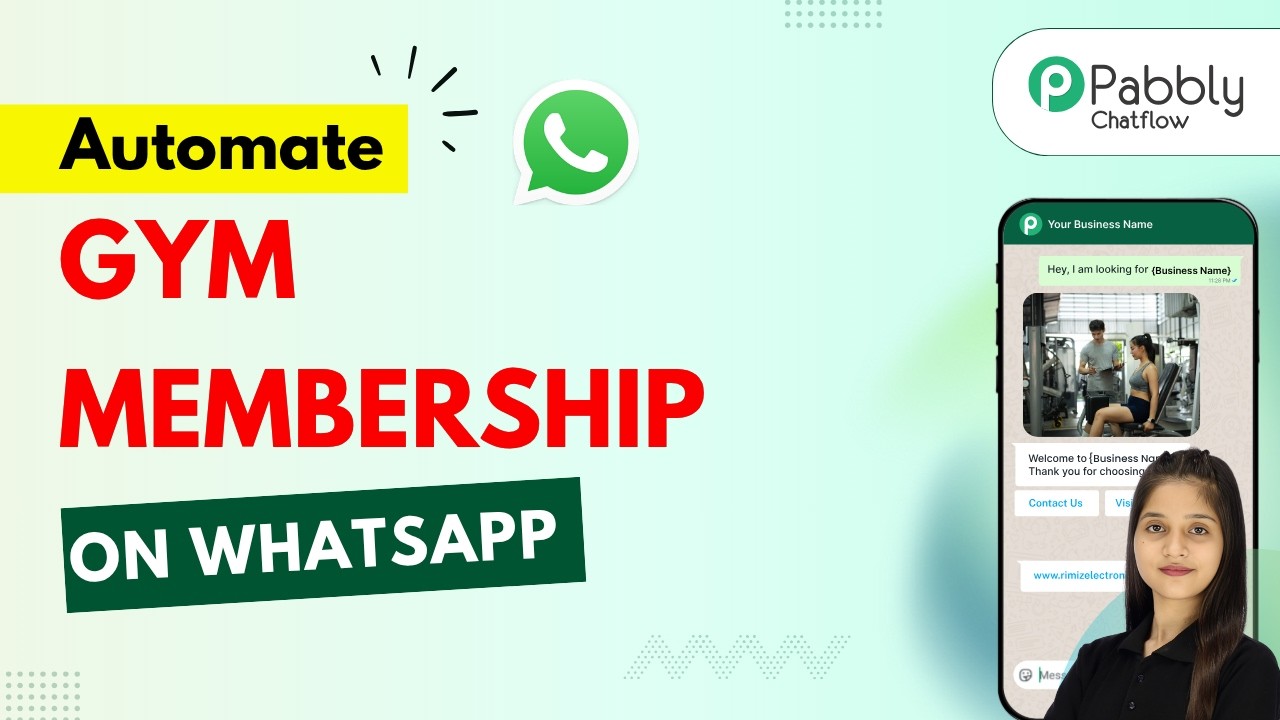
Create a Gym Membership Chatbot That Handles Registrations Automatically 🏋️

Watch Step By Step Video Tutorial Below


1. Setting Up Pabbly Connect for WhatsApp Integration

To create a WhatsApp chatbot for your gym, start by accessing Pabbly Connect. This platform facilitates seamless integration between various applications, enabling you to automate responses effectively.

Begin by navigating to Pabbly Connect. If you’re a new user, click on the ‘Sign Up Free’ option to create an account and receive 100 free credits each month. Existing users should click ‘Sign In’. After logging in, head to the Pabbly Chartflow section to start building your chatbot.


2. Adding Your WhatsApp Number in Pabbly Connect

The next step involves adding your WhatsApp number to Pabbly Connect. This is crucial for the chatbot to function correctly. Click on the settings option in your Pabbly Chartflow dashboard.

  • Navigate to the ‘WhatsApp’ section in the settings.
  • Enter your WhatsApp number and verify it.
  • Save your changes to ensure the number is linked properly.

Once your number is added, you can start creating your chatbot. This integration allows your gym to respond to inquiries instantly, enhancing customer engagement.


3. Creating the Chatbot Flow in Pabbly Connect

Now that your WhatsApp number is integrated, it’s time to create the chatbot flow using Pabbly Connect. Click on the ‘Add Flow’ button to start building your automated responses.

In the flow builder, select the trigger event. For this example, you will use keywords such as “hi” and “hello” to initiate the chatbot’s response. Once the user sends one of these keywords, the chatbot will automatically reply with a welcome message.

  • Set up the welcome message: “Hello, welcome to Fit Zone Gym! What would you like to do today?”
  • Add quick reply buttons for options like “Membership Plans” and “Talk to Trainer”.

This setup allows users to easily navigate through the chatbot, ensuring they receive the information they need promptly.


4. Configuring User Inputs for Membership Plans

Next, configure how the chatbot collects user information regarding membership plans using Pabbly Connect. When a user selects a membership plan, the bot should prompt them for their details.

Add a list of membership plans, such as Basic, Standard, and Premium. When a user selects a plan, the chatbot will ask for their full name, contact number, preferred start date, and workout timing.

  • Create custom fields for each user input: Full Name, Contact Number, Start Date, and Workout Timing.
  • Ensure the bot responds with a personalized confirmation message after receiving the details.

This feature enhances user experience by providing instant feedback and confirmation of their membership request.


5. Finalizing the Chatbot Flow in Pabbly Connect

After setting up the user inputs, finalize your chatbot flow in Pabbly Connect. Ensure all components are linked correctly to facilitate smooth interactions.

Connect the final response node to send a customized message to the user, confirming their membership details. This message should include their name, selected plan, and preferred timings.

Once everything is set, click the ‘Save’ button to activate your flow. This ensures that your WhatsApp chatbot is ready to assist users 24/7, providing immediate responses without requiring manual input.


Conclusion

By following this tutorial, you can successfully create a WhatsApp chatbot for your gym using Pabbly Connect. Automating responses not only enhances customer engagement but also streamlines the membership registration process. Start using Pabbly Connect today to elevate your business operations!

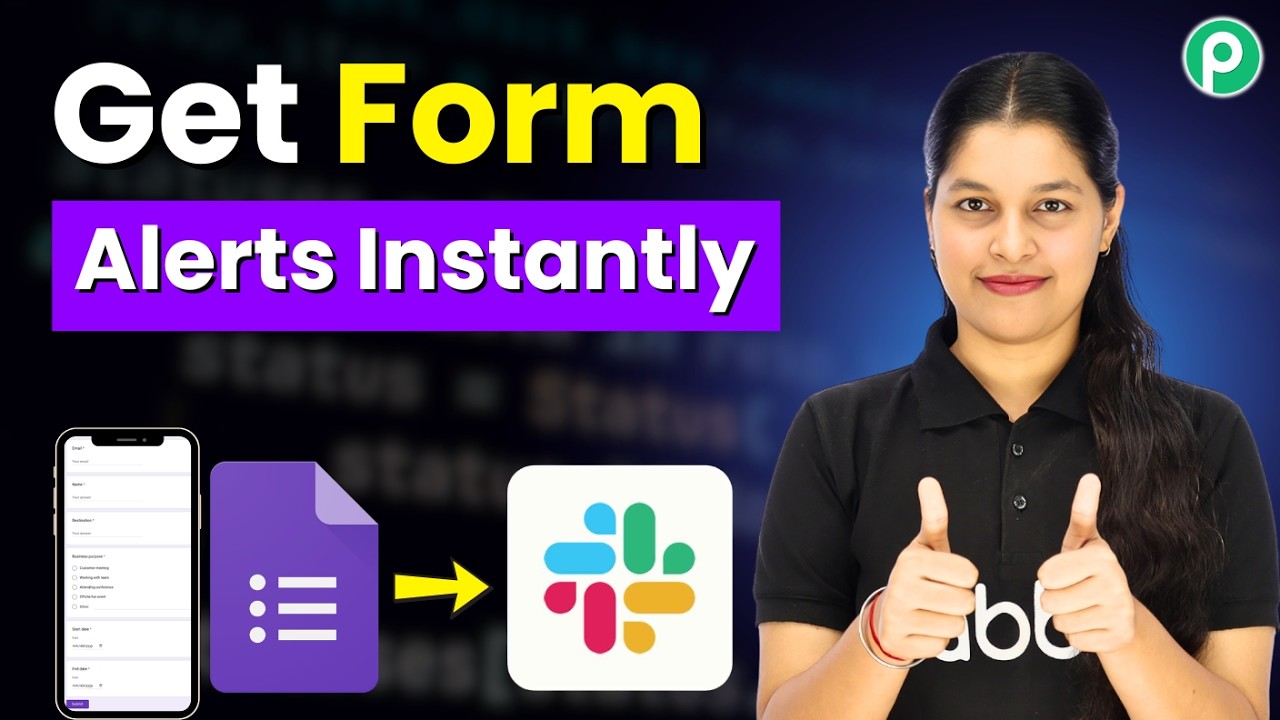
Send Slack Alerts for New Google Forms Responses

Watch Step By Step Video Tutorial Below


1. Accessing Pabbly Connect for Automation

To start automating your Google Form leads, first, access Pabbly Connect. Open a new tab and type in the URL: pabby.com/connect. This will take you to the homepage of Pabbly Connect.

If you are a new user, click on “Sign Up Free” to create an account. You will receive 100 free tasks every month to explore the features of Pabbly Connect. Existing users can simply log in using the “Sign In” option.


2. Setting Up the Trigger with Google Forms

In this step, we will set up the trigger for our automation in Pabbly Connect. Click on the “Add Trigger” button and search for “Google Forms” as your trigger application. Select it to proceed.

  • Choose “New Response Received” as the event.
  • Click on the “Connect” button to generate a webhook URL.
  • Copy the webhook URL provided by Pabbly Connect.

Next, go to your Google Form, navigate to the “Responses” section, and link it to Google Sheets. Under “Extensions,” select “Add-ons” and install the Pabbly Connect Webhook add-on. Use this to paste your copied webhook URL into the setup dialogue.


3. Testing the Trigger and Sending Test Data

After setting up the webhook, it’s time to test the trigger. Fill out your Google Form with test data, including fields like first name, last name, and email. Submit the form to send this data to Pabbly Connect.

  • Return to Pabbly Connect and click on “Send Test” to send the test data.
  • Verify that the test data appears in the Pabbly Connect dashboard.

Once the test is successful, enable the “Send on Event” option in the Google Sheets add-on under the Pabbly Connect Webhooks section. This ensures that future submissions are automatically sent to Pabbly Connect.


4. Setting Up the Action with Slack

Now that the trigger is ready, we will set up the action to send notifications to Slack. In Pabbly Connect, click on “Add Action” and search for “Slack”. Choose it as your action application.

  • Select “Send Channel Message” as the action event.
  • Click “Connect” and enter your Slack token to establish the connection.

Choose the channel where you want the notifications to appear, typically a channel dedicated to lead alerts. You can customize the message to include dynamic data from the Google Form, such as the lead’s name and email, using the mapping feature in Pabbly Connect.


5. Finalizing the Automation

With both the trigger and action set up, it’s time to finalize your automation. Click on “Save and Send Test Request” in Pabbly Connect to check if the Slack message is sent correctly.

If the test is successful, you will see the message in your designated Slack channel. This confirms that your automation is working seamlessly. Now every time a new lead fills out your Google Form, your team will receive an instant notification via Slack.

By using Pabbly Connect, you have successfully automated the process of notifying your team about new leads, ensuring that no lead goes unnoticed. This is a powerful way to enhance your team’s responsiveness and efficiency.


Conclusion

In this tutorial, we explored how to automate Google Form lead notifications to Slack using Pabbly Connect. By following these steps, you can ensure that your team receives timely updates about new leads, enhancing your business’s efficiency and responsiveness.

The Smartest Automation System for 2026 (Pabbly Connect Guide)

Watch Step By Step Video Tutorial Below


1. Introduction to Pabbly Connect

Pabbly Connect is a powerful tool that automates business processes by integrating various applications. With Pabbly Connect, you can seamlessly connect apps like Razer Pay, Google Sheets, and Shopify, making data management effortless.

This integration allows you to automate repetitive tasks, such as saving payment information directly into Google Sheets, thereby enhancing efficiency and reducing manual errors.


2. Integrating Razer Pay with Google Sheets Using Pabbly Connect

To start automating payments, you’ll first set up an integration between Razer Pay and Google Sheets using Pabbly Connect. This process begins by selecting Razer Pay as your trigger application.

  • Select Razer Pay as the trigger application.
  • Choose the event as “Payment Captured” to trigger the action.
  • Connect Razer Pay to Pabbly Connect by following the prompts.

Once set up, every time a payment is processed through Razer Pay, the details will automatically be saved in your Google Sheets, ensuring real-time updates and accurate data management.


3. Automating Facebook Leads into Notion with Pabbly Connect

Next, we will integrate Facebook Lead Ads with Notion using Pabbly Connect. This integration allows your lead data to flow directly into Notion without any manual effort.

Begin by selecting Facebook Lead Ads as your trigger application. Choose the event “View Lead Instant” to capture new leads as they come in. After connecting Facebook Lead Ads to Pabbly Connect, you’ll be able to map the lead data to your Notion database.

  • Select Facebook Lead Ads as the trigger application.
  • Choose “View Lead Instant” as the event.
  • Connect Notion as the action application.

This setup ensures that every new lead captured through Facebook is automatically stored in your Notion database, streamlining your lead management process.


4. Integrating Shopify with Pabbly Chatflow

The final integration we will cover is between Shopify and Pabbly Chatflow. This automation sends a personalized follow-up message to customers after they place an order.

Start by selecting Shopify as your trigger application and choose the event for new orders. Once connected, you will set Pabbly Chatflow as the action application to send messages to customers.

  • Select Shopify as the trigger application.
  • Choose the event for new orders.
  • Connect Pabbly Chatflow to send follow-up messages.

With this integration, each time a new order is placed, a personalized message will be sent to the customer automatically, enhancing customer engagement and satisfaction.


5. Conclusion

In summary, Pabbly Connect serves as a central hub for automating various business processes. By integrating applications like Razer Pay, Google Sheets, Shopify, and Notion, you can streamline operations and enhance efficiency.

Utilizing Pabbly Connect not only saves time but also minimizes human error, allowing you to focus on growing your business effectively.

Build a Shopify AI Agent Using Gemini (3 Simple Steps)

Watch Step By Step Video Tutorial Below


1. Accessing Pabbly Connect for Automation

To start automating product descriptions for your Shopify store, access Pabbly Connect by visiting pabby.com/connect. Here, you will find options to sign in or sign up for free. Signing up allows you to explore the platform with 100 free tasks, making it ideal for testing your automation setup.

Once you’ve signed up, log into your dashboard. Click on the “Create Workflow” button and select “Create from Scratch.” Name your workflow appropriately, such as “Build a Shopify AI Agent using Gemini,” and select a folder for organization. This is where you’ll set up the integration process.


2. Setting Up Google Sheets with Pabbly Connect

In this step, you will connect Google Sheets to Pabbly Connect to trigger actions based on new or updated rows. Select Google Sheets as your trigger application and choose the event “New or Updated Spreadsheet Row.” Click on the connect button to obtain your webhook URL.

  • Copy the webhook URL provided by Pabbly Connect.
  • Open Google Sheets and navigate to Extensions > Add-ons > Get Add-ons.
  • Search for “Pabbly Connect Webhooks” and install it.

After installation, refresh your spreadsheet. Go back to Extensions > Pabbly Connect Webhooks > Initial Setup. Paste the webhook URL and specify your trigger column, which should be set to column G. Click on the submit button to finalize the setup.


3. Entering Product Details in Google Sheets

Now that Google Sheets is connected to Pabbly Connect, you can enter product details. Input basic information such as product name, category, features, material, unit price, cost price, and sale price. For example, you might enter:
– Name: Oversized Streetwear Hoodie
– Category: Unisex Hoodies
– Features: Trendy oversized fit, warm fleece
– Material: Cotton fleece blend
– Unit Price: $21.99
– Cost Price: $9.50
– Sale Price: $17.99

Upon entering these details, the system will automatically capture the row data and send it to Pabbly Connect. You can check if the trigger captures the response by monitoring the workflow dashboard in Pabbly Connect. If successful, you’ll see the product details reflected in the workflow.


4. Generating SEO-Approved Product Descriptions Using AI

Next, you will add an action step to generate SEO-optimized product descriptions using Gemini AI. Choose “Gemini” as your action application and select the event “Generate Content.” Connect to your existing Gemini account or create a new connection using your API key.

In the prompt field, enter your request, such as: “You are an expert e-commerce copywriter for a premium fashion apparel brand called New U Fashion using the following details.” Map the product details from the previous step into the fields provided. This will ensure that the description is dynamic and updates automatically based on the product details you enter.

  • Map the product name, category, features, material, unit price, cost price, and sale price.
  • Select the model as Gemini Pro for better results.
  • Click on “Save and Send Test Request” to generate the description.

After a few moments, you will receive a generated product description that is SEO-approved and ready for use in your Shopify store.


5. Updating Google Sheets with Generated Descriptions

Finally, you will update your Google Sheets with the newly generated product description. Add another action step in Pabbly Connect and select Google Sheets as the application, with the event set to “Update Cell Value.” Connect to your Google account and select the spreadsheet and sheet where you want to update the description.

Specify the range for the cell where the description will be updated, such as column H. Map the generated product description from the previous step to this field. Once everything is set, click on “Send Test Request” to ensure the description updates correctly.

Upon successful execution, your Google Sheets will now reflect the updated product descriptions generated by AI, making it easier to manage your Shopify store’s product listings efficiently.


Conclusion

In this tutorial, we explored how to automate product descriptions for your Shopify store using Pabbly Connect and Google Sheets. By following these steps, you can streamline your product management process and enhance your SEO efforts.

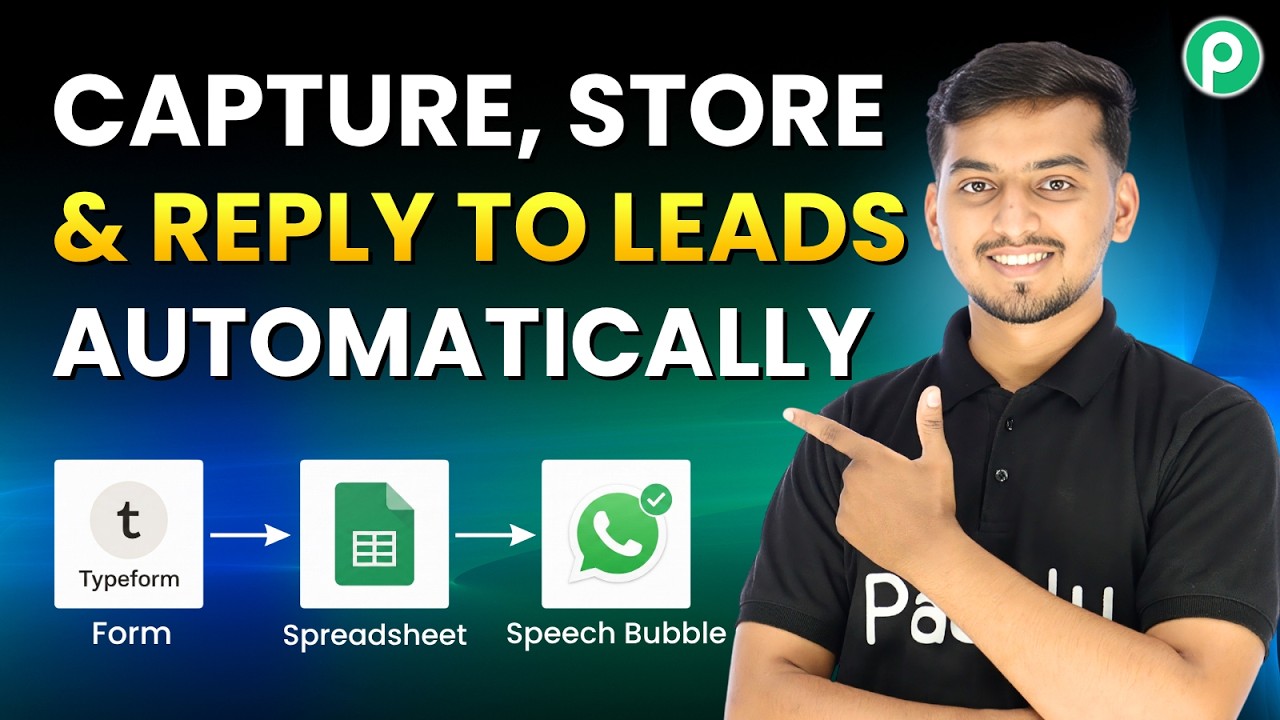
Capture, Store & Reply to Leads Automatically (Full Setup)

Watch Step By Step Video Tutorial Below


1. Introduction to Pabbly Connect for Lead Management

Managing leads efficiently requires more than just capturing them; it necessitates a robust system. Pabbly Connect facilitates this by automating the entire process from lead capture to engagement.

In this tutorial, we will explore how to integrate Typeform, Google Sheets, and WhatsApp using Pabbly Connect. This workflow ensures that leads are organized and responded to instantly, minimizing missed opportunities.


2. Setting Up Typeform as the Trigger in Pabbly Connect

To start, we need to configure Typeform as the trigger application in Pabbly Connect. Begin by creating a new workflow and selecting Typeform as the trigger app.

Follow these steps to set up the trigger:

  • Click on the plus button to add a new trigger.
  • Search for and select Typeform.
  • Choose the event as New Entry.
  • Connect your Typeform account to Pabbly Connect.

Once the connection is established, select the form you created to capture leads. This setup allows Pabbly Connect to trigger actions whenever a new entry is submitted in Typeform.


3. Storing Leads in Google Sheets via Pabbly Connect

After capturing lead information from Typeform, the next step involves storing these details in Google Sheets using Pabbly Connect. This ensures that all lead data is organized systematically.

To set up Google Sheets as the action application, follow these steps:

  • Click the plus button to add a new action application.
  • Select Google Sheets from the list.
  • Choose the action event as Add New Row.
  • Connect your Google account to Pabbly Connect.

After connecting, select the spreadsheet and sheet where you want to store the lead details. This step ensures that every new lead captured from Typeform is automatically added as a new row in your Google Sheets.


4. Sending WhatsApp Messages with Pabbly Chatflow

Once leads are stored in Google Sheets, the final step is to send a personalized WhatsApp message using Pabbly Chatflow. This keeps your leads engaged instantly.

To set up WhatsApp messaging, perform the following actions:

  • Add another action application by clicking the plus button.
  • Select Pabbly Chatflow as the action application.
  • Choose the event as Send Text Message.
  • Connect using the API token from your Pabbly Chatflow account.

After mapping the recipient’s WhatsApp number and the message, Pabbly Connect will facilitate sending the message to your leads automatically, ensuring instant communication.


5. Finalizing Your Automation Workflow with Pabbly Connect

With the setup complete, your automation workflow is now ready. Pabbly Connect allows you to categorize leads based on their budget and send tailored messages accordingly.

To finalize, ensure that all filters and conditions are set correctly in Pabbly Connect. This will help in tagging leads as hot, warm, or cold based on their budget selections. You can also copy and paste existing actions for efficiency.

After testing the workflow, you should see that every new lead captured through Typeform is stored in Google Sheets and receives a WhatsApp message instantly. This integration enhances lead management and engagement significantly.


Conclusion

In conclusion, using Pabbly Connect to integrate Typeform, Google Sheets, and WhatsApp streamlines lead handling. This automation ensures that leads are captured, organized, and responded to instantly, improving your business efficiency.

Replace Manual Calls with an AI Receptionist (Live Demo)

Watch Step By Step Video Tutorial Below


1. Accessing Pabbly Connect for Integration

To start integrating your dental clinic’s operations, access Pabbly Connect by visiting pabbly.com/chatbot. This platform is essential for automating your appointment bookings through WhatsApp.

If you are new to Pabbly Connect, you can sign up for a free account which provides you with 100 credits every month. Existing users can simply sign in to their accounts to begin.


2. Creating Your AI Assistant with Pabbly Connect

Once logged into Pabbly Connect, navigate to the Pabbly Chatbot dashboard. Here, you can create an AI assistant that will handle patient inquiries and appointment bookings automatically.

  • Click on the “Add AI Assistant” button.
  • Enter a descriptive name for your assistant, e.g., “Dental Clinic Receptionist”.
  • Select the instruction type as “AI Agent”.

This setup allows your AI assistant to respond to patient inquiries effectively, ensuring no call goes unanswered.


3. Configuring AI Settings in Pabbly Connect

In this section, you will configure various settings for your AI assistant using Pabbly Connect. This includes setting the temperature for responses and selecting the model provider.

Here’s how to configure:

  • Set the temperature to 0.5 for balanced responses.
  • Choose OpenAI as the model provider and select GPT-4 Mini.
  • Enter your OpenAI API key to connect your assistant.

These configurations will enhance your assistant’s ability to engage with patients effectively, ensuring they receive accurate and timely responses.


4. Uploading Knowledge Base for Your AI Assistant

To make your AI assistant effective, you need to upload a knowledge base file using Pabbly Connect. This file should contain all relevant information about your dental clinic.

Follow these steps to upload your knowledge base:

  • Create a knowledge base file in PDF or .txt format.
  • Ensure the file size is less than 90 MB and upload it in the Pabbly Chatbot interface.
  • Click on “Add New File” and select your knowledge base to upload.

This knowledge base will empower your AI assistant to provide accurate information and responses to patient inquiries, streamlining the appointment booking process.


5. Finalizing Your AI Assistant Setup

After configuring your AI assistant, the final step is to complete its setup using Pabbly Connect. This includes designing the assistant interface and activating it.

To finalize your assistant:

  • Customize the assistant’s appearance by entering a header and footer message.
  • Enable the AI auto-reply settings in the inbox settings.
  • Save your settings and activate the assistant.

This ensures that your AI receptionist is fully operational and ready to assist patients with their inquiries and appointment bookings, enhancing your clinic’s efficiency.


Conclusion

In this tutorial, we explored how to use Pabbly Connect to create an AI assistant for your dental clinic. By automating appointment bookings and inquiries, you can enhance patient experience and reduce missed calls.

Download Instagram Reels Automatically to Google Drive 🤯

Watch Step By Step Video Tutorial Below


1. Introduction to Automating Instagram Reels Backup with Pabbly Connect

In this tutorial, we will explore how to use Pabbly Connect to automate the backup of your Instagram reels to Google Drive. This process will save time and ensure your videos are safely stored.

By integrating Instagram with Google Drive through Pabbly Connect, you can easily manage your content without manual uploads. This automation will help you prevent any loss of your creative work.


2. Setting Up Pabbly Connect for Instagram and Google Drive Integration

To get started, log in to your Pabbly Connect account and navigate to the dashboard. Click on the “Create Workflow” button to begin the automation setup.

Next, select the option to create using AI. Enter your prompt as “Download Instagram reels automatically to Google Drive”. This will guide Pabbly Connect in setting up the workflow.

  • Create a new workflow in Pabbly Connect.
  • Select Instagram for Business as the trigger app.
  • Choose the event “New Post” to trigger the workflow.

Once you have set up the trigger, click on the “Connect” button to link your Instagram account. This is essential for Pabbly Connect to access your posts.


3. Connecting Instagram Account to Pabbly Connect

After clicking the “Connect” button, you will be prompted to add a new connection. Select your Instagram account linked to Facebook. This step is crucial for allowing Pabbly Connect to pull data from your Instagram account.

Once connected, you will see your Instagram account details. To test the connection, click on the “Save and Send Test Request” button. This will fetch the latest post from your Instagram account.

  • Ensure your Instagram account is public to allow access.
  • Check that the latest post is correctly fetched by Pabbly Connect.
  • Confirm that the media URL is available in the response.

This connection is vital for automating the backup process, ensuring that every new Instagram reel is captured by Pabbly Connect.


4. Uploading Instagram Reels to Google Drive Using Pabbly Connect

Now that your Instagram account is connected, the next step is to set up the action to upload the fetched reels to Google Drive. Click on the “Add Action Step” and select Google Drive as the app.

You will need to connect your Google Drive account to Pabbly Connect. Click on the “Sign in with Google” button and allow the necessary permissions. This step ensures that Pabbly Connect can upload files to your specified Google Drive folder.

  • Select the folder in Google Drive where you want to save your reels.
  • Map the media URL from the Instagram post to the upload field.
  • Set the file name based on the post caption for uniqueness.

After mapping the necessary fields, click on the “Save and Send Test Request” button. This action will upload the Instagram reel to your Google Drive, confirming that the automation is working as intended.


5. Finalizing Your Automation and Testing

With the integration steps completed, it’s time to finalize your automation setup in Pabbly Connect. Review all the connections and ensure everything is correctly set up.

Once confirmed, you can test the entire workflow by posting a new Instagram reel. If everything is correctly configured, the new reel should automatically appear in your specified Google Drive folder within the chosen trigger time.

Remember to adjust the trigger time based on your needs. For example, you can set it to check for new posts every 10 minutes. This flexibility allows Pabbly Connect to efficiently manage your Instagram content.


Conclusion

In this tutorial, we explored how to use Pabbly Connect to automate backing up Instagram reels to Google Drive. This integration streamlines your workflow and ensures your content is safely stored for future use.

Improve Customer Experience with This Simple Automation

Watch Step By Step Video Tutorial Below


1. Introduction to Pabbly Connect for Shopify Integration

Pabbly Connect is an essential tool for automating workflows between different applications. In this tutorial, we will use Pabbly Connect to integrate Shopify with Google Sheets and WhatsApp. This integration will allow you to store customer details automatically and send personalized messages.

Understanding how to set up this integration can significantly enhance customer engagement. With Pabbly Connect, you can ensure that every new customer added to your Shopify store is logged into a Google Sheet and receives a welcome message via WhatsApp.


2. Setting Up the Trigger in Pabbly Connect

To begin, log in to your Pabbly Connect account and create a new workflow. The first step is to select Shopify as your trigger application. This will initiate the process whenever a new customer is added.

  • Click on the ‘Add Trigger’ button.
  • Search for Shopify and select it.
  • Choose the event ‘New Customer Created’.
  • Connect your Shopify account by generating a webhook URL.

After setting up the trigger, you will need to paste the webhook URL into your Shopify settings. This allows Pabbly Connect to receive data whenever a new customer is created.


3. Integrating Google Sheets with Pabbly Connect

Once the trigger is set up, the next step is to integrate Google Sheets. This allows you to store customer information automatically. In Pabbly Connect, select Google Sheets as your action application.

  • Click the ‘Add Action’ button.
  • Choose Google Sheets and select ‘Add New Row’ as the event.
  • Connect your Google Sheets account.
  • Map the customer details to the appropriate columns in your sheet.

This integration ensures that every new customer added in Shopify is automatically logged into your Google Sheet, allowing for better data management and customer tracking.


4. Sending WhatsApp Messages Using Pabbly Connect

The final step in this integration process is to set up WhatsApp messaging. For this, select Pabbly Chatflow as your action application. This will enable you to send personalized messages to customers right after they make a purchase.

To configure this, follow these steps:

  • Click on ‘Add Action’ and select Pabbly Chatflow.
  • Choose ‘Send Text Message’ as the event.
  • Connect your Pabbly Chatflow account using the API token.
  • Map the customer’s WhatsApp number and the welcome message.

With this setup, every time a new customer is added to your Shopify store, they will receive a personalized welcome message via WhatsApp, enhancing their shopping experience.


5. Testing the Integration with Pabbly Connect

After completing the setup, it’s crucial to test the entire integration. Begin by adding a test customer in your Shopify store. Once added, check both your Google Sheets and WhatsApp to ensure that the data is logged correctly and the message is sent.

Here’s how to perform the test:

  • Create a new customer in Shopify.
  • Verify that the customer details appear in your Google Sheet.
  • Check your WhatsApp for the welcome message.

This testing phase ensures that your workflow is functioning correctly, allowing you to engage with customers seamlessly using Pabbly Connect.


Conclusion

In this tutorial, we explored how to integrate Shopify with Google Sheets and WhatsApp using Pabbly Connect. By automating customer engagement, you can significantly enhance the shopping experience and build lasting relationships with your customers. Start using Pabbly Connect today to streamline your workflows and improve customer satisfaction.