Learn how to recover abandoned carts using Pabbly Connect and Twilio with this detailed tutorial. Follow the exact steps to automate your workflow. This comprehensive guide reveals exactly how to connect your applications and automate repetitive tasks — accessible for professionals of all technical backgrounds.
Watch Step By Step Video Tutorial Below
1. Accessing Pabbly Connect to Set Up Your Workflow
To recover abandoned carts using Pabbly Connect, you first need to access the platform. Start by visiting Pabbly.com/connect. If you are a new user, click on the ‘Sign Up Free’ button to create your account. This will give you 100 free tasks to explore the capabilities of Pabbly Connect.
If you are an existing user, simply click on the ‘Sign In’ button to log into your account. Once logged in, navigate to the dashboard where you can create a new workflow. Click on the ‘Create Workflow’ button, and then select ‘Create from Scratch’. Choose the new beta version of the workflow builder for an enhanced experience.
2. Creating Your Workflow in Pabbly Connect
Once you have accessed Pabbly Connect, it’s time to create your workflow. Name your workflow something meaningful, such as ‘Recover Abandoned Carts via Twilio’. Select a folder to keep your workflows organized, then click on the ‘Create’ button.
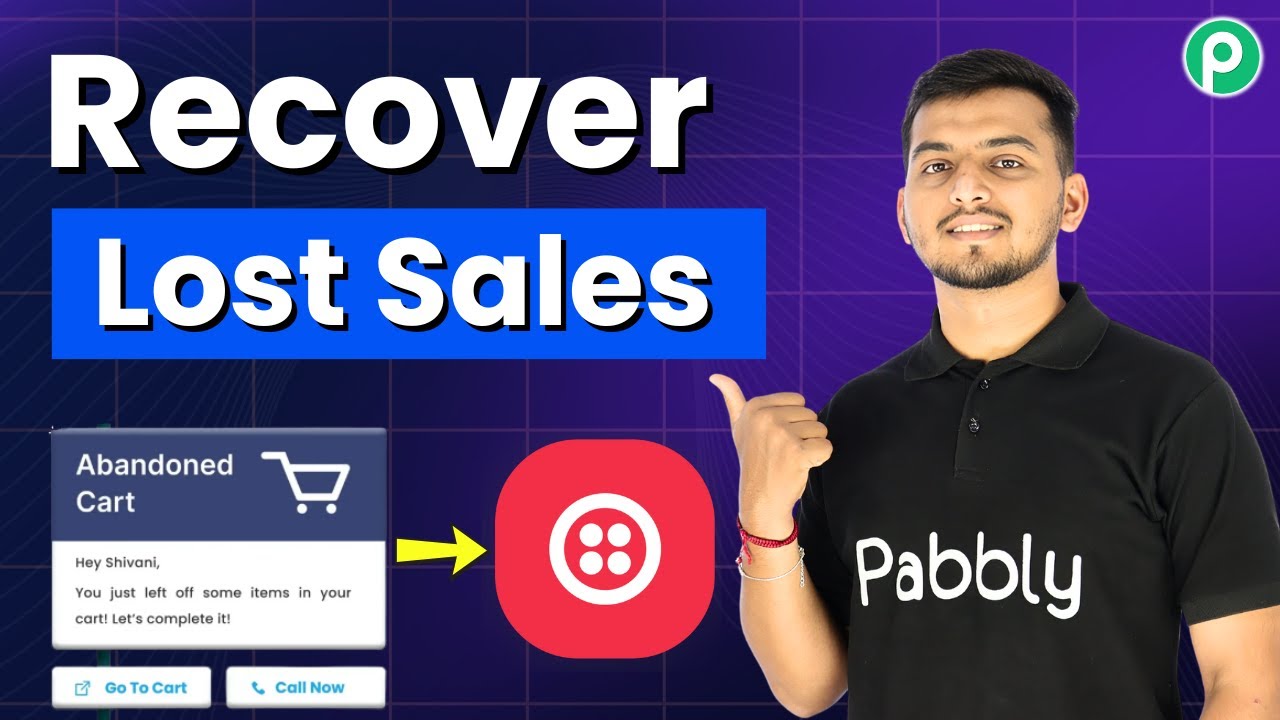
- Select your trigger application, which will be WooCommerce.
- Choose the event ‘New Cart Abandon’ to trigger the workflow.
- Copy the webhook URL provided by Pabbly Connect.
After copying the webhook URL, follow the instructions to install the WooCommerce Cart Abandonment Recovery plugin. Enable tracking and paste the webhook URL into the designated box. By pressing the ‘Trigger Sample’ button, you can confirm that your trigger is functioning correctly.
3. Setting Up Twilio for SMS Notifications
With the trigger set up, the next step involves adding the action application, which will be Twilio. Click on the plus button to add Twilio as your action application. Select the event ‘Send SMS’ to send notifications to customers who abandon their carts.
To connect Twilio, you will need your Account SID and Authorization Token. Log into your Twilio account, copy these details, and paste them into Pabbly Connect. After successfully creating a connection, you can now set up the SMS body, sender number, and recipient number.
- Enter the SMS body content that includes a custom offer.
- Map dynamic details such as customer name and product name.
- Ensure the recipient’s number is also mapped correctly.
After filling in all the necessary fields, click on the ‘Save and Send Test Request’ button to confirm that the SMS is sent successfully to the customer.
4. Testing Your Workflow in Pabbly Connect
After setting up everything, it’s crucial to test your workflow to ensure it operates as expected. You can simulate an abandoned cart by adding a product to your WooCommerce cart and leaving it without completing the purchase.
Once you have abandoned the cart, Pabbly Connect should capture the event and send an SMS notification through Twilio. Check your Twilio account to verify that the SMS was received. This confirms that your integration is functioning correctly and that customers will receive notifications about their abandoned carts.
5. Adding Filters to Enhance Your Workflow
To refine your workflow further, you can add filters in Pabbly Connect. This ensures that your workflow only triggers under specific conditions, such as when the cart status is marked as abandoned. Click on the plus button and select the filter application.
Set up the filter to check for the cart status. If the status is ‘abandoned’, the workflow will proceed to send the SMS. This step enhances the efficiency of your workflow by preventing unnecessary notifications from being sent for carts that are not abandoned.
By implementing these filters, you ensure that your customers only receive relevant notifications, thus improving the effectiveness of your abandoned cart recovery strategy. Now, every time a cart is abandoned, the customer will receive a custom SMS offer directly on their phone.
Conclusion
In this tutorial, we explored how to recover abandoned carts using Pabbly Connect and Twilio. By following the steps outlined, you can automate your workflow and ensure that customers receive timely notifications about their abandoned carts, enhancing your sales potential.
Ensure you check out Pabbly Connect to create business automation workflows and reduce manual tasks. Pabbly Connect currently offer integration with 2,000+ applications.
- Check out Pabbly Connect – Automate your business workflows effortlessly!
- Sign Up Free – Start your journey with ease!
- 10,000+ Video Tutorials – Learn step by step!
- Join Pabbly Facebook Group – Connect with 21,000+ like minded people!