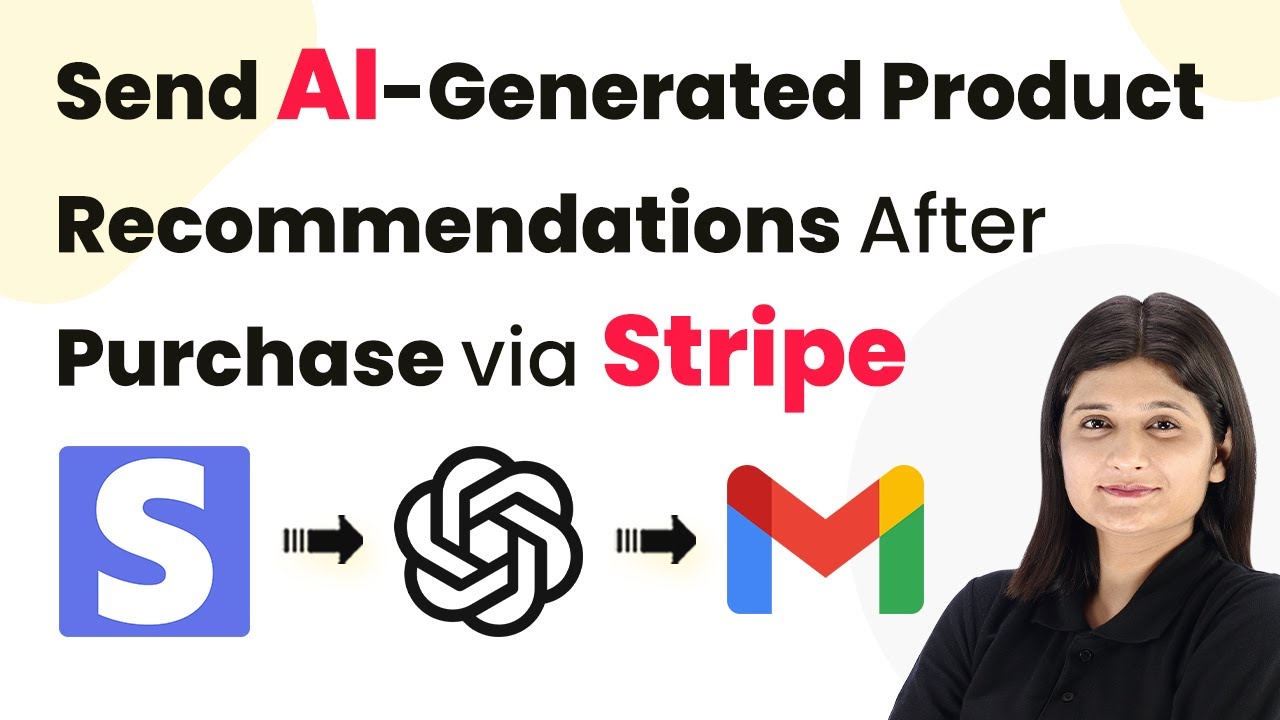
Send AI-Generated Product Recommendations After Purchase via Stripe with Pabbly Connect

Learn how to automate sending AI-generated product recommendations after a Stripe purchase using Pabbly Connect. Step-by-step guide included! Transform complex automation concepts into accessible, actionable steps that eliminate unnecessary manual work while maximizing existing application capabilities.

Watch Step By Step Video Tutorial Below


1. Accessing Pabbly Connect for Automation

To begin automating the process of sending AI-generated product recommendations after a purchase via Stripe, you first need to access Pabbly Connect. Visit the Pabbly website and sign in to your account. If you are new, you can sign up for free and get access to 100 tasks monthly.

After signing in, navigate to the Pabbly Connect dashboard. This is where you can create and manage your workflows. Click on the ‘Create Workflow’ button to start building your automation. Select the classic workflow builder for a familiar interface, and name your workflow, such as ‘Send AI Generated Product Recommendations After Purchase via Stripe.’


2. Setting Up the Trigger with Stripe

In this step, you will set up the trigger that initiates the workflow when a payment is received via Stripe. In the trigger application, select Stripe and choose the event as ‘New Charge.’ This event will activate the workflow each time a payment is successfully processed.

  • Select Stripe as the trigger application.
  • Choose ‘New Charge’ as the trigger event.
  • Copy the webhook URL provided by Pabbly Connect to link it with Stripe.

Next, log in to your Stripe account, navigate to the ‘Developers’ section, and then go to ‘Webhooks.’ Here, you will add a new destination using the webhook URL you copied. Select the latest API version and set the event to ‘Charge Succeeded.’ This setup ensures that every successful payment will trigger the workflow in Pabbly Connect.


3. Testing the Webhook Connection

After configuring the webhook in Stripe, it’s essential to test the connection to ensure everything is set up correctly. To do this, you need to make a test payment using your Stripe payment link. Fill in the required details and complete the payment process.

Once the payment is successful, return to Pabbly Connect to check if the webhook has received the response. You should see the details of the payment captured in your workflow. This confirms that the integration between Stripe and Pabbly Connect is functioning as expected.


4. Generating AI-Generated Product Recommendations

With the payment trigger successfully set up, the next step involves generating product recommendations using AI. In this part of the workflow, you will add OpenAI as an action application. Choose the event as ‘Chat GPT’ to generate the recommendations based on the payment data. using Pabbly Connect

  • Select OpenAI as the action application.
  • Choose ‘Chat GPT’ as the action event.
  • Enter a prompt to generate the email content for product recommendations.

Make sure to map the customer’s name and the purchased products in the prompt. This dynamic mapping ensures that each email sent contains personalized recommendations based on the customer’s purchase history, enhancing user experience and engagement.


5. Sending Email Notifications via Gmail

Finally, to complete the workflow, you will send the generated product recommendations via email using Gmail. Add Gmail as the action application and select ‘Send Email’ as the action event. Connect your Gmail account to Pabbly Connect by granting the necessary permissions.

In the email setup, map the recipient’s email address from the Stripe data and use the content generated from OpenAI as the email body. Set a relevant subject line, such as ‘Here is Your Product Recommendation’ to grab the recipient’s attention. After filling out all the required fields, execute the workflow to send the email.


Conclusion

In this tutorial, we explored how to automate the process of sending AI-generated product recommendations after a purchase via Stripe using Pabbly Connect. By integrating Stripe, OpenAI, and Gmail, you can enhance customer engagement effortlessly. This automation saves time and ensures personalized communication with your customers.

Ensure you check out Pabbly Connect to create business automation workflows and reduce manual tasks. Pabbly Connect currently offer integration with 2,000+ applications.

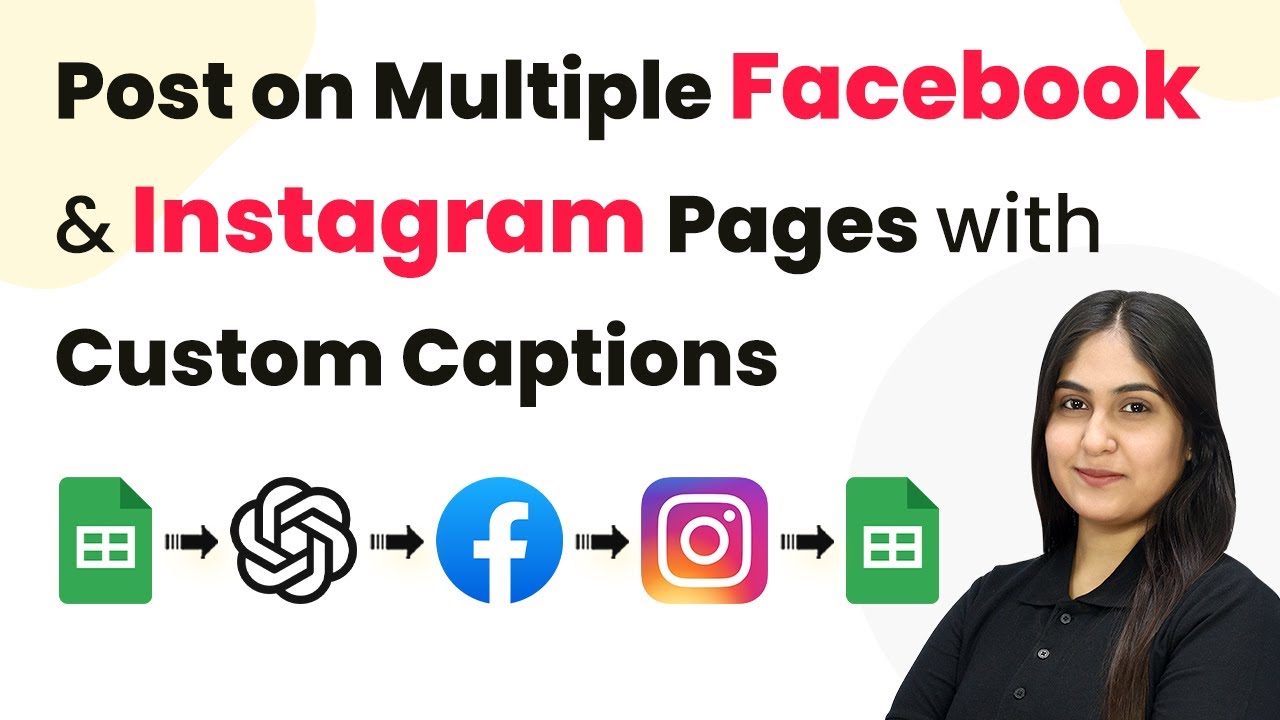
How to Post on Multiple Facebook & Instagram Pages with Custom Captions Using Pabbly Connect

Learn how to automate posts on multiple Facebook and Instagram pages with custom captions using Pabbly Connect. Follow our step-by-step tutorial for seamless integration. Implement the precise methodologies leading organizations use to automate repetitive tasks, illustrated with practical examples designed for immediate application.

Watch Step By Step Video Tutorial Below


1. Accessing Pabbly Connect for Posting on Social Media

To post on multiple Facebook and Instagram pages with custom captions, you need to access Pabbly Connect. Start by visiting Pabbly.com and signing in to your account. If you are a new user, you can sign up for a free account which provides 100 tasks every month to explore the platform.

Once logged in, navigate to the Pabbly Connect dashboard. Here, you will see options to create a new workflow. Click on the ‘Create Workflow’ button to begin setting up your automation that integrates your Google Sheets with multiple social media platforms.


2. Creating a Workflow in Pabbly Connect

In this section, you will create a workflow that triggers when a new title is added to your Google Sheets. Select Google Sheets as your trigger application and choose the event as ‘New or Updated Spreadsheet Row’. This will allow Pabbly Connect to monitor your Google Sheets for any new entries. using Pabbly Connect

  • Select your Google Sheets account and authorize Pabbly Connect to access it.
  • Choose the specific spreadsheet and worksheet you want to monitor.
  • Test the trigger to ensure Pabbly Connect can retrieve data from your Google Sheets.

After setting up the trigger, Pabbly Connect will be ready to capture data from your Google Sheets whenever a new title is added. This automation will serve as the foundation for posting on multiple social media platforms.


3. Generating Captions Using OpenAI with Pabbly Connect

Next, you will integrate OpenAI to generate captions for your social media posts. In the action step of your workflow, select OpenAI as your action application and choose ‘Create Completion’ as the action event. This will allow you to generate a caption based on the title added to your Google Sheets. using Pabbly Connect

For the setup, you need to enter your OpenAI API key and specify the prompt. The prompt should include the title from your Google Sheets to ensure that the caption generated is relevant to the content. Map the title field from the previous step to the prompt field.

  • Enter your OpenAI API key to authenticate the connection.
  • Map the title from Google Sheets to the prompt in OpenAI.
  • Test the action to ensure a caption is generated successfully.

This integration with OpenAI will allow you to automate the caption generation process, making it easier to manage multiple posts across platforms.


4. Posting on Facebook Pages Using Pabbly Connect

The next step is to post the generated content on your Facebook pages. In your workflow, add a new action step and select Facebook Pages as the application. Choose the action event as ‘Create Page Photo Post’. This will enable you to publish the post with the generated caption and image.

Authorize Pabbly Connect to access your Facebook account and select the specific pages where you want to post. Map the photo URL from the previous action step and the generated caption to the respective fields in this action step.

Select the Facebook pages you want to post to. Map the caption and image URL from the previous steps. Test the action to ensure the post is created successfully.

Once the test is successful, you will have automated the posting process on Facebook using Pabbly Connect, enabling you to manage multiple pages efficiently.


5. Posting on Instagram Pages with Pabbly Connect

Finally, you will set up a similar action to post on your Instagram accounts. Add another action step in your workflow and select Instagram for Business as the application. Choose the action event as ‘Publish Photo’ to share the generated content on Instagram.

Just like with Facebook, authorize Pabbly Connect to access your Instagram account. Select the Instagram account you want to post to and map the photo URL and caption from the previous steps.

Choose the Instagram account for posting. Map the caption and image URL from the OpenAI step. Test the action to verify the post is created successfully.

After successful testing, you will have completed the automation for posting on Instagram using Pabbly Connect. This integration allows you to post seamlessly across multiple platforms with customized content.


Conclusion

Using Pabbly Connect, you can efficiently automate posting on multiple Facebook and Instagram pages with custom captions. By following this step-by-step guide, you can enhance your social media management and save valuable time. Start integrating today!

Ensure you check out Pabbly Connect to create business automation workflows and reduce manual tasks. Pabbly Connect currently offer integration with 2,000+ applications.

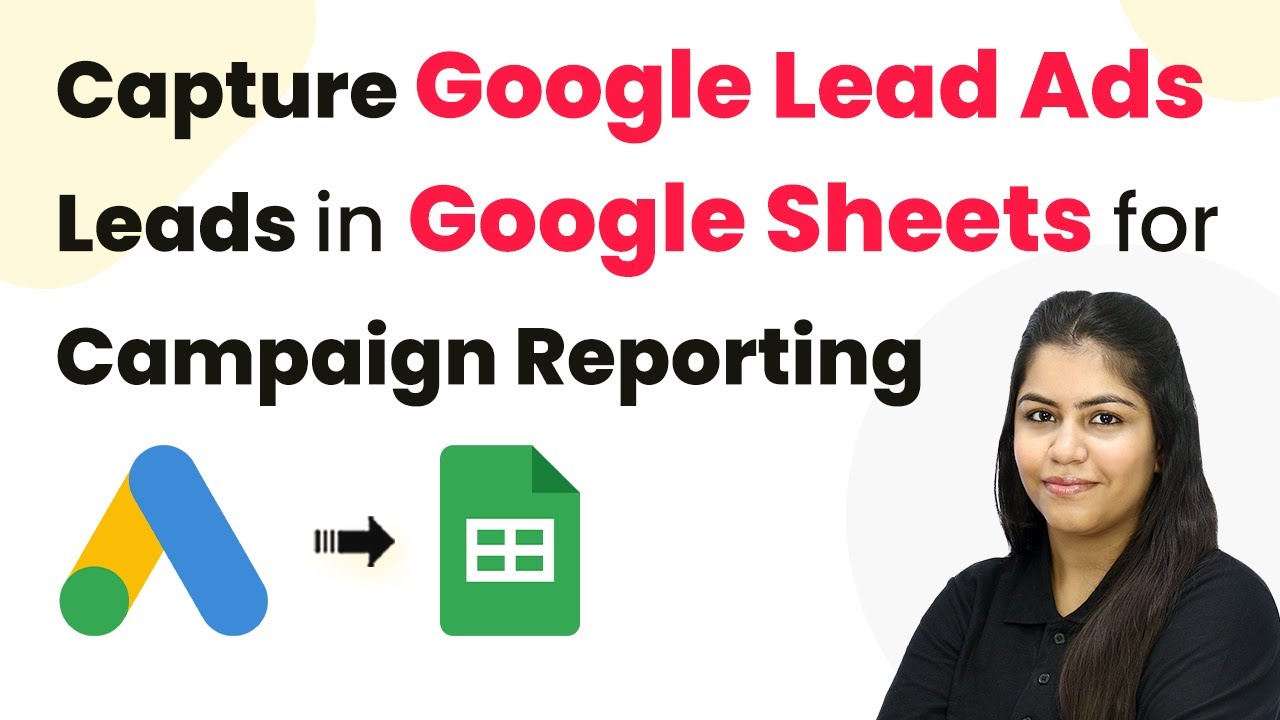
Capture Google Lead Ads Leads in Google Sheets Using Pabbly Connect

Learn how to capture Google Lead Ads leads in Google Sheets for effective campaign reporting using Pabbly Connect. Step-by-step tutorial included. Revolutionize your productivity approach with just a few strategic clicks. Uncover professional methods for connecting applications and creating workflows that reclaim hours of your week.

Watch Step By Step Video Tutorial Below


1. Accessing Pabbly Connect for Google Lead Ads Integration

To capture Google Lead Ads leads in Google Sheets, you first need to access Pabbly Connect. Start by opening your browser and navigating to the Pabbly Connect landing page by typing Pabbly.com/connect.

Once you are on the landing page, you will see options to sign in or sign up. If you are a new user, click on ‘Sign Up for Free’ to create an account. Existing users can simply click ‘Sign In’ to access their dashboard and start the integration process.


2. Creating a New Workflow in Pabbly Connect

After signing in, click on the ‘Create Workflow’ button to start setting up your integration. You will be prompted to choose between the new and classic workflow builders. Select the new workflow builder for a modern interface.

  • Enter a name for your workflow, such as ‘Capture Google Lead Ads Leads in Google Sheets for Campaign Reporting’.
  • Choose a folder to save your workflow, like ‘Automations’.
  • Click the ‘Create’ button to open the workflow window.

In the workflow window, you will see options for adding triggers and actions. This is where Pabbly Connect starts to facilitate the integration between Google Lead Ads and Google Sheets.


3. Setting Up the Trigger for Google Lead Ads

To set up the trigger, click on the ‘Add Trigger’ button and search for ‘Google Ads’. Select it as your trigger application. Then, choose ‘New Lead Form Entry’ as the trigger event and click ‘Connect’.

You will receive a webhook URL from Pabbly Connect. Copy this URL and head over to your Google Ads account. In Google Ads, navigate to the lead delivery option and paste the webhook URL. Click ‘Send Test Data’ to ensure everything is working correctly.


4. Adding Action Step to Send Leads to Google Sheets

After successfully setting up the trigger, it’s time to add the action step. Click on ‘Add New Action Step’ and select ‘Google Sheets’. For the action event, choose ‘Add New Row’ and click ‘Connect’.

  • Select your Google account to connect with Pabbly Connect.
  • Grant all necessary permissions for Pabbly Connect to access your Google Sheets.
  • Choose the spreadsheet where you want to save the lead details.

Now you will map the lead details from Google Ads to the columns in your Google Sheets. This mapping process allows Pabbly Connect to dynamically insert data as new leads come in.


5. Testing the Integration and Saving the Workflow

Once you have mapped all necessary fields, click on ‘Save and Send Test Request’. This action will send a test lead to your Google Sheets to confirm that everything is working correctly.

Check your Google Sheets to verify that the lead details have been successfully added. With this setup, every time a new lead form entry is received from Google Ads, Pabbly Connect will automatically add the lead details to your Google Sheets without any manual intervention.


Conclusion

In this tutorial, we demonstrated how to capture Google Lead Ads leads in Google Sheets for effective campaign reporting using Pabbly Connect. By following these steps, you can streamline your lead management process and ensure that your sales team can follow up quickly.

Ensure you check out Pabbly Connect to create business automation workflows and reduce manual tasks. Pabbly Connect currently offer integration with 2,000+ applications.

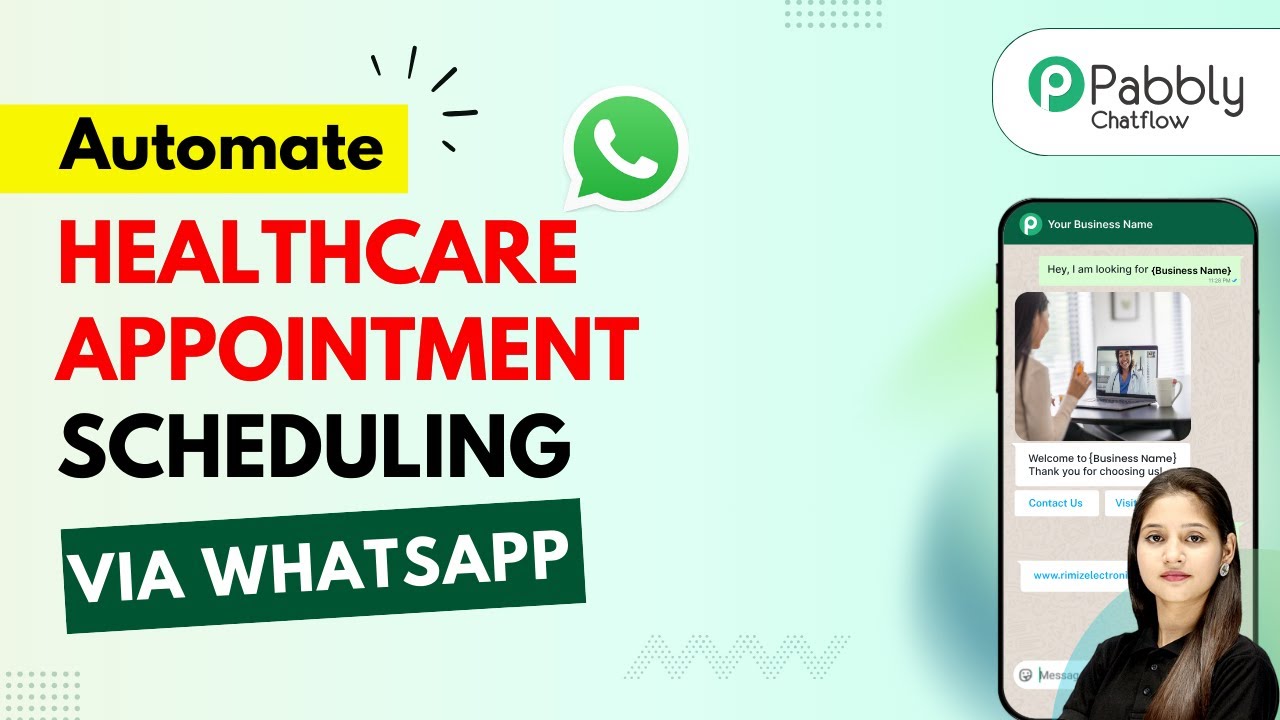
Automate Appointment Scheduling and Follow-Up for Healthcare Providers Using Pabbly Chatflow

Learn how to automate appointment scheduling and follow-up for healthcare providers using Pabbly Chatflow effectively. Step-by-step guide included! Create intelligent chat experiences that delight users while collecting valuable information and moving prospects through your sales process.

Watch Step By Step Video Tutorial Below


1. Accessing Pabbly Chatflow for Appointment Automation

To automate appointment scheduling for healthcare providers, you first need to access Pabbly Chatflow. Open a new tab and visit Pabbly.com/chatflow. This platform is designed to help you create WhatsApp chatbots that can respond to patient inquiries automatically.

Once on the Pabbly Chatflow page, you will see options to sign up or sign in. If you are a new user, click on the sign-up button to create an account and receive 100 credits to explore the software. Existing users can simply sign in to their accounts to start using the features available.


2. Creating a WhatsApp Chatbot with Pabbly Chatflow

After signing in, you will be directed to the Pabbly Chatflow dashboard. Here, you can manage your WhatsApp numbers and create your chatbot. Click on the ‘Access Now’ button under the Pabbly Chatflow section to start building your bot. using Pabbly Connect

  • Select the ‘Flow’ option to begin creating your chatbot.
  • Click on the ‘Plus Add Flow’ button to start a new chatbot flow.
  • Name your flow, for instance, ‘Automate Appointment Scheduling for Healthcare Providers.’

Using the flow builder, you can drag and drop elements to create your chatbot’s responses. This no-code solution allows you to customize your bot without any programming knowledge, making it an ideal choice for healthcare providers.


3. Setting Up Chatbot Responses in Pabbly Chatflow

Once your flow is named, the next step is to set up the responses your chatbot will provide. Start by selecting a trigger event that activates the bot. Choose ‘Keyword’ as the trigger type, where you can specify keywords like ‘schedule appointment’ and ‘doctor appointment’ that users might send. using Pabbly Connect

After establishing the keywords, add a list button to prompt users to select a doctor for their appointment. This list can include options like:

  • Dr. Smith – Cardiologist
  • Dr. Jones – Dermatologist
  • Dr. Lee – Orthopedic

Each selection will lead to further questions, allowing your bot to gather necessary information like the appointment date, time, and medical history from the user.


4. Finalizing the Chatbot Flow in Pabbly Chatflow

After collecting the necessary information, you will need to finalize the flow of your chatbot. For each response, connect the elements to ensure the bot accurately captures user inputs. Use the ‘Ask a Question’ feature to prompt users for their preferred appointment date and time.

For example, you can set the bot to ask, ‘Please provide your medical history and any current conditions for the doctor’s review.’ This information is crucial for the healthcare provider to prepare for the appointment.

Finally, the bot should send a confirmation message summarizing the appointment details. Use dynamic fields like $doctor_name, $appointment_date, and $appointment_time to personalize the response:

‘Your appointment with $doctor_name is scheduled for $appointment_date at $appointment_time.’

This approach ensures that users receive immediate feedback and confirmation about their appointments.


5. Saving and Testing Your Chatbot on Pabbly Chatflow

Once your chatbot flow is complete, it’s essential to save your work. Click the ‘Save’ button to ensure all changes are updated. Testing the chatbot is crucial to verify its functionality before going live.

Send a test message to your WhatsApp business account using the keywords you set earlier. Ensure that the bot responds correctly, guiding you through the appointment scheduling process. This testing phase helps identify any adjustments needed for optimal performance.

With Pabbly Chatflow, you can create a fully functional WhatsApp chatbot that automates appointment scheduling for healthcare providers, enhancing efficiency and patient experience.


Conclusion

In conclusion, automating appointment scheduling and follow-up for healthcare providers using Pabbly Chatflow is a straightforward process that enhances operational efficiency. By following the steps outlined above, you can create a responsive WhatsApp chatbot that meets the needs of your patients effectively.

Ensure you check out Pabbly Connect to create business automation workflows and reduce manual tasks. Pabbly Connect currently offer integration with 2,000+ applications.

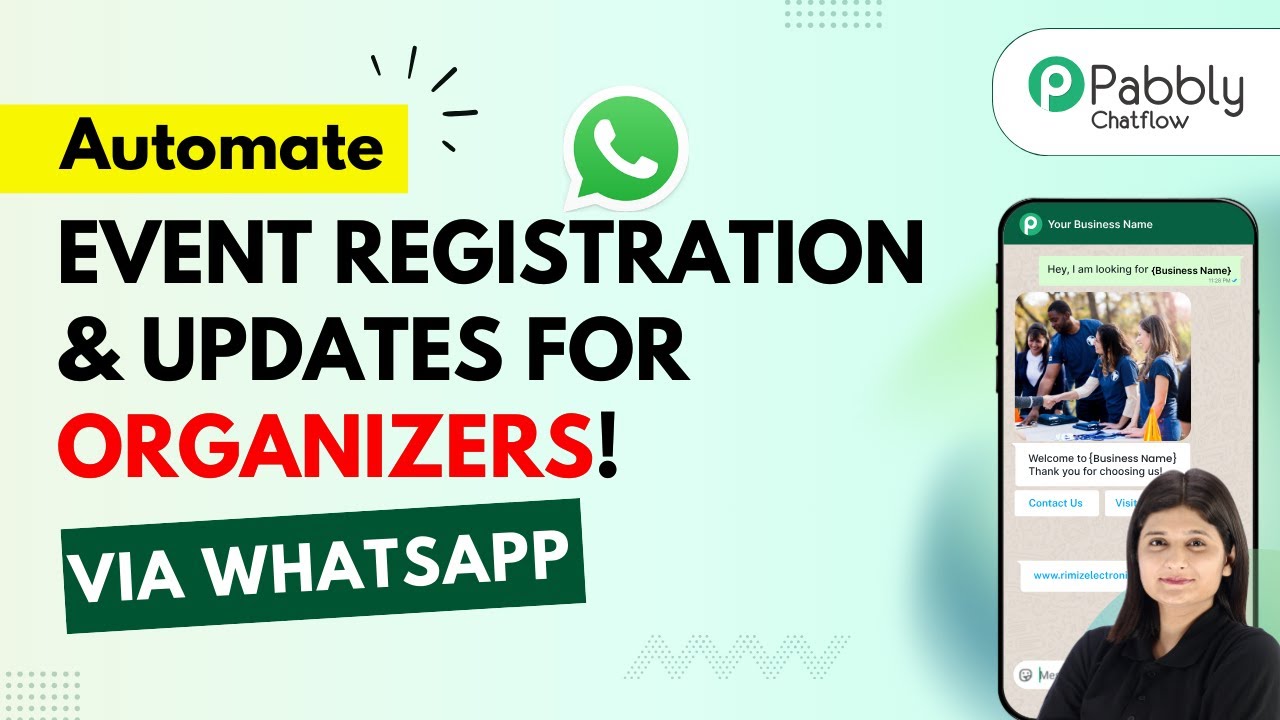
Automate Event Registration & Updates with Pabbly Chatflow

Learn how to automate event registration and updates for organizers using Pabbly Chatflow. Follow this step-by-step guide for seamless integration. Master conversational marketing with practical techniques for creating chatbots that engage visitors at exactly the right moment in their journey.

Watch Step By Step Video Tutorial Below


1. Accessing Pabbly Chatflow for Event Registration Automation

To automate event registration with Pabbly Chatflow, begin by visiting the Pabbly Chatflow website. Here, you can either sign in or create a new account. If you’re a new user, signing up will give you 100 free credits each month, allowing you to explore the platform’s capabilities.

Once logged in, navigate to the dashboard where you can see your credit balance and connect your WhatsApp number. Click on the ‘Add WhatsApp Number’ button to integrate your WhatsApp account with Pabbly Chatflow. This integration is crucial for automating responses to event registration queries.


2. Creating a WhatsApp Chatbot with Pabbly Chatflow

Next, you’ll create a WhatsApp chatbot to handle event registration. In Pabbly Chatflow, click on ‘Flows’ and then ‘Add Flow’ to start a new project. Name your flow ‘Automate Event Registration and Updates for Organizers’. This naming helps keep your projects organized.

  • Select a trigger event: Keyword Regex Match.
  • Enter keywords like ‘registration’ to activate the chatbot.
  • Utilize Regex for smart keyword detection.

After setting the trigger, you can design the flow of the conversation. Use the ‘Text Plus Button’ to send a welcome message and ask users which event they are interested in. This initial interaction is vital for guiding users through the registration process.


3. Collecting User Information for Event Registration

Once the user selects an event, Pabbly Chatflow allows you to collect essential information such as the user’s name, email address, and phone number. After sending the initial message, you can drag and drop an ‘Ask Question’ action to prompt the user to provide their name.

  • Ask for the user’s full name first.
  • Next, request their email address.
  • Finally, ask for their phone number.

Ensure that each question is linked properly in the flow to maintain a smooth conversation. This structured approach helps in efficiently gathering all necessary information for the event registration.


4. Finalizing the Registration Process with Pabbly Chatflow

After collecting the user’s details, Pabbly Chatflow enables you to send a confirmation message and a payment link. This is done by adding an API request action to send the collected data to your Google Sheets for record-keeping.

To set this up, you need to create a workflow in Pabbly Connect. Select ‘Webhook by Pabbly’ as the trigger and enter the provided webhook URL in your flow. This URL is essential for transferring data from your chatbot to Google Sheets.


5. Testing and Activating Your Chatbot

Once your flow is complete, it’s crucial to test the WhatsApp chatbot to ensure everything works as intended. Send a message like ‘Hey, I want to register for the event’ to see if the chatbot responds correctly. This step helps verify that the integration is functioning properly.

Finally, ensure your flow is active in Pabbly Chatflow. If the flow is inactive, users will not receive any messages. After testing, save your flow to keep all changes intact. Now your automated event registration system is ready to handle inquiries efficiently!


Conclusion

In this tutorial, we explored how to automate event registration and updates using Pabbly Chatflow. By integrating WhatsApp and Google Sheets through Pabbly Connect, you can streamline the registration process, saving time and enhancing user experience.

Ensure you check out Pabbly Connect to create business automation workflows and reduce manual tasks. Pabbly Connect currently offer integration with 2,000+ applications.

How to Notify Sales Team on MS Teams When WooCommerce Order is Placed Using Pabbly Connect

Learn how to use Pabbly Connect to notify your sales team on Microsoft Teams whenever a new WooCommerce order is placed. Follow our step-by-step guide!

Watch Step By Step Video Tutorial Below


1. Accessing Pabbly Connect for Integration

To notify your sales team on MS Teams when a WooCommerce order is placed, you first need to access Pabbly Connect. Start by opening your browser and entering the URL Pabbly.com/connect to reach the Pabbly Connect landing page.

If you are a new user, click on the Sign Up for Free button to create an account. Existing users can simply click on Sign In to access their dashboard. Once logged in, navigate to the Pabbly Connect app, where you will set up the integration.


2. Creating a Workflow in Pabbly Connect

After logging into Pabbly Connect, click on the Create Workflow button. You will be prompted to choose between the new workflow builder and the classic one. Select the new workflow builder for a modern interface.

  • Choose a folder to save your workflow, or create a new one.
  • Name your workflow as Notify Sales Team on MS Teams When WooCommerce Order is Placed.
  • Click on the Create button to proceed.

This will open the workflow window where you can set the trigger and action for your integration. The trigger will be a new order created in WooCommerce, which will initiate the workflow.


3. Setting Up the Trigger for WooCommerce

In the workflow window, click on Add Trigger to select WooCommerce as the trigger application. Search for WooCommerce and select it. For the trigger event, choose New Order Created and click Connect.

Pabbly Connect will generate a webhook URL. Copy this URL as you will need it to set up the webhook in your WooCommerce account. Next, log in to your WordPress site where WooCommerce is installed.

  • Navigate to Settings in your WooCommerce dashboard.
  • Go to the Advanced tab and select Webhooks.
  • Click on Add Webhook and fill in the details.

Paste the copied webhook URL into the delivery URL field, set the status to active, and select Order Created as the topic. Click on Save Webhook to finalize the setup.


4. Capturing Order Details in Pabbly Connect

Once the webhook is set up, go back to Pabbly Connect and click on Recapture Webhook Response. This will allow you to capture the details of the order placed. To do this, place a test order in your WooCommerce store.

After completing the checkout process, return to Pabbly Connect. It will automatically capture the order details, including the order number, customer name, email address, and product information. Ensure that the captured details are accurate before proceeding.

Verify that all relevant order details are displayed correctly. Confirm that the order number matches the one generated during checkout.

With the order details captured, you can now set up the action to notify your sales team through Microsoft Teams.


5. Notifying Sales Team on Microsoft Teams

To notify your sales team, click on Add New Action Step in Pabbly Connect. Search for Microsoft Teams and select it as the action application. Choose Send Message in a Channel as the action event and click Connect.

You will be prompted to create a new connection with Microsoft Teams. Click on Connect with Microsoft Teams and grant the necessary permissions. Once connected, select the team and channel where you want to send the message.

Enter the message you want to send, including dynamic data from the order. Use mapping to insert order details dynamically, ensuring the message updates with each new order.

After setting up the message, click on Save and Send Test Request. This will send a test message to your selected Microsoft Teams channel, confirming that the integration is working correctly.


Conclusion

Using Pabbly Connect to notify your sales team on Microsoft Teams whenever a new WooCommerce order is placed streamlines communication and enhances efficiency. With this step-by-step guide, you can easily set up the integration and keep your team informed in real time.

Ensure you check out Pabbly Connect to create business automation workflows and reduce manual tasks. Pabbly Connect currently offer integration with 2,000+ applications.

How to Share Flows in Pabbly Chatflow – Easy Guide!

Learn how to share flows in Pabbly Chatflow with this easy-to-follow tutorial. Discover the steps to integrate and collaborate effectively. Discover practical methods for designing chat sequences that capture leads, answer questions, and guide users to the next step in your funnel.

Watch Step By Step Video Tutorial Below


1. Accessing Pabbly Chatflow to Share Flows

To share flows in Pabbly Chatflow, you first need to access your Pabbly Chatflow account. Once logged in, navigate to the flows section where all your created flows are displayed. Pabbly Chatflow allows you to create and manage your WhatsApp chatbots effectively. using Pabbly Connect

After locating your desired flow, you will be able to share it with anyone, including team members or clients. This feature is particularly useful for collaboration and feedback, enhancing the overall workflow. With Pabbly Chatflow, sharing is straightforward and efficient.


2. How to Share Your Flow in Pabbly Chatflow

Sharing a flow in Pabbly Chatflow is simple. First, find the flow you wish to share from your dashboard. Click on the three dots next to the flow name to access additional options. Select the ‘Share Flow’ feature to generate a sharable link. using Pabbly Connect

  • Click on the three dots next to your flow.
  • Select ‘Share Flow’ from the dropdown menu.
  • Copy the generated sharable link.

Once copied, you can share this link with anyone. The shared flow will allow others to view and interact with the flow layout. However, be aware that certain elements, such as custom fields and templates, will not be shared.


3. What Happens When You Share Flows in Pabbly Chatflow

When you share a flow using Pabbly Chatflow, the entire layout of the flow is accessible to the recipient. This means they can see how the flow operates, which is essential for collaboration. However, some elements like contact custom fields, tags, and templates will not be included in the shared version. using Pabbly Connect

For example, if you have a specific tag or custom field set up in your original flow, it won’t be visible to the person accessing the shared flow. This ensures that sensitive or account-specific information remains secure while still allowing for collaboration. Pabbly Chatflow effectively balances sharing and security.


4. Collaborating with Pabbly Chatflow Flows

Using Pabbly Chatflow to share flows enhances collaboration among teams and clients. This feature allows for real-time feedback and adjustments, making it easier to refine workflows. By sharing flows, you can avoid the hassle of sending screenshots or videos for approval. using Pabbly Connect

  • Facilitates real-time collaboration.
  • No login required for recipients to view the flow.
  • Increases transparency with clients.

This collaborative feature is beneficial for projects requiring input from multiple stakeholders. Pabbly Chatflow streamlines the process, making it easier to work together effectively.


5. Final Thoughts on Sharing Flows in Pabbly Chatflow

In conclusion, sharing flows in Pabbly Chatflow is an invaluable feature for anyone looking to enhance their workflow. It allows for easy collaboration with team members or clients, ensuring everyone is on the same page without needing direct account access. This capability saves time and increases efficiency. using Pabbly Connect

Utilizing Pabbly Chatflow for sharing flows not only simplifies the process but also promotes transparency and teamwork. Anyone can benefit from this feature, making it easier to communicate ideas and get approvals swiftly.

Conclusion

This guide summarizes the key points and helps you understand the essential features and benefits of using this tool.

Ensure you check out Pabbly Connect to create business automation workflows and reduce manual tasks. Pabbly Connect currently offer integration with 2,000+ applications.


By following the steps outlined in this guide, you can effectively share your flows in Pabbly Chatflow and collaborate with ease. This feature is a game-changer for anyone looking to enhance their productivity and teamwork.

How to Send WhatsApp Promotions for Abandoned WooCommerce Carts Using Pabbly Connect

Learn how to automate sending WhatsApp promotions for abandoned WooCommerce carts using Pabbly Connect. Step-by-step tutorial for seamless integration. Explore systematic approaches to creating efficient automation solutions that convert technical concepts into practical, implementable instructions.

Watch Step By Step Video Tutorial Below


1. Accessing Pabbly Connect for Automation

To send WhatsApp promotions for abandoned WooCommerce carts, the first step is to access Pabbly Connect. Pabbly Connect is an automation platform that simplifies the integration of various applications without requiring any coding skills.

Begin by visiting the Pabbly website at Pabbly.com and sign in to your account. If you are a new user, you can sign up for free and receive 100 monthly tasks. Once logged in, navigate to the Pabbly Connect dashboard where you can create your automation workflows.


2. Creating a Workflow in Pabbly Connect

Next, you need to create a new workflow in Pabbly Connect. Click on the ‘Create Workflow’ button, and select the new beta workflow builder for a more modern experience. Name your workflow as ‘Send WhatsApp Promotions for Abandoned WooCommerce Carts’ and select the appropriate folder for organization.

After naming your workflow, you will be prompted to add a trigger. The trigger is the event that starts the automation process. For this integration, select WooCommerce as your trigger application and choose the event ‘New Cart Abandonment’. This setup ensures that every time a cart is abandoned, the workflow will be activated.


3. Connecting WooCommerce to Pabbly Connect

To connect WooCommerce with Pabbly Connect, you will need to use a webhook URL provided by Pabbly. This URL acts as a bridge between your WooCommerce store and Pabbly Connect. Open your WooCommerce settings and navigate to the cart abandonment section.

Here, install the WooCommerce Abandoned Cart Recovery plugin if not already done. Enable tracking in the settings and paste the webhook URL from Pabbly Connect into the designated field. After saving the changes, return to Pabbly Connect, where you will see the status as ‘Waiting for Webhook Response’ indicating that the connection is set up correctly.


4. Testing the Integration Setup

Now that WooCommerce is connected to Pabbly Connect, it’s time to test the setup. Abandon a cart by adding a product to your cart and stopping before the checkout. This action should trigger the webhook, and you will receive a test response in Pabbly Connect.

  • Add a product to your cart.
  • Proceed to checkout but do not complete the purchase.
  • Wait for a few moments to receive the webhook response in Pabbly Connect.

If everything is set up correctly, you will see the details of the abandoned cart in Pabbly Connect, confirming that the integration is functioning as intended.


5. Sending WhatsApp Promotions

After confirming that the integration works, the next step is to send WhatsApp promotions using the WhatsApp Cloud API through Pabbly Connect. Add a new action step in your workflow and select WhatsApp Cloud API as the action application.

Choose the action event as ‘Send Template Message’. To connect, you will need to enter your WhatsApp API credentials, which include the token, phone number ID, and WhatsApp Business Account ID. These can be obtained from your Meta for Developers account.


Conclusion

In this tutorial, we demonstrated how to automate sending WhatsApp promotions for abandoned WooCommerce carts using Pabbly Connect. By following the steps to integrate WooCommerce and WhatsApp Cloud API, you can enhance customer engagement and recover lost sales effectively.

Ensure you check out Pabbly Connect to create business automation workflows and reduce manual tasks. Pabbly Connect currently offer integration with 2,000+ applications.

Automate Salon & Spa Appointment Booking on WhatsApp with Pabbly Chatflow

Learn how to automate salon and spa appointment booking on WhatsApp using Pabbly Chatflow. Follow this detailed tutorial for seamless integration. Create intelligent chat experiences that delight users while collecting valuable information and moving prospects through your sales process.

Watch Step By Step Video Tutorial Below


1. Accessing Pabbly Chatflow for Appointment Booking

To automate salon and spa appointment booking on WhatsApp, the first step is to access Pabbly Chatflow. Open your browser and navigate to the Pabbly Chatflow website.

Once there, you will need to sign into your account. If you are a new user, you can sign up for free and receive 100 credits each month. Existing users can simply click on the ‘Sign In’ button located in the top right corner.


2. Setting Up the WhatsApp Chatbot Using Pabbly Chatflow

After signing into Pabbly Chatflow, you will be directed to the dashboard. Here, you can add your WhatsApp number using the ‘WhatsApp Connect’ button. This is essential for enabling the WhatsApp chatbot functionality.

To create a new flow for your chatbot, click on the ‘Flows’ option on the left sidebar. This will take you to the flow builder where you can start designing your chatbot. Click on the ‘Add Flow’ button to initiate a new flow and name it appropriately, such as ‘Automate Salon and Spa Appointment Booking on WhatsApp’.

  • Select the trigger event as ‘Keyword Regex Match’.
  • Enter keywords like ‘book, appointment, spa’ to activate the chatbot.
  • Configure the Regex pattern to identify various user messages.

After setting up the trigger, you can begin designing the interaction flow for your users. This will ensure that your chatbot responds appropriately to appointment requests.


3. Creating the Interaction Flow with Pabbly Chatflow

In this section, you will configure how your WhatsApp chatbot interacts with users. After setting the trigger, use the ‘Send Message’ action to ask users, ‘Hi, what service would you like to book?’ This is where you can provide options such as haircut, facial, or spa massage.

To create buttons for these options, drag and drop the button feature into the flow. Make sure to label the buttons clearly so users can easily select their desired service. After a user selects a service, follow up with questions about their preferred date and name.

  • Ask for the preferred date using a custom field.
  • Prompt for the user’s name to personalize the booking.
  • Confirm the appointment details with the user.

This structured interaction flow ensures that users receive immediate responses and can easily navigate the booking process through your Pabbly Chatflow chatbot.


4. Integrating Google Sheets with Pabbly Chatflow

Once the user has confirmed their appointment, it is vital to log the details into a Google Sheet for record-keeping. In Pabbly Chatflow, you can use an API request to send the appointment details to Google Sheets.

To do this, drag and drop the API request feature into your flow. Set the method to POST and use the webhook URL provided by Pabbly Connect to send data to Google Sheets. Map the user’s name and appointment date to the respective fields in the sheet.

Create a new row in Google Sheets for each booking. Ensure all data is correctly mapped to avoid errors. Test the API request to confirm data is sent successfully.

This integration allows for seamless data management, ensuring all appointment details are stored and easily accessible through Google Sheets.


5. Finalizing and Testing Your WhatsApp Chatbot

After setting up the flow and integrating Google Sheets, it’s time to finalize your WhatsApp chatbot in Pabbly Chatflow. Make sure to save your flow and set it to active so it can respond to user messages.

To test the chatbot, send a message through WhatsApp as a user would. For example, type ‘Hi, I want to book an appointment’. The chatbot should respond with the service options, and you can proceed through the booking process as a real user would.

Check that all user inputs are captured correctly. Ensure that the appointment details are logged in Google Sheets. Confirm that the appropriate tags are added to user contacts.

With these final checks, your WhatsApp chatbot will be fully operational, providing quick and efficient appointment booking for your salon and spa business using Pabbly Chatflow.


Conclusion

Automating salon and spa appointment booking on WhatsApp is made easy with Pabbly Chatflow. By following the steps outlined in this tutorial, you can create a fully functional chatbot that streamlines your appointment process and enhances customer experience.

Ensure you check out Pabbly Connect to create business automation workflows and reduce manual tasks. Pabbly Connect currently offer integration with 2,000+ applications.

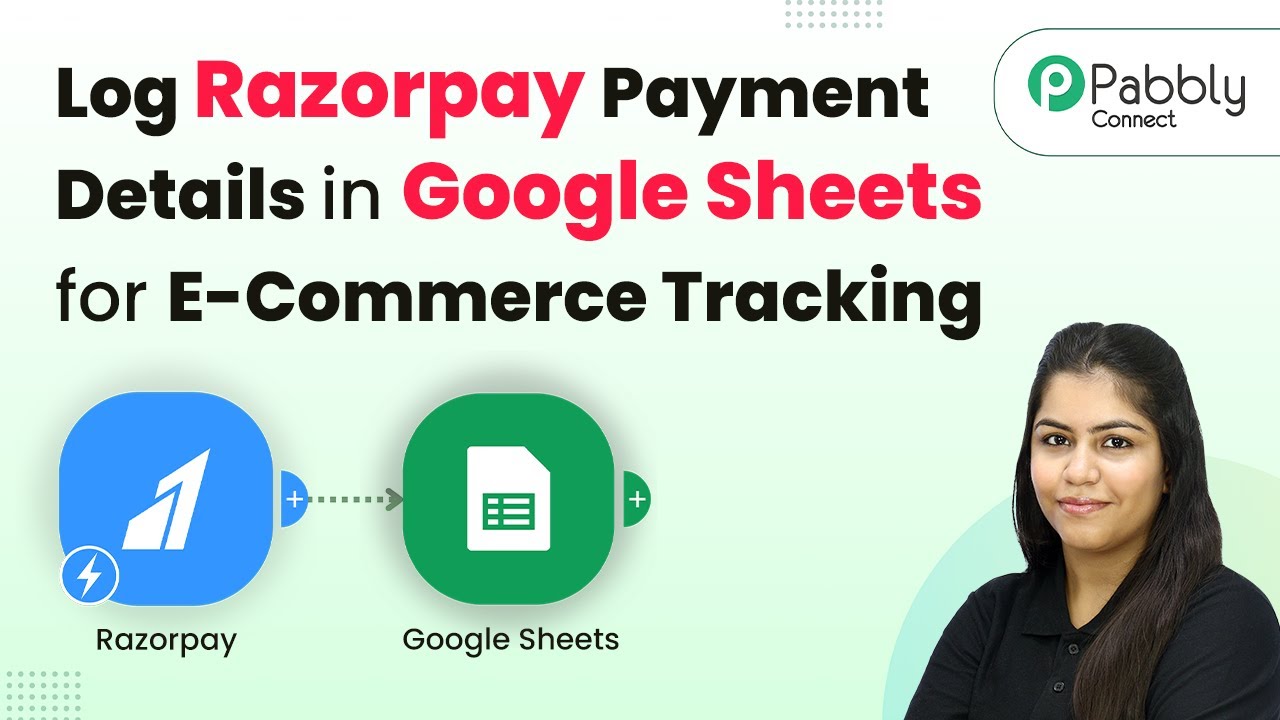
How to Log Razorpay Payment Details in Google Sheets Using Pabbly Connect

Learn how to log Razorpay payment details into Google Sheets for e-commerce tracking using Pabbly Connect. Follow this detailed tutorial for seamless integration. Implement the precise methodologies leading organizations use to automate repetitive tasks, illustrated with practical examples designed for immediate application.

Watch Step By Step Video Tutorial Below


1. Access Pabbly Connect to Start Integrating Razorpay and Google Sheets

To log Razorpay payment details into Google Sheets, the first step is to access Pabbly Connect. You can do this by navigating to the Pabbly Connect landing page at Pabbly.com/connect. This platform allows you to create seamless integrations without any coding knowledge.

Once on the landing page, users have the option to either sign in or sign up for a free account. For new users, the sign-up process is straightforward, providing access to numerous free tasks each month. Existing users can simply click on the sign-in button to access their dashboard.


2. Create a Workflow in Pabbly Connect

After signing in to Pabbly Connect, the next step is to create a new workflow. Click on the ‘Create a Workflow’ button, and you will be prompted to select a workflow builder. Choose the ‘New Workflow’ option for a modern interface.

Next, name your workflow, such as ‘Log Razorpay Payment Details in Google Sheets for E-commerce Tracking’. You can also select a folder to save your workflow. Once you have entered the details, click on the ‘Create’ button to proceed to the workflow window.

  • Select the workflow builder type.
  • Enter a descriptive workflow name.
  • Choose a folder for organization.

Now you will see the main workflow window, which includes options for triggers and actions. This is where you will set up the connection between Razorpay and Google Sheets using Pabbly Connect.


3. Set Up Trigger for Razorpay Payment Captured

In the workflow window, click on the ‘Add Trigger’ button. Search for Razorpay as your trigger application and select it. For the trigger event, choose ‘Payment Captured’ and click on the connect button.

This action generates a webhook URL that you need to copy. Navigate to your Razorpay account and go to the Developers section, then to Webhooks. Here, you will add a new webhook and paste the copied URL into the designated field.

  • Select Razorpay as the trigger application.
  • Choose ‘Payment Captured’ as the trigger event.
  • Paste the webhook URL in the Razorpay Webhooks section.

After successfully adding the webhook, you will return to Pabbly Connect and see that it is waiting for a webhook response. This means your integration is now set up to capture payment details.


4. Test the Integration with a Sample Payment

To test the integration, you need to create a test payment. Open your Razorpay payment page and complete a purchase using the details provided in the video. Ensure that you select a payment method and complete the transaction.

Once the payment is successful, return to Pabbly Connect. You should see that the webhook response has been captured, displaying all the payment details entered during the test submission.

Navigate to the Razorpay payment page. Complete a sample payment transaction. Check Pabbly Connect for captured payment details.

This confirms that Pabbly Connect has successfully captured the payment details from Razorpay, setting the stage for the next step of logging these details into Google Sheets.


5. Add Google Sheets Action to Log Payment Details

Now that you have captured the payment details, the next step is to log these into Google Sheets. Click on ‘Add New Action Step’ and select Google Sheets as the action application. Choose the action event as ‘Add New Row’ and click on connect.

You will need to sign in to your Google account to allow Pabbly Connect to access your Google Sheets. After signing in, select the spreadsheet where you want to log the payment details, which in this case is titled ‘Razor Pay Payments’.

Select Google Sheets as the action application. Choose ‘Add New Row’ as the action event. Map the payment details into the respective columns.

After mapping all relevant fields, click on ‘Save and Send Test Request’. This action will log the payment details into your Google Sheets, confirming that the integration is functioning as expected.


Conclusion

In this tutorial, we explored how to log Razorpay payment details into Google Sheets using Pabbly Connect. By following these steps, you can automate the tracking of e-commerce transactions efficiently. This integration not only saves time but also ensures accurate record-keeping of your payment details.

Ensure you check out Pabbly Connect to create business automation workflows and reduce manual tasks. Pabbly Connect currently offer integration with 2,000+ applications.