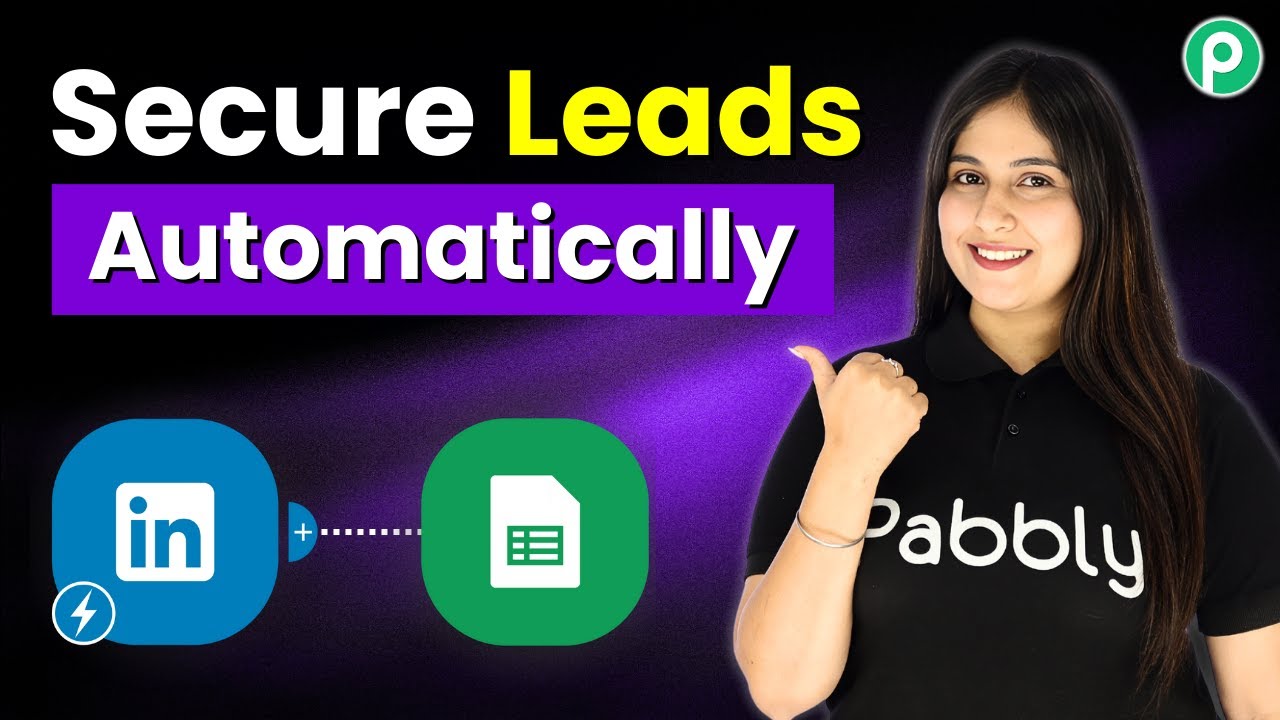
Learn how to automatically backup lead data in real time using Pabbly Connect with Google Sheets, Airtable, and LinkedIn integration. Build sophisticated automated workflows in less time than you think. This guide translates complex integrations into straightforward steps for immediate implementation.
Watch Step By Step Video Tutorial Below
1. Accessing Pabbly Connect for Lead Data Backup
To start backing up lead data in real time, you need to access Pabbly Connect. Begin by visiting Pabbly.com/connect in your browser. This will take you to the Pabbly Connect homepage.
Once on the homepage, you will see options to sign in or sign up for free. If you are a new user, click on ‘Sign Up Free’ to get 100 free tasks each month. If you are an existing user, simply sign in. After signing in, you will be directed to the Pabbly apps window. Click on ‘Access Now’ to enter the Pabbly Connect dashboard.
2. Creating a Workflow in Pabbly Connect
In Pabbly Connect, the next step is to create a new workflow. Click on the ‘Create Workflow’ button. You will be presented with two options: ‘Create from Scratch’ or ‘Create Using AI’. Select ‘Create from Scratch’ to proceed.
Now, choose the beta version for the workflow builder. A dialog box will prompt you to name your workflow. Enter ‘Automatically Backup Lead Data in Real Time’ and select your desired folder, such as ‘Automations’. Click the ‘Create’ button to finalize your workflow setup.
3. Setting Up Trigger for LinkedIn Leads
To automate lead data backup, you need to set up a trigger in Pabbly Connect. Since the leads are coming from LinkedIn ads, select LinkedIn as your trigger application. For the event, choose ‘Lead Notifications’ and click ‘Connect’.
If you’re creating a new connection, click on ‘Add a New Connection’. You will be prompted to log in to your LinkedIn account. Once logged in, select your sponsored account from the drop-down menu and click ‘Save and Send Test Request’. This will allow Pabbly Connect to wait for a webhook response.
4. Generating a Test Lead
To test the trigger in Pabbly Connect, you must generate a test lead in your LinkedIn ads campaign. Navigate to your LinkedIn Ads Campaign Manager and use the drafted test lead form to create a test lead.
Fill in the required fields such as email and phone number. After submitting the test lead, check back in Pabbly Connect to confirm that the successful response has been received. This indicates that the trigger is working properly and the lead data is being captured.
5. Adding Action Step to Google Sheets
After confirming the trigger, it’s time to add an action step in Pabbly Connect. Choose Google Sheets as the action application and select ‘Add a New Row’ as the event. Click ‘Connect’ to create a new connection.
Sign in to your Google account and allow Pabbly Connect access to your data. Next, select the spreadsheet named ‘Leads’ and choose the appropriate sheet. Map the fields from the trigger response to the corresponding columns in Google Sheets. Finally, click ‘Save and Send Test Request’ to ensure that the data is saved correctly.
Conclusion
In this tutorial, we explored how to automatically backup lead data in real time using Pabbly Connect. By integrating LinkedIn and Google Sheets, you can ensure that no lead is missed and all data is securely stored. This process not only streamlines your workflow but also enhances your data management capabilities.
Ensure you check out Pabbly Connect to create business automation workflows and reduce manual tasks. Pabbly Connect currently offer integration with 2,000+ applications.
- Check out Pabbly Connect – Automate your business workflows effortlessly!
- Sign Up Free – Start your journey with ease!
- 10,000+ Video Tutorials – Learn step by step!
- Join Pabbly Facebook Group – Connect with 21,000+ like minded people!