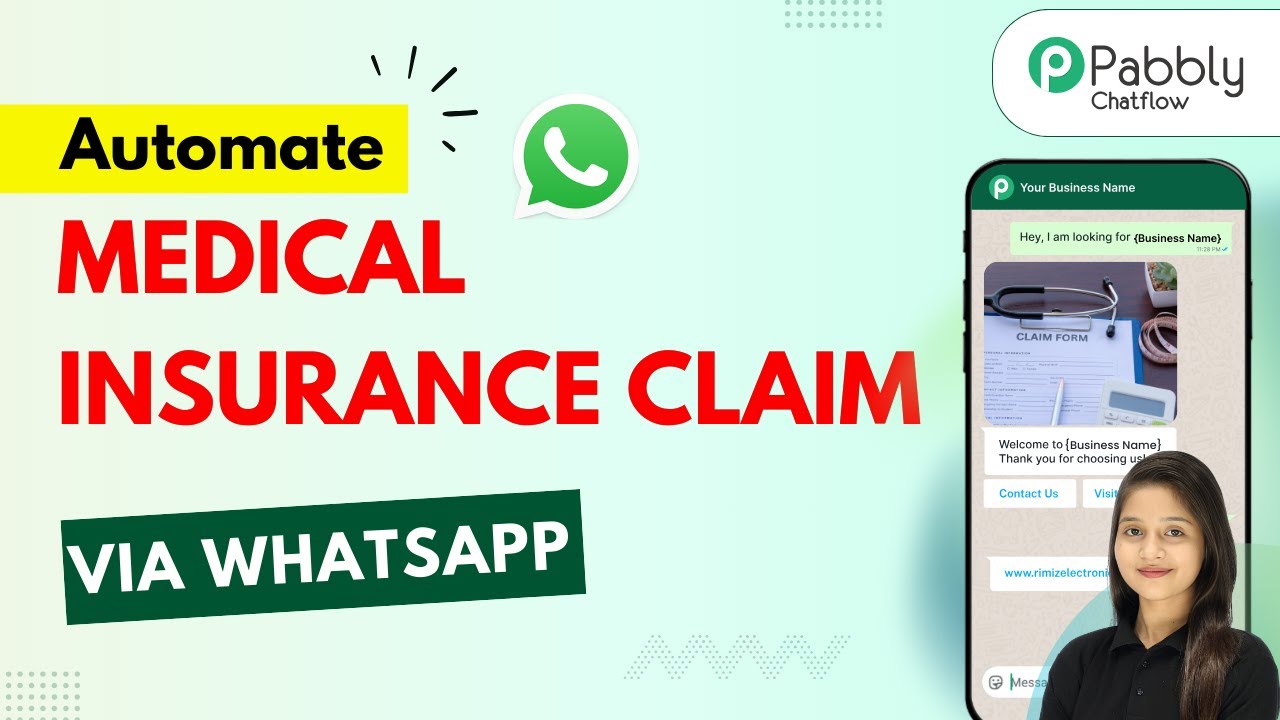
Learn to create a WhatsApp chatbot for medical insurance claims using Pabbly Chatflow. Follow our step-by-step guide for seamless integration. Learn step-by-step how to create, test, and optimize chatbots that enhance customer experience while reducing support workload.
Watch Step By Step Video Tutorial Below
1. Accessing Pabbly Chatflow for WhatsApp Automation
To build a medical insurance claim bot using Pabbly Chatflow, start by visiting the Pabbly website. Go to Pabbly.com/chatflow to access the platform. If you are new, click on ‘Sign Up Free’ to create an account and receive 100 free credits monthly. Existing users can simply sign in to their accounts.
Once signed in, navigate to the Pabbly Chatflow dashboard. Click on the ‘Access Now’ button to enter the flow builder interface. This is where you will create your WhatsApp chatbot for medical insurance claims. Pabbly Chatflow allows you to automate responses and manage interactions without coding.
2. Creating Your Chatbot Flow in Pabbly Chatflow
After accessing the flow builder in Pabbly Chatflow, click on the ‘Plus Add Flow’ button to start creating your chatbot. Name your flow something descriptive, like ‘Build a Medical Insurance Claim Bot Using Pabbly Chatflow’. This helps in identifying the bot later on.
- Click on the ‘Trigger’ event to set up your bot’s activation keywords.
- Enter keywords like ‘hi’ and ‘hello’ that users might send to initiate the conversation.
- Add a welcome message that introduces the bot and its purpose.
By setting up these initial parameters, you ensure that your bot responds promptly to user inquiries. The Pabbly Chatflow interface allows for easy customization of messages and keywords, making it user-friendly for anyone looking to automate their customer service.
3. Adding Interactive Buttons with Pabbly Chatflow
To enhance user interaction, add quick reply buttons in your Pabbly Chatflow flow. These buttons can guide users to specific actions, such as raising a claim or checking the status of a claim. Click on the ‘Plus Add Button’ option to create these interactive elements.
- Create buttons labeled ‘Raise a Claim’, ‘Claim Status’, and ‘Talk to Executive’.
- Link these buttons to relevant actions in your flow, ensuring a seamless user experience.
These interactive buttons not only make the conversation more engaging but also streamline the process for users seeking assistance. The Pabbly Chatflow platform simplifies the creation of these buttons, allowing you to focus on your business needs.
4. Collecting User Information with Pabbly Chatflow
As users interact with your bot, it’s essential to collect relevant information for processing claims. Use the ‘Ask Question’ feature in Pabbly Chatflow to prompt users for their details, such as their full name, policy number, and treatment information.
For each question, you can configure the response format and set the number of attempts for user input. This ensures that users provide accurate information, enhancing the efficiency of your claim processing. Set up custom fields for each piece of information collected, allowing for dynamic responses based on user input.
5. Finalizing Your Chatbot Setup in Pabbly Chatflow
After collecting all necessary user information, finalize your bot’s flow by adding a confirmation message that summarizes the user’s input. Use dynamic fields to personalize this message, thanking them for their submission and confirming details like their policy holder name and claim type.
Remember to save your flow in Pabbly Chatflow to ensure all changes are retained. Once saved, your automated WhatsApp chatbot will be ready to assist users with their medical insurance claims efficiently.
Conclusion
In summary, creating a medical insurance claim bot using Pabbly Chatflow allows businesses to automate customer interactions effectively. By following the outlined steps, you can set up a fully functional WhatsApp chatbot that enhances user experience and streamlines claim processing.
Ensure you check out Pabbly Connect to create business automation workflows and reduce manual tasks. Pabbly Connect currently offer integration with 2,000+ applications.
- Check out Pabbly Connect – Automate your business workflows effortlessly!
- Sign Up Free – Start your journey with ease!
- 10,000+ Video Tutorials – Learn step by step!
- Join Pabbly Facebook Group – Connect with 21,000+ like minded people!