Top 5 WordPress Automations Explained Step-by-Step (Using Pabbly Connect)

Watch Step By Step Video Tutorial Below


1. Accessing Pabbly Connect for WordPress Automations

To start automating your WordPress tasks, you need to access Pabbly Connect. Visit the Pabbly Connect dashboard by typing pabbly.com/connect in your browser.

Once there, you will see options to sign in or sign up for free. New users can click on Sign Up Free to create an account and get 100 free tasks each month. Existing users can simply log in. This is your first step towards automating your WordPress tasks with Pabbly Connect.


2. Automate WordPress Post Creation Using Google Sheets and OpenAI

The first automation involves generating and publishing WordPress posts automatically using Google Sheets and OpenAI. In this setup, Pabbly Connect acts as the bridge between these applications.

When you add a new title and description in Google Sheets, Pabbly Connect triggers OpenAI to generate content based on that input. The generated content is then published as a new post in WordPress. Here’s how to set it up:

  • Create a new Google Sheet with title and description columns.
  • Set Google Sheets as your trigger app in Pabbly Connect.
  • Connect OpenAI to generate content based on the title and description.
  • Publish the post in WordPress using the content generated by OpenAI.

This automation saves time, especially for bloggers and marketers who need to publish content regularly. With Pabbly Connect, you can streamline your content creation process effortlessly.


3. Generate WordPress Articles from YouTube Videos with Pabbly Connect

Another powerful automation is generating WordPress articles from your YouTube content. Here, Pabbly Connect facilitates the integration between YouTube and WordPress.

As soon as you upload a new video on YouTube, Pabbly Connect can fetch the video title and create a blog post in WordPress. To set this up:

  • Select YouTube as your trigger app in Pabbly Connect.
  • Map the video title to your WordPress post title.
  • Use OpenAI to generate content based on the video title.
  • Publish the generated content in WordPress.

This automation is beneficial for content creators looking to repurpose video content into written form, enhancing reach and accessibility. Thanks to Pabbly Connect, you can easily convert video insights into blog articles.


4. Share WordPress Posts on Social Media Automatically Using Pabbly Connect

With this automation, you can automatically share new WordPress posts on social media platforms like Instagram and Facebook. Pabbly Connect ensures seamless integration between WordPress and these platforms.

Here’s how this integration works:

  • Set WordPress as your trigger app in Pabbly Connect.
  • Create a new post in WordPress.
  • Connect Instagram and Facebook as action apps.
  • Map the post title and content to the respective social media fields.

This automation allows you to maximize your post visibility by sharing it across multiple platforms effortlessly. With Pabbly Connect, social media promotion becomes a breeze.


5. Manage WordPress Users and Send WhatsApp Alerts Using Pabbly Connect

The final automation focuses on managing WordPress users and sending WhatsApp alerts. This integration showcases how Pabbly Connect can streamline user management processes.

When a new user fills out a Google Form, Pabbly Connect can add that user to WordPress and send them a WhatsApp message. Here’s how to implement this:

  • Use Google Forms to collect user data.
  • Set Google Forms as your trigger app in Pabbly Connect.
  • Create a new user in WordPress based on the form response.
  • Send a WhatsApp message to the new user using WhatsApp Cloud API.

This automation enhances user engagement and streamlines user onboarding. Thanks to Pabbly Connect, you can efficiently manage user data and communication.


Conclusion

In this tutorial, we explored how to automate various WordPress tasks using Pabbly Connect. From generating posts from Google Sheets and YouTube videos to sharing content on social media and managing users, these automations save time and enhance productivity. You can now focus on creating valuable content while Pabbly Connect handles the repetitive tasks.
I Built a AI Sales Machine (Step-by-Step with Pabbly Chatflow)

Watch Step By Step Video Tutorial Below


1. Accessing Pabbly Connect to Get Started

To begin your integration journey, first, you need to access Pabbly Connect. Open a new browser tab and search for pabb.com/chartflow. This will direct you to the official Pabbly Chartflow page.

If you are new to Pabbly, click on the “Sign Up Free” option to create an account. This allows you to explore the software with 100 free credits every month. Existing users can simply click on the “Sign In” button to access their account.


2. Creating Your AI Assistant with Pabbly Connect

After signing in, navigate to the Pabbly Chartflow dashboard. Here, you can create your AI assistant tailored for WhatsApp automation. Click on the “+ Assistant” button to begin.

  • Choose a name for your AI assistant.
  • Select the instruction type as “AI Agent”.
  • Set the temperature for creativity in responses.

Once you have configured these settings, click on the “Add Assistant” button. This will create a new assistant ready for customization within Pabbly Connect.


3. Uploading Knowledge Base to Enhance AI Responses

Next, enhance your assistant’s capabilities by uploading a knowledge base file. This file should contain information pertinent to your business, allowing the AI to provide specific answers.

  • Ensure the file is in PDF or TXT format.
  • The file size must be less than 90 MB.
  • If using PDF, limit images to 10 pages.

Click on the “Add New File” option, drag and drop your knowledge base file, and then click “Upload File”. After uploading, select the file and click “Insert” to integrate it into your assistant using Pabbly Connect.


4. Configuring Auto Reply Settings in Pabbly Connect

After setting up your assistant, it’s crucial to configure the auto-reply settings. Navigate to the inbox settings and enable the AI auto-reply toggle.

Select the contact list you want your assistant to engage with. You can choose to set it for all contacts or specific users. Ensure to save your settings after making these adjustments.


5. Testing Your AI Assistant Built with Pabbly Connect

Once you have completed the setup, it’s time to test your AI assistant. Send a message to see how it responds. The assistant should reply with a greeting and ask how it can assist the user.

Test various scenarios, like asking for property categories or booking a consultation. This will help you ensure that your assistant is functioning as intended and providing accurate responses based on the knowledge base.


Conclusion

In this tutorial, we demonstrated how to integrate WhatsApp with Pabbly Connect to create an automated AI assistant. By following these steps, you can streamline your customer interactions and enhance your business operations effectively.

Automatically Share Facebook Posts using AI | Pabbly Connect

Watch Step By Step Video Tutorial Below


1. Accessing Pabbly Connect for Automation

To start automating your Facebook posts, first access Pabbly Connect by navigating to pabbly.com/connect in your browser. This platform allows you to create workflows that connect various applications seamlessly.

If you are a new user, click on “Sign Up Free” to create an account and receive 100 free tasks every month. Existing users can simply sign in to their accounts to begin.


2. Creating Your Automation Workflow in Pabbly Connect

Once logged into Pabbly Connect, you’ll be taken to the dashboard where you can create a new workflow. Click on “Create from Scratch” to get started. This will allow you to customize your automation according to your needs.

Choose the workflow type, either from the New Beta or Classic options. For this tutorial, select the Beta version for a more modern experience. Name your workflow appropriately, such as “Automatic Facebook Post Generation”.

  • Select the “Schedule Workflow” trigger to run your automation daily.
  • Set the specific time for your posts, such as 7:00 AM.

After configuring these settings, click on “Save” to ensure your workflow is set up correctly.


3. Generating Content Using AI Tools

Next, we will generate content for your Facebook posts using AI tools integrated with Pabbly Connect. For this step, you can use OpenAI or Google Jamini as your content generation tool. Select “OpenAI” as your action application.

Choose the event type as “Start GPT” and connect your OpenAI account by creating a new connection. You will be prompted to enter your API key, which you can obtain from your OpenAI account. After entering the key, click “Save” to establish the connection.

  • Input a relevant prompt to guide the AI in generating engaging content.
  • Select the model version you wish to use, such as GPT-3.

Once your content is generated, you will receive a successful response containing the post content.


4. Posting Generated Content to Facebook

Now that you have your content generated, the next step is to post it on your Facebook page using Pabbly Connect. Select “Facebook Pages” as your action application and choose the “Create Page Post” event.

Connect your Facebook account by granting Pabbly Connect the necessary permissions. After connecting, select the page where you want to post the content. In the message section, map the data from the previous step to include the generated content.

  • Ensure that the content is mapped correctly to avoid posting errors.
  • Click “Save” to finalize your Facebook post setup.

After saving, you will receive a confirmation that the post has been successfully created.


5. Conclusion: Automate Your Facebook Posting with Pabbly Connect

In this tutorial, you learned how to automate your Facebook posts using Pabbly Connect by integrating AI tools for content generation. This process not only saves time but also ensures consistent engagement with your audience.

By following these steps, you can efficiently manage your social media presence without the hassle of manual posting. Start using Pabbly Connect today to streamline your automation tasks!

Top 5 WordPress Automations Explained Step-by-Step (Using Pabbly Connect)

Watch Step By Step Video Tutorial Below


1. Accessing Pabbly Connect for Your Automations

To start automating your tasks, access Pabbly Connect by visiting its URL: pably.com/connect. You will arrive at the homepage where you can either sign in or sign up for a free account.

If you’re new, click on “Sign Up Free” to create your account. This allows you to test 100 free tasks every month, making it easy to explore all the features of Pabbly Connect. For existing users, simply click “Sign In” to access your dashboard.


2. Automating WordPress Posts Using Google Sheets and OpenAI

In this section, we will automate the process of generating and publishing WordPress posts using Google Sheets and OpenAI through Pabbly Connect. This automation is especially useful for bloggers looking to save time on content creation.

  • Add your title and description in Google Sheets.
  • Use OpenAI to generate automated content based on your inputs.
  • Publish the generated content directly to your WordPress account.

After mapping the title and description fields in Pabbly Connect, automated content will be generated and added as a new post in WordPress. This saves significant time and effort for anyone managing multiple posts.


3. Generating WordPress Articles from YouTube Content

This automation allows you to convert your YouTube videos into WordPress articles using Pabbly Connect. Whenever a new video is uploaded to your YouTube channel, it will automatically fetch the title and generate a corresponding post.

To set this up, you will need to connect your YouTube channel to Pabbly Connect. This involves selecting YouTube as your trigger app and OpenAI as your action app. The content generated will be based on the video title, making it easy to repurpose existing content.

  • Select YouTube as the trigger app in Pabbly Connect.
  • Map the video title to generate content using OpenAI.
  • Publish the generated article in WordPress.

This integration is perfect for content creators looking to increase their reach by turning video content into SEO-friendly articles.


4. Automating Social Media Sharing for WordPress Posts

Using Pabbly Connect, you can automate the sharing of your WordPress posts on various social media platforms like Instagram and Facebook. This ensures your content reaches a wider audience without any manual effort.

To set this up, select WordPress as your trigger app. Whenever a new post is published, it will automatically be shared on your connected social media accounts. This is a great way to keep your audience engaged and informed about new content.

  • Choose WordPress as the trigger app in Pabbly Connect.
  • Connect your Instagram and Facebook accounts.
  • Automatically share your new posts on these platforms.

This automation saves you time and ensures that your posts are consistently shared across social media, enhancing your online presence.


5. Automating WordPress Posts to Pinterest

With Pabbly Connect, you can also automate the process of sharing your WordPress posts on Pinterest. This integration allows you to create new pins automatically whenever a new post is published.

To set this up, select WordPress as your trigger app and configure the webhook URL in your WordPress settings. This will link your WordPress account with Pabbly Connect, allowing for seamless pin creation.

After setting up the trigger, you can customize the pin details, including the title and image from your WordPress post. This ensures that your content is visually appealing and reaches the right audience.


Conclusion

In this tutorial, we’ve explored how to automate various tasks using Pabbly Connect, including generating WordPress posts from Google Sheets and YouTube, sharing posts on social media, and creating Pinterest pins. These automations not only save time but also enhance your content reach.

Utilizing Pabbly Connect allows you to focus more on creating valuable content and growing your audience, making your workflow more efficient and effective.

Automatically Save Facebook Messages to Google Sheets

Watch Step By Step Video Tutorial Below


1. Accessing Pabbly Connect for Integration

To start integrating Facebook Messenger with Google Sheets, first, access Pabbly Connect. Open a new tab and visit pabby.com/connect. This will lead you to the Pabbly Connect landing page where you can sign up or log in.

If you are a new user, signing up for free will grant you 100 free tasks to experiment with the automation features of Pabbly Connect. Once logged in, you will be directed to your Pabbly Connect dashboard, ready to create your first workflow.


2. Creating a Workflow with AI in Pabbly Connect

After accessing your dashboard, click on the “Create Workflow” button. For this automation, we will use the new AI tool creator within Pabbly Connect. Enter your prompt, which should describe your desired automation.

  • Create an automation workflow where every new Facebook Messenger message is automatically captured and saved as a new row in Google Sheets.

Once you submit the prompt, the AI will set up the trigger for Facebook Messenger and the event for new messages sent to your page. This is the core of your automation, ensuring messages are logged into Google Sheets.


3. Setting Up Facebook Messenger Trigger in Pabbly Connect

Now that your workflow is created, it’s time to set up the Facebook Messenger trigger. Click on “Add New Connection” and choose “Connect with Facebook Messenger”. This action connects your Facebook account to Pabbly Connect.

After successfully connecting, select the Facebook page where you receive messages. For example, if your page is named “Digital Dynamics”, choose it and then click on “Save and Send Test Request” to verify the connection. This process checks if Pabbly Connect can capture messages from your Facebook page.


4. Adding Google Sheets Action in Pabbly Connect

Once the Facebook Messenger trigger is confirmed, click on “Connect” to set up the Google Sheets action. Choose “Sign in with Google” and log in with the account that has access to your Google Sheets.

Select the spreadsheet named “Facebook Messages” and choose the specific sheet where you want to save the data. Map the fields for sender’s name and message text from the previous step. This mapping is crucial as it allows Pabbly Connect to insert dynamic data into your Google Sheets.

  • Sender’s Name: Map from Facebook Messenger response
  • Message Text: Map the message received

After mapping the data, click on “Send Test Request” to ensure that the data is correctly logged into your Google Sheets. This finalizes the setup, making sure that every new message is recorded automatically.


5. Conclusion

In conclusion, using Pabbly Connect to automate the logging of Facebook Messenger messages into Google Sheets is straightforward. This integration saves time and eliminates manual data entry, allowing businesses to focus on their core activities. By following these steps, you can ensure that all messages are systematically recorded, enhancing your workflow efficiency.

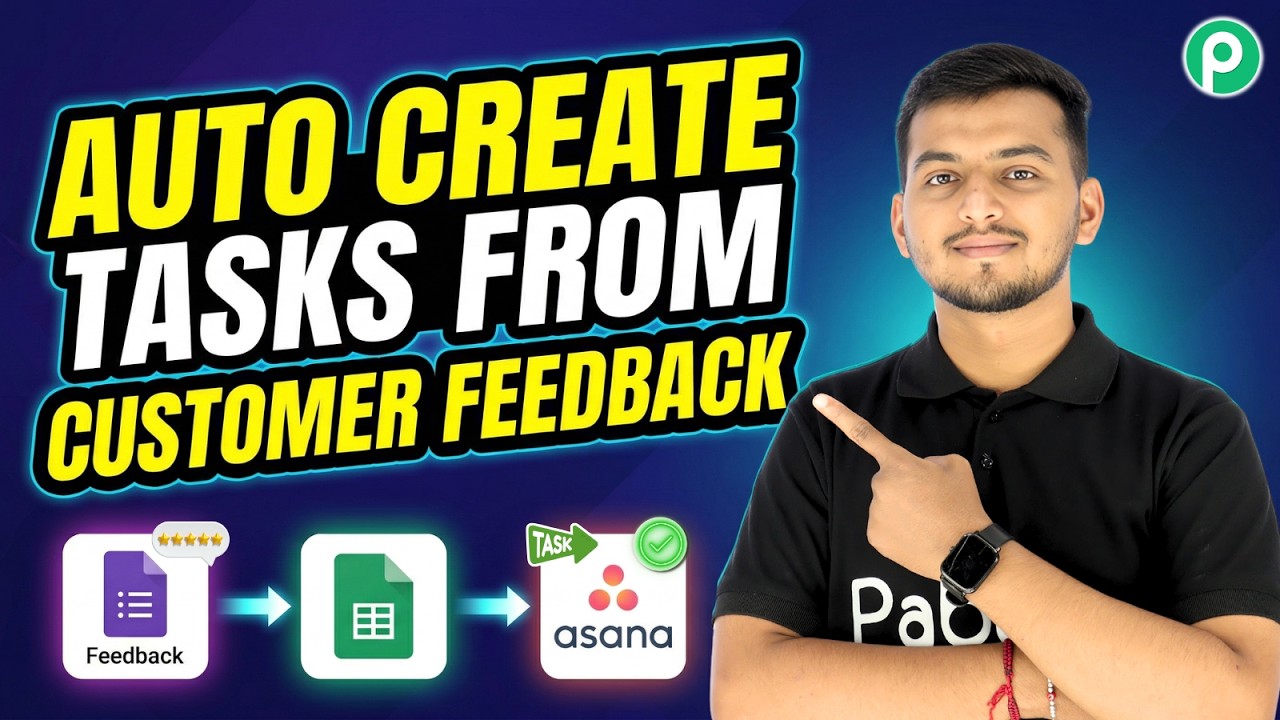
Instantly Turn Customer Feedback into Asana Tasks

Watch Step By Step Video Tutorial Below


1. Accessing Pabbly Connect for Integration

To start integrating Google Forms with Asana, you need to access Pabbly Connect. Open a new tab and navigate to the Pabbly Connect website. If you are a new user, click on the “Sign Up Free” button to create your account. Existing users can simply log in using the “Sign In” option.

Once logged in, you will see the Pabbly Connect dashboard. Click on the “Create Workflow” button to begin. You can choose to create a workflow from scratch or use the AI feature. For this tutorial, we will create the workflow from scratch.


2. Setting Up Google Forms and Pabbly Connect

Begin by creating a Google Form to collect customer feedback. This form will serve as the trigger for your workflow in Pabbly Connect. Once your form is ready, navigate to the responses section and link it to a Google Sheet. This connection allows responses to be stored in a spreadsheet.

  • Open Google Forms and create your feedback form.
  • Go to the responses section and select “Link to Sheets”.
  • Choose to create a new spreadsheet or select an existing one.

After linking your form to a Google Sheet, go back to Pabbly Connect to set up the trigger. Select Google Sheets as the trigger application and choose the event as “New or Updated Spreadsheet Row”. Connect your Google Sheets account to Pabbly Connect by clicking the “Connect” button.


3. Creating Action in Asana with Pabbly Connect

With your Google Form connected, the next step is to create an action in Asana. This action will convert the feedback collected into a task. In Pabbly Connect, click on the plus button to add an action step and select Asana as the application.

Choose the event as “Create a Task” and connect your Asana account. You will need to select the workspace and project where the task will be created. Use the project ID from your Asana project URL and fill in the task details. Make sure to map the fields dynamically to ensure that each feedback submission creates a unique task.


4. Setting Up Conditional Workflows in Pabbly Connect

To enhance the workflow, you can set conditions based on the urgency level of the feedback. In Pabbly Connect, use the “Router” feature to create multiple pathways for different urgency levels. Click on the plus button and select “Router by Pabbly”.

For each condition, configure filters based on the urgency level. For example, if the urgency is marked as “urgent”, set the filter to match that value. This allows you to create specific tasks in Asana for urgent feedback, ensuring that your team prioritizes critical issues.


5. Finalizing Your Workflow with Pabbly Connect

After setting up your conditions, finalize your workflow by testing each step. In Pabbly Connect, ensure that data flows correctly from Google Forms to Google Sheets and then to Asana. You can send test requests to verify that tasks are created as expected.

Once confirmed, save your workflow. Now, every time a customer fills out the feedback form, their responses will automatically generate a task in Asana, streamlining your feedback process and improving your customer service.


Conclusion

This tutorial demonstrates how to effectively use Pabbly Connect to automate the integration of Google Forms and Asana. By following these steps, you can ensure that customer feedback is promptly acted upon, enhancing your business processes.

🚀 Build a Scalable WhatsApp Chatbot for Product Catalog & Customer Engagement

Watch Step By Step Video Tutorial Below


1. Accessing Pabbly Connect for WhatsApp Integration

To start using Pabbly Connect, you need to access its platform by visiting the official website. If you’re a new user, signing up is straightforward and provides you with 100 free credits every month.

For existing users, simply log in to your account. Once inside, navigate to the dashboard where you can create new workflows. This is where you will set up the integration between your WhatsApp chatbot and your product catalog.


2. Setting Up the WhatsApp Chatbot Using Pabbly Connect

In this step, you will create the flow for your WhatsApp chatbot using Pabbly Connect. Begin by selecting the “Flow” option on the Pabbly dashboard. Here, you’ll initiate your chatbot by defining a trigger event.

  • Select the trigger as “Keyword” to initiate the chatbot.
  • Enter the keyword, such as “hello”, to trigger the chatbot.
  • Confirm your settings to save the trigger.

This setup will allow the chatbot to respond whenever a user sends the specified keyword. The next steps will involve creating the messages and actions that the chatbot will perform.


3. Designing the Chatbot Flow with Pabbly Connect

Now that you have set up your trigger, it’s time to design the chatbot flow using Pabbly Connect. Drag and drop the message blocks to create a welcome message for users. This message will greet customers and guide them further.

To enhance user interaction, add buttons that allow users to browse your product collection. Here’s how:

  • Create a button labeled “Browse Collection”.
  • Set the button type as “Quick Reply”.
  • Link this button to the list of products.

This structure will allow users to interact seamlessly with your product catalog through WhatsApp.


4. Adding Products to the Chatbot Flow via Pabbly Connect

Once the initial flow is set, you can start adding products to your WhatsApp chatbot using Pabbly Connect. For each product, you will create a list item that contains the product name, description, and an image.

Follow these steps to add products:

  • Use the “Add Items” feature to enter product details.
  • Include product images and set prices in the captions.
  • Ensure each product has an “Order Now” button linked to the next steps.

>By doing this, you create a rich interaction experience for users, allowing them to view and order products directly through WhatsApp.


5. Finalizing the Chatbot and Testing with Pabbly Connect

After adding all the products, it’s essential to finalize your chatbot by saving the flow in Pabbly Connect. This ensures that all your changes are stored and ready for testing.

To test your chatbot, initiate a conversation by sending the trigger keyword. Check if the responses and product listings appear correctly. This final step is crucial to ensure that customers will have a smooth experience when interacting with your WhatsApp chatbot.


Conclusion

In this tutorial, we explored how to integrate a WhatsApp chatbot using Pabbly Connect, enabling seamless product catalog browsing and order management. By following the outlined steps, businesses can enhance customer engagement directly through WhatsApp.

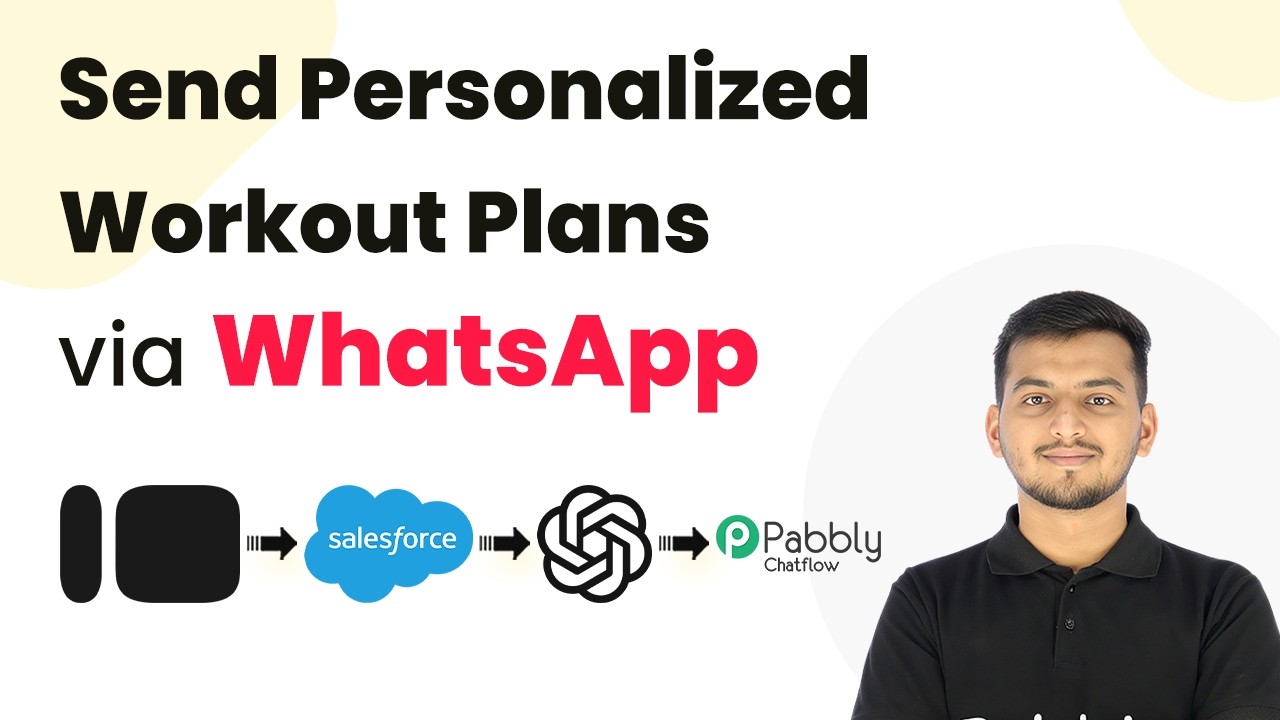
Send Personalized Workout Plans via WhatsApp

Watch Step By Step Video Tutorial Below


1. Accessing Pabbly Connect for Integration

To start integrating Click with Salesforce CRM, you need to access Pabbly Connect. Open a new tab and search for Pabbly Connect. Once on the landing page, you will see options to sign in or sign up.

If you are a new user, click on the “Sign up free” button to create your account. Existing users can log in directly. After signing in, click on the “Access Now” button under Pabbly Connect to enter the dashboard.


2. Creating a Workflow in Pabbly Connect

In this section, we will create a workflow that automates the lead capture process. Click on the “Create Workflow” button in the dashboard of Pabbly Connect. You can either create a workflow from scratch or use AI to assist you.

  • Select the AI option to help create the workflow.
  • Paste the title and use case for your workflow.
  • Send this information to the AI for analysis.

The AI will generate a template for your workflow, which includes the necessary applications and actions. Approve the template to proceed to the next step.


3. Integrating Click with Salesforce CRM

Now, let’s integrate Click with Salesforce CRM using Pabbly Connect. First, choose Click as your trigger application and select the event that triggers the workflow when a new entry is received.

Next, select Salesforce CRM as the action application and choose the “Create Lead” action. This will allow Pabbly Connect to automatically create a lead in Salesforce whenever a new form submission occurs.

  • Connect to Salesforce by clicking the “Connect” button.
  • Authorize Pabbly Connect to access your Salesforce account.
  • Map the fields from Click to Salesforce to ensure data accuracy.

After mapping the fields, save the workflow, and you will see that leads are being created in Salesforce automatically.


4. Generating Personalized Workout Plans with OpenAI

In this step, we will use OpenAI to generate personalized workout plans for the leads captured through Click. OpenAI will be integrated into the workflow using Pabbly Connect.

Click on the “Add New Connection” for OpenAI and enter your API key to connect. Once connected, select the AI model you want to use for generating responses. You can choose GPT-4 or any other model available.

  • Create a prompt for the AI that specifies the details for the workout plan.
  • Map the required fields from Click to the prompt.
  • Test the connection to ensure the AI generates a response.

Once the response is generated, it will be used in the next step to send a message to the lead.


5. Sending Workout Plans via WhatsApp Using Pabbly Chatflow

The final step is to send the generated workout plan to the lead via WhatsApp. For this, you will use Pabbly Chatflow integrated through Pabbly Connect.

Connect to Pabbly Chatflow by adding a new connection and entering your API token. Once connected, you can specify the recipient’s WhatsApp number, the generated workout message, and the lead’s name.

  • Map the WhatsApp number and message content from OpenAI.
  • Test the message sending to ensure it delivers correctly.
  • Save and finalize your workflow.

Now, every time a lead submits their details through Click, they will receive a personalized workout plan instantly via WhatsApp, enhancing their onboarding experience.


Conclusion

By integrating Click with Salesforce CRM using Pabbly Connect, you can automate your lead management process. This setup ensures that leads receive personalized workout plans instantly, significantly improving engagement and conversion rates.

Automatically Share Every YouTube Upload to Discord

Watch Step By Step Video Tutorial Below


1. Accessing Pabbly Connect for Integration

To integrate YouTube with Discord, you first need to access Pabbly Connect. If you’re a new user, search for pabbl.com/connect in your browser and open the landing page.

Once on the Pabbly Connect page, click on the ‘Sign Up for Free’ option in the top right corner. This will allow you to explore Pabbly Connect with 100 free tasks every month, enabling you to test the integration process without any costs.


2. Creating a Workflow in Pabbly Connect

After signing up, you can start creating your workflow in Pabbly Connect. This workflow will connect YouTube and Discord seamlessly. Click on the ‘Add New Workflow’ button to begin.

  • Select YouTube as the trigger application.
  • Choose the event as ‘New Video in Channel’.
  • Click on ‘Connect’ to link your YouTube account.

Once you select the YouTube account, Pabbly Connect will prompt you to sign in with your Google account. Ensure you grant the necessary permissions for seamless integration.


3. Setting Trigger Parameters in Pabbly Connect

Next, you’ll need to set the trigger parameters in Pabbly Connect. This step is crucial as it defines how often the trigger checks for new data from YouTube.

To adjust the trigger time, click on the YouTube application within your workflow. You can set the minimum time to check for updates every 10 minutes or up to 24 hours. For this integration, a setting of 90 minutes is recommended.

  • Click ‘Save’ after setting the trigger time.
  • Test the trigger by clicking ‘Save and Send Test Request’.

This will capture the latest video details, including the video URL, which will be used in the next steps of your workflow.


4. Notifying Discord about New YouTube Videos

Now that you have set up the trigger, the next step involves notifying your Discord channel about new YouTube uploads using Pabbly Connect.

Add a new action step and select Discord as the action application. Choose ‘Send Channel Message’ as the event. You can opt for either HTML or markdown format based on your preference.

  • Open your Discord server settings to create a new webhook.
  • Copy the webhook URL and paste it into Pabbly Connect.

Once you have pasted the webhook URL, you can customize the message to include the video title and URL. Use the mapping feature in Pabbly Connect to dynamically insert these details from the previous step.


5. Finalizing Your Integration and Testing

After setting up the message format in Pabbly Connect, it’s time to finalize your integration. Make sure all details are correctly mapped and configured.

Click on ‘Save and Send Test Request’ to test the workflow. If everything is set up correctly, your Discord channel will receive a message alerting the team about the new YouTube video upload.

  • Check your Discord channel for the notification.
  • Adjust the trigger timing based on your video posting schedule.

With this setup, your team will be notified automatically whenever you upload a new video on YouTube, streamlining your communication process.


Conclusion

Using Pabbly Connect, you can effortlessly integrate YouTube with Discord to automate notifications for new video uploads. This saves time and ensures your team stays updated with the latest content.

Bulk WhatsApp Marketing Automation using Pabbly Chatflow (No Code)

Watch Step By Step Video Tutorial Below


1. Accessing Pabbly Connect for WhatsApp Messaging

To start the process of sending bulk WhatsApp messages, first, you need to access Pabbly Connect. Open your browser and navigate to the Pabbly Connect homepage.

Once there, you can either sign up for a new account or log in if you are an existing user. This is crucial for setting up your WhatsApp messaging automation.


2. Setting Up Your WhatsApp Number in Pabbly Connect

After logging into Pabbly Connect, navigate to the Pabbly Chartflow dashboard. Here, you will need to connect your WhatsApp number to the platform.

  • Click on the ‘Add WhatsApp Number’ button.
  • Choose your preferred method for connecting your WhatsApp account.

This setup is essential for sending messages to your customers through Pabbly Connect. Once connected, you can proceed to create message templates.


3. Creating Message Templates for WhatsApp

In this section, you will create a message template that will be used for the WhatsApp broadcast. Navigate to the template section in Pabbly Connect.

Here, you can add a new template by clicking on the ‘Add Template’ button. You can choose to create a template using AI or manually input your message.

  • Name your template, e.g., “New Product Launch”.
  • Draft your message, ensuring it includes personalized variables.

Once your template is approved by Meta, you can use it for your broadcast messages. This feature allows for the personalization of each message sent through Pabbly Connect.


4. Sending Bulk WhatsApp Messages with Pabbly Connect

Now, to send your bulk WhatsApp messages, go to the broadcast section in Pabbly Connect. Click on the ‘Add’ button to create a new broadcast campaign.

Here, you will select the type of broadcast, name it, and choose your contact list. Make sure to upload your contacts from a CSV file that you exported from Google Sheets.

  • Select the contact list you want to send messages to.
  • Choose whether to use a pre-approved template or a regular message.

Once everything is set, you can test the broadcast before sending it out to ensure everything works as expected through Pabbly Connect.


5. Scheduling Your WhatsApp Broadcast

After testing, you can schedule your WhatsApp broadcast in Pabbly Connect. Decide whether you want to send the message immediately or at a later date.

To schedule, select the desired date and time for the broadcast. Ensure that you choose a future date to avoid sending messages instantly.

Once scheduled, you can view the stats of your broadcast, such as sent, delivered, and failed messages. This feature allows you to manage your communications effectively using Pabbly Connect.


Conclusion

In summary, using Pabbly Connect for bulk WhatsApp messaging allows you to send personalized messages efficiently. By following the steps outlined, you can automate your messaging process seamlessly.