Watch Step By Step Video Tutorial Below
1. Accessing Pabbly Connect for Integration
To start integrating your WhatsApp chatbot with Google Sheets, you need to access Pabbly Connect. Simply visit the Pabbly website and log in to your account. If you are a new user, you can sign up for free and get started immediately.
Once you are logged in, navigate to the Pabbly Connect dashboard. This is where you will create the integration workflow between your WhatsApp chatbot and Google Sheets. Ensure your WhatsApp number is connected to the Pabbly Chatflow app, which allows for seamless communication.
2. Creating the WhatsApp Chatbot Flow with Pabbly Connect
The next step is to create a flow for your WhatsApp chatbot using the Pabbly Chatflow app. Click on the “Add Flow” button to start building your chatbot. You can set up triggers that will initiate the chatbot based on user input.
- Click on “Add Flow” to create a new flow.
- Set a trigger based on keywords like “hello” to initiate the chat.
- Use message blocks to send welcome messages and options to the users.
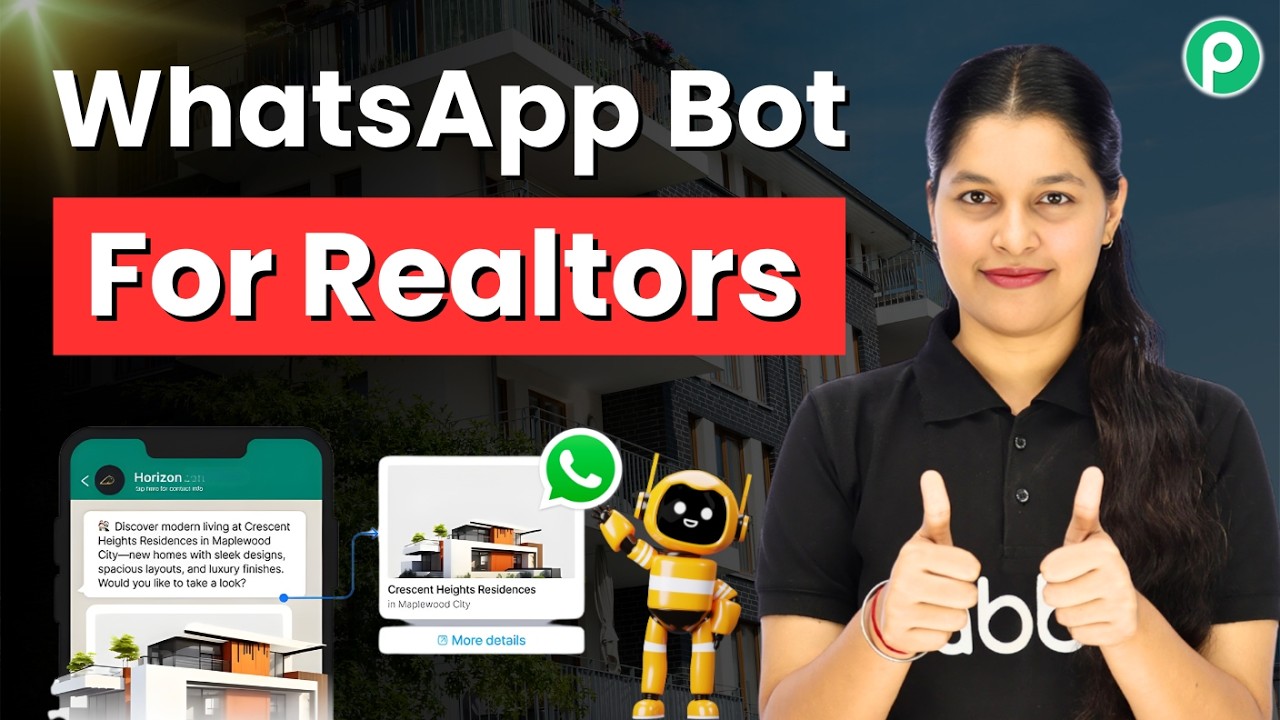
Once you have set up the initial trigger, you can add buttons for users to view properties or ask questions. This setup allows your chatbot to respond dynamically to user inquiries.
3. Scheduling Site Visits Through Pabbly Connect
After users select properties, they can schedule site visits. This process is facilitated by Pabbly Connect, which allows you to collect user information and save it to Google Sheets. When a user selects the “Schedule Visit” button, the chatbot prompts them to enter their full name and preferred date.
- Prompt users for their full name and preferred visit date.
- Use API requests to send this data to Google Sheets through Pabbly Connect.
- Confirm the visit scheduling with a personalized message.
This integration ensures that all client data is captured efficiently, allowing for better management of site visits and client interactions.
4. Responding to Client Queries Using Pabbly Connect
Another great feature of your WhatsApp chatbot is its capability to respond to client queries instantly. When users select the “Ask Questions” button, the chatbot can provide answers based on an AI assistant integrated through Pabbly Connect.
For effective query management, you can set up a knowledge base that the AI assistant uses to respond to common questions. This ensures that clients receive accurate and timely information without waiting for manual responses.
By integrating the AI assistant with Pabbly Connect, you can automate responses to frequently asked questions, enhancing client satisfaction and reducing workload.
5. Conclusion: Streamlining Real Estate Operations with Pabbly Connect
In conclusion, using Pabbly Connect to integrate your WhatsApp chatbot with Google Sheets significantly enhances your real estate business operations. By automating client interactions and data management, you can focus on growth while improving customer service.
This setup not only saves time but also ensures that you never miss a client inquiry or site visit request. Start utilizing Pabbly Connect today to transform your business processes!