Send Bulk Promotional WhatsApp Messages Automatically

Watch Step By Step Video Tutorial Below


1. Accessing Pabbly Connect for WhatsApp Integration

To begin the integration process, you need to access Pabbly Connect. Open your browser and navigate to Pabbly.com/connect. This platform allows seamless integration between WhatsApp and various applications, including Google Sheets and YouTube.

Once on the Pabbly Connect homepage, you can sign up for a free trial or log in if you already have an account. After logging in, you will be directed to the dashboard where you can start creating your integrations.


2. Setting Up WhatsApp Integration with Pabbly Connect

After accessing Pabbly Connect, the next step is to set up WhatsApp integration. Click on the ‘Access Now’ button to navigate to the Pabbly Chatflow dashboard. This is where you will manage your WhatsApp communications.

Here’s how to set up your WhatsApp integration:

  • Connect your WhatsApp number in the Pabbly Chatflow account.
  • Create a template message for sending promotional messages.
  • Ensure your template is approved to comply with WhatsApp policies.

With these steps completed, you are ready to use your WhatsApp number for sending personalized messages to your customers.


3. Creating Broadcast Messages with Pabbly Connect

To send bulk messages, utilize the broadcast feature in Pabbly Connect. This allows you to send personalized messages to multiple contacts simultaneously. First, navigate to the Broadcast section in your dashboard.

Follow these steps to create a broadcast message:

  • Select the type of broadcast campaign you want to create.
  • Choose your contact list from existing entries or upload a new CSV file.
  • Select your message type, either a pre-approved template or a regular message.

Once you have configured your broadcast settings, you can schedule the message or send it immediately. This feature ensures timely delivery of your promotional content to all selected contacts.


4. Testing and Scheduling Your Broadcasts

Before sending your broadcast, it’s essential to test it. In Pabbly Connect, you can send a test message to ensure everything is set up correctly. This step helps verify that your personalized fields are functioning as intended.

To test your broadcast:

  • Enter your phone number in the test field.
  • Click on the ‘Send Test Message’ button.
  • Check your WhatsApp for the received message.

After successful testing, you can schedule your broadcast for a specific date and time. This feature allows you to plan your communications effectively, ensuring your messages reach your audience at the right moment.


5. Conclusion

In conclusion, integrating WhatsApp with Pabbly Connect allows you to streamline your communication with customers efficiently. By following the steps outlined in this guide, you can send personalized messages and promotional content effortlessly. This integration not only saves time but also enhances customer engagement.

Utilizing Pabbly Connect for your WhatsApp communications brings a professional touch to your messaging strategy, ensuring that your brand stands out in the digital landscape.

Build an AI WhatsApp Chatbot for Your Sports Equipment Business

Watch Step By Step Video Tutorial Below


1. Testing the WhatsApp AI Agent with So I and Simply

To begin, we need to test the WhatsApp AI agent created using So I and Simply. This step ensures that the AI is functioning correctly before deploying it for customer queries.

For testing, send a message, such as ‘Do you have a full cricket kit?’ and wait for a response. The AI should reply with details including price ranges and options available. For example, it might respond, “Yes, we do. We carry full cricket kits. Price range 5,000 to 40,000.” This shows that the integration is successful.


2. Creating Your WhatsApp AI Agent with So I and Simply

Now, let’s create the WhatsApp AI agent from scratch using Pabi Chatflow. Start by visiting the Pabi Chatflow website. You can sign in or sign up for free, which gives you 100 credits monthly.

  • Visit www.pabyt.com/chatflow.
  • Sign in to your account or create a new one.
  • Click on ‘Add WhatsApp Number’ to connect your WhatsApp.

Once signed in, you will see the Pabi Chatflow dashboard. Here, you can manage your WhatsApp number and set up your AI assistant.


3. Setting Up Your AI Assistant Using So I and Simply

To create the AI assistant, navigate to the AI assistant section in Pabi Chatflow. Click on ‘Add Assistant’ and name it, for example, “Fit Sports.” This will allow you to customize the assistant according to your business needs.

Set the instruction type to AI agent and adjust the temperature setting for creativity. A temperature of 0.7 is recommended for a balance of focus and creativity. Enter your OpenAI API key for integration.

  • Select the instruction type as AI agent.
  • Set the temperature to 0.7.
  • Enter your OpenAI API key and click ‘Connect.’

After saving the settings, you can add a knowledge base that includes your business details, products, and services. This will help the AI provide accurate responses based on queries.


4. Customizing Your AI Assistant with So I and Simply

Customization is key for your AI assistant. You can adjust the interface by providing a name, subheading, and initial messages. This helps in personalizing the user experience.

Additionally, you can set the assistant’s look by choosing colors and shapes. This can be done in the styling section of the AI assistant settings. Make sure to enable the display options for a better user interface.

  • Choose a theme mode (light or dark).
  • Set assistant shape to square or rounded.
  • Upload a profile picture for your assistant.

After customizing, save your AI assistant to ensure all changes are applied. This setup will enhance user interaction significantly.


5. Assigning Your AI Assistant to Contacts Using So I and Simply

Finally, assign your AI assistant to specific contacts or groups. This can be done through the inbox settings in Pabi Chatflow. Select the AI assistant you created and save the settings.

You can also enable auto-replies for all contacts or specific lists. This automation ensures that your customers receive prompt responses, enhancing customer service efficiency.

  • Navigate to inbox settings.
  • Enable AI auto replies and select your contact list.
  • Save the rules for effective deployment.

This final step ensures that your AI assistant is actively engaging with customers, providing a seamless experience.


Conclusion

In this tutorial, we learned how to create a WhatsApp AI agent using So I and Simply integration. By following these detailed steps, you can automate your customer interactions efficiently.

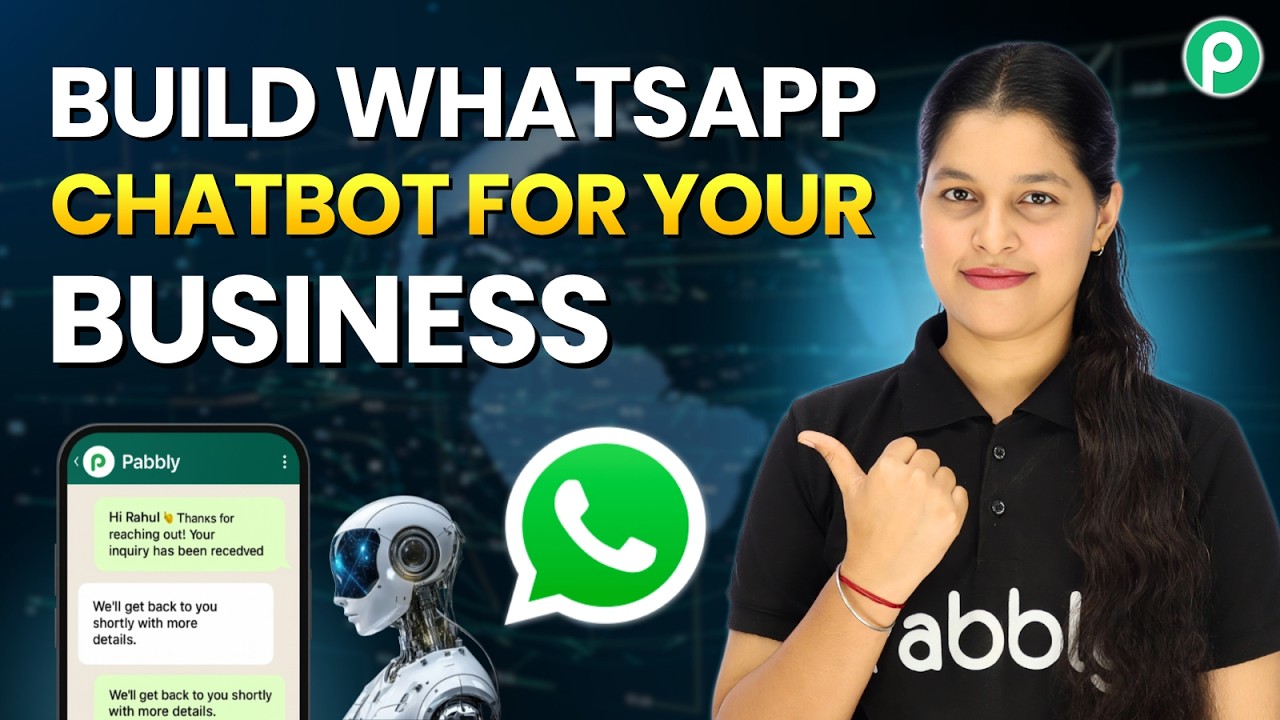
Instant Replies, Zero Effort: Build a WhatsApp Chatbot for Your Business

Watch Step By Step Video Tutorial Below


1. Setting Up Pabbly Connect for Your WhatsApp Chatbot

To create an automated WhatsApp chatbot, you need to start by accessing Pabbly Connect. This platform allows you to integrate various applications seamlessly. Begin by visiting the Pabbly Connect website and signing up or logging into your account.

Once logged in, navigate to the dashboard where you can create a new workflow. Click on “Create Workflow” and give it a descriptive name, like “WhatsApp Chatbot Integration.” This is where you will set up the automation that connects your WhatsApp chatbot with other applications.


2. Configuring WhatsApp with Pabbly Connect

Next, you need to configure your WhatsApp number within Pabbly Connect. This step is crucial as it enables the chatbot to send and receive messages through WhatsApp. To do this, go to the settings page and enter your WhatsApp number.

  • Navigate to the settings section of Pabbly Connect.
  • Input your WhatsApp number in the designated field.
  • Verify your number to ensure it’s connected properly.

After entering your WhatsApp number, save the settings. This allows Pabbly Connect to use this number for all automated responses and interactions with your customers.


3. Creating the Chatbot Flow in Pabbly Connect

Now that your WhatsApp is set up, it’s time to create the chatbot flow. In Pabbly Connect, you will design how the chatbot interacts with users. Start by selecting the “Flow” option and then “Create New Flow.” Give it a name that reflects its purpose, like “Instant Reply Chatbot.”

Within the flow setup, you will need to define triggers and responses. For example, you can set a keyword trigger like “hello” to initiate the chatbot conversation. This means when a user sends “hello,” the chatbot will respond with a welcome message and options for further interaction.


4. Adding Travel Packages to Your Chatbot

To provide users with options, you can add travel packages to the chatbot. This is where Pabbly Connect shines, allowing you to create interactive buttons. For instance, after the welcome message, you can create a button labeled “Travel Packages” that users can click to view available options.

  • Create a message node for the welcome message.
  • Add a button for “Travel Packages” in the message node.
  • Set up a list of packages that users can choose from.

Once users select a package, the chatbot can then ask for additional details like travel dates and names, making the booking process smooth and efficient through Pabbly Connect.


5. Finalizing Your WhatsApp Chatbot

After setting up the travel packages, it’s essential to finalize your chatbot. This involves testing the flow to ensure everything works as intended. Use Pabbly Connect to simulate user interactions and make adjustments as necessary.

Once you are satisfied with the setup, save your flow. This ensures that your WhatsApp chatbot is ready to handle customer queries and bookings automatically. With Pabbly Connect, you can now enjoy a fully functional chatbot that enhances customer engagement without any manual effort.


Conclusion

In this tutorial, we explored how to create a WhatsApp chatbot for your business using Pabbly Connect. By following these steps, you can automate customer interactions and streamline your booking process effectively.

Automatically Send Emails When New Leads Arrive

Watch Step By Step Video Tutorial Below


1. Accessing Pabbly Connect for Email Automation

To automatically send emails when new leads arrive, you first need to access Pabbly Connect. Start by opening your browser and navigating to pabbl.com/connect. If you are a new user, you can sign up for free, which allows you to explore the features of Pabbly Connect with 100 tasks free each month.

Existing users can directly log in to their account. Once logged in, you will be on the workflow builder, which is the main interface for setting up your automation. Here, you can create workflows that consist of triggers and actions, essential components for automating your email sending process.


2. Setting Up the Trigger in Pabbly Connect

To set up your automation, you need to create a trigger in Pabbly Connect. Click on the “Add Trigger” button. For the trigger application, select the platform where you collect lead details. Choose the event as “New Lead Form Entry” and click on “Connect”. This action will generate a webhook URL.

  • Select your lead collection platform.
  • Choose “New Lead Form Entry” as the event.
  • Copy the generated webhook URL.

Now, paste this URL into your lead collection tool, such as Google Ads, to connect it with Pabbly Connect. This setup will ensure that every time a new lead is captured, it triggers the automation.


3. Capturing Lead Data via Pabbly Connect

After setting up the trigger, the next step is to capture the lead data. Once your lead form is connected to Pabbly Connect, send test data to verify the connection. This will allow Pabbly Connect to receive the lead details such as name, email, and phone number.

To do this, click on the “Send Test Data” button in your lead collection tool. After sending the test data, return to Pabbly Connect and check if the test data has been captured successfully. You will see all the details of the test lead, confirming that the connection is working.


4. Setting Up the Email Action in Pabbly Connect

Now, it’s time to set up the action for sending emails. Click on the “Add New Action Step” and select Gmail as the action application. Choose “Send Email” as the event and click on “Connect”. If you have already connected Gmail with Pabbly Connect, you can select the existing connection; otherwise, create a new connection by signing in with your Google account.

  • Select Gmail as the action application.
  • Choose “Send Email” as the event.
  • Connect your Gmail account to Pabbly Connect.

Once connected, enter the sender name and email address. For the recipient email address, use mapping to dynamically insert the lead’s email. This ensures that every email sent is personalized with the lead’s information.


5. Finalizing and Testing the Automation

After setting up the email details, finalize your email content. You can customize the email subject and body, mapping lead details where necessary. Make sure to select the content type as HTML if you are using HTML content.

Once you have filled in all the required fields, click on “Save and Send Test Request”. This action will trigger a test email to be sent to the recipient. Check your Gmail inbox to confirm if the email was successfully sent. With this setup, every time a new lead arrives, Pabbly Connect will automatically send an email without any manual intervention.


Conclusion

In summary, using Pabbly Connect allows you to automate email sending whenever new leads arrive. By following the steps outlined above, you can set up a seamless integration that enhances your lead management process.

How to Send Instant Emails & Log Website Leads in Google Sheets ⚡

Watch Step By Step Video Tutorial Below


1. Accessing Pabbly Connect for Automation

To start using Pabbly Connect, open a new tab and navigate to the official Pabbly Connect website. If you are new to Pabbly, click on the “Sign Up Free” option to create an account. Existing users can simply click on the “Sign In” option to access their accounts.

Once you log in, you will see all Pabbly applications. Click on the “Access Now” button under Pabbly Connect to enter the dashboard. Here, you can create and manage your automation workflows efficiently.


2. Creating a Workflow in Pabbly Connect

Now that you are in Pabbly Connect, click on the “+ Create Workflow” button. You will be presented with two options: “Create from Scratch” or “Create Using AI”. For this tutorial, select “Create from Scratch” to build your workflow manually.

  • Enter a name for your workflow, such as “How to Send Instant Emails and Log Website Leads in Google Sheets”.
  • Select a folder for your workflow, for example, “Pabbly Connect”.
  • Click on the “Create” button to finalize the setup.

Your workflow is now created successfully. The next step is to set up a trigger that will initiate the automation process whenever a new form submission occurs.


3. Setting Up the Trigger with Pabbly Connect

In Pabbly Connect, the trigger is the first application you need to select. For this setup, choose “Webhook by Pabbly”. This application acts as a bridge between your website form and Pabbly Connect.

After selecting the trigger application, choose the event as “Catch Webhook” and click the “Connect” button. You will be provided with a webhook URL, which you need to copy. This URL will be integrated into your website form’s code.

  • Open your website code and locate the section for the form submission.
  • Replace the existing webhook URL with the new one you copied from Pabbly Connect.
  • Save the changes and test the form submission.

Once you submit the form, Pabbly Connect will receive the data, confirming that the integration is working correctly.


4. Setting Up the Action Application for Email Notifications

Next, in Pabbly Connect, you need to set up the action application, which will send an email notification. Click on the plus icon and select “Gmail” as your action application.

Choose the event as “Send Email” and click on the “Connect” button. If you don’t have an existing connection, click on “Add New Connection” and sign in with your Google account. Grant the necessary permissions to allow Pabbly Connect to send emails on your behalf.

  • Enter the sender name and email address.
  • Map the recipient email address from the webhook response.
  • Customize the email subject and content based on the form submission.

After saving the configuration, you can test the email sending process to ensure everything is functioning as expected.


5. Storing Data in Google Sheets Using Pabbly Connect

Finally, to store the form submission data in Google Sheets, add another action application in Pabbly Connect. Select “Google Sheets” and choose the event as “Add New Row”.

Click on the “Connect” button. If you don’t have an existing connection, create one by signing in with your Google account. After connecting, select the spreadsheet you wish to use, such as “Website Form Leads”.

  • Map the fields from the webhook response to the corresponding columns in Google Sheets.
  • Choose the response format as “Simple” for easier data handling.
  • Save the configuration and test the integration.

Once tested, you will see that new entries are automatically added to your Google Sheets, confirming that the entire workflow is operational.


Conclusion

In this tutorial, we explored how to use Pabbly Connect to automate email responses and store data in Google Sheets. By following these steps, you can enhance your business’s efficiency and ensure timely communication with leads.

Convert Razorpay Payments into Leads in Seconds (No Code)

Watch Step By Step Video Tutorial Below


1. Accessing Pabbly Connect for Integration

To integrate Razer Pay with System.io, the first step is to access Pabbly Connect. You can visit the Pabbly website by typing pabbly.com in your browser. This platform is essential for creating the automation workflows needed for this integration.

Once on the Pabbly website, sign in to your account. If you’re a new user, you can sign up for free to get 100 tasks monthly. After signing in, navigate to the Pabbly Connect dashboard to create your workflow.


2. Creating a New Workflow in Pabbly Connect

In the Pabbly Connect dashboard, click on the “Create Workflow” button. This initiates the process to set up your integration. The first step is to name your workflow, such as “Convert Razer Payments into Leads in Seconds”.

  • Select the folder for your workflow, e.g., Razer Pay Automations.
  • Click on “Create” to finalize your workflow setup.

After creating your workflow, you will be prompted to select a trigger application. In this case, choose Razer Pay as your trigger application to initiate the workflow whenever a new payment is received.


3. Setting Up the Trigger with Razer Pay

For the trigger event, select “Payment Captured” from the options. This action will activate the workflow whenever a payment is successfully processed through Razer Pay. Click on “Connect” to establish the connection between Pabbly Connect and Razer Pay.

To connect, you will be provided with a webhook URL. This URL acts as a bridge between Razer Pay and Pabbly Connect. Copy this URL and navigate to your Razer Pay account.

  • Go to the “Developers” section in Razer Pay.
  • Select “Webhooks” and click on “Add New Webhook”.
  • Paste the copied webhook URL and select “Payment Captured” as the active event.

After saving the webhook, return to Pabbly Connect to ensure it is waiting for the webhook response. This setup will now trigger the workflow automatically upon receiving a payment.


4. Testing the Integration with a Payment

To test the integration, perform a test payment through Razer Pay. Copy the URL of the payment page and fill in dummy details, such as a name and email address. Complete the payment process to simulate a successful transaction.

Once the payment is confirmed, return to Pabbly Connect to check if the webhook response has been captured. You should see the payment details logged, confirming that the integration is functioning correctly.

  • Ensure that the details like name, email, and payment method are accurately captured.
  • Check that the payment amount is reflected correctly.

This successful test indicates that Pabbly Connect is effectively capturing payment data from Razer Pay.


5. Adding Captured Payments to System.io CRM

The next step is to add the captured payment details to your System.io CRM. In Pabbly Connect, set the action application to System.io and select “Create Contact” as the action event. Click on “Connect” to link your System.io account.

To establish this connection, you will need your API key from System.io. Navigate to your System.io account, access your profile settings, and locate the public API key. Copy this key and paste it back into Pabbly Connect to finalize the connection.

  • Map the fields from Razer Pay to System.io, ensuring the email and name are correctly formatted.
  • Use the “Save and Send Test Request” option to verify if the contact is created successfully.

After the test request, check your System.io CRM to confirm that the new contact has been created with the payment details.


Conclusion

This tutorial demonstrated how to integrate Razer Pay with System.io using Pabbly Connect. By following the steps outlined, you can automate the process of capturing payments and adding leads to your CRM effectively. This integration enhances your workflow and ensures that no payment details are missed.

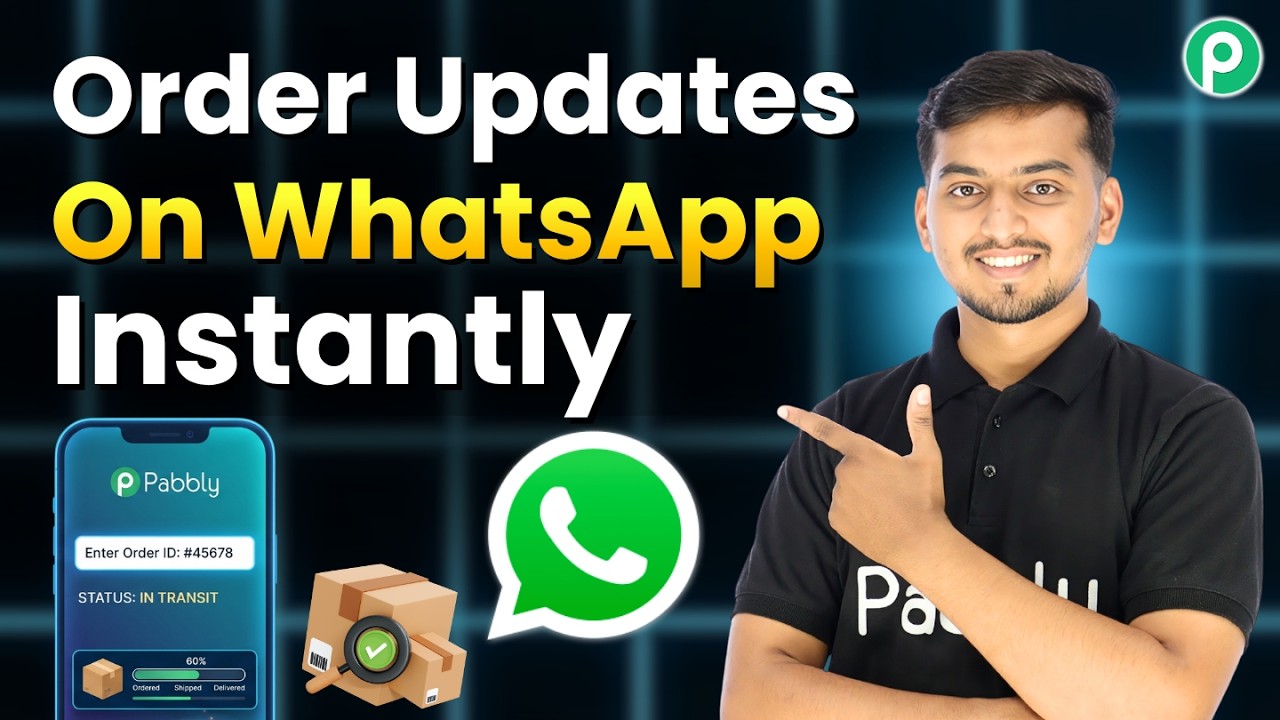
WhatsApp Chatbot for Order Status Updates (Full Guide)

Watch Step By Step Video Tutorial Below


1. Introduction to Pabbly Connect for WhatsApp Automation

Pabbly Connect is a powerful integration platform that allows you to automate workflows between applications like WhatsApp and your order management system. In this section, we will introduce how to use Pabbly Connect to streamline customer inquiries about order statuses.

By utilizing Pabbly Connect, you can set up a WhatsApp chatbot that responds to customer queries instantly. This eliminates the need for your support team to manually check order statuses, saving time and improving customer satisfaction.


2. Setting Up Your Pabbly Connect Account

To begin using Pabbly Connect, you need to create an account. Navigate to the Pabbly website and click on “Sign Up Free” if you are a new user. This will allow you to access the features, including creating workflows that connect WhatsApp with your order management system.

  • Go to the Pabbly Connect website.
  • Click on “Sign Up Free” and register your account.
  • Log in to your Pabbly Connect dashboard.

Once you have set up your account, you can start creating workflows. This is where you will integrate WhatsApp with your order management system using Pabbly Connect.


3. Creating the WhatsApp Chatbot with Pabbly Connect

To create a WhatsApp chatbot, navigate to the Pabbly Chatflow dashboard. Here, you will build a flow that triggers responses based on customer messages. Start by clicking on “Add Flow” and naming your chatbot appropriately.

Select a trigger event for your chatbot. For this integration, choose the “Keyword Match” trigger. You will enter keywords like “Where is my order?” and “Track order” that will activate the chatbot when customers send these messages.

  • Click on “Add Flow” and name your chatbot.
  • Select “Keyword Match” as the trigger event.
  • Enter keywords to trigger the chatbot.

This setup allows your WhatsApp chatbot to respond automatically when customers inquire about their order status, utilizing Pabbly Connect to facilitate the integration.


4. Integrating Google Sheets with Pabbly Connect

After setting up the chatbot, the next step is to integrate Google Sheets with Pabbly Connect. This integration will allow the chatbot to fetch order details based on the order ID provided by the customer. Create a new workflow in Pabbly Connect and select Google Sheets as the action application.

When setting up the Google Sheets integration, choose the “Lookup Spreadsheet” action. Specify the spreadsheet and sheet names where your order data is stored. This allows the chatbot to access real-time order information when customers provide their order ID.

  • Choose Google Sheets as the action application in Pabbly Connect.
  • Select “Lookup Spreadsheet” as the action event.
  • Map the spreadsheet and sheet names correctly.

This integration ensures that whenever a customer asks for their order status, the chatbot retrieves the latest information from Google Sheets, all managed through Pabbly Connect.


5. Finalizing the WhatsApp Chatbot Integration

To finalize the integration, you will need to set up the response messages that the chatbot will send back to the customer. This involves mapping the order details retrieved from Google Sheets to the response message in your Pabbly Chatflow.

Use the data mapping feature in Pabbly Connect to ensure that the correct order details are sent back to the customer. If the order ID exists, the chatbot will send the order status; if not, it will prompt the customer to re-enter their order ID.

  • Map the order details from Google Sheets to the chatbot response.
  • Set up conditions for valid and invalid order IDs.
  • Test the integration to ensure it works as expected.

By leveraging Pabbly Connect, you can ensure that your WhatsApp chatbot provides accurate and timely responses, greatly enhancing customer experience and reducing the workload on your support team.


Conclusion

In this tutorial, we explored how to automate WhatsApp order status inquiries using Pabbly Connect. By setting up a chatbot integrated with Google Sheets, you can efficiently manage customer queries and improve overall support efficiency.

Embrace the power of automation and enhance your customer service experience by implementing Pabbly Connect in your business today!

Automate Facebook Lead Ads & Get Instant Notifications

Watch Step By Step Video Tutorial Below


1. Accessing Pabbly Connect for Integration

To start using Pabbly Connect for your integration, first, visit Pabbly.com in your browser. Once on the homepage, you’ll see options to sign in or sign up for a free account. If you’re new, click on ‘Sign Up Free’ to create your account and get 100 free tasks each month.

After signing up or logging in, you will be directed to the Pabbly Connect dashboard. From here, you can access all the applications available for integration. Click on ‘Access Now’ to go to the Pabbly Connect interface where you will set up your automation.


2. Creating a Workflow in Pabbly Connect

In this step, you will create a workflow in Pabbly Connect to automate the process. Click on ‘Create Workflow’ and you will be prompted to name your workflow. For this integration, you can name it something like “Facebook Leads to Google Sheets and Slack Notifications”.

  • Select the trigger event as ‘New Lead’ from Facebook Lead Ads.
  • Choose the corresponding Facebook account you want to connect.
  • Select the specific lead form you wish to use.

After setting up the trigger, you can click on ‘Save & Send Test Request’ to ensure the connection is successful. If successful, you will see a confirmation message indicating that your trigger is set up correctly.


3. Integrating Google Sheets with Pabbly Connect

Next, you will add Google Sheets as an action step in your Pabbly Connect workflow. Click on ‘Add Action Step’ and select Google Sheets from the list of available applications. Choose the action event as ‘Add Row’.

Now, select the Google account you want to connect. After connecting, you will need to select the specific spreadsheet and worksheet where you want to save the leads. Map the fields from the Facebook lead, such as Name, Email, and Phone Number, to the corresponding columns in your Google Sheets.


4. Sending Notifications to Slack via Pabbly Connect

The final step is to set up Slack notifications using Pabbly Connect. Click on ‘Add Action Step’ again and select Slack. Choose the action event ‘Send Channel Message’.

  • Connect your Slack account by authorizing Pabbly Connect.
  • Select the channel where you want to send the notifications.
  • Compose the message to include relevant details about the new lead.

After configuring the message, click on ‘Save & Send Test Request’ to verify that the notification is sent correctly to your Slack channel.


5. Conclusion

In this tutorial, we explored how to integrate Facebook leads with Google Sheets and Slack using Pabbly Connect. By following these steps, you can automate your lead management process effectively, ensuring timely notifications and organized data storage.

Utilizing Pabbly Connect not only saves time but also enhances your team’s efficiency in handling new leads, allowing for quicker follow-ups and improved customer engagement.

Pabbly Agentic AI Explained | Full Overview & Demo

Watch Step By Step Video Tutorial Below


1. Accessing Pabbly Connect for Integration

To start using Pabbly Connect, first, sign in to your account. You can use Google sign-in for convenience. Once logged in, you will be directed to the Pabbly Agentic AI dashboard, where you can create workflows.

This platform allows you to build automation workflows seamlessly. Click on the “Access Now” button to proceed to the dashboard, where you can manage your workflows effectively.


2. Creating a New Workflow in Pabbly Connect

After accessing the dashboard, you will see the option to create a new workflow. For this tutorial, we will set up a workflow to receive updates from Product Hunt directly to Google Chat using Pabbly Connect.

To create the workflow, follow these steps:

  • Click on “Create Workflow”.
  • Name your workflow, e.g., “Product Hunt Updates”.
  • Press the “Create” button to finalize.

This will initiate the process of creating your automation workflow. You can now specify the details of the updates you want to receive.


3. Configuring Product Hunt API Credentials

Next, you need to configure the Product Hunt API credentials within Pabbly Connect. This step is essential for fetching the latest product updates.

Follow these instructions to set up your API:

  • Visit the Product Hunt API page to create an app.
  • Obtain your developer token for server-side access.
  • Enter the API key and secret into Pabbly Connect.

Once you have entered your API credentials, Pabbly Connect will verify them, ensuring that your workflow can fetch data correctly from Product Hunt.


4. Setting Up Google Chat Webhook in Pabbly Connect

After configuring the Product Hunt API, the next step is to set up the Google Chat webhook. This allows Pabbly Connect to send updates directly to your Google Chat space.

To set up the webhook, follow these steps:

  • Open your Google Chat spaces and go to “Apps and Integrations”.
  • Select “Add Webhook” and create a new webhook.
  • Copy the webhook URL and paste it into Pabbly Connect.

With the webhook configured, Pabbly Connect is now set to send formatted updates from Product Hunt to your Google Chat space.


5. Testing and Activating Your Workflow

Once everything is set up, it’s time to test your workflow. Use Pabbly Connect to run a test and ensure that the integration works as expected.

Run the test by clicking on the “Test Workflow” button. If successful, you will see the updates posted in your Google Chat space. Here’s how to activate your workflow:

  • Confirm that the test was successful.
  • Activate the workflow within Pabbly Connect.
  • Set a daily trigger to automate updates.

Your workflow is now fully operational, and you will receive daily updates from Product Hunt directly in your Google Chat.


Conclusion

In this tutorial, we demonstrated how to use Pabbly Connect to integrate Product Hunt updates with Google Chat. By following these steps, you can automate your workflow and stay updated effortlessly.

This Workflow Builds Your Notion Workspace Automatically

Watch Step By Step Video Tutorial Below


1. Accessing Pabbly Connect for Integration

To start integrating Google Forms with Notion, you first need to access Pabbly Connect. Open a new tab and navigate to pabblabi.com/connect. This is where you can create your account if you haven’t already.

Once on the landing page, click on the “Sign Up Free” button to create your account. After signing up, you will receive 100 free tasks every month, allowing you to test out workflows without any cost. This is a great way to explore how Pabbly Connect can automate your processes.


2. Creating Your First Workflow in Pabbly Connect

After signing in to Pabbly Connect, you’ll see the dashboard where you can create a new workflow. Click on the “Create Workflow” button to start. This is the first step in connecting Google Forms with Notion.

  • Click the plus button to select your trigger application.
  • Search for Google Forms and select it.
  • Choose the event “New Form Response” to trigger the workflow.

By setting Google Forms as the trigger, you ensure that every new submission will initiate the workflow in Pabbly Connect. This step is crucial for automating the data transfer.


3. Connecting Google Sheets with Pabbly Connect

Next, you need to connect Google Sheets to Pabbly Connect to store the form responses. This is done by creating a webhook URL from Pabbly Connect and integrating it into Google Sheets.

To do this, copy the webhook URL provided by Pabbly Connect and then go to your Google Sheets. In your Google Forms responses, click on “Link to Sheet” and select your existing spreadsheet. This action will ensure that all responses are stored automatically.

  • Open your Google Sheet and go to Extensions > Add-ons > Get Add-ons.
  • Search for Pabbly Connect Webhook and install it.
  • Use the webhook URL in the add-on settings to send data to Pabbly Connect.

Once the webhook is set up, every new response in Google Forms will automatically send data to Pabbly Connect, allowing for seamless integration.


4. Setting Up Notion as the Action Application

With Google Forms and Sheets connected, the next step is to set up Notion as your action application in Pabbly Connect. This is where the data will be organized and stored.

Click the plus button again in your workflow to add Notion. Choose the action event “Create Database Item” to store the form responses in a structured format. You will need to connect your Notion account to Pabbly Connect by allowing access to the necessary pages.

  • Select your Notion database where the data should be stored.
  • Map the fields from Google Forms to the corresponding fields in Notion.
  • Click on “Save and Send Test Request” to ensure data is transferred correctly.

This setup allows Pabbly Connect to automatically add new entries to your Notion database whenever a form is submitted, keeping your workspace organized.


5. Conclusion: Automate Your Workflow with Pabbly Connect

In this tutorial, we explored how to integrate Google Forms with Notion using Pabbly Connect. By following the steps outlined, you can automate the process of transferring form responses into your Notion database, saving you time and effort.

Using Pabbly Connect not only streamlines your workflow but also enhances your productivity by eliminating manual data entry. Now, you can focus on more important tasks while the integration works seamlessly in the background.

Start using Pabbly Connect today to simplify your data management and enhance your workflow efficiency!