Watch Step By Step Video Tutorial Below
1. Accessing Pabbly Connect for Integrations
To start using Pabbly Connect, visit Pabbly.com in your web browser. Here, you will find options to sign in or create a free account. If you’re a new user, click on ‘Sign Up Free’ to receive 100 free tasks each month, allowing you to explore the software.
Once signed in, navigate to the Pabbly Connect dashboard. This is the central hub for all your automation tasks. Here, you can create new workflows that connect various applications like WhatsApp, Facebook, and YouTube seamlessly.
2. Automating Facebook Leads to Google Sheets with Pabbly Connect
In this section, you will learn how to automate the process of capturing Facebook leads into Google Sheets using Pabbly Connect. This automation ensures that every new lead is organized in one place for easy access.
- Create a new workflow in Pabbly Connect.
- Select Facebook as the trigger app.
- Choose the trigger event as ‘New Lead’.
- Connect your Facebook account and select the specific lead form.
- Add Google Sheets as the action app.
- Select ‘Add Row’ as the action event and connect your Google account.
After setting up the connection, every time a new lead is generated, their information will automatically populate a new row in your Google Sheets. This process saves time and ensures no leads are missed.
3. Instant Replies on WhatsApp from Facebook Leads Using Pabbly Connect
Next, let’s automate sending instant replies to new Facebook leads via WhatsApp using Pabbly Connect. This integration enhances customer engagement by providing immediate responses.
To set this up, follow these steps:
- Create another workflow in Pabbly Connect.
- Set Facebook as the trigger app and select ‘New Lead’ as the event.
- Connect your Facebook account and choose the lead form again.
- Add WhatsApp as the action app and select ‘Send Message’ as the action event.
With this automation, whenever a new lead is captured, a personalized WhatsApp message will be sent instantly. This feature helps in establishing a quick connection with potential customers.
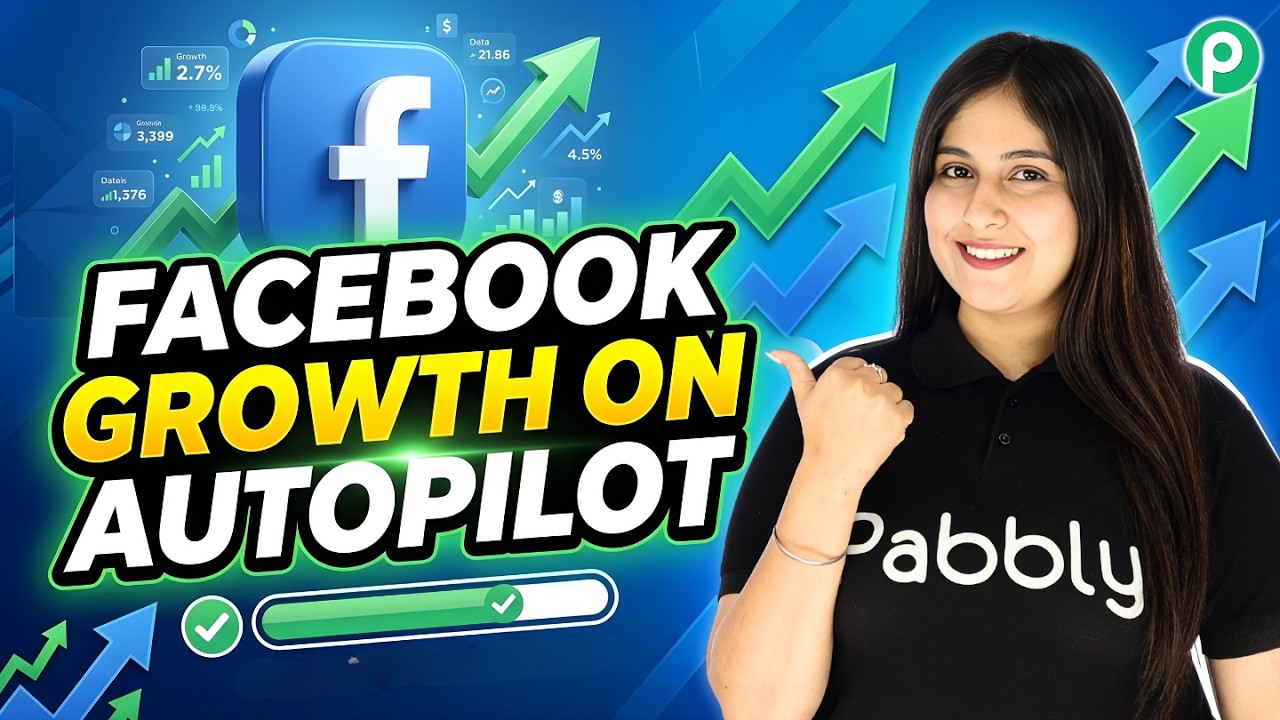
4. Sharing Facebook Page Posts Across Multiple Pages with Pabbly Connect
Now, let’s explore how to share Facebook posts across multiple pages using Pabbly Connect. This automation helps in maintaining consistent messaging across different platforms.
To implement this, create a new workflow and follow these steps:
- Set Facebook as the trigger app and select ‘New Post’ as the event.
- Connect your Facebook account.
- Add another action step for Facebook and select ‘Share Post’ as the action event.
- Choose the pages where you want to share the post.
This setup ensures that whenever you publish a new post on one Facebook page, it will automatically share across the selected pages, maximizing your reach and engagement.
5. Conclusion
In this tutorial, we explored how to use Pabbly Connect to automate various tasks by integrating WhatsApp, Facebook, and Google services. Each automation streamlines business processes, enhancing efficiency and customer engagement.
With these automations, you can focus more on growing your business while Pabbly Connect handles the repetitive tasks. Start using Pabbly Connect today to transform your workflow!