Want to know the easiest way to add Salesforce leads to Sendpulse? If so, then you’re at the right place as we are presenting the best automation and integration tool named Pabbly Connect.

Pabbly Connect is a data transmission and integration platform that helps you to connect various applications for fast data transfer. The best part is that no coding knowledge is needed.
You can easily create smooth workflows in a short amount of time.
Why Choose This Method Of Integration?
In contrast with other integration services-
- Pabbly Connect does not charge you for its in-built apps like filters, Iterator, Router, Data transformer, and more
- Create “Unlimited Workflows” and smoothly define multiple tasks for each action
- As compared to other services which offer 750 tasks at $24.99, Pabbly Connect offers 50000 tasks in the starter plan of $29 itself
- Unlike Zapier, there’s no restriction on features. Get access to advanced features even in the basic plan
- Try before you buy! Before spending your money, you can actually signup & try out the working of Pabbly Connect for FREE
Let’s understand the software and the need for this integration. Salesforce is a solution that helps companies to better communicate with clients, suppliers, and future users by using cloud technologies. On the other hand, SendPulse is a cloud-based marketing application that combines email, text messages, and push alerts into a single platform.
By connecting Salesforce and SendPulse via Pabbly Connect, you can easily add Salesforce leads as a subscriber in SendPulse without lifting fingers. Though, you need to set up integration which we also mentioned in the below video.
We already have a template for this integration that will help you get up to speed quickly. Click the ‘Use Workflow’ button below to get started. You should also look for more apps/integrations in the Marketplace.

Now, without further ado, let’s get down to business and take the steps to connect Salesforce and SendPulse.
Let’s get started
Step 1: Sign up to Pabbly Connect

Initiate the process to add Salesforce leads to Sendpulse by clicking on the ‘Sign Up Free‘ icon on the Pabbly Connect home page. Next, either manually fill-up all the details manually or sign up using your Gmail account.
Try Pabbly Connect for FREE
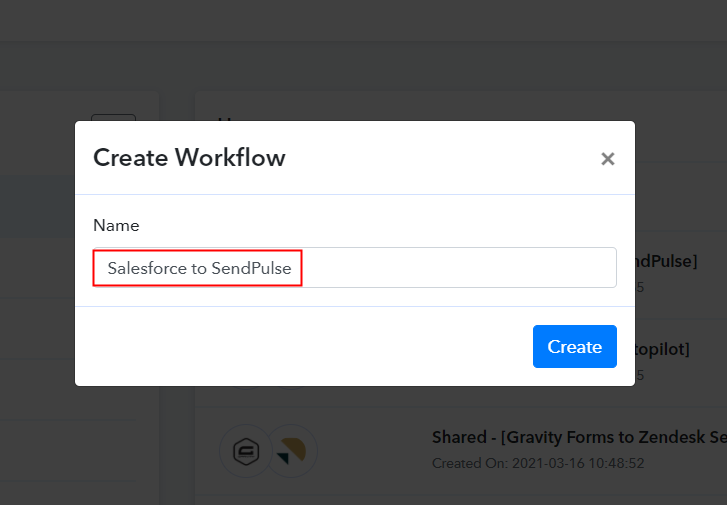
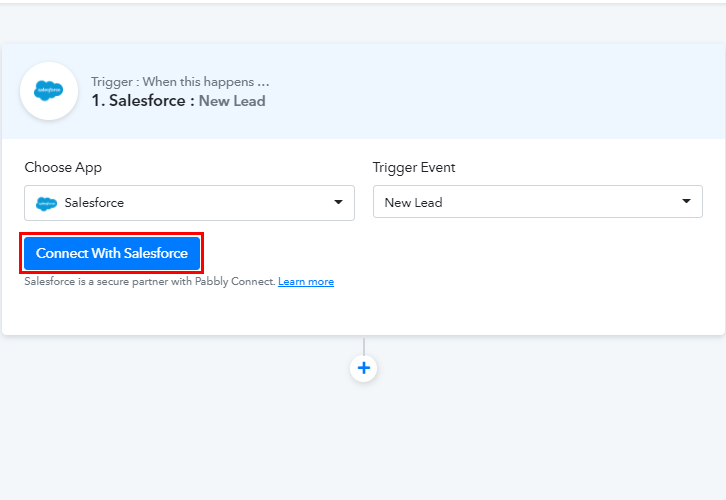
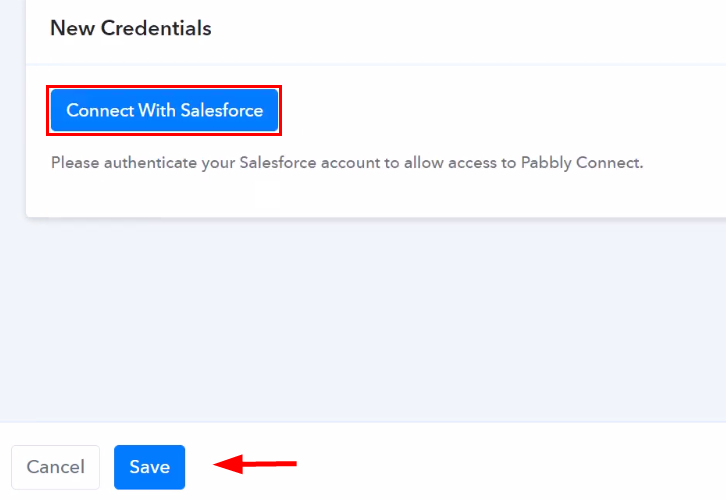
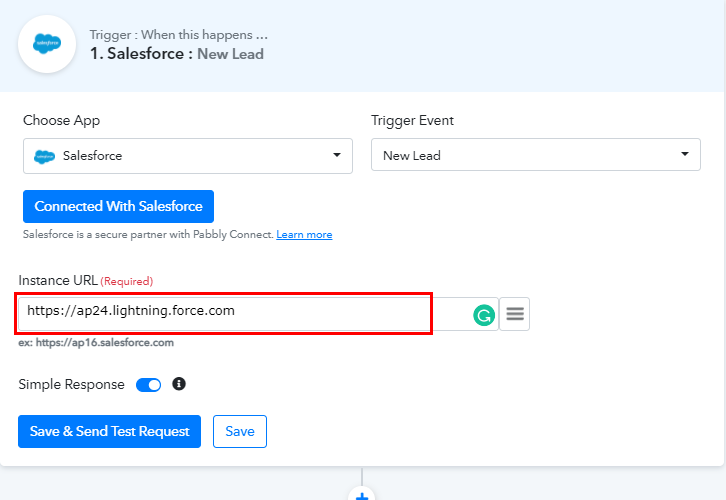
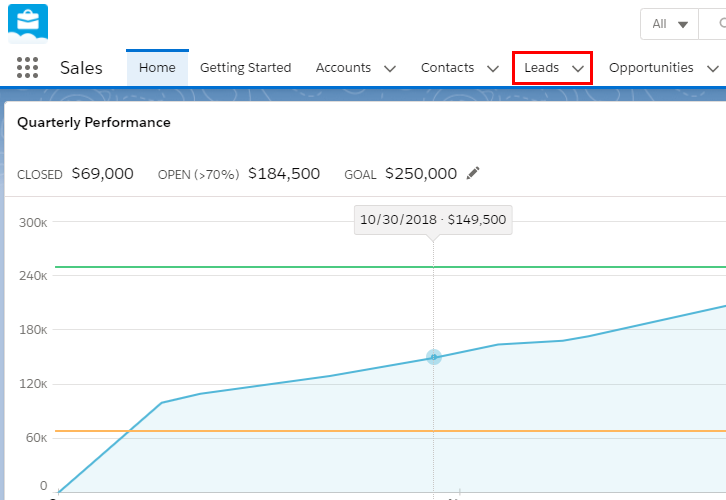
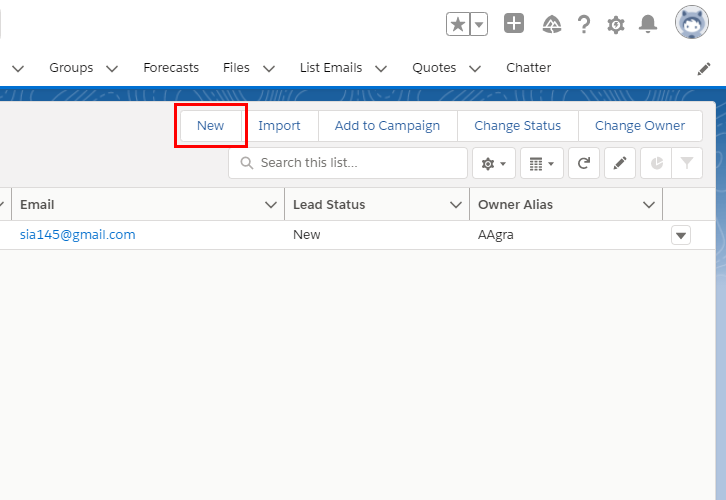
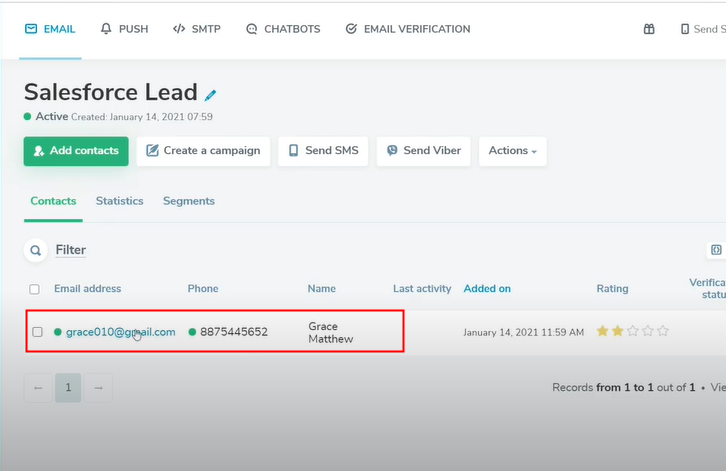
Next, after logging into the account, click on the ‘Access Now’ button of the Connect section in the dashboard. Start with creating a workflow for your project by clicking on the ‘Create Workflow’ button. Further, add the name of workflow which in our case is ‘Salesforce to SendPulse’. Nevertheless, you can always name the workflow according to your requirements. Further, you have to choose an app to add SendPulse subscribers from the new Salesforce lead. Pabbly Connect lets you bind or connect unlimited apps within minutes, click here to sign up for unlimited workflows. In the following step, choose ‘Salesforce’ from the choose app drop-down, and select ‘New Lead’ option from the Trigger Event. After choosing the application click on the ‘Connect With Salesforce’ button for the next step. Later, to connect Salesforce with Pabbly Connect, you have to authorize the application. For this, you have to log into your Salesforce account. In the next window that slides in from the right, again click on the ‘Connect with Salesforce’ button. Authorize your Salesforce account to connect with Pabbly Connect by allowing access. Then, click on the ‘Save’ button. Now, you get the ‘Instance URL’ from Salesforce website URL. Simply copy and paste it in the respective column as shown in the above image. To check if the integration is capturing data or not, we will be going to create a new lead in Salesforce. Now, go to the Salesforce dashboard, and click on ‘Leads’ menu. Promptly, click on the ‘New’ button to create a new lead. Further, you have to enter the new lead details such as first name, last name, address, and so forth. After you entered all the details for the new lead, click on the ‘Save’ button to save the details. Subsequently, go to the Pabbly Connect window, and click on the ‘Save and Send Test Request’ button to get the response. At last, hit the ‘Save’ button. To make this Salesforce-SendPulse integration work, you have to choose the action for your trigger. Now in this step, click on the + button below and choose the application that you want to integrate. Here we will choose “SendPulse” to integrate and in the method section select “Add Subscriber”. After choosing the application click on the “Connect with SendPulse” button to move forward. To connect SendPulse with Pabbly Connect, you need to paste the ID and secret key from your SendPulse account to the Pabbly Connect dashboard. For that, you have to log in to your SendPulse account. After clicking on the connect button, a window will slide in from the right side asking for an “ID” and “Secret Key”. Next, you have to click on the “Profile” icon in your SendPulse account and then click on the “Account Settings” option. Once you reach the account settings page, then click the given “API” option among several other options, and then copy the ID and secret key. Paste the copied ID and secret key and then click on the “Save” button. Once you are connected with your SendPulse account, now you have to add all the field data like name, email id, etc. Map up all the fields quickly. Once you are done mapping up all fields click on the “Send Test Request” button. Here, you can see that integration was successful and the lead from Salesforce has been added to the SendPulse automatically as a subscriber. Hopefully, now you know “How to Add Salesforce Leads to Sendpulse”. This is a one-time process, after that everything will be automatically done by Pabbly Connect. Just follow all the step-by-step procedures mentioned above & your Salesforce to SendPulse integration is set. So, don’t wait anymore. Go and create your free account on Pabbly Connect today. Step 2: Access Pabbly Connect

Step 3: Workflow for Salesforce with SendPulse Integration
(a) Start with a New Workflow

(b) Name the Workflow
Step 4: Setting Trigger for Salesforce to SendPulse Integration
(a) Select Application you Want to Integrate
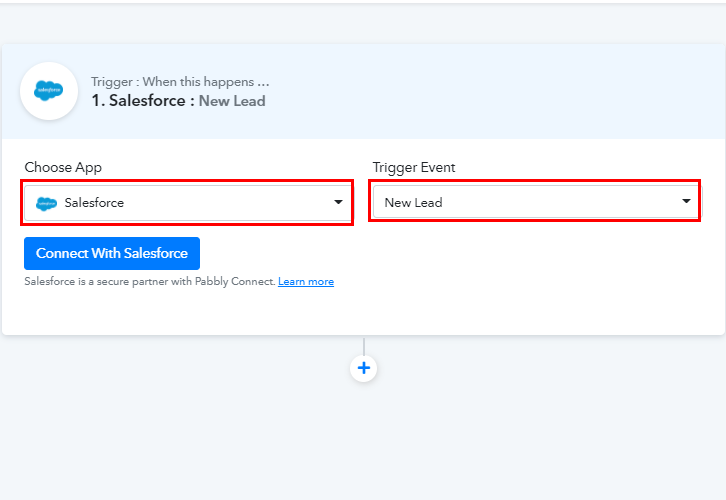
(b) Connect with Salesforce
Step 5: Connecting Salesforce to Pabbly Connect
(a) Authorize Salesforce Account
(b) Paste Instance URL
Step 6: Create a New Lead
(a) Click on Leads
(b) Create a New Lead
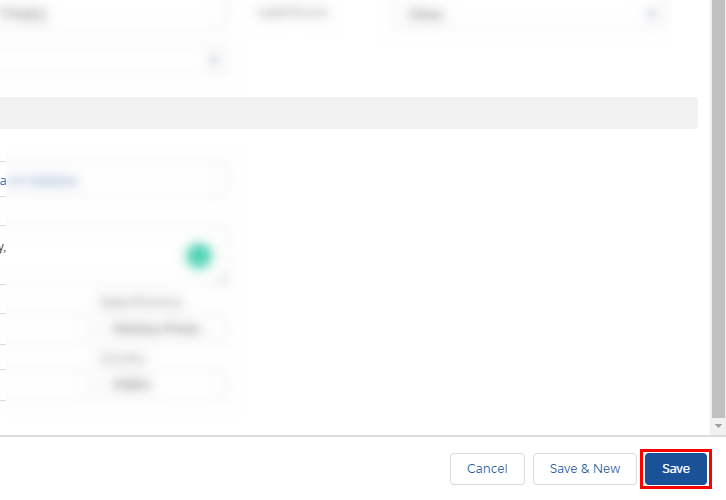
(c) Enter Lead Info
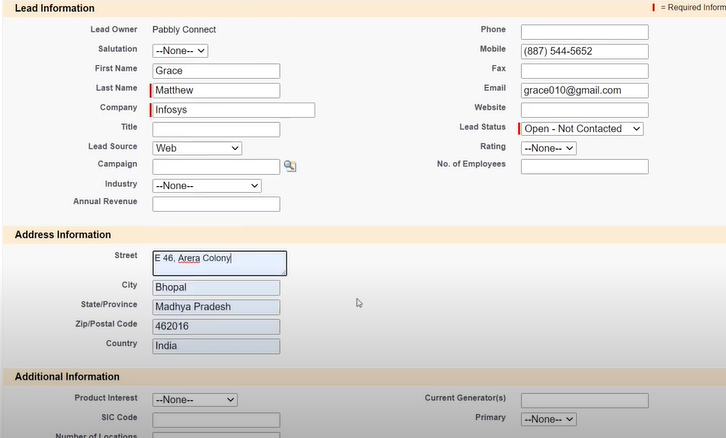
(d) Save the Lead Details
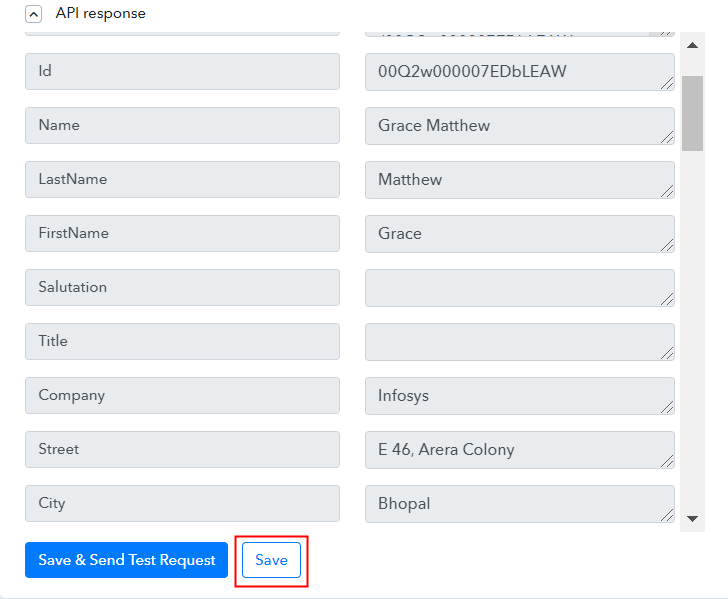
Step 7: Test the Response in Pabbly Connect Dashboard
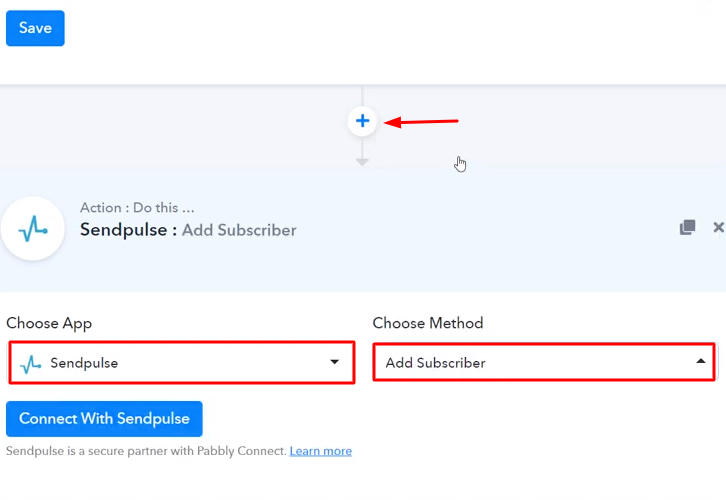
Step 8: Setting Action for Salesforce to SendPulse Integrations
(a) Select Application you Want to Integrate
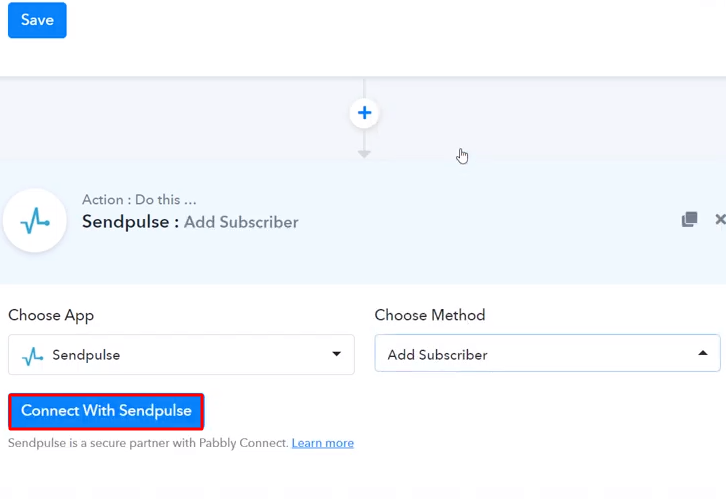
(b) Click the Connect Button
Step 9: Connecting SendPulse to Pabbly Connect
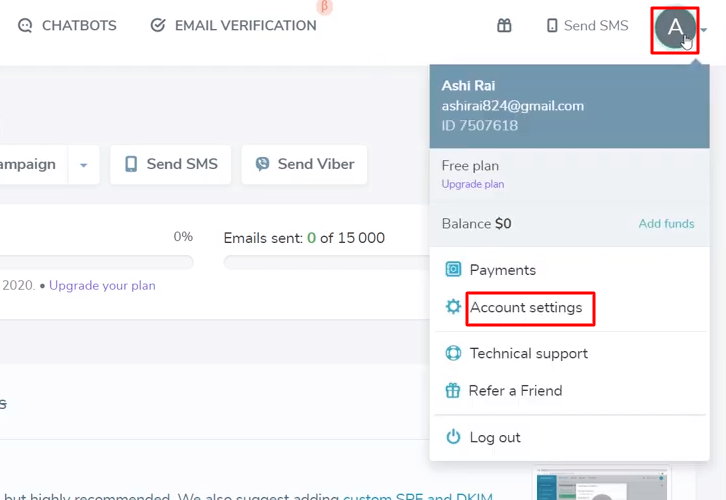
(a) Click on SendPulse Account Settings
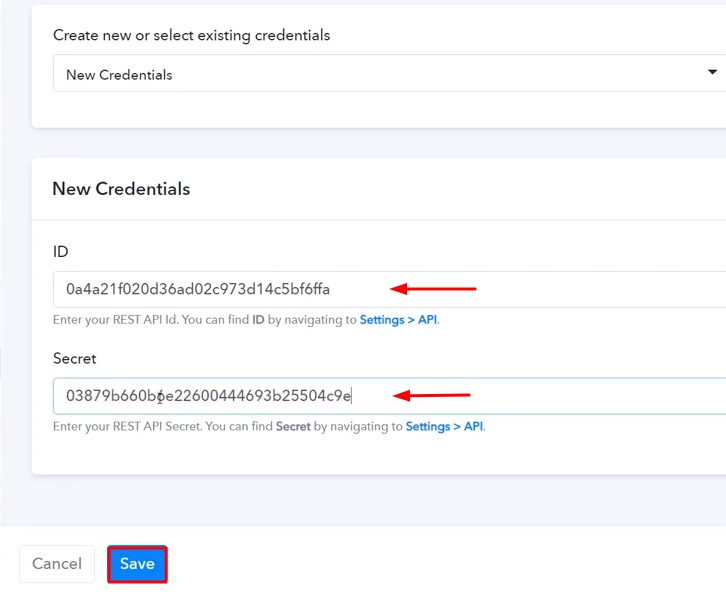
(b) Copy ID and Secret Key

(c) Paste the ID and Secret Key
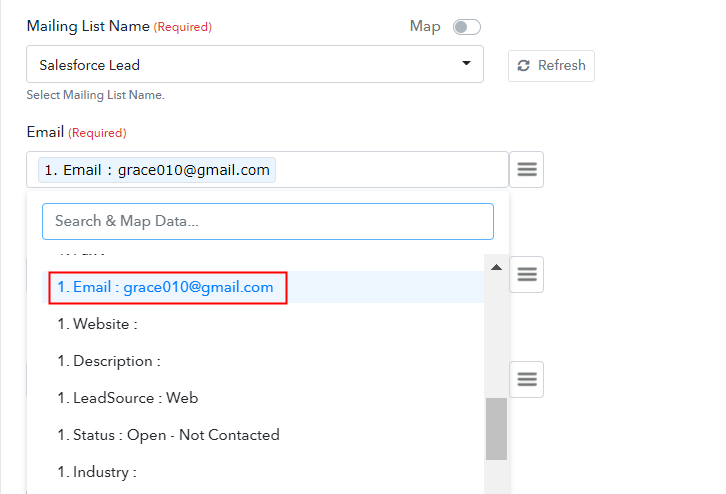
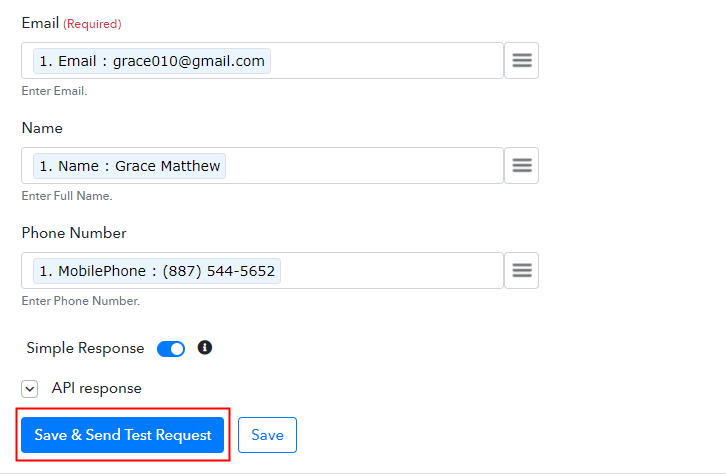
(d) Map the Fields
(e) Save & Send Test Request
Step 10: Check Response in SendPulse Dashboard
Conclusion –
You May Also Like to Read –


