Do you want to automatically send birthday cards and wishes on WhatsApp from Google Sheets?
If your answer is a yes then follow this step by step procedure. As there is no direct integration between these Google Sheets and WhatsApp. We’ll be using Pabbly Connect software to connect these two apps together for automation. Moreover, you only need to follow this procedure once and after that, the created workflow will automatically send the birthday wishes on time.
In essence, the Pabbly Connect service is an automation & integration tool that enables you to integrate numerous apps together to automate routine tasks in real-time.
The best of doing this automation through Pabbly Connect is, you don’t need any coding or programming knowledge in the procedure.
Why Choose This Method Of Integration?
In contrast with other integration services-
- Pabbly Connect does not charge you for its in-built apps like filters, Iterator, Router, Data transformer and more
- Create “Unlimited Workflows” and smoothly define multiple tasks for each action
- As compared to other services which offer 750 tasks at $24.99, Pabbly Connect offers 50000 tasks in the starter plan of $29 itself
- Unlike Zapier, there’s no restriction on features. Get access to advanced features even in the basic plan
- Try before you buy! Before spending your money, you can actually signup & try out the working of Pabbly Connect for FREE
But, before starting the step by step procedure, first, let’s get to know the services involved in the workflow. Google Sheets is an online spreadsheet program by Google. Whereas, WhatsApp is a cross-platform centralized messaging service.
After setting up this workflow birthday cards & wishes are sent automatically using Google Sheets entries.
Additionally, check out the video tutorial given below for this particular integration.
Also, we have attached below is a template for this integration to help you get started quickly. Just click on the below image. Moreover, you can also visit the Marketplace to look for numerous other integrations & apps.

So, buckle up as we’re going to discover the Google Sheets and WhatsApp integration.
Step 1: Sign up to Pabbly Connect

Begin the procedure to send birthday cards wishes on WhatsApp from Google Sheets by visiting the Pabbly Connect website. On the home page, click the ‘Sign-Up Free‘ button and then either enter your existing Gmail credentials or simply fill up the signup form to register.
Step 2: Access Pabbly Connect

After that, click on the ‘Access Now’ button of the service ‘Connect’ (as shown in the above image) amongst the various other Pabbly applications.
Step 3: Workflow for Google Sheets and WhatsApp Integration
(a) Start with a New Workflow

Start creating a workflow for this integration by clicking the ‘Create Workflow’ button.
(b) Name the Workflow
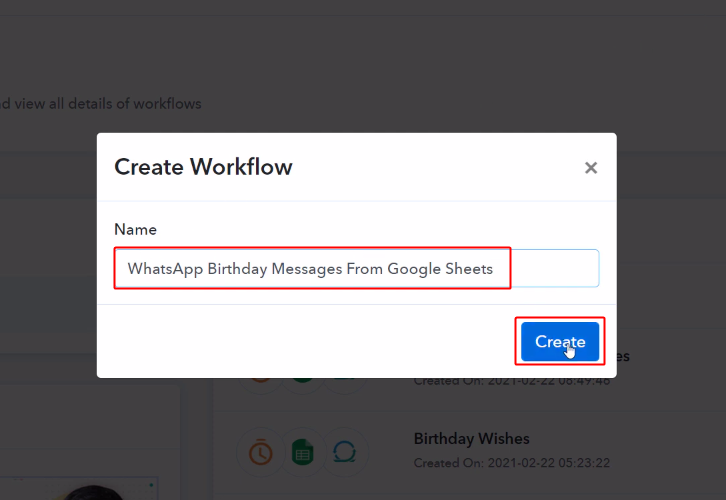
Now, you can name the workflow as per the integration or use-case (for instance: WhatsApp Birthday Messages From Google Sheets etc). Finally, click the ‘Create’ button available.
Step 4: Setting Trigger for Google Sheets to WhatsApp Integration
To automatically send birthday wishes on WhatsApp, first, you’ll need to set up a trigger on the Google Sheets entries and its respective action to send birthday wishes on WhatsApp using Pabbly Connect. But, the very first thing is to check for any birthdays daily.
(a) Select Application you want to integrate
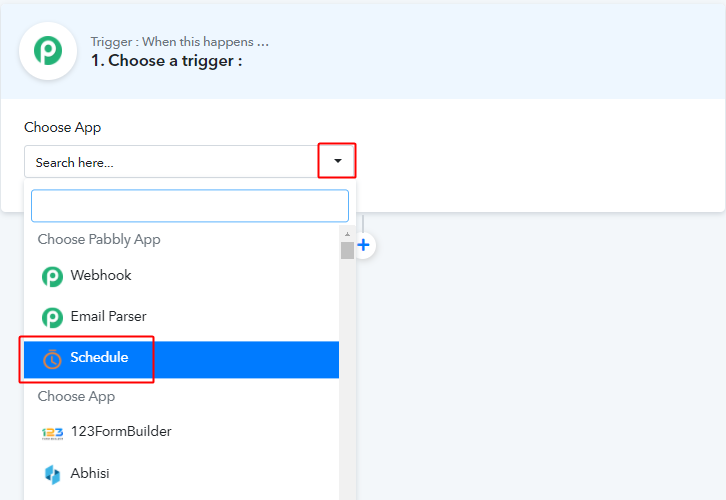
After naming your workflow, a page will open up along with the trigger window settings.
Pick the ‘Schedule’ app from the ‘Choose App’ drop-down choices.
(b) Select Scenario, Time & Connect Click Save
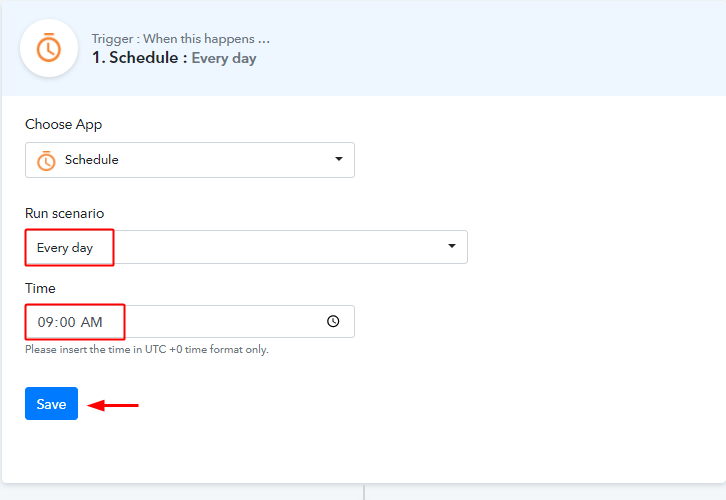
Select the ‘Run Scenario’ field value as ‘Every day’.
Next, select the time as per URC format.
Step 5: Connecting Google Sheets to Pabbly Connect
Before conning the system with a Google Sheet first, create a Google Sheet with details of the person whom you want to auto-send birthday wishes.
(a) Create Google Sheet & Enter Values
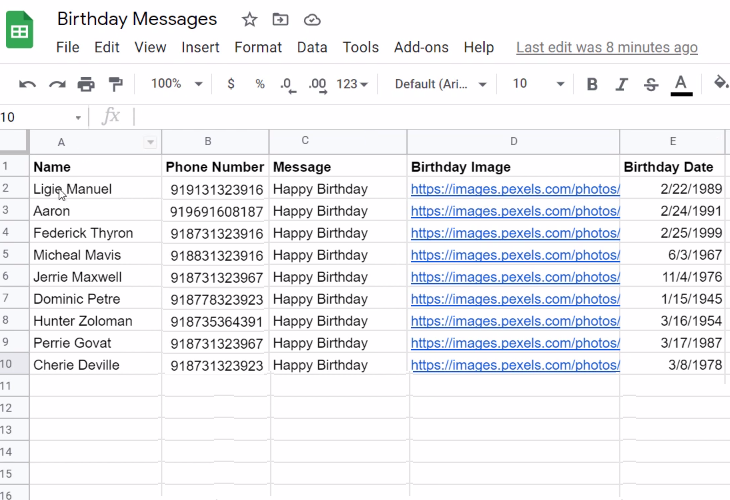
Log in to your Google Sheets and create a spreadsheet for this purpose. Also, enter values like name, phone number, message, image URL, birth date etc.
(b) Select Application you want to integrate
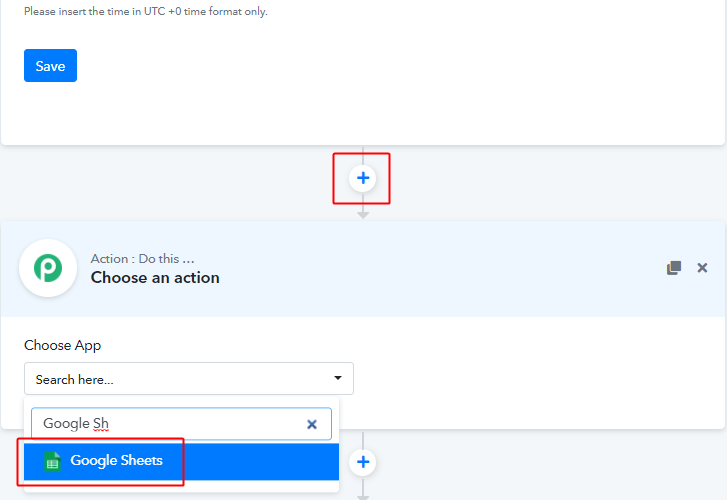
Now, click on the plus ‘+’ button next to your trigger window. Then, select the ‘Google Sheets’ app from the choose app dropdown.
(c) Select Event & Connect with Google Sheets
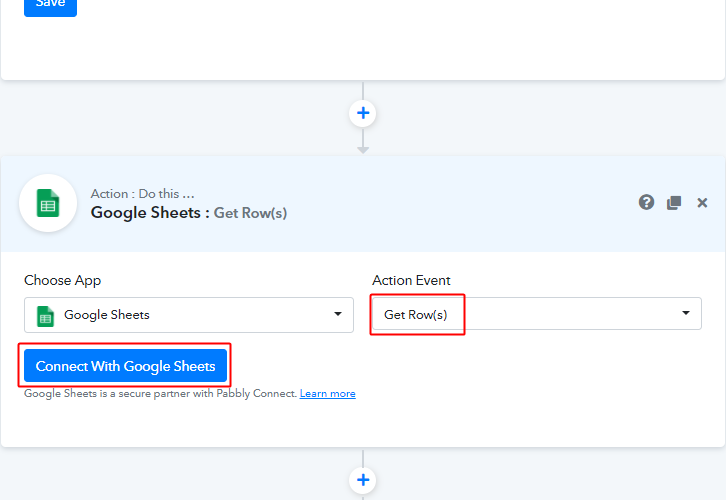
Next, select the event as ‘Get Row(s)’ and click on the ‘Connect with Google Sheets’ button.
(d) Authorize Google Account
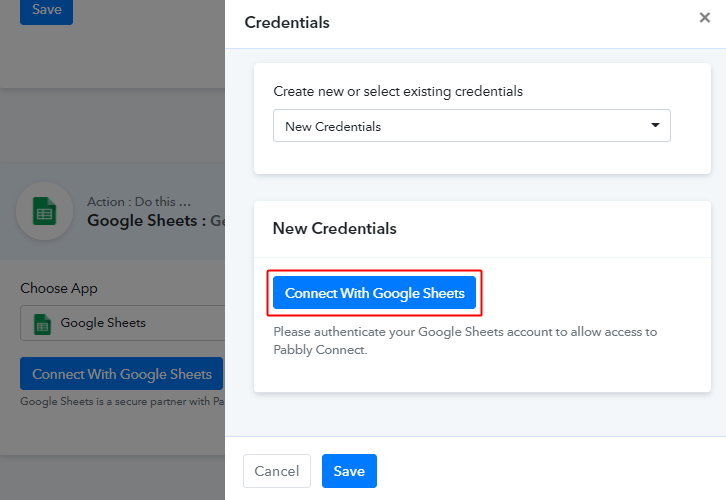
Further, authorize your Google account connection by allowing Pabbly Connect some specific permissions.
(e) Select Spreadsheet, Range and Send Test Request
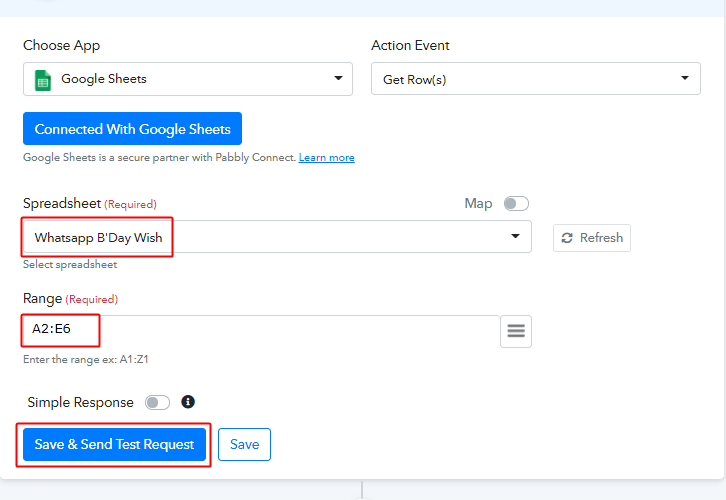
After the authorization, select the spreadsheet that you created for this automation.
Next, specify the range from the spreadsheet up to which the automation will run. To mention the range value simply select the rows and column in your spreadsheet. When you select a particular range in spreadsheets it starts showing the range on the top left corner. Copy that range parameter and paste it here.
Lastly, click on the ‘Save & Send Test Request’ button.
(f) Toggle Response & Send Test Request
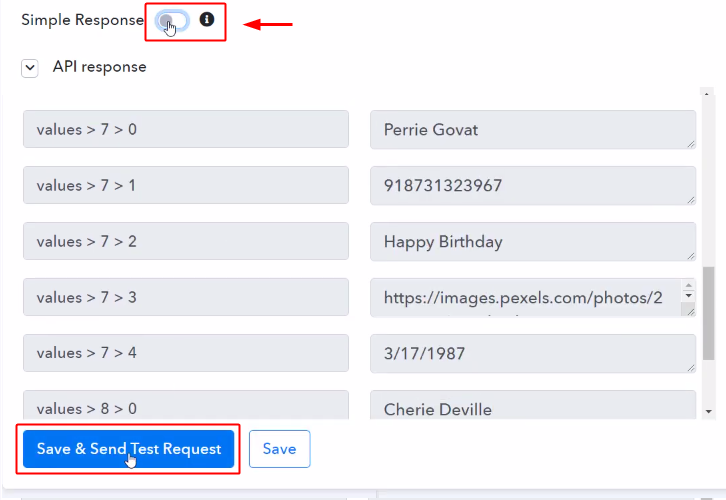
Here, you can see that the response is in a separate format. To gather this response together toggle the ‘Simple Response’ button and click ‘Save & Send Test Request’.
(g) Check and Save the API Response
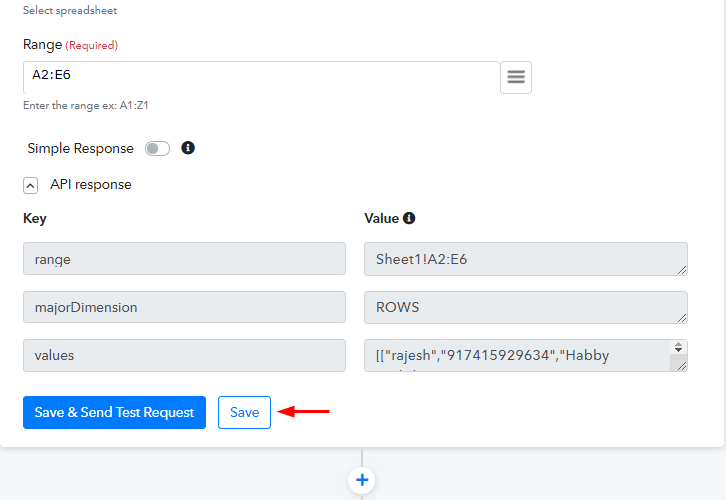
At this point, the response value came into a JSON format. Simply, save this response.
Step 6: Add an Iterator
As of now, the trigger response is in a single JSON format. To separate it value-wise we must pass it through an iterator.
(a) Select Application you want to integrate
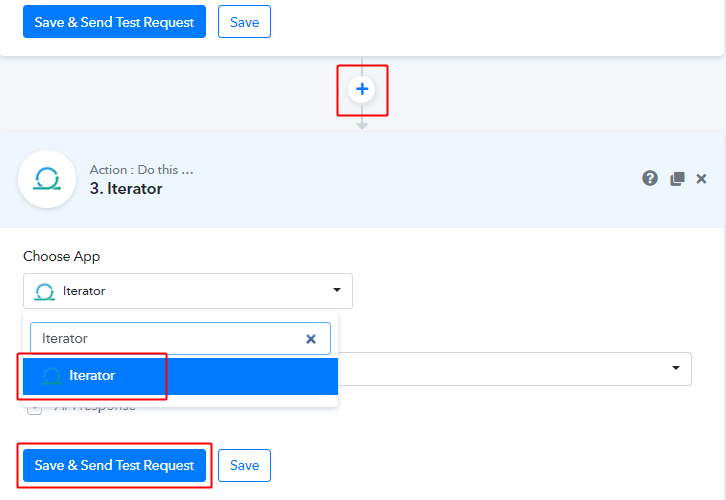
Click on the ‘+’ button next to your Google Sheet integration window. then, select the ‘Iterator’ option from the ‘Choose App’ field’s deop-down.
Finally, click on the ‘Save & Send Test Request’ button.
(b) Check & Save Iterator Response
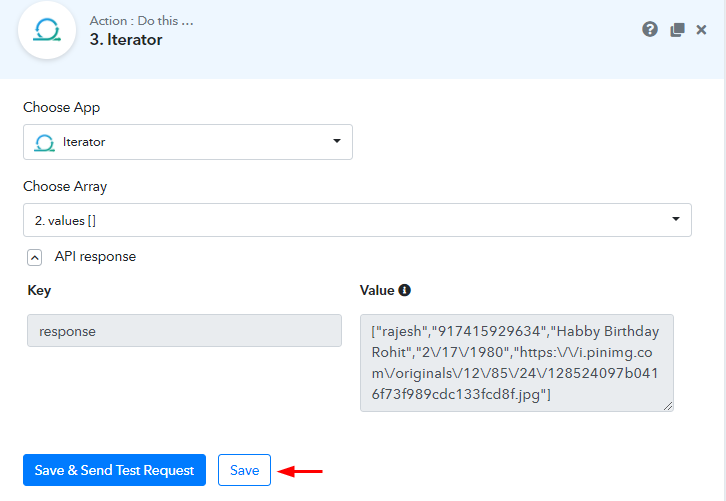
Remember to save the iterator’s API response.
Step 7: Connect JSON Extractor
Up to the last iterator response, we’ve separated the response for a single row. Now to generate a message the values are required to be in plain text format. So, integrating a JSON extractor is required to do so.
(a) Select Application you want to integrate
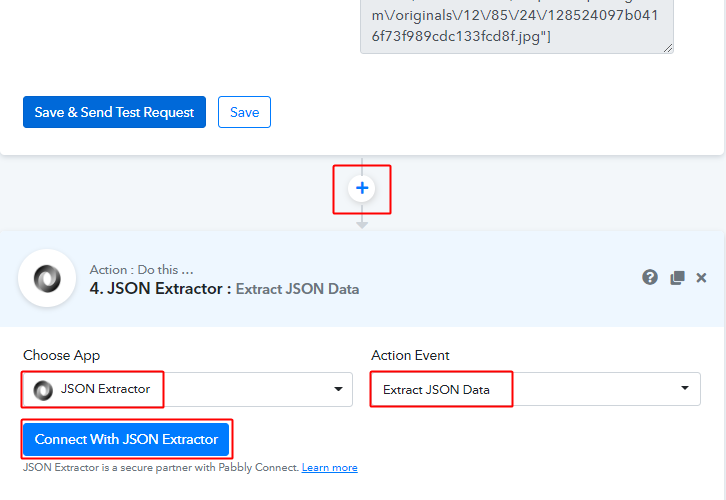
Click on the plus button next to the iterator window. Then, pick the ‘JSON Extractor’ app. Also, select the ‘Extract JSON Data’ option from the ‘Action Event’ drop-down.
Lastly, click ‘Connect with JSON Extractor’.
(b) Map Iterator Response
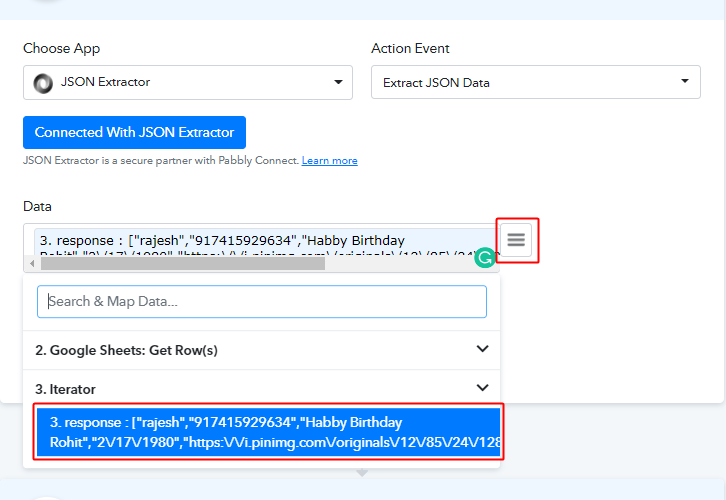
Map the iterator response with the ‘Data’ field of the JSON extractor.
To map a value from the previous trigger/event’s response, click on the menu icon (three horizontal lines) next to a field.
Then, click select the Iterator response.
(c) Check and Save JSON Extractor Response
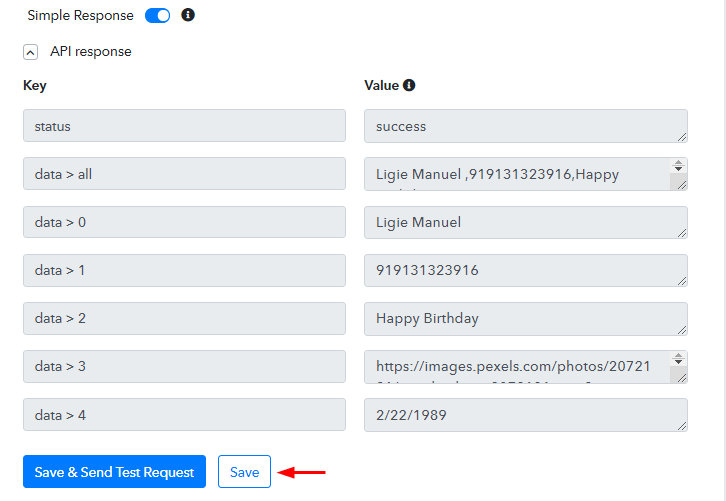
Check and save the JSON response.
Step 8: Add Date Time Formatter
Now, all the data is available for sending a message from the automation. We can now simply apply a condition to compare the current date with the person’s birthdate. But, to compare two values that must be into the same format.
(a) Select Application you want to integrate
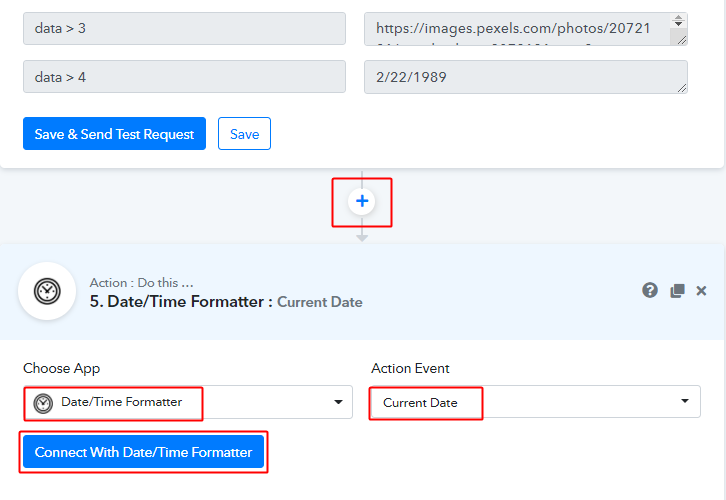
Now, integrate a Date/time Formatter for formatting the current date. To do so, simply select the ‘Date/time Formatter’ in the Choose App drop-down and ‘Current Date’ option from the Action Event drop-down.
Lastly, click on the ‘Connect with Date/Time Formatter’ button.
(b) Select Date Format & Send Test Request
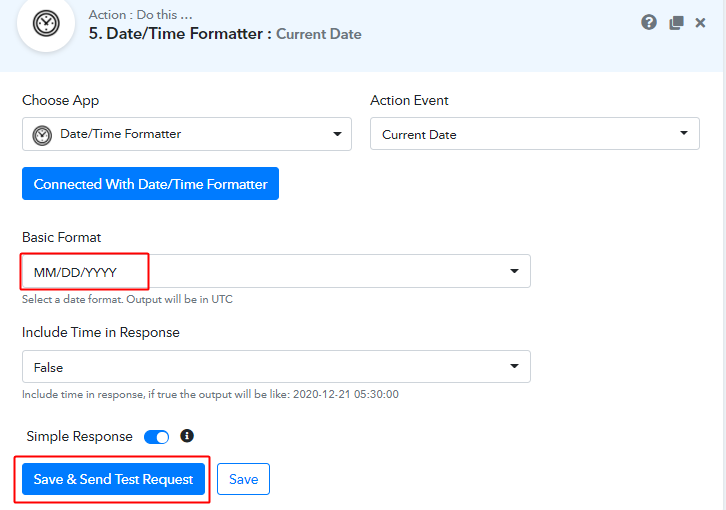
After connecting with the Date/Time Formatter, select a format for your current date to convert into.
Keep the ‘Include time in response’ field value as ‘False’ and click on ‘Save & Send Test Request’ button.
(c) Format the Birthdate
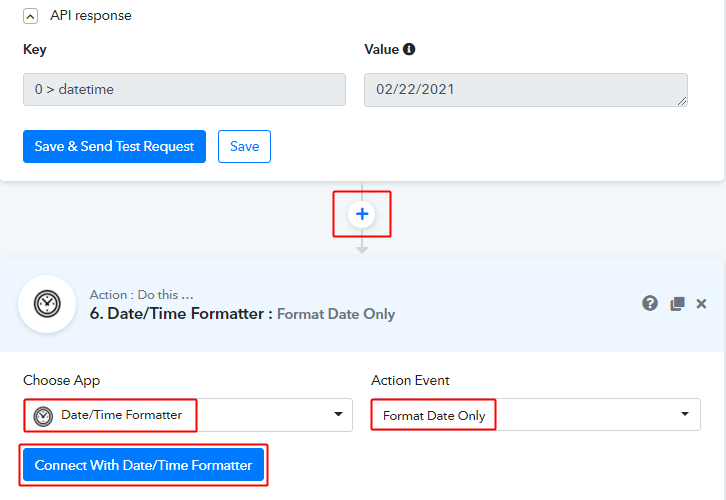
Now, integrate the Date/time Formatter for the birthdate. For this select the ‘Format Date Only’ event rest of the procedure is similar to the current date.
(d) Map the Birthdate
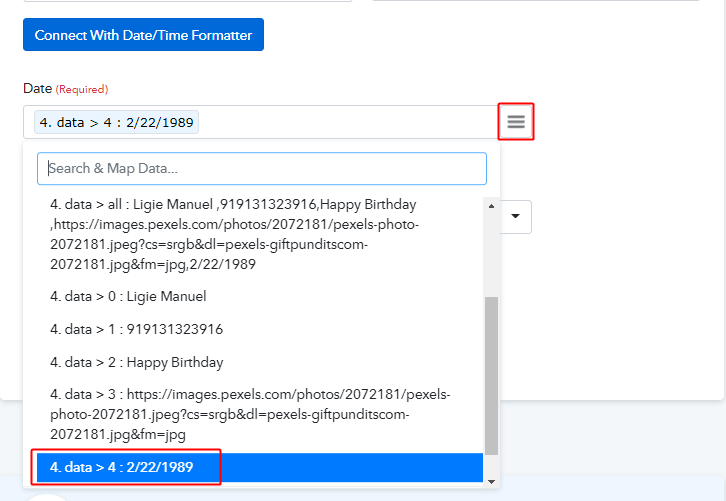
Map the birthdate from the JSON Extractor response.
Step 9: Compare Current Date with Birthdate
Now, as both the dates are in the same format. We can apply a comparison between them. So first lest split the date in day and month.
(a) Select Application you want to Integrate
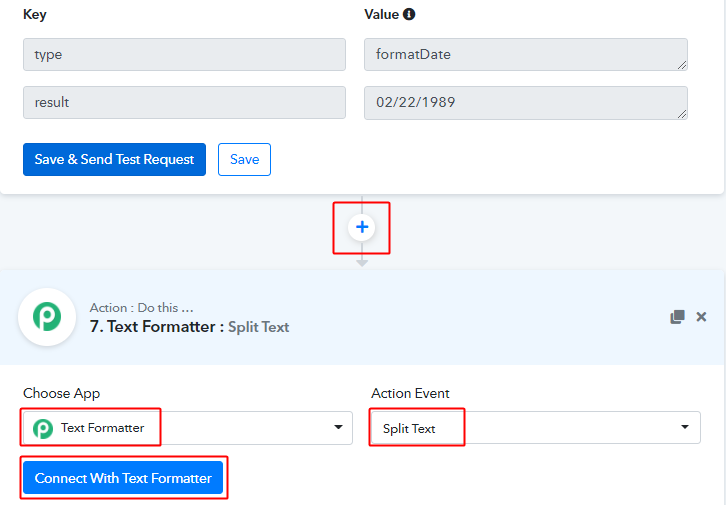
Select the ‘Text Formatter’ app from the Choose App drop-down and ‘Split Text’ option from the ‘Action Event’ options. Click on ‘Connect with test Formatter.
(b) Map Current Date, Place Separator Value & Send Test Request
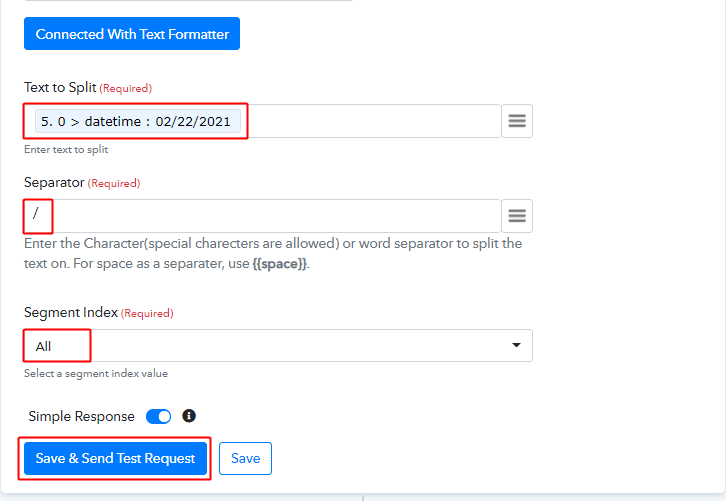
We want to separate the date value from the ‘/’ separator that why first, we’ll map the formatted current date in the ‘text to Split’ field. Next, place a ‘/’ symbol in the separator field and the ‘All’ option from the Segment Index options.
Lastly, click on the ‘Save & Send Test Request’ button.
Save the formatted response and repeat this step for the birthdate as well.
(c) Select Application you want to Integrate
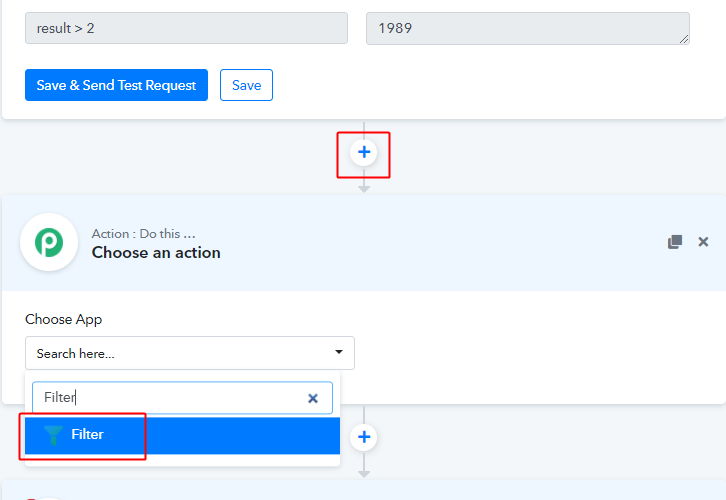
For sending a wish on the birthday first let’s compare the dates. For this, integrate a filter.
(d) Map Values for Comparision
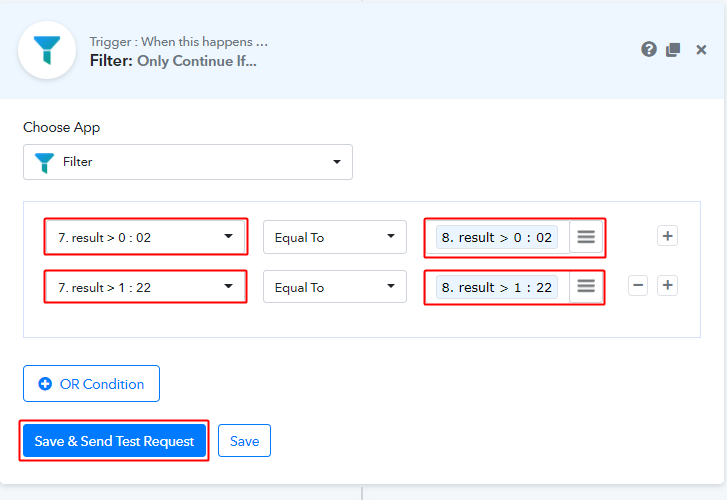
When you choose the filter option from the choose app field options. A value comparison will become visible. Map the current day with the birthday and the current month with the birth month along with the condition in between as ‘Equal To’.
Lastly, click the ‘Save & Send Test Request’ button.
Step 10: Setting Action for Google Sheets to Whatsapp Integration
Now, as we have gathered all the data to send birthday wishes on WhatsApp from Google Sheets. We can proceed to use this data to perform our action. After that, a message will be auto-sent on WhatsApp for every person listed on your spreadsheet.
(a) Select Application you want to Integrate
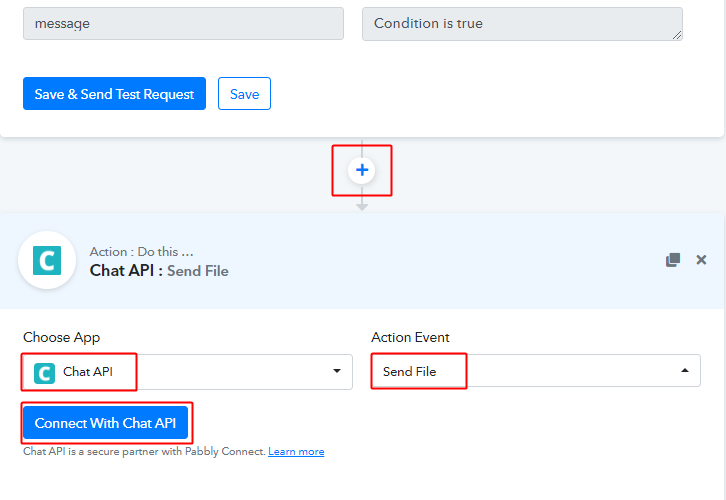
Now, we’ll use the ‘Chat API’ to send a WhatsApp message. So, select the ‘Chat API’ option from the Choose App drop-down. Also, select the event as ‘Send File’ and then click on ‘Connect with Chat API’.
(b) Copy Chat API URL & Token

Further, go to your Chat API account and copy the API URL and token.
(c) Paste API URL & Token
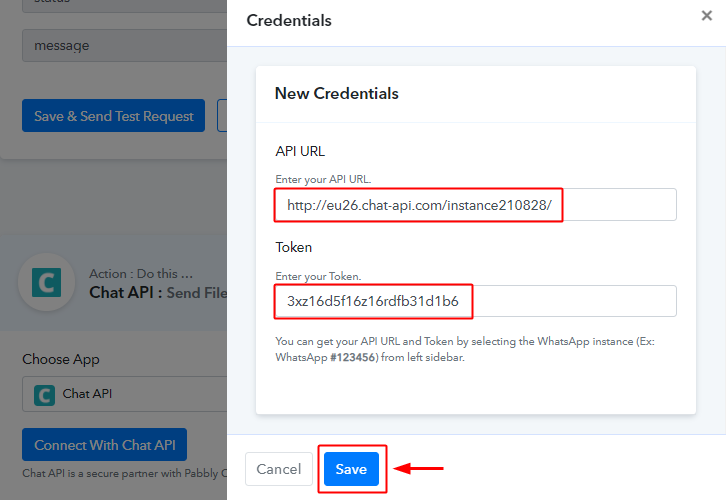
Paste the copied API URL and token in the Pabbly Connect connection window.
(d) Map the Required Fields & Message Body
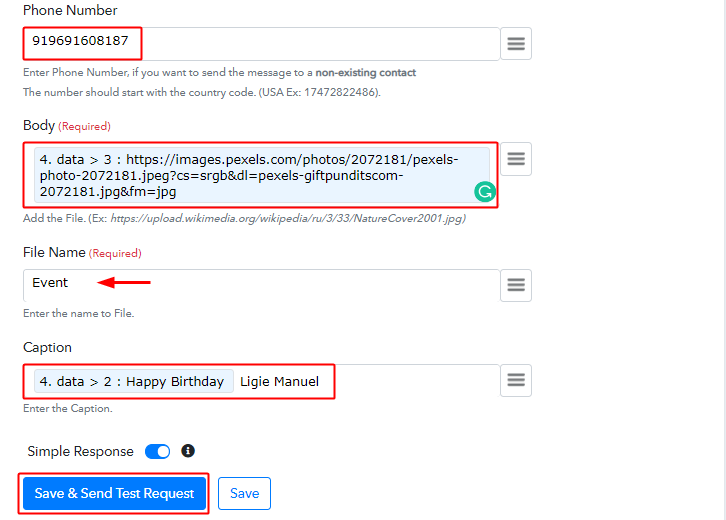
Map all the required fields such as phone number, event and caption. Also, draft a message using the response value and plan test.
Finally, click ‘Save’ to save the action API’s response.
Step 11: Check Response in WhatsApp

Also, you can check the birthday wish on Whatsapp.
Conclusion –
To sum up, this was all about ‘How to send birthday cards wishes on WhatsApp from Google Sheets’. Consequently, after completing the step by step procedure, you will end up sending birthday cards and wishes on WhatsApp automatically using the entries of your Google Sheet.
Meanwhile, you can automate your routine tasks on Pabbly Connect for FREE with all its premium features.
Also, drop your feedback about this procedure in the comment section below.


