Are you looking for the easiest way to create Salesforce lead from Google Sheets rows? If yes, then here in this blog, we will walk you through the process using Pabbly Connect.
Pabbly Connect allows you to automate all your repetitive work without needing any coding skills. In a matter of time, you can connect multiple applications and allows data transmission among them.
Not just this, the only software available in the market that doesn’t restrict on features like path routers, filters, provide unlimited workflows, and much more even in its free plan.
Why Choose This Method Of Integration?
In contrast with other integration services-
- Pabbly Connect does not charge you for its in-built apps like filters, Iterator, Router, Data transformer, and more
- Create “Unlimited Workflows” and smoothly define multiple tasks for each action
- As compared to other services which offer 750 tasks at $24.99, Pabbly Connect offers 50000 tasks in the starter plan of $29 itself
- Unlike Zapier, there’s no restriction on features. Get access to advanced features even in the basic plan
- Try before you buy! Before spending your money, you can actually signup & try out the working of Pabbly Connect for FREE
But before moving forward let’s understand both software and the need for the integration. Salesforce’s services allow businesses to use cloud technology to completely connect with customers, partners and potential customers. Whereas Google Sheets is a spreadsheet program offered by Google to save data.
Many time we store the data from multiple platforms in Google Sheets. By Connecting Google Sheets with Salesforce via Pabbly Connect, we will automatically create a lead in Salesforce from the data gathered in Google Connect. We have also inserted a video for you about the same, have a look at it.
Also, we have attached a clone template, just click on the below image and you’re good to go. Moreover, if you’re looking for more apps and integration, you can visit our Marketplace.

Here in this article, we are going to integrate Google Sheets and Salesforce.
Step 1: Sign up to Pabbly Connect

Initiate the process of creating Salesforce lead from Google Sheets rows by clicking on the “Sign Up Free” icon on the Pabbly Connect dashboard. Subsequently, either fill-up the details manually or sign up using Gmail credentials.
Try Pabbly Connect for FREE
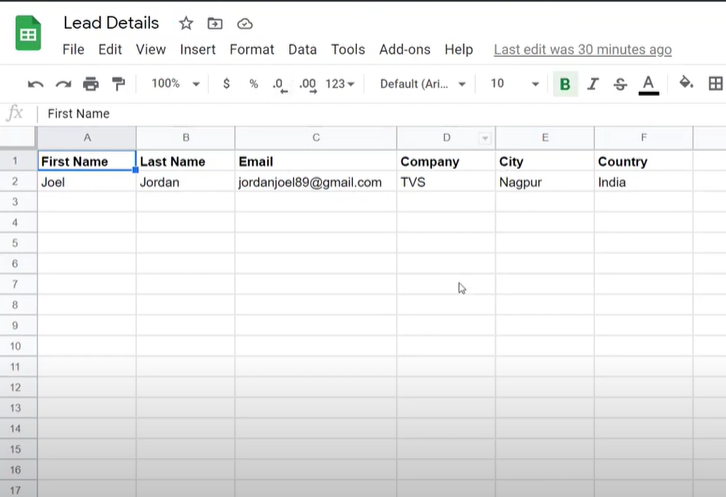
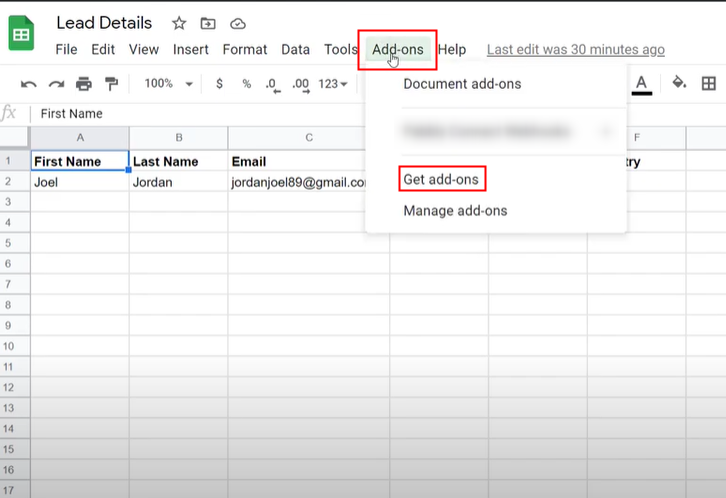
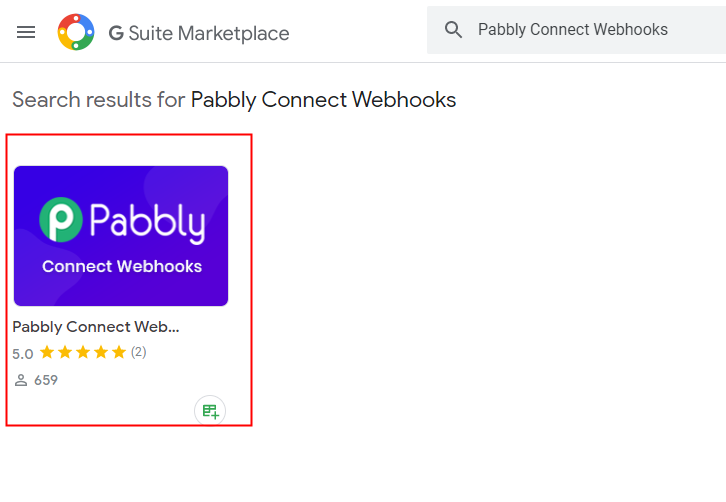
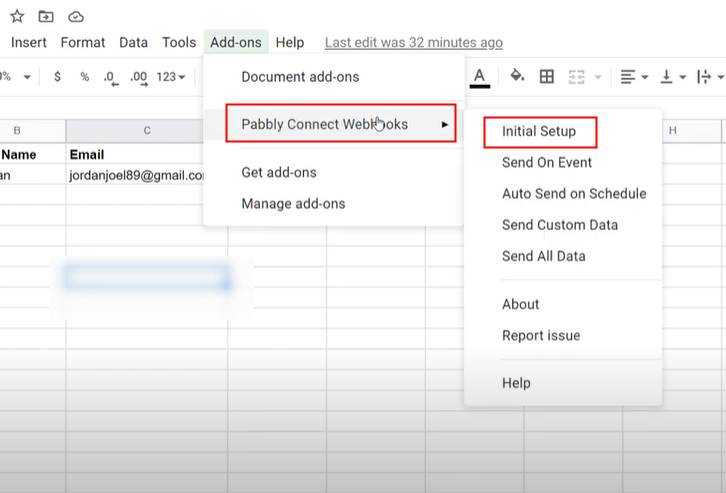
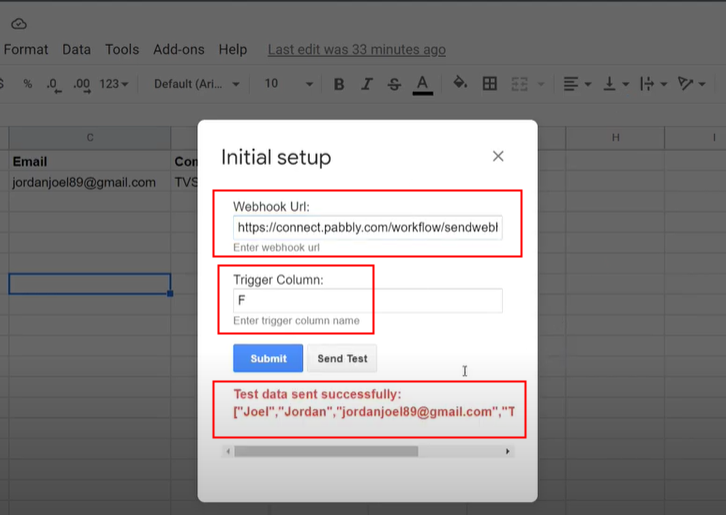
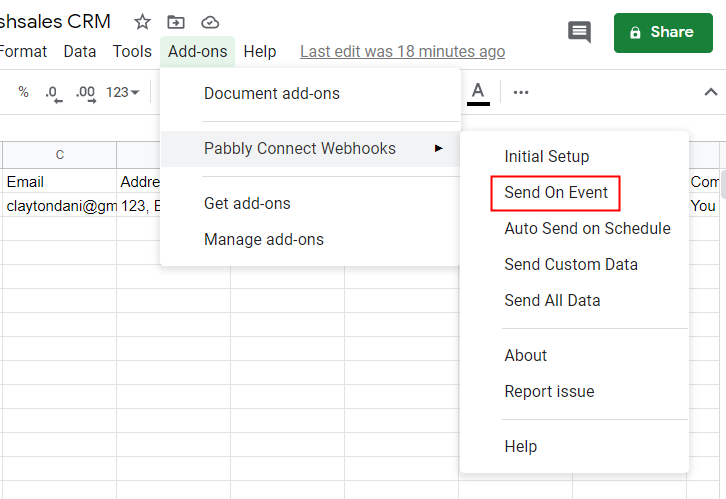
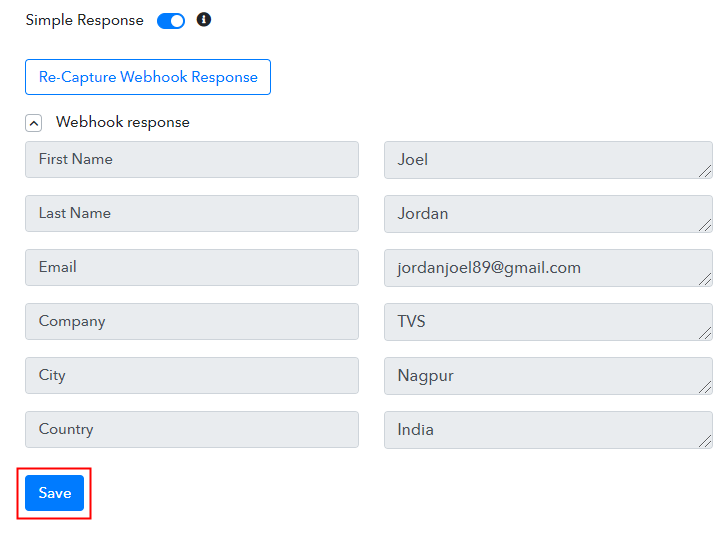
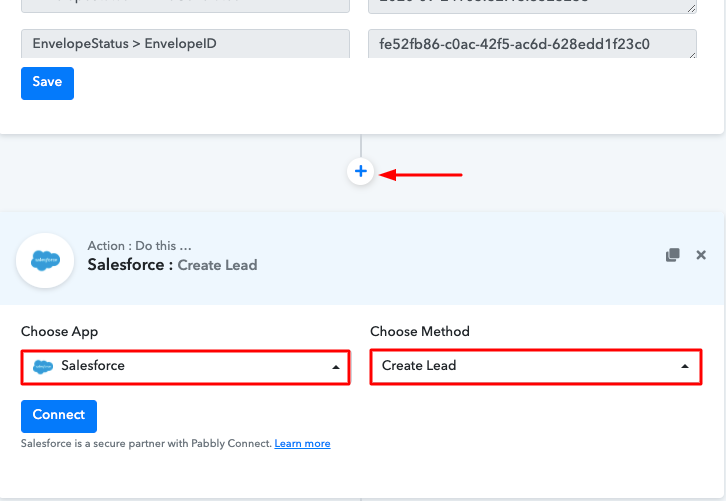
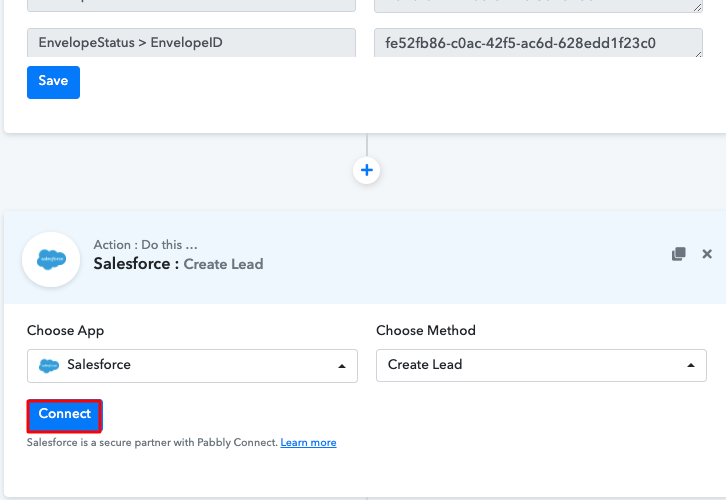
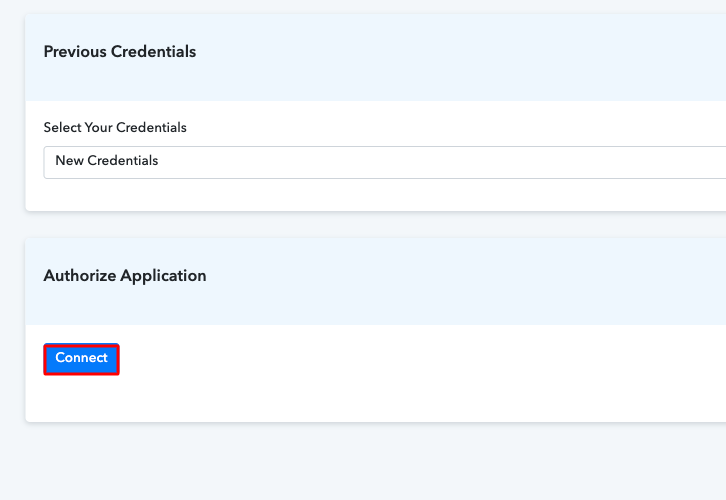
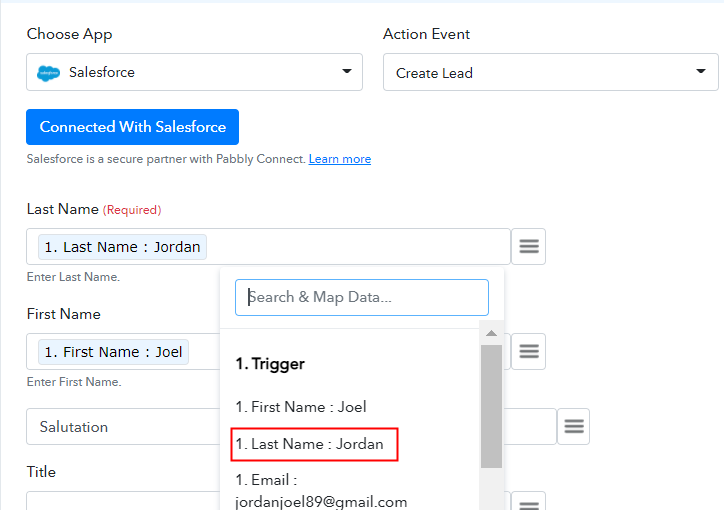
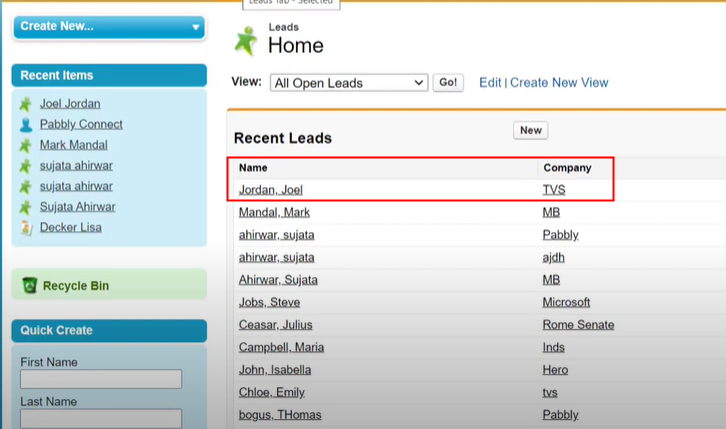
Further, after logging into the account, click on the “Access Now” button as shown in the above image. Start the process of building a workflow for integration by clicking on the “Create New Workflow” button. Moreover, add the name of workflow which in our case is “Google Sheets to Salesforce”. Nevertheless, you can always name the workflow according to your requirements. Next, after building a workflow, you have to choose the integration app to add Salesforce leads from Google Sheets. Using Pabbly Connect you can avail countless actions and triggers, click here to sign up for unlimited workflows for free. The following step is to select “Google Sheets” from the dropdown, then choose the “New Spreadsheet Row” option to append leads in Salesforce from Google Sheets. The following step is to copy the webhook URL which is appearing on the dashboard. To save leads in Salesforce, you gotta paste the copied Webhook URL in the sheet. But before that, you, have to install the Add-on named Pabbly Connect in your Google Sheet. The first thing to do is create a Google Sheets with basic details like the first name, last name, email address, and much more. You can pick a sheet of your choice too. Further, in the add-on section, you have to click on the “Get add-ons” button to download the “Pabbly Connect Webhook”. After clicking on “Get Add-on” a new window will pop-up. Here in the search bar look for Pabbly Connect Webhooks. Now just click on the install option and within seconds it will get installed into your Google Sheets. Further, when you click on add-ons, Pabbly Connect Webhook will appear there. Simply click on it, it will open certain options, select “Initial Setup” to smooth the whole Google Sheets- Salesforce integration process. In addition, a window with two choices, the Webhook URL and Trigger Column, will appear when you press “Initial Set-Up”. In that segment, just paste your copied Webhook URL from Pabbly Connect and mention the trigger column as appropriate. To confirm the Google Sheets and Salesforce integration, then click on the ‘Send Test’ button. Before submitting a test message, make sure to press ‘Capture Webhook Response’ on the Pabbly Connect dashboard. When the test request is received, a message in red letters will indicate that the data has been submitted. This is the extra step you need to do, to ensure that every time new data added to the sheet it will automatically appear in your Salesforce account. For this, all you have to do is click on “Send on Event” in the “Add-On” option. The entry will appear on the ”Pabbly Connect “ dashboard as soon as you click on the “Send Test“ option. Next, click on the ‘Save’ button. Subsequently, in order to make this Google Sheets-Salesforce integration work, you have to choose an action for your trigger. Now, press the + icon to add an action to your trigger. We will choose “Salesforce” from the drop-down field here. Then, select the method as “Create Lead”. Immediately, after selecting the application, press the “Connect” button. Later, it will ask for account permission for which you have to press the “Connect” button. Later on, it will automatically fetch the data of the organization and type after successful login. Then, all you have to do is map the required field from the drop-down like for the email field, select the email option, and for the name field select the name option. After making all the changes, save the setting and then “Send Test Request”. Finally, as you can see the response has been auto-populated as a lead in Salesforce. That’s all! Here we have mentioned in the layman method “How to Create Salesforce Lead from Google Sheets Rows”. When it comes to choosing the automation and integration platform, Pabbly Connect is definitely the right choice. Not only it is budget-friendly but it provides access to premium features even in its free plan. So, don’t wait anymore! Go and try Pabbly Connect for free. Step 2: Access Pabbly Connect

Step 3: Workflow for Google Sheets to Salesforce Integration
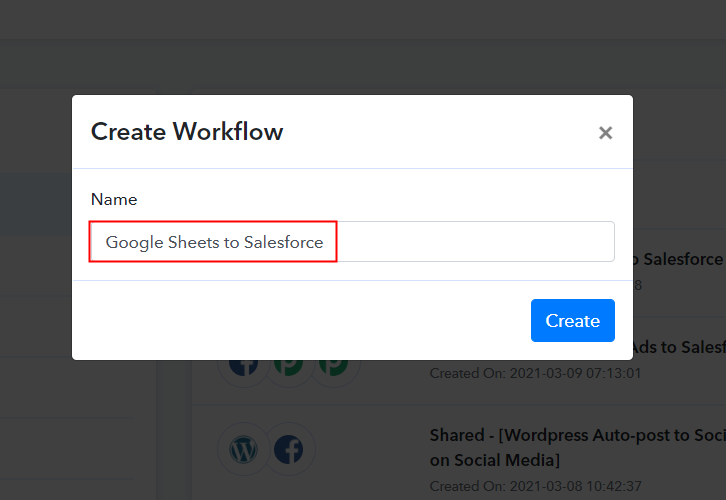
(a) Start with a New Workflow

(b) Name the Workflow
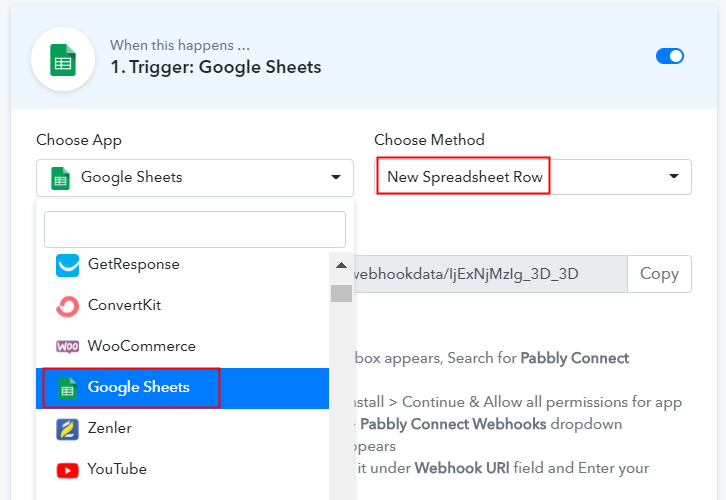
Step 4: Setting Trigger for Google Sheets to Salesforce Integration
(a) Select Application you Want to Integrate
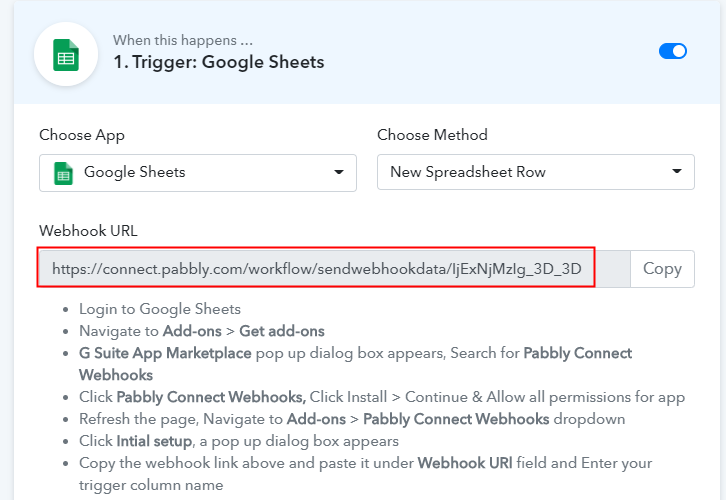
(b) Copy the Webhook URL
Step 5: Connecting Google Sheets with Pabbly Connect
(a) Create a Google Sheets
(b) Click on Add-ons
(c) Find Pabbly Connect in G Suite Market Place
(d) Install Pabbly Connect
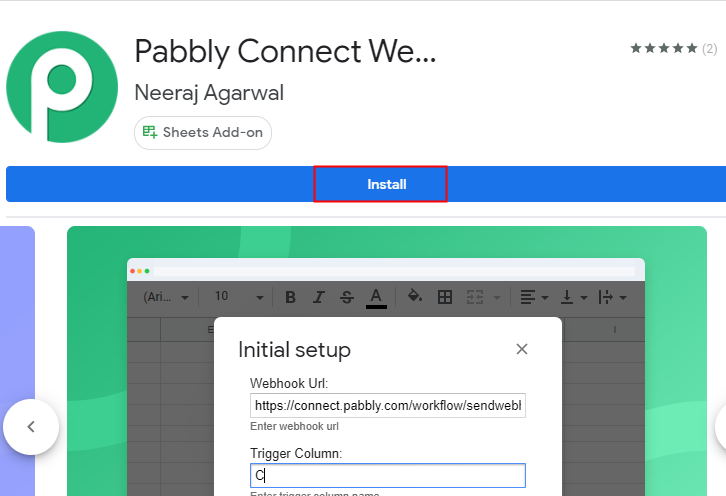
(e) Press Initial Setup in Google Sheets
(f) Paste the Webhook URL
(g) Click Send On Event In Google Sheets
Step 6: Test the Response in Pabbly Connect Dashboard
Step 7: Setting Actions for Google Sheets to Salesforce Integration
(a) Select Application you Want to Integrate
(b) Click the Connect Button
(c) Authorize Salesforce Account
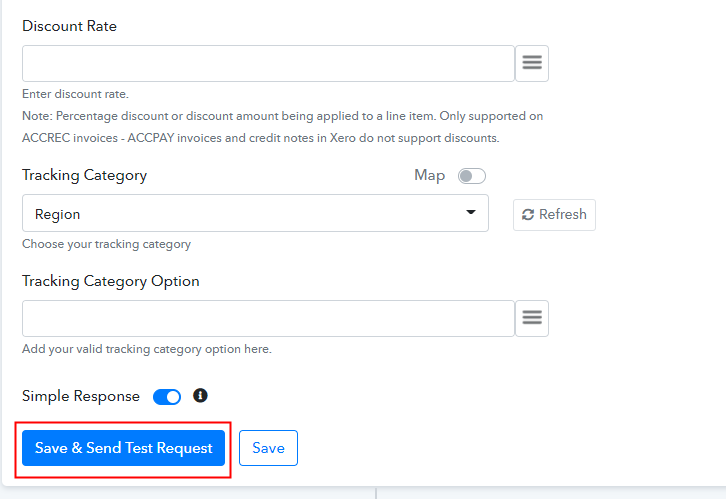
(d) Map Field Data
(e) Save and Send Test Request
Step 8: Check Response in Salesforce Dashboard
Conclusion –
You May Also Like to Read –


