Are you tired of looking for an effective way to create Paymo task from new Shopify orders? Then look no further, as here I am giving you a step by step guide to do so.
Wouldn’t it be great, if you can just connect services that can let you transfer data automatically from one app to another? That is the reason why here in this blog, we’ll be using Pabbly Connect to do so. As it is one of the best automation and integration software available in the market to automate tasks in real-time.
Why Choose This Method Of Integration?
In contrast with other integration services-
- Pabbly Connect does not charge you for its in-built apps like filters, Iterator, Router, Data transformer, and more
- Create “Unlimited Workflows” and smoothly define multiple tasks for each action
- As compared to other services which offer 750 tasks at $24.99, Pabbly Connect offers 50000 tasks in the starter plan of $29 itself
- Unlike Zapier, there’s no restriction on features. Get access to advanced features even in the basic plan
- Try before you buy! Before spending your money, you can actually signup & try out the working of Pabbly Connect for FREE
Before we get started, let’s know a little bit about both the software that we are about to integrate. So basically, Shopify is an e-commerce platform that allows you to create an online store so that you can sell, ship, and manage your products all in one place. On the other hand, Paymo is an online work & project management software that helps all kinds of businesses in planning, scheduling, and time tracking features.
Also, we are enclosing a video for the same integration as well. Just have a look at it –
Using this software, one can easily create a task in Paymo, whenever a new order will get placed via Shopify. Thus, you don’t have to worry about doing repetitive work & can ultimately save a lot of time & effort.
Moreover, we have a template for this integration that can assist you to get started quickly. Just click on the ‘Use Workflow’ button below to get started. Also, you can access all the features even in its free plan. All you need to do is go to the Marketplace and look for the apps you use to get started.

Thus, without any further, let’s start the blog to integrate Shopify with Paymo.
Step 1: Sign up to Pabbly Connect

Begin the process to create Paymo task from new Shopify orders by pressing the ‘Sign Up Free’ icon on the Pabbly Connect home page. Then, you can either manually fill-up all the details or else sign up via Gmail account.
Try Pabbly Connect for FREE
After naming the workflow, now select the application you want to integrate. Pabbly Connect allows you to integrate countless premium applications, create your free account now. Consequently, to create a Paymo task from new Shopify orders, you need to paste the copied Webhook URL in the software. Hence, you have to log in to your Shopify account. Next, as we can see in the webhook response, the captured date is not in the correct format. So, to get the date in the correct format we have to set up a Date/Time Formatter. Now, in order to make this Shopify-Paymo integration work, you have to choose an action for your integration. Next, hit the + button and choose the application that you want to integrate. Here we will choose ‘Paymo’ to integrate and in the method section select ‘Create Task’. Once you are done choosing the application, press the ‘Connect with Paymo’ button. Now, in order to connect Paymo to Pabbly Connect, you have to authenticate the application. Hence for that, you have to log in to your Paymo account. Now, map all the fields to create a task in the Paymo account from Shopify order. Once you map all the respective fields, just hit the ‘Save and Send Test Request’ button to get the API response. Now, go to your Paymo account and you will see that a new task has been created successfully with all the respective details. Finally! This was all about ‘How to Create Paymo Task from New Shopify Orders automatically’. Simply follow the step by step procedure mentioned above & your Shopify to Paymo integration will be set in no time. Meanwhile, you can grab, Pabbly Connect for FREE with all its premium features. Moreover, don’t forget to write us your queries & suggestions in the comment section below.Step 2: Access Pabbly Connect

Now, after logging into the account, press the ‘Access Now’ button of the Connect section in the dashboard.Step 3: Workflow for Shopify with Paymo Integration
(a) Start with a New Workflow

Start by creating a workflow for your project by pressing the ‘Create Workflow’ button.(b) Name the Workflow
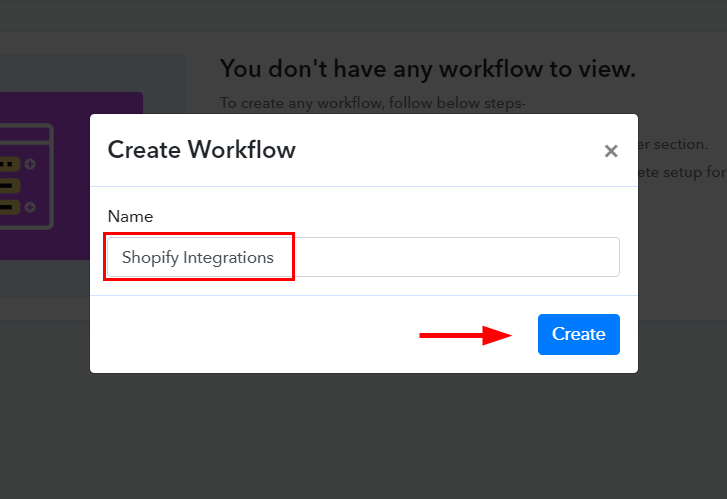
Following the previous step, now it’s time to name the workflow just like in the above-shown image. Here, I named the workflow as ‘Shopify Integrations’ & then press the ‘Create’ button.Step 4: Setting Trigger for Shopify with Paymo Integration
(a) Select Application you want to Integrate
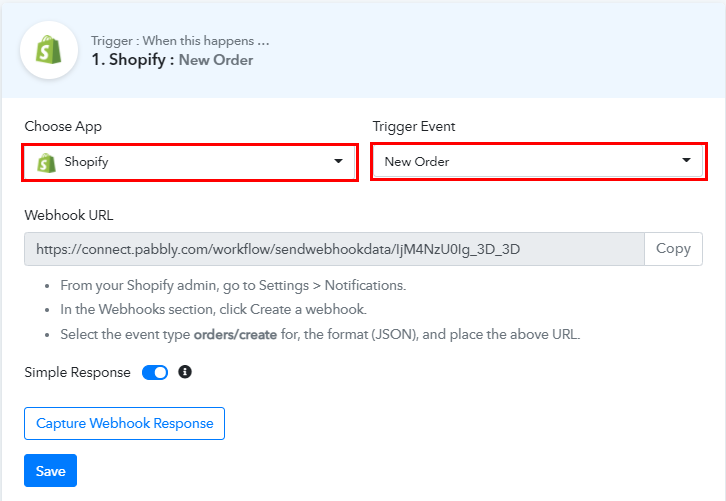
Now, select ‘Shopify’ from the dropdown option, then choose the method as ‘New Order’.(b) Copy the Webhook URL
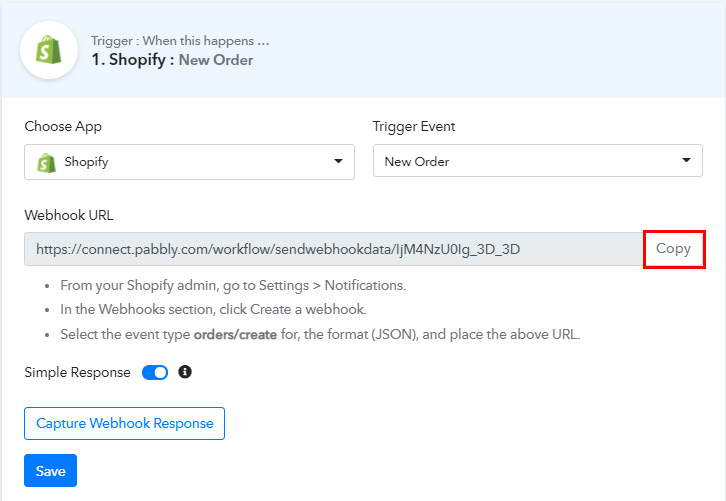
Afterward, copy the webhook URL which is appearing on the dashboard.Step 5: Connecting Shopify to Pabbly Connect
(a) Go to Shopify Settings
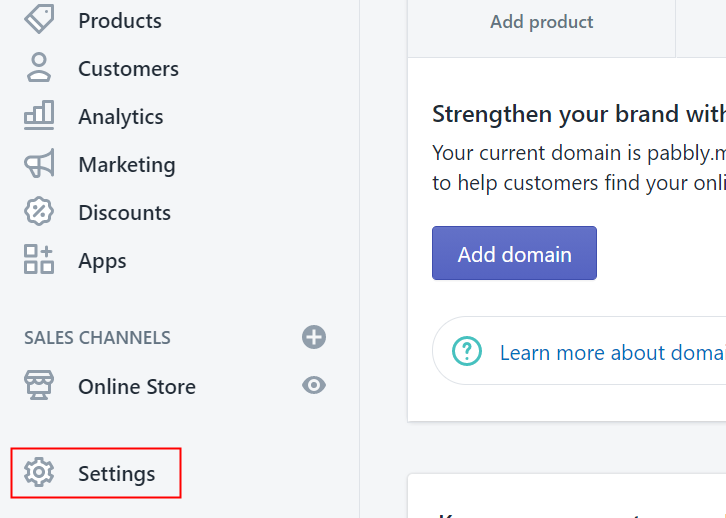
Simply go to the ‘Settings’ section at the bottom of the dashboard after signing in to your Shopify account.(b) Click on Notifications
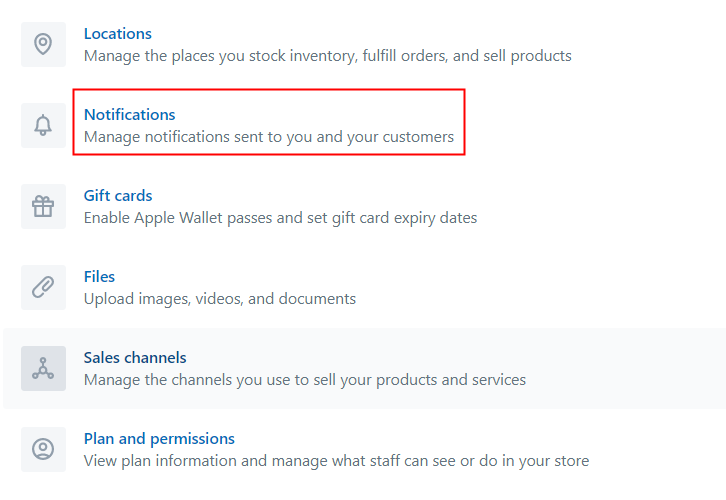
Eventually, a tab will open up with several options. Simply hit the ‘Notifications’ option.(c) Create Webhook
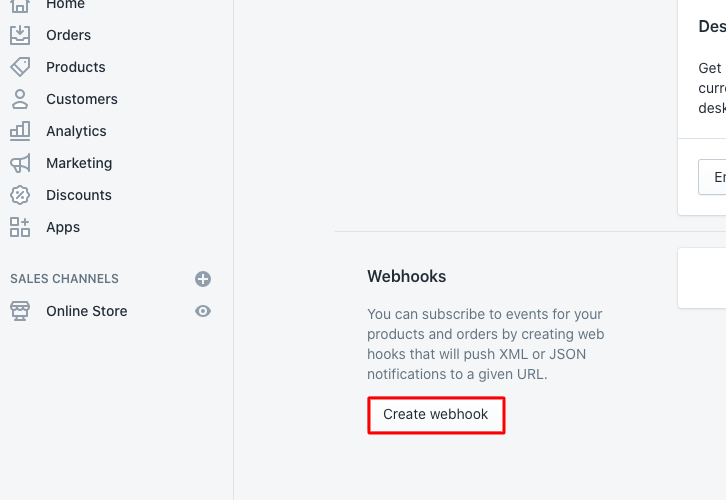
Later, you will see the Webhook option below in the ‘Notification’ tab, simply press the ‘Create Webhook’ button.(d) Paste the Webhook URL
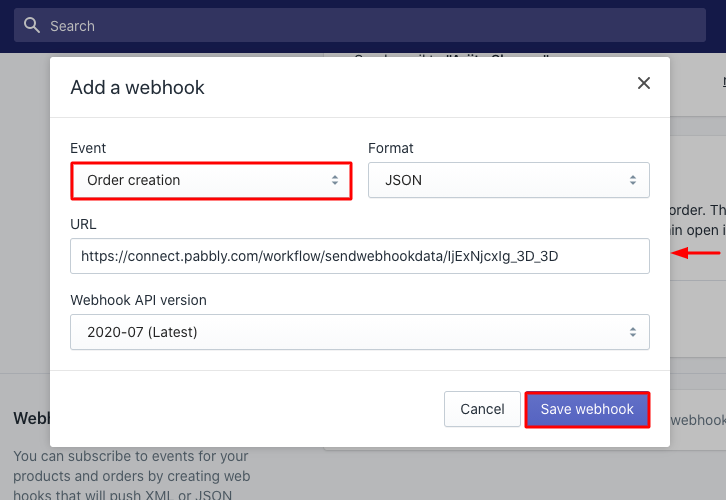
A dialogue box will pop-up on your screen, here select ‘Order Creation’ in the event section and then paste the copied webhook URL. Once you are done making all the changes press the ‘Save Webhook’ button.(e) Make a Purchase to Test Shopify Integration
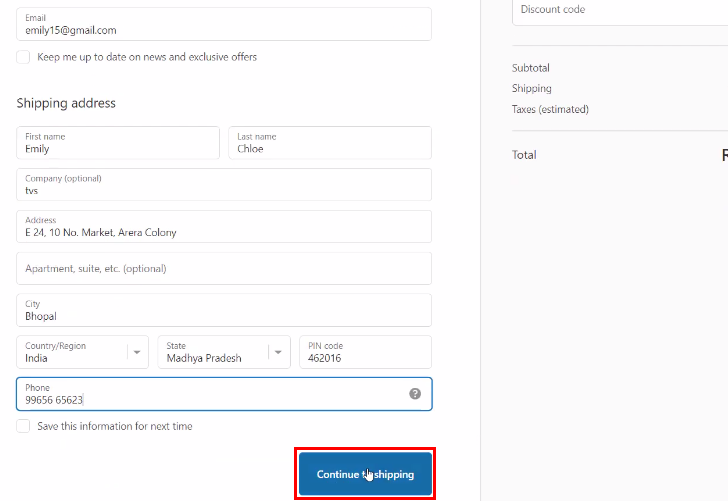
Now, in order to test the integration among Shopify & Pabbly Connect. You need to make a dummy purchase in your Shopify account. Hence for that, choose a particular product and enter all the required details then press the ‘Continue Shipping’ button. Before that, just go back to the Pabbly Connect dashboard and press the ‘Capture Webhook Response’ button.Step 6: Test the Response in Pabbly Connect Dashboard
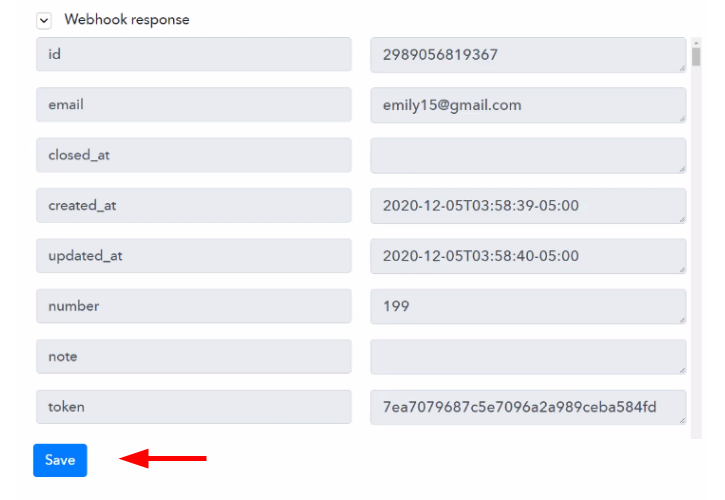
After pressing the ‘Pay Now’ option in the Shopify account, the entry will appear on the ‘Pabbly Connect’ dashboard. Now, press the ‘Save’ option.Step 7: Setting Date/Time Formatter
(a) Select Application to Format Date
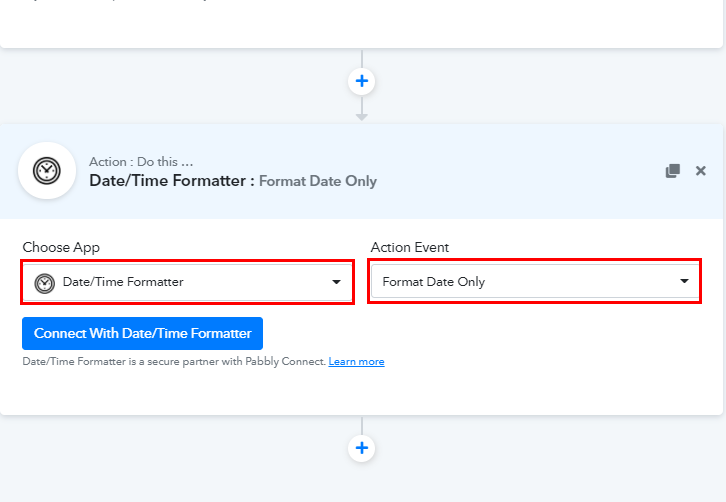
Now, to format the date, just hit the (+) button and then, select Date/Time Formatter’ in choose app, and in the action event select ‘Format Date Only’.(b) Connect with Date/Time Formatter
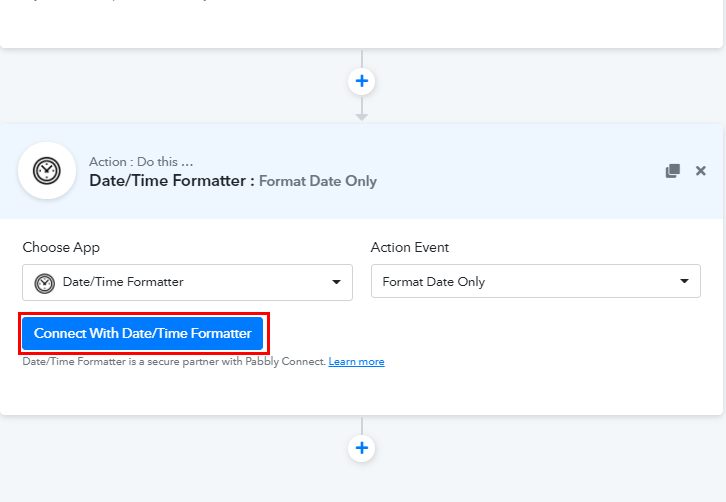
Once you select the application, press the ‘Connect With Date/Time Formatter’ button.(c) Map the Fields
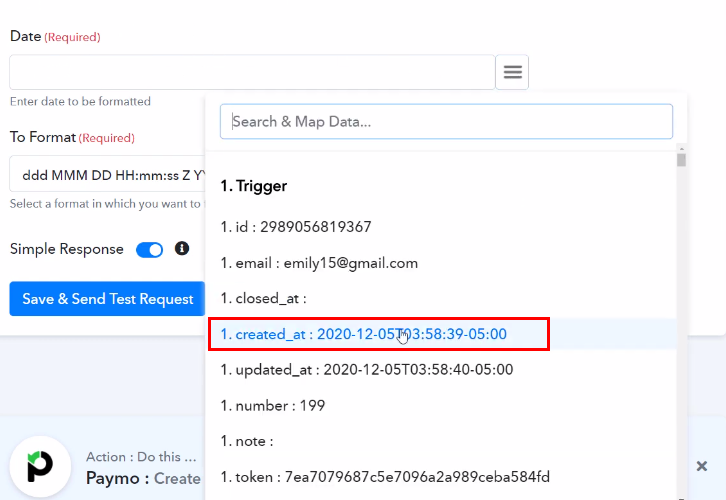
Subsequently, you have to map the field to make the date in a proper format. In the Date field, select ‘created_at’, and from ‘To Format’ field choose the format of date.(d) Save and Sent Test Request
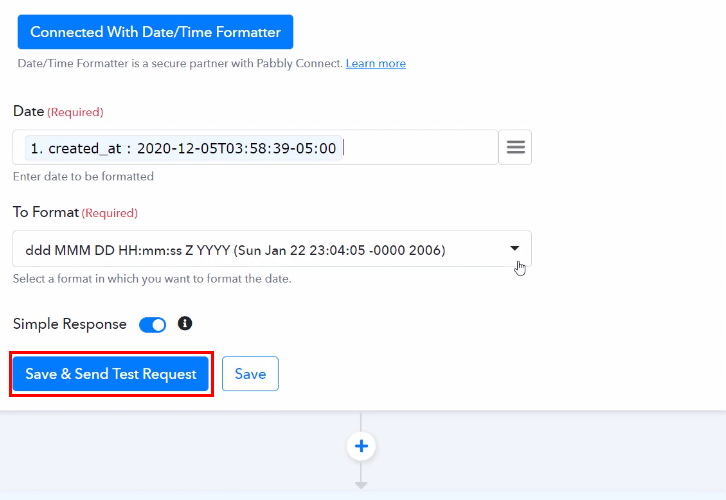
After mapping all the details, simply press the ‘Save and Sent Request’ button.(e) Save the Response
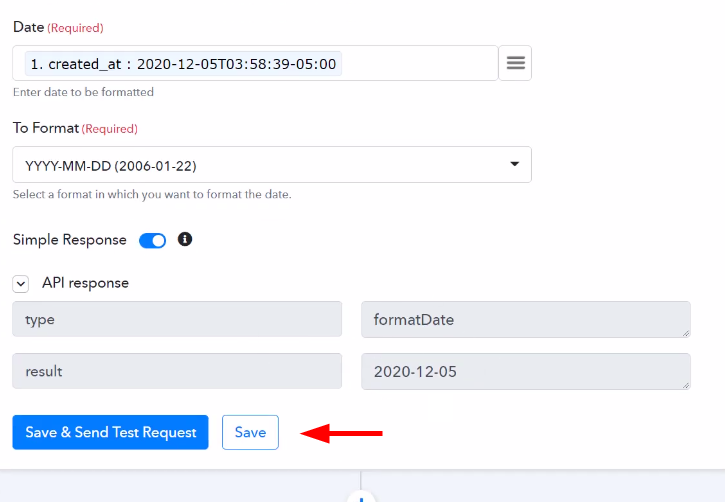
Ultimately, you will get the API response. And as you can see, now the date is in the proper format. Finally, press the ‘Save’ button.Step 8: Setting Action for Shopify to Paymo Integration
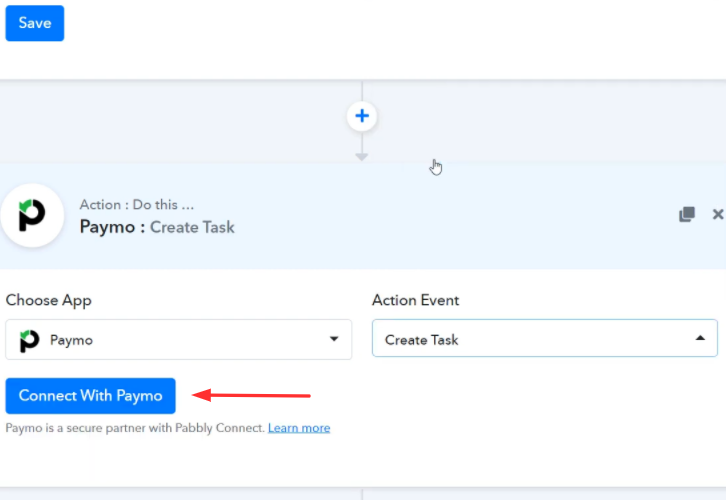
(a) Select Application you Want to Integrate

(b) Click the Connect Button
Step 9: Connecting Paymo to Pabbly Connect
(a) Click on API Key Link
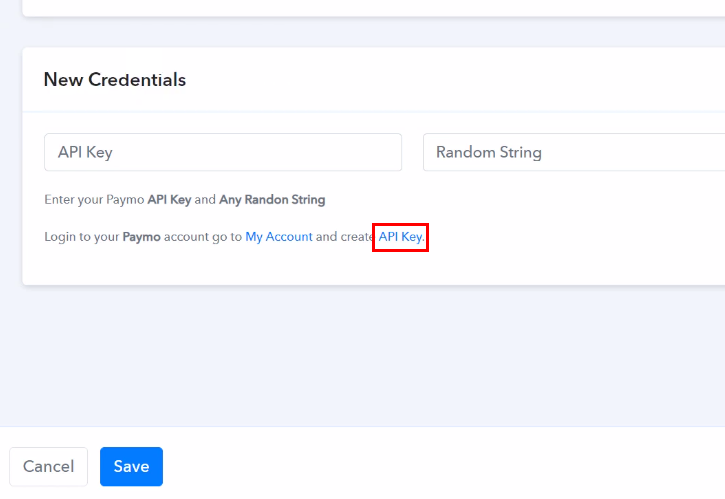
Here, you can either log in to your Paymo account and go to Settings, or else you can click on the ‘API Key’ link shown in the Pabbly Connect dashboard. After pressing on the ‘API Key’ link, you will be redirected to API Keys webpage.(b) Generate New API Key
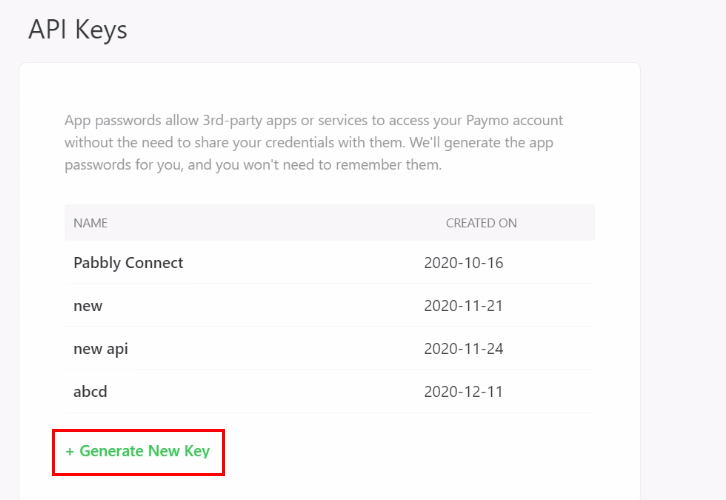
Now, in the API Keys webpage, press the ‘Generate New Key’ button.(c) Name API Key
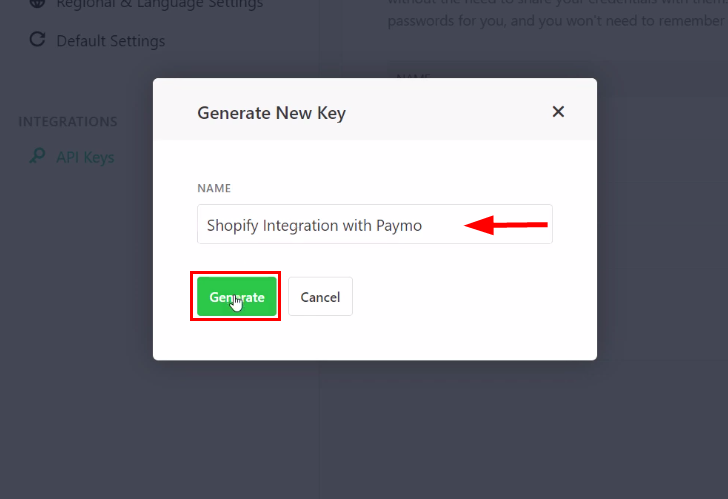
Eventually, a window will pop-up, just assign a name to the API and hit the ‘Generate’ button.(d) Copy the API Key
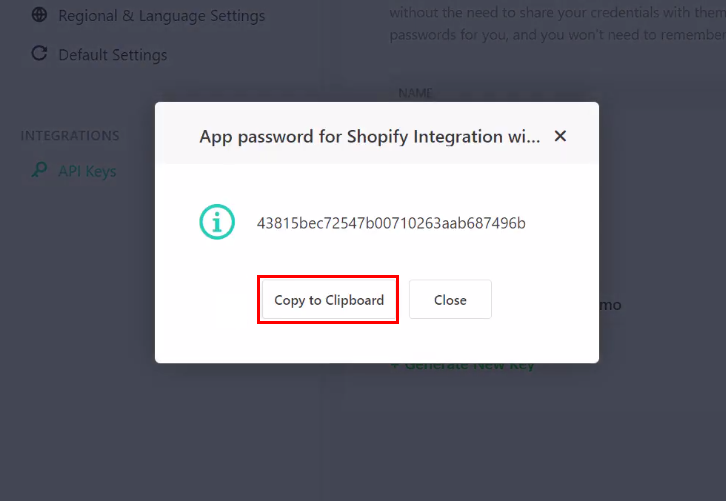
After pressing the ‘Generate’ button, immediately you will get an API key, just copy it.(e) Paste the API Key
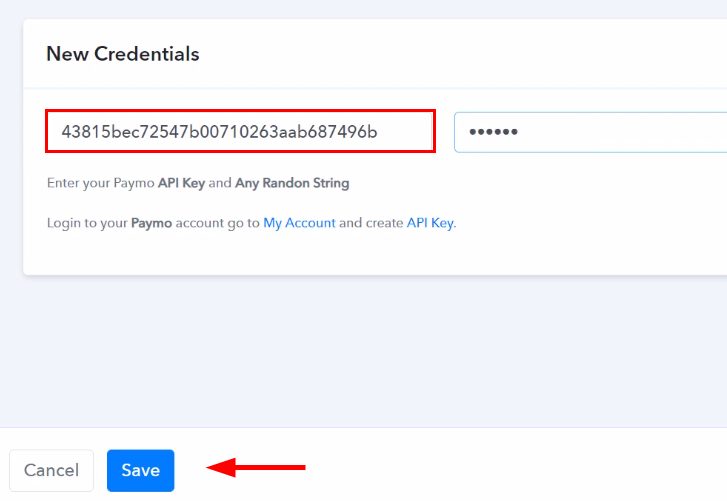
Now, paste the API Key into the Pabbly Connect window and enter any random string (for instance: ‘abcdef’). Then, hit the ‘Save’ button.(d) Map the fields
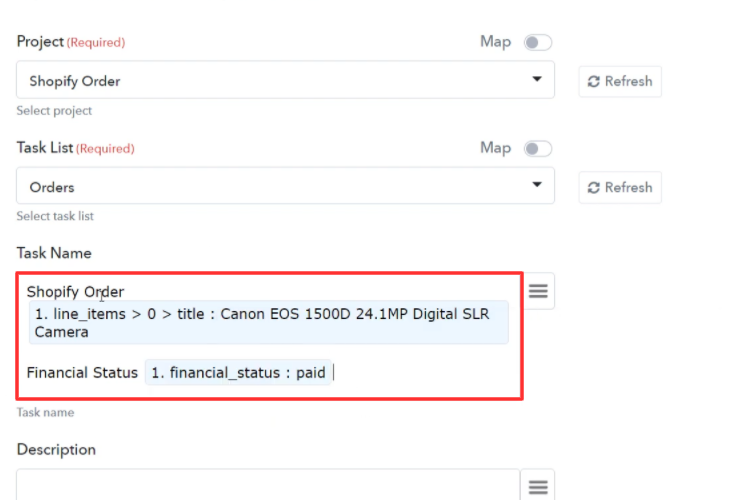
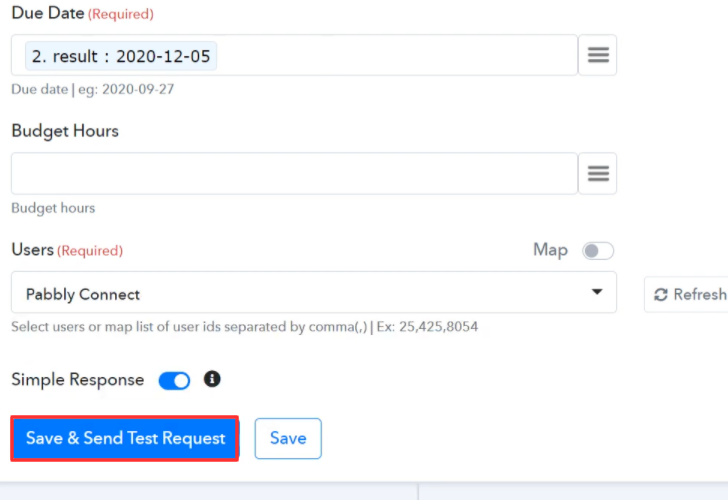
(g) Save and Send Test Request
(h) Check and Save Response
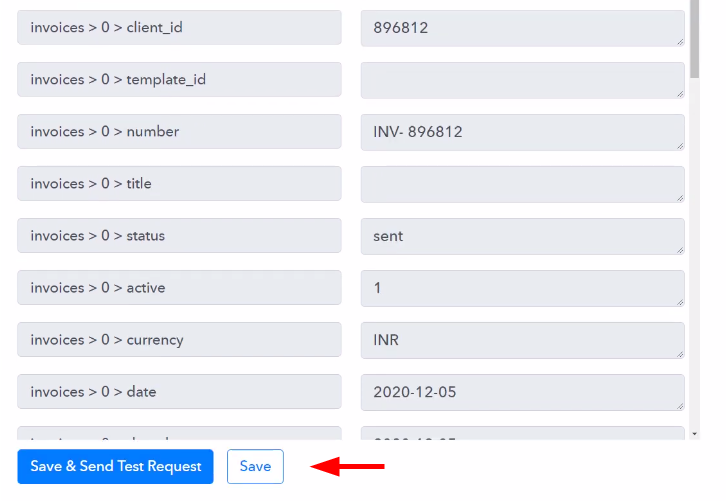
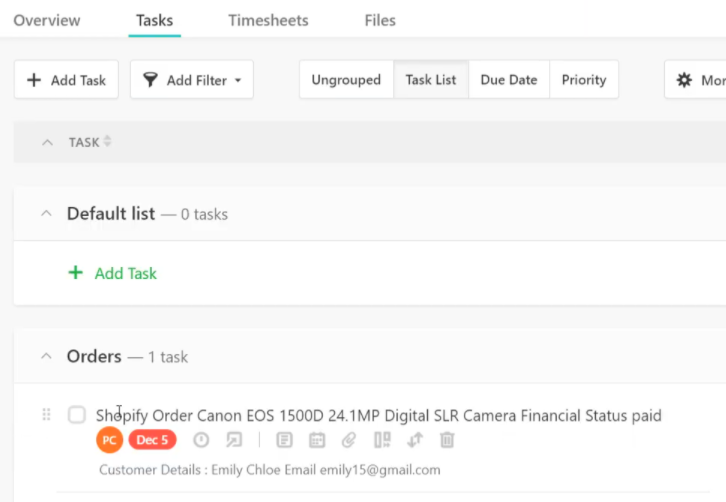
Once you got the API response, check it and finally click on the ‘Save’ button to save the entire workflow.Step 10: Check Response in Paymo Dashboard
Conclusion –
You May Also Like To Read –


