Are you fed up using the usual way to create Google Contacts from new Freshsales contact but has certain limitations? If this is the case, we will explain to you, an easy and efficient way to send data between Freshsales and Google Contacts using Pabbly Connect.
Basically, Pabbly Connect is an integration and automation tool that allows you to transfer data between two remote applications in real-time.
With the help of this tool, whenever you have created a contact in Freshsales, then that contact gets automatically added in Google Contacts with all the specified details. And also you don’t have to bear any kind of limitations for this automation.
Why Choose This Method Of Integration?
In contrast with other integration services-
- Pabbly Connect does not charge you for its in-built apps like filters, Iterator, Router, Data transformer, and more
- Create “Unlimited Workflows” and smoothly define multiple tasks for each action
- As compared to other services which offer 750 tasks at $24.99, Pabbly Connect offers 50000 tasks in the starter plan of $29 itself
- Unlike Zapier, there’s no restriction on features. Get access to advanced features even in the basic plan
- Try before you buy! Before spending your money, you can actually signup & try out the working of Pabbly Connect for FREE
As we all know, Freshsales is a cloud-based customer relationship management (CRM) tool that helps businesses to manage interactions with their customers. Whereas, Google Contacts is an all-in-one contact-management tool that helps you to store and organize contact information about the people you communicate with.
Although Freshsales and Google Contacts have some native integration between them, but this integration has some limitations. That’s why we are using Pabbly Connect to set up an integration between them.
Additionally, we are enclosing a video for the same integration as well. Have a look at it –
Furthermore, you can access all the features even in its free plan. Just go to the Marketplace and look for the apps you use to get started. Along with that, we also have a template for this integration that can assist you further. Simply tap on the Use Workflow button below to get started.

Now, without taking any more of your time, let’s move according to plan & follow the step by step procedure to integrate Freshsales and Google Contacts.
Step 1: Sign up to Pabbly Connect

Commence the approach to create Google Contacts from new Freshsales contact by visiting the Pabbly Connect website. Then hit the ‘Sign-Up Free‘ button available on the home page. After it, either manually fill-up all the details or sign up using your Gmail account.
Try Pabbly Connect for FREE
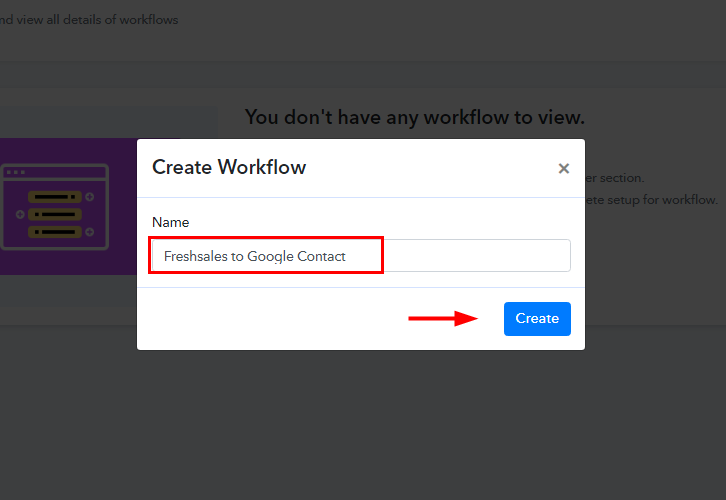
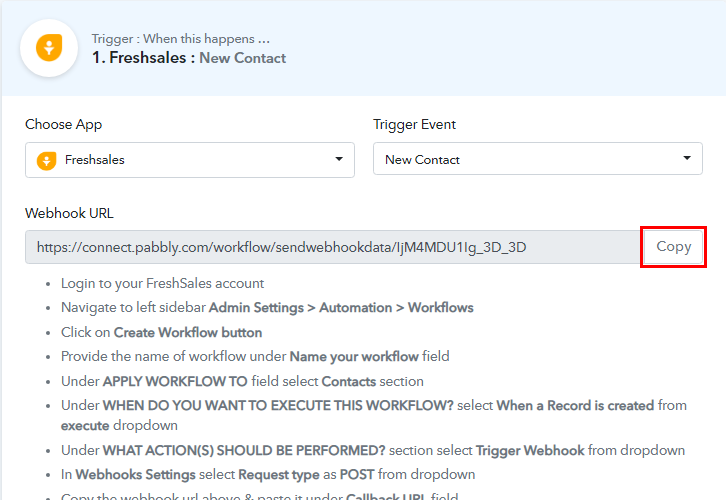
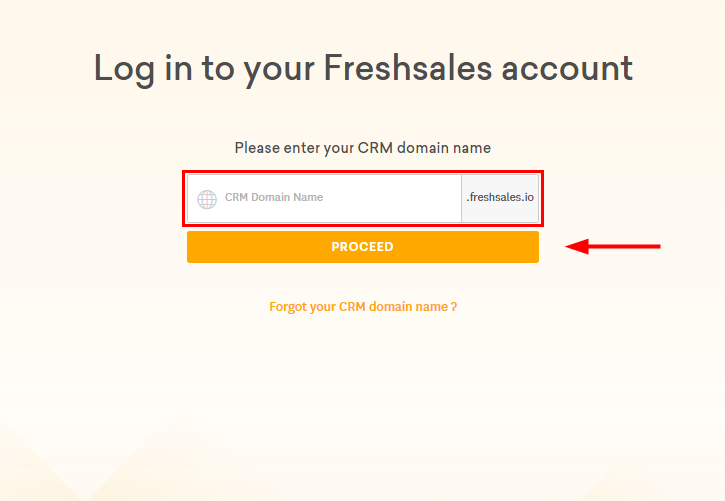
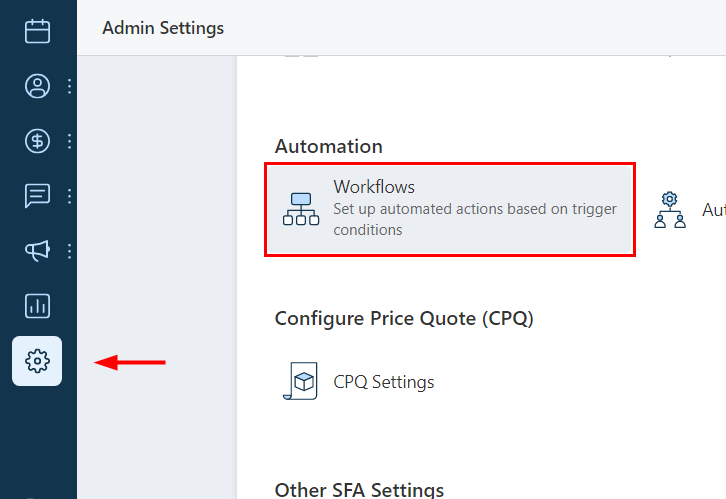
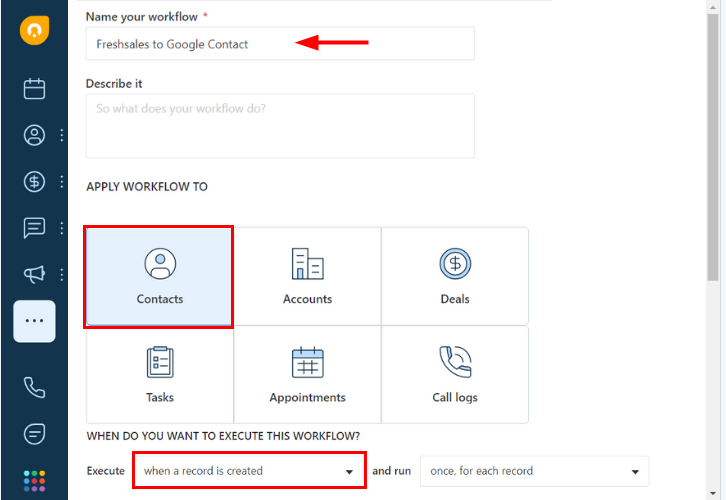
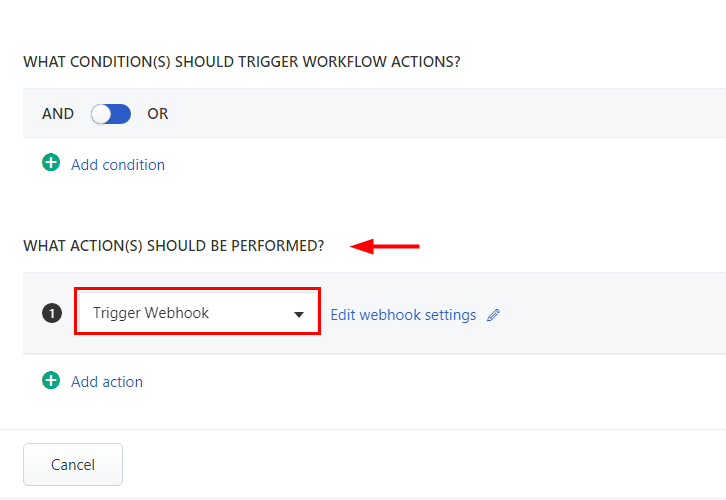
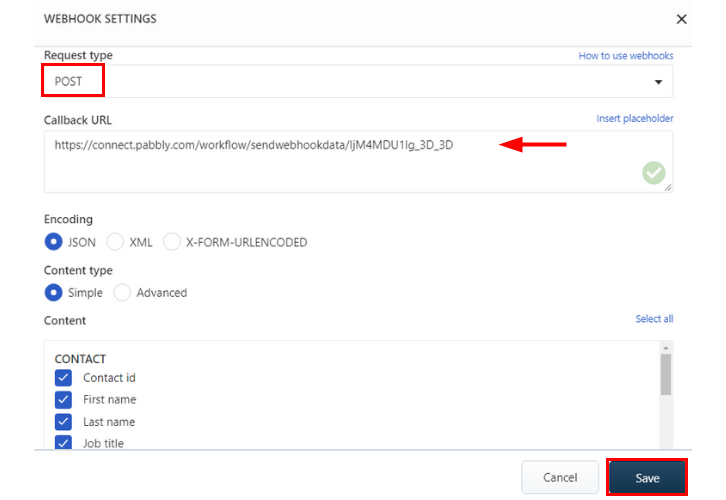
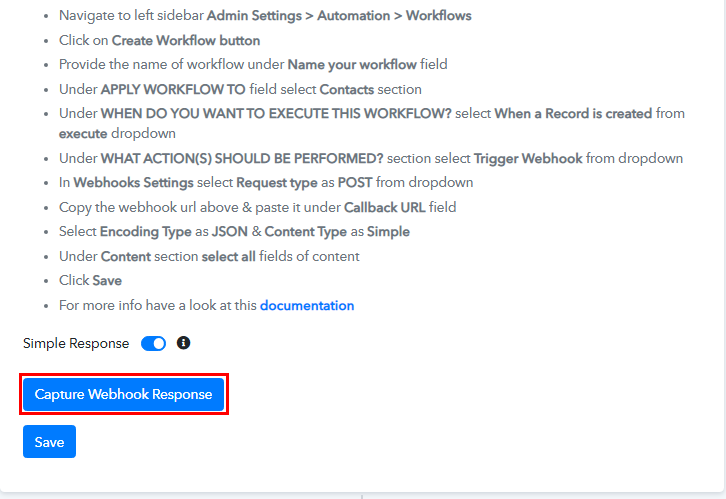
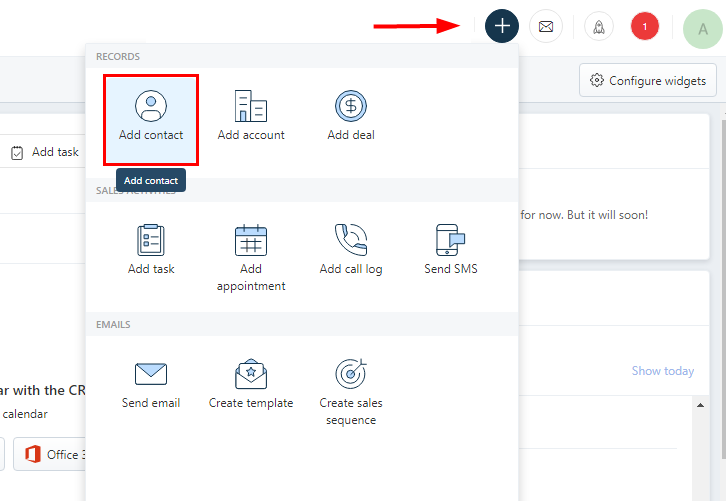
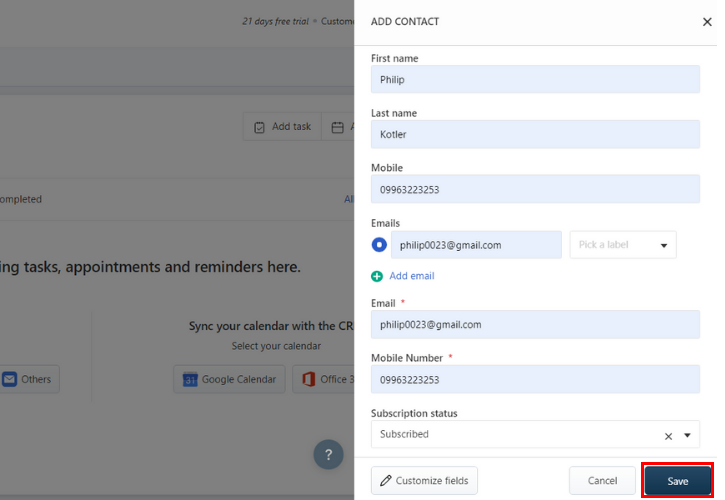
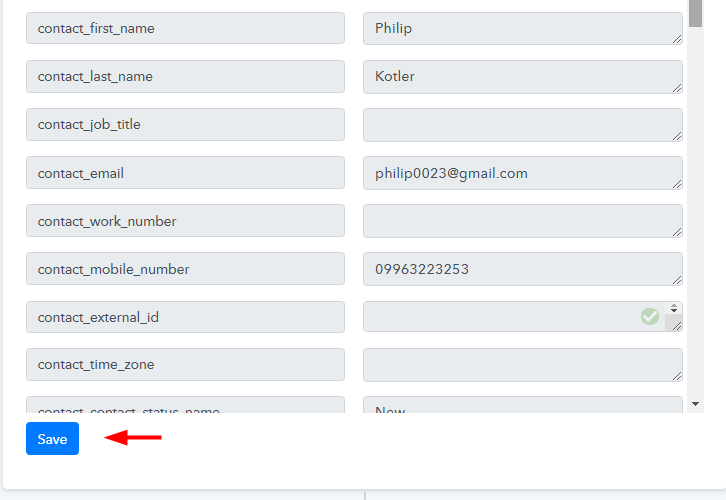
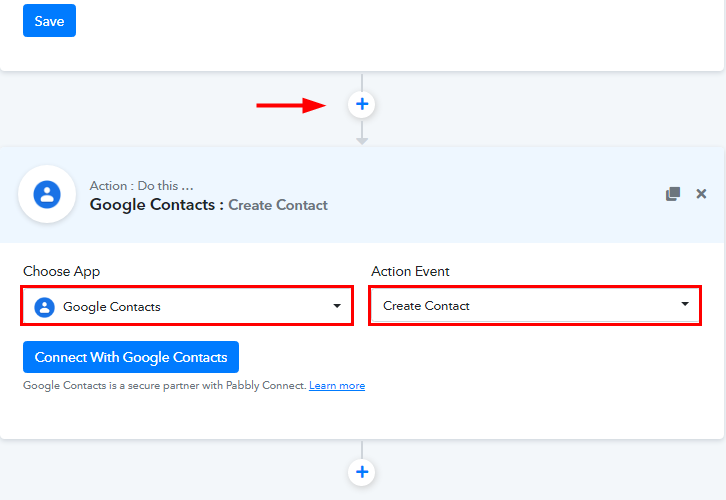
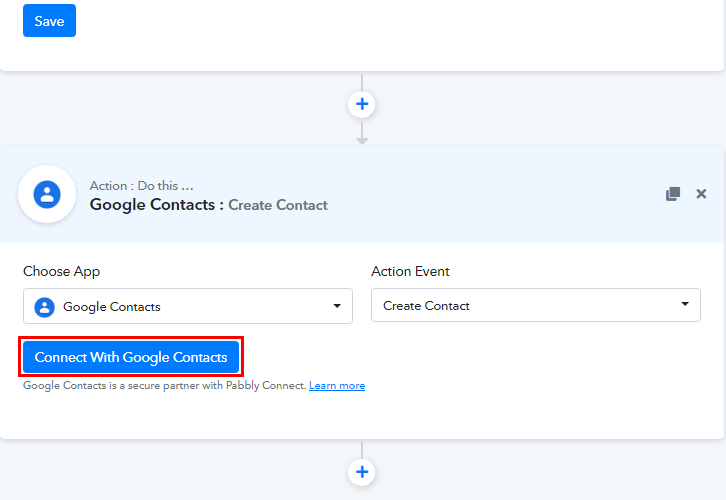
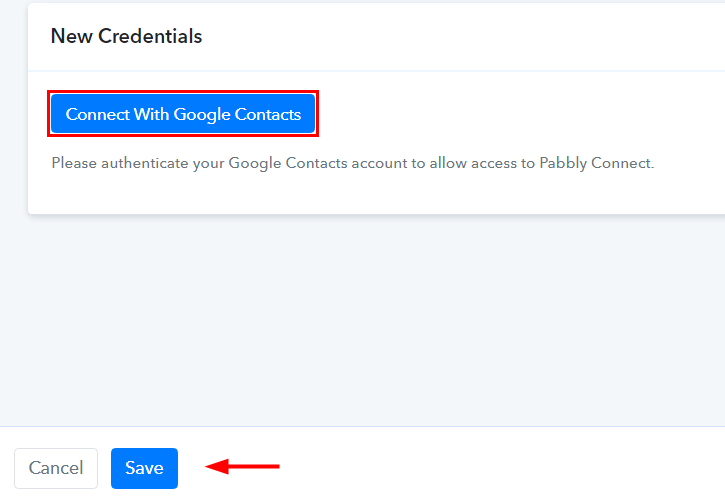
Once you have completed the signup process, strike the ‘Access Now’ button of the software ‘Connect’ in the Pabbly application. Further, start with creating a workflow to create Google Contacts for every newly created contact in Freshsales & to do this push the ‘Create Workflow’ button first. Next, name the workflow as per the integration or use-case (for instance: Freshsales to Google Contacts). Finally, click on the ‘Create’ button available. Promptly, select the application you want to integrate. Pabbly Connect allows you to integrate innumerable premium applications, so what are you waiting for, make your free account now. When you click on the create, a page carrying the trigger window will open up. Select the ‘Freshsales’ app from the choose app field’s drop-down and trigger event as ‘New Contact’. Immediately, copy the webhook URL which is appearing on the dashboard. To connect Freshsales with Pabbly connect, you’ll need to sign-in to your Freshsales account & paste the copied webhook URL. Also, there are some instructions written below the webhook URL, just follow them and you are good to go. Firstly, log in to your Freshsales account by filling up your credentials. Furthermore, when you logging into your Freshsales account, click on the ‘Admin Settings’ from the left sidebar and scroll down to see the ‘Automation’ section. Next, click on the ‘Workflow’ tab. On the ‘Workflow’ page, click on the ‘Create Workflow’ button to create a new workflow. Subsequently, enter the name of your workflow and, select ‘Contacts’ from the ‘Apply Workflow To’ field. In the ‘Execute’ opotion select ‘When a Record is created’ from drop-down. Now, in the ‘Under What Action(s) Should be Performed?’ section select ‘Trigger Webhook’ from the drop-down. As soon as you select ‘Trigger Webhook’, a ‘Webhook Settings’ window pop up. Here, you will have to do multiple settings such as select Request Type as ‘POST’, paste the Webhook URL under the ‘Callback URL’ field, and so on. Simply follow the instructions from the Pabbly Connect window. And at last click on the ‘Save’ button, then click on the ‘Save and Start’ button. To check if the integration is capturing data or not, we will have to make a new contact in Freshsales. Before creating a new contact in Freshsales, click on the ‘Capture Webhook Response’ button in Pabbly Connect dashboard to get the API response. Now, to create a new contact, visit the Freshsales window. From the dashboard click on the ‘+’ icon and click on ‘Add Contact’. After that, a window will slide from the right side. In the form, you have to enter all the required fields like the first name, last name, email, mobile number, etc. After filling in all the details click on the ‘Save’ button to create a new contact. Once you click on the ‘Save’ button in Freshsales, the contact info will appear on the Pabbly Connect dashboard under Webhook response. Then, click on the ‘Save’ option. Next, in order to make this Freshsales and Google Contacts integration work, you have to choose an action for your trigger. Now in this step, click on the ‘+’ button below and choose the application that you want to integrate. Here we will choose ‘Google Contacts’ to integrate and in the method section select ‘Create Contact’. After choosing the application click on the ‘Connect with Google Contacts’ button to move forward. To connect Google Contacts with Pabbly Connect, you have to authorize the application. For this, you have to log into your Google account. Subsequently, a window will pop up, here click on the ‘Connect With Google Contacts’ button and authorize your Google account. Then, click on the ‘Save’ button. Next, map the required field from the drop-down such as for the first name field select the first name option; for the last name field select the last name option, the email field, select the email option, and so forth. Once you are done mapping up all field data click on the ‘Save & Send Test Request’ button. After hitting the ‘Save and Send Test Request’ button you will get the API response. Ultimately, click on the ‘Save’ button to save the overall workflow. Conclusively, when you check the Google Contacts, a new contact with all the respective info is added for new contact in Freshsales. To sum up, this was all about ‘How to Create Google Contacts from New Freshsales Contact’. Subsequently, after completing the step by step procedure, you will end up auto-creating Google Contact from the newly added Freshsales contact. Meanwhile, you can opt Pabbly Connect for FREE with all its premium features and advance automation. Comment below your queries and suggestions. You can also reach out to us at [email protected]Step 2: Access Pabbly Connect

Step 3: Workflow for Freshsales with Google Contacts Integration
(a) Start with a New Workflow

(b) Name the Workflow
Step 4: Setting Trigger for Freshsales with Google Contacts Integration
(a) Select Application you Want to Integrate
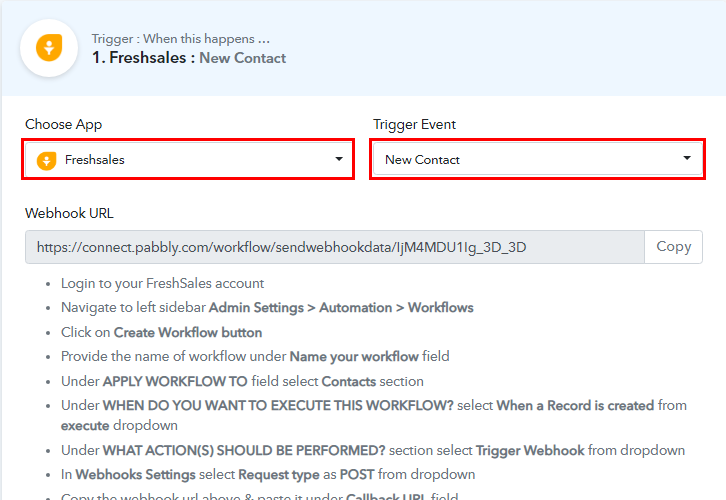
(b) Copy the Webhook URL
Step 5: Connecting Freshsales to Pabbly Connect
(a) Login to Freshsales
(b) Go to Workflow
(c) Create Workflow

(d) Name your Workflow
(e) Add Action
(f) Edit Webhook Settings
Step 6: Make a New Contact
(a) Capture Webhook Response
(b) Add Contact
(c) Fill Contact Details
Step 7: Test the Response in Pabbly Connect Dashboard
Step 8: Setting Action for Freshsales with Google Contacts Integration
(a) Select Application you Want to Integrate
(b) Click the Connect Button
Step 9: Connecting Google Contacts to Pabbly Connect
(a) Authorize Application
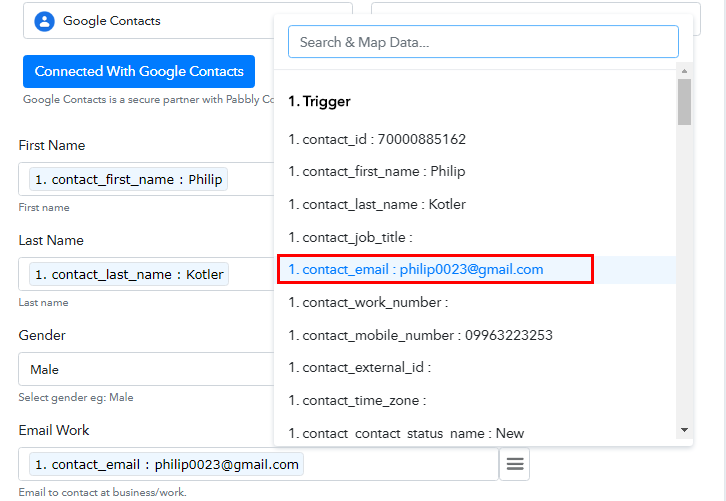
(b) Map the fields
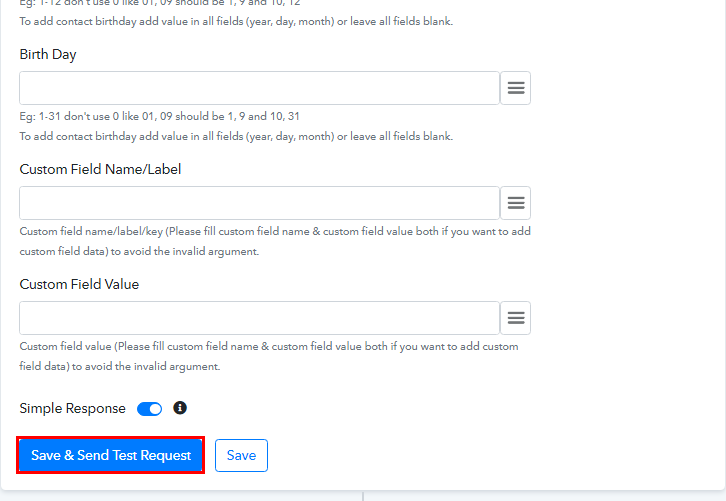
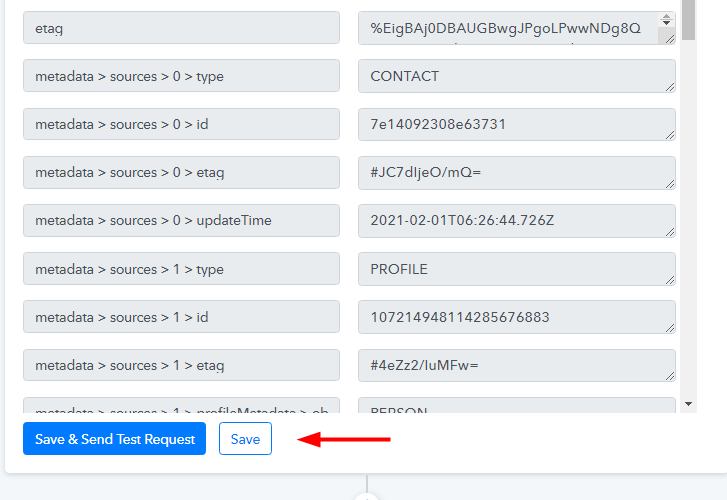
(c) Save and Send Test Request
(d) Check and Save Response
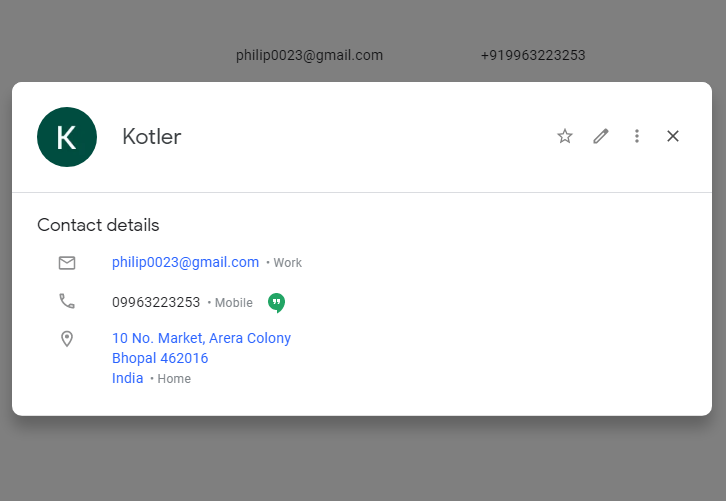
Step 10: Check Response in Google Contacts Dashboard
Conclusion –
You May Also Like To Read –


