Learn how to automate WhatsApp booking confirmations for Elementor form submissions using Pabbly Connect. Step-by-step tutorial for seamless integration. Transform complex automation concepts into accessible, actionable steps that eliminate unnecessary manual work while maximizing existing application capabilities.
Watch Step By Step Video Tutorial Below
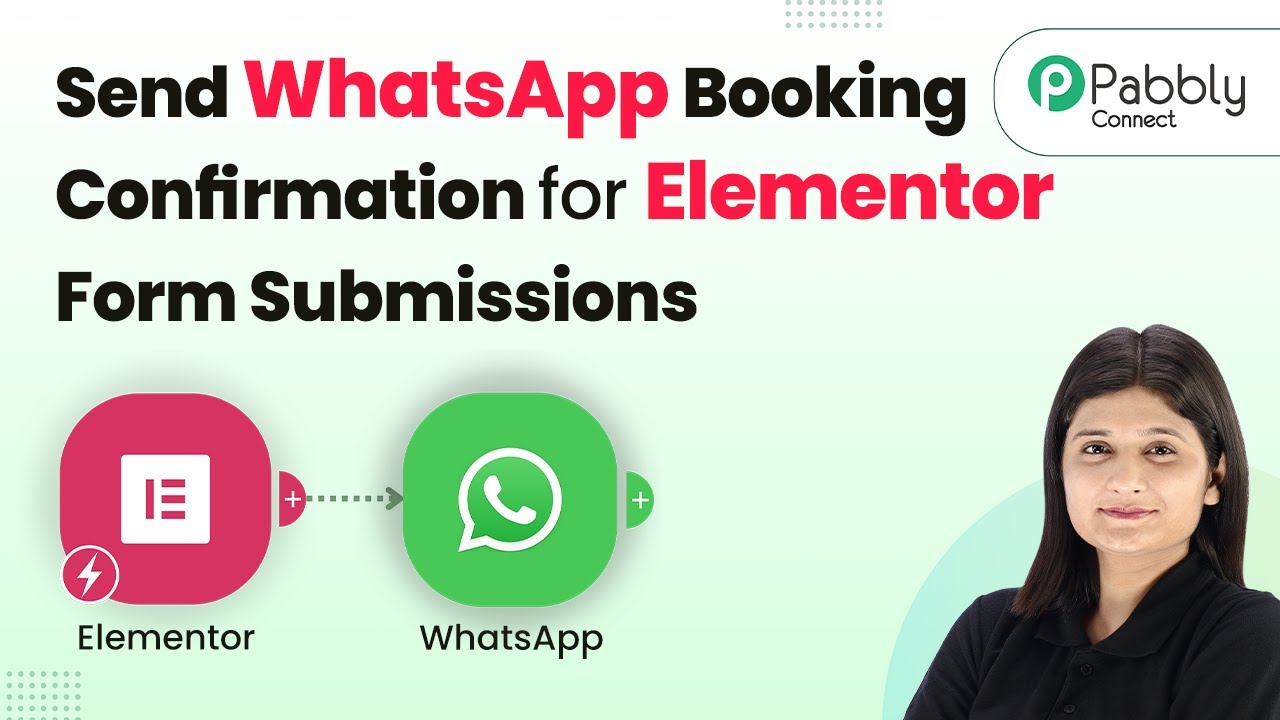
1. Accessing Pabbly Connect for Automation
To automate the process of sending WhatsApp booking confirmations for Elementor form submissions, first access Pabbly Connect. This powerful automation tool allows users to connect various applications without coding skills. Start by visiting Pabbly’s website and logging into your account.
If you are a new user, you can sign up for free and receive 100 tasks monthly. Once logged in, navigate to the Pabbly Connect dashboard to create a new workflow specifically for sending WhatsApp messages upon receiving form submissions.
2. Creating a Workflow in Pabbly Connect
After accessing Pabbly Connect, click on the ‘Create Workflow’ button. Name your workflow as ‘Send WhatsApp Booking Confirmation for Elementor Form Submissions’. You can select a folder for organization, such as ‘WhatsApp Automations’. This workflow will trigger when a new form submission occurs.
- Click on the ‘Create’ button after naming your workflow.
- You will see trigger and action boxes appear on the screen.
- Select ‘Elementor’ as the trigger application and ‘WhatsApp Cloud API’ as the action application.
Setting up the trigger is essential as it defines the event that will initiate the automation. In this case, it is when a new form submission is received.
3. Setting Up the Trigger with Elementor
In the trigger application, select ‘Elementor’ and set the trigger event to ‘New Form Submission’. Pabbly Connect will provide you with a webhook URL that acts as a bridge between Elementor and Pabbly Connect. Copy this URL for the next steps.
Next, open your Elementor form within WordPress, and paste the copied webhook URL into the designated field for webhooks. Click on ‘Publish’ to save the changes. This setup ensures that whenever a form submission occurs, the data will be sent to Pabbly Connect.
4. Testing the Connection with a Form Submission
Once the webhook URL is successfully added, it’s time to test the connection. Go back to your Elementor form and submit a test entry. Enter dummy details such as your name, email, and appointment date, then click on submit.
- Ensure all fields are filled out accurately.
- Check the Pabbly Connect dashboard to see if the response is captured.
Upon successful submission, you should see the response in your Pabbly Connect workflow, confirming that the connection between Elementor and Pabbly Connect is established and functioning correctly.
5. Sending WhatsApp Confirmation Messages
Now that the connection is set up, it’s time to configure the action that sends the WhatsApp confirmation message. In the action application, select ‘WhatsApp Cloud API’ and set the action event to ‘Send Template Message’. using Pabbly Connect
To connect to the WhatsApp API, you will need to enter details such as the phone number ID and WhatsApp business account ID, which can be found in your WhatsApp API setup on the Facebook developer portal. After entering these details, click on ‘Save’ to establish the connection.
Utilize the mapping feature to dynamically insert data from the Elementor form submission into your WhatsApp message. This allows you to personalize each message sent to customers, confirming their booking details.
Conclusion
In this tutorial, we explored how to automate sending WhatsApp booking confirmations for Elementor form submissions using Pabbly Connect. By following the steps outlined, you can streamline your communication process and enhance customer experience effortlessly.
Ensure you check out Pabbly Connect to create business automation workflows and reduce manual tasks. Pabbly Connect currently offer integration with 2,000+ applications.
- Check out Pabbly Connect – Automate your business workflows effortlessly!
- Sign Up Free – Start your journey with ease!
- 10,000+ Video Tutorials – Learn step by step!
- Join Pabbly Facebook Group – Connect with 21,000+ like minded people!