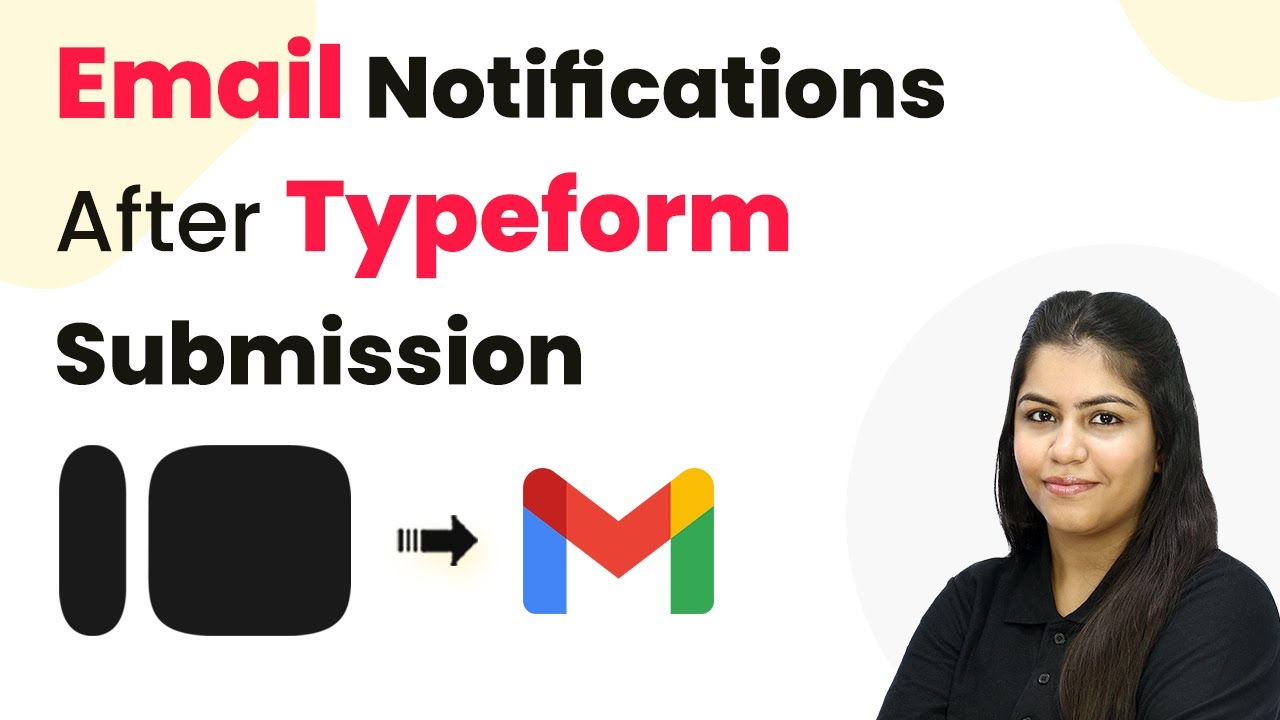
Learn how to set up email notifications after Typeform submissions using Pabbly Connect. This step-by-step guide covers everything you need to know. This comprehensive guide reveals exactly how to connect your applications and automate repetitive tasks — accessible for professionals of all technical backgrounds.
Watch Step By Step Video Tutorial Below
1. Accessing Pabbly Connect for Email Notifications
To set up email notifications after Typeform submissions, you first need to access Pabbly Connect. If you are an existing user, simply log in to your account. New users should visit pabbl.com/connect to sign up for free. This allows you to explore the platform with 100 tasks free every month.
Once logged in, you will be directed to the workflow builder. This is the main interface where you will set up your integration. Remember, Pabbly Connect is the central platform that enables the connection between Typeform and your email service.
2. Setting Up the Trigger with Typeform
The first step in your automation is to set a trigger for your workflow. In the workflow builder of Pabbly Connect, click on the ‘Add Trigger’ button. Search for Typeform and select it as your trigger application. For the event, choose ‘New Entry’.
- Click on ‘Connect’ to establish a connection.
- If you have an existing connection, select it; otherwise, create a new one.
- Log in to your Typeform account and grant necessary permissions.
After connecting, select the relevant form from Typeform, such as a ‘Webinar Registration Form’. Ensure to click ‘Save and Send Test Request’ to capture the webhook response. This step is crucial, as Pabbly Connect will use this data for further actions.
3. Testing the Typeform Submission
With the trigger set, it’s time to test your Typeform. Open your Typeform link and fill in the details as a test user. For instance, register as a demo user for the webinar. After filling out the necessary fields, submit the form.
Once submitted, Pabbly Connect will capture the webhook response, confirming that the integration is working. You should see the registrant’s details in the Pabbly Connect interface. This is essential for the next step where you will send email notifications.
4. Adding Email Notification Action Using Gmail
After successfully capturing the Typeform response, the next step is to send an email notification. Click on ‘Add New Action Step’ in Pabbly Connect and select Gmail as your action application. Choose ‘Send Email’ as the event.
- Connect your Gmail account by signing in and granting permissions.
- Specify the sender’s name and email address.
- Map the recipient’s email address dynamically from the Typeform response.
For the email subject, you can customize it to something like ‘Registration Confirmation’. Use HTML content for the email body to make it visually appealing. Finally, click on ‘Save and Send Test Request’ to verify that the email is sent successfully.
5. Finalizing Your Pabbly Connect Integration
After testing the email notification, you can finalize your Pabbly Connect integration. Check your Gmail inbox to confirm that the email notification has been received. This ensures that every time a new registration occurs, an email notification is sent automatically.
You can repeat the registration process with different details to see the real-time email notifications in action. This automation saves time and ensures your registrants receive immediate confirmation of their submissions.
Conclusion
Using Pabbly Connect to set up email notifications after Typeform submissions is a straightforward process. With this integration, you can automate your email responses, ensuring timely communication with your registrants. Start using Pabbly Connect today to enhance your event management workflow!
Ensure you check out Pabbly Connect to create business automation workflows and reduce manual tasks. Pabbly Connect currently offer integration with 2,000+ applications.
- Check out Pabbly Connect – Automate your business workflows effortlessly!
- Sign Up Free – Start your journey with ease!
- 10,000+ Video Tutorials – Learn step by step!
- Join Pabbly Facebook Group – Connect with 21,000+ like minded people!