Do you often wonder about the easiest way to add WordPress post to Google Sheets as row?

If so, then here in this blog we will discuss the easiest way to do that using automation software named Pabbly Connect.
Basically, Pabbly Connect is an integration and automation tool that helps connected unlimited premium applications. The best part about the tool, it doesn’t require any kind of coding skill.
Why Choose This Method Of Integration?
In contrast with other integration services-
- Pabbly Connect does not charge you for its in-built apps like filters, Iterator, Router, Data transformer, and more
- Create “Unlimited Workflows” and smoothly define multiple tasks for each action
- As compared to other services which offer 750 tasks at $24.99, Pabbly Connect offers 50000 tasks in the starter plan of $29 itself
- Unlike Zapier, there’s no restriction on features. Get access to advanced features even in the basic plan
- Try before you buy! Before spending your money, you can actually signup & try out the working of Pabbly Connect for FREE
But before jumping on to the integration process, let’s know about the services and the need for integration. WordPress is a web publishing software you can use to create a beautiful website or blog. It just may be the easiest and most flexible blogging and website content management system (CMS) for beginners.
On the other hand, Google Sheets allows users to edit, organize, and analyze different types of information. It allows collaborations, and multiple users can edit and format files in real-time, and any changes made to the spreadsheet can be tracked by a revision history.
By connecting WordPress and Google Sheets via Pabbly Connect, one can easily auto-populate the published post into Google Sheets without any manual work. All you have to do is set a workflow then Pabbly Connect will take care of the rest.
We have also an enclosed video. have a look at it.
Further, we have also attached a template for this integration to get you started more quickly. Also, for more apps and integrations, you can simply visit Marketplace.
Here in this blog, we will connect WordPress and Google Sheets.
So, let’s get started.
Step 1: Sign up to Pabbly Connect
Begin the process to add WordPress post to Google Sheets as row by clicking on the “Sign Up Free” icon on the Pabbly Connect dashboard. Afterward, either fill-up the details manually or sign up using Gmail credentials.
Try Pabbly Connect for FREE
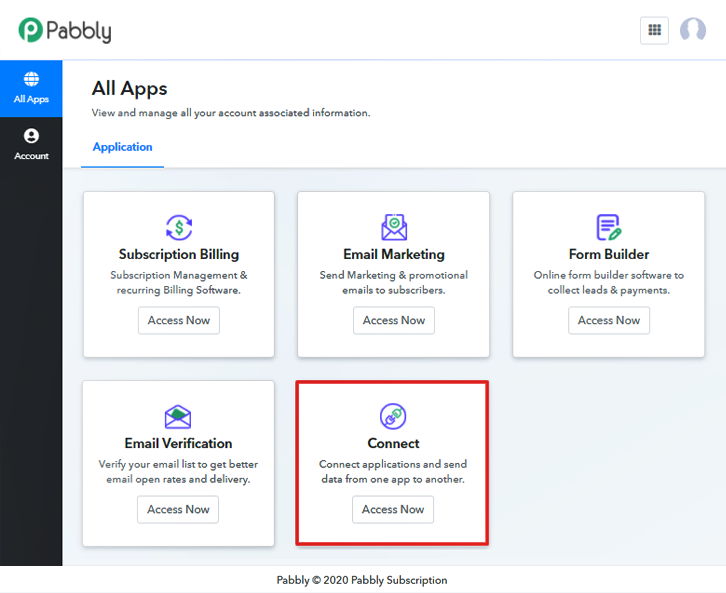
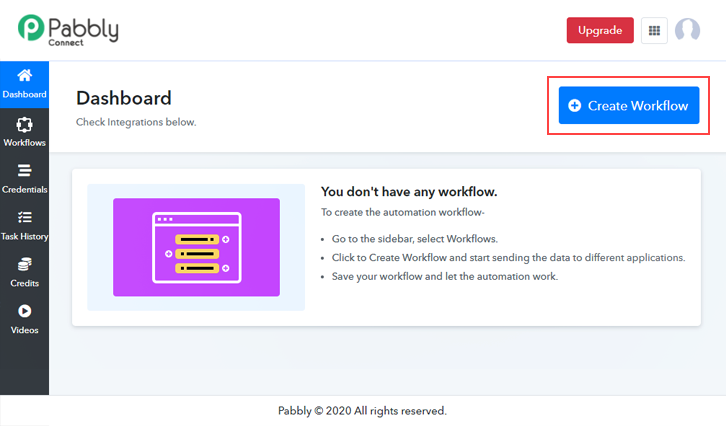
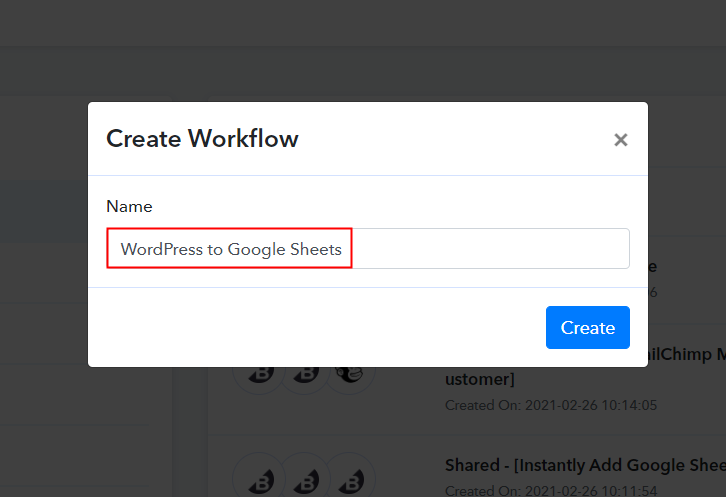
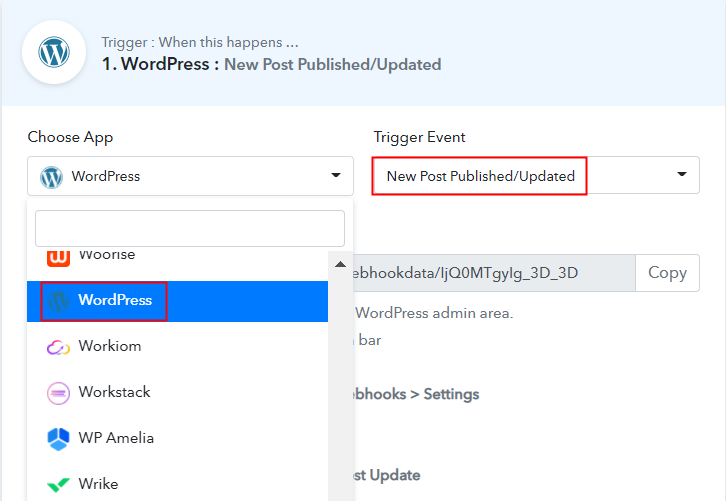
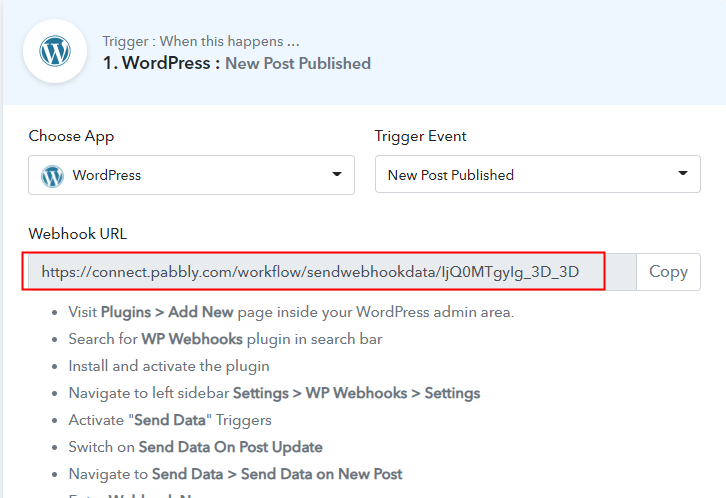
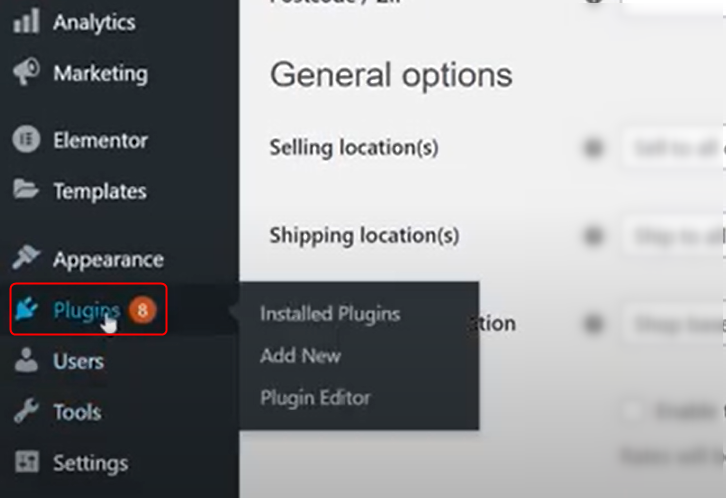
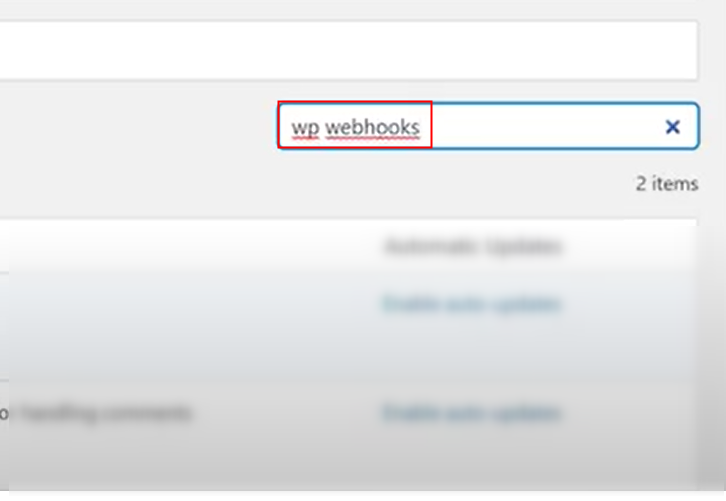
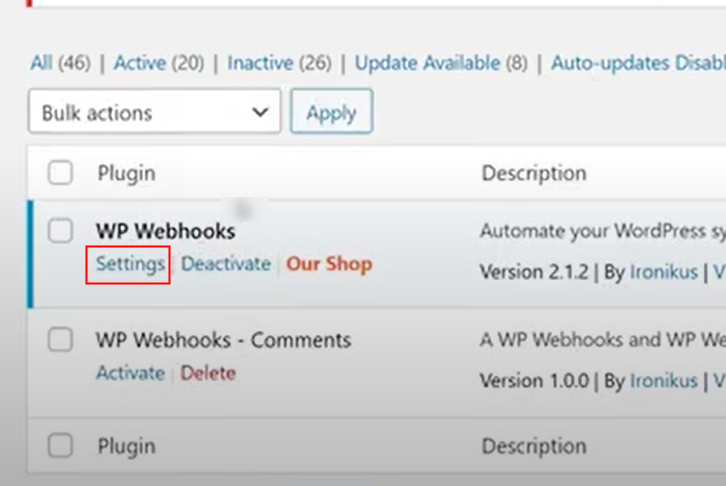
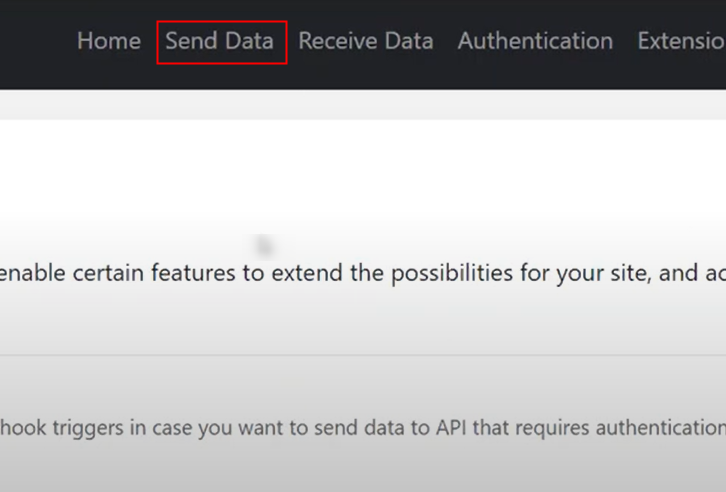
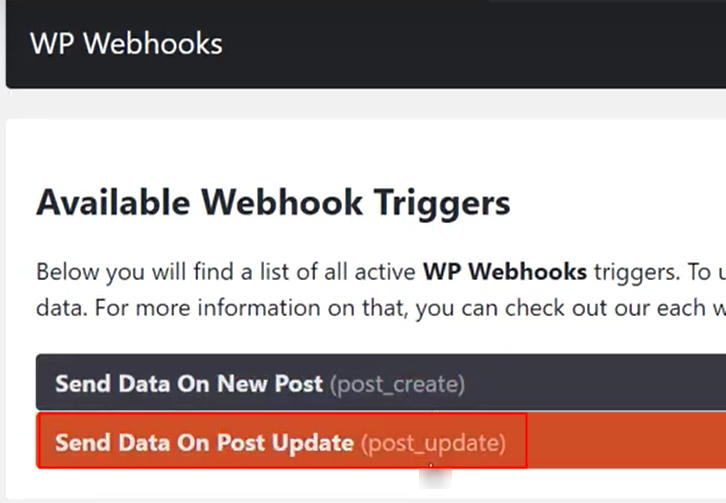
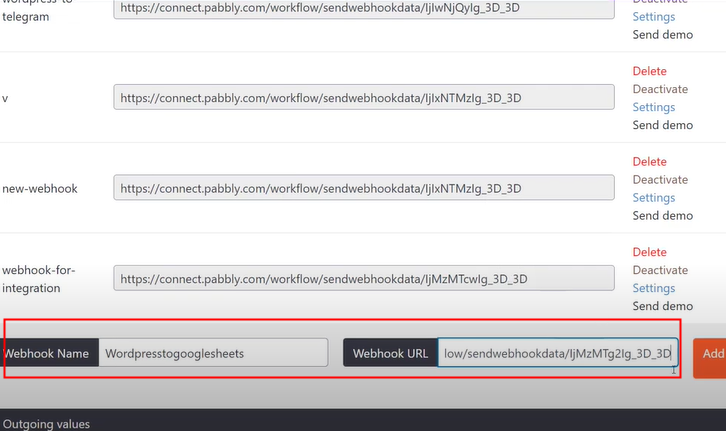
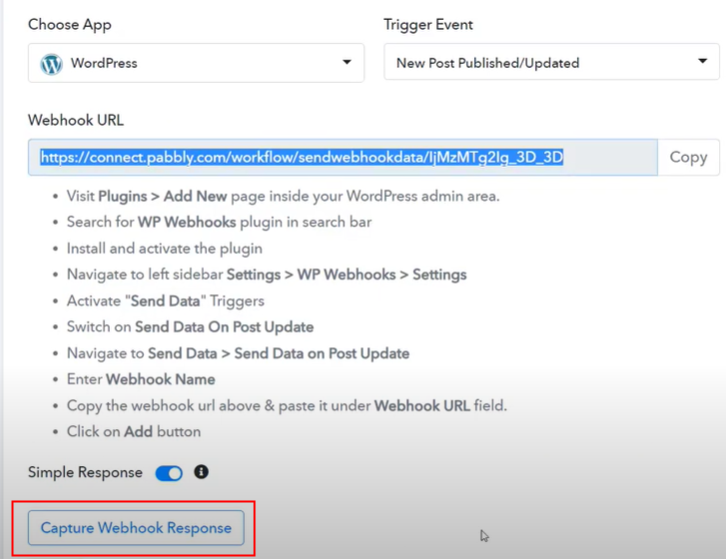
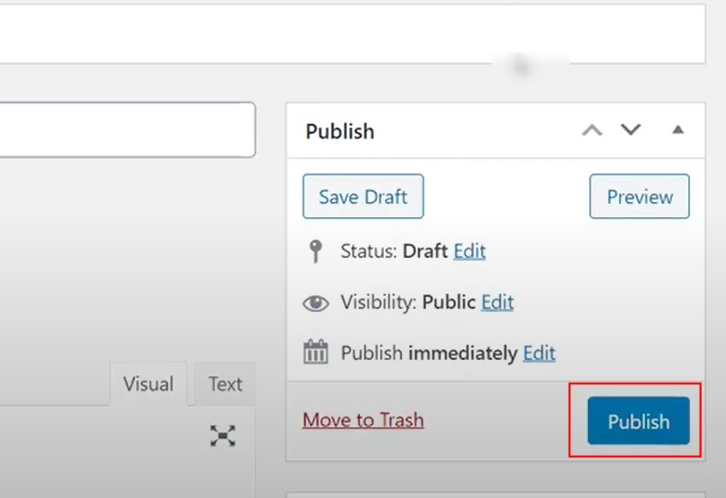
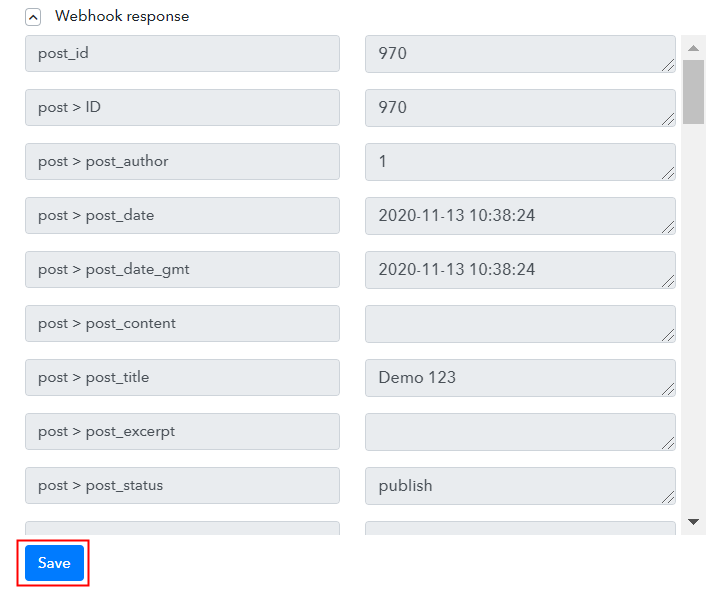
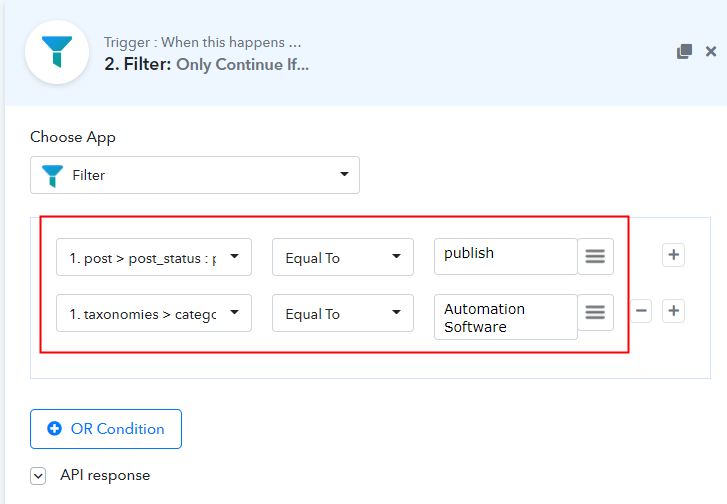
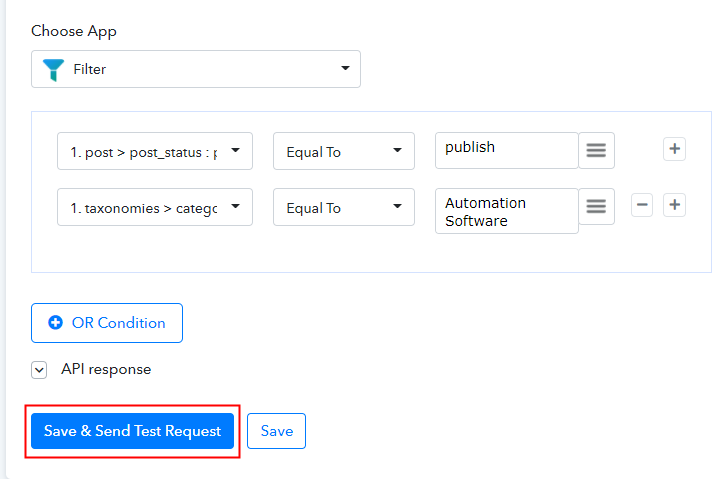
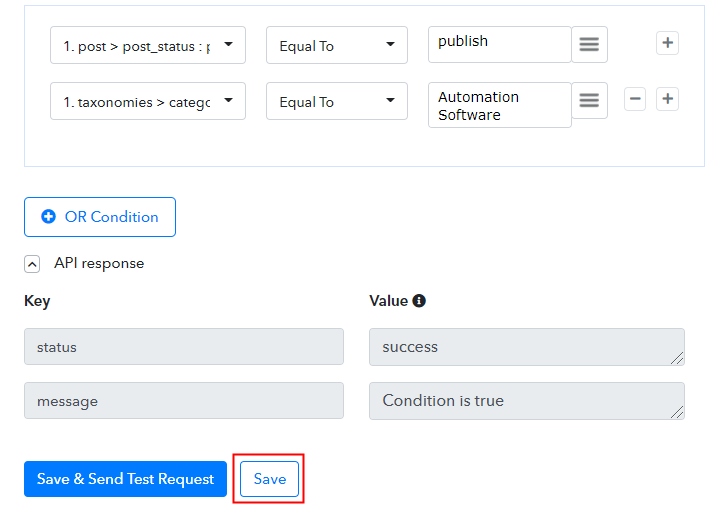
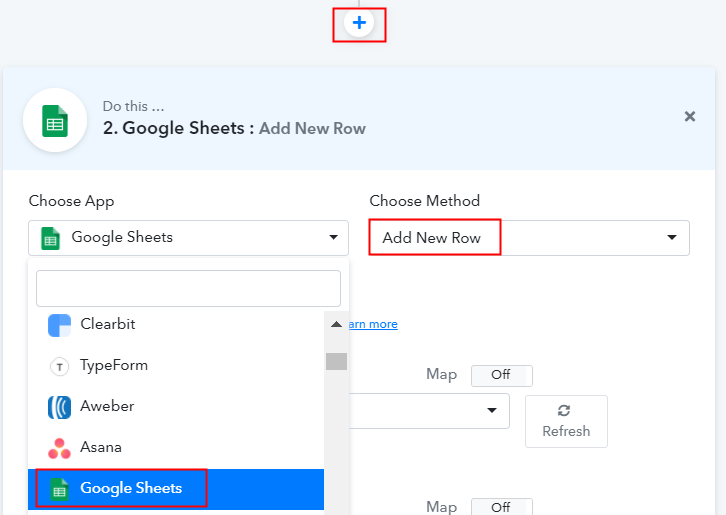
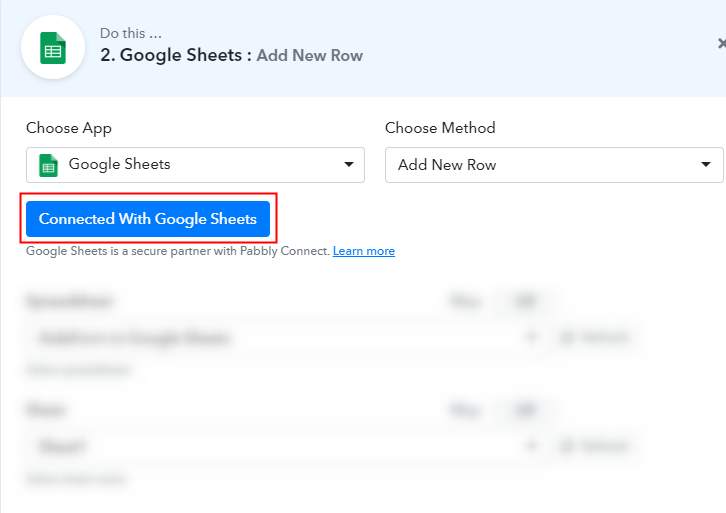
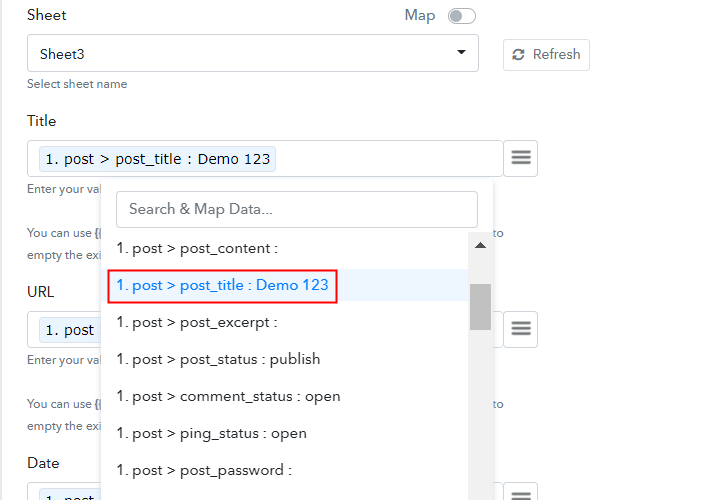
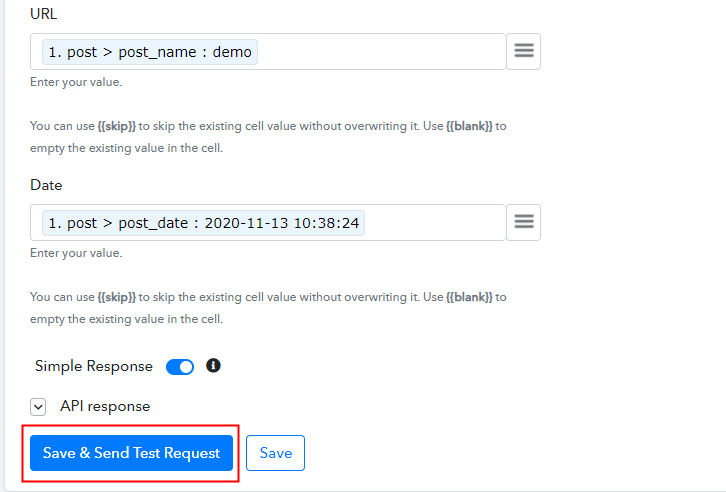
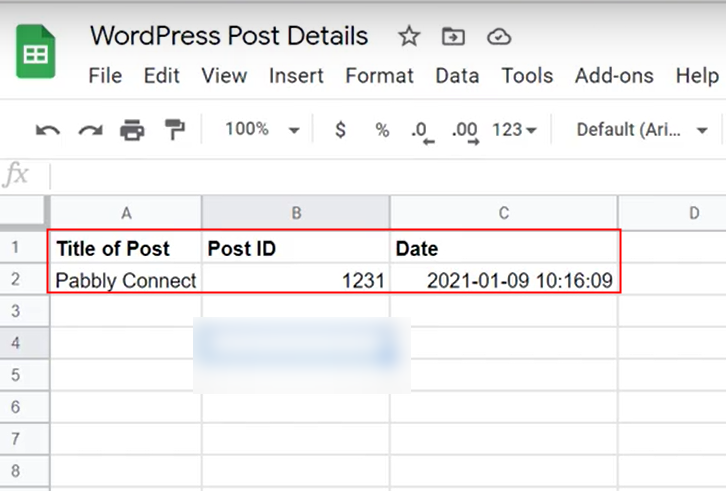
Furthermore, after logging into the account, click on the “Access Now” button as shown in the above image. Start the process of creating a workflow for integration by clicking on the “Create Workflow” button. Moreover, add the name of workflow which in our case is “WordPress to Google Sheets”. Although, you can always name the workflow according to your necessities. Following, after creating a workflow, you have to choose the integration app to add WordPress post to Google Sheets as row. Pabbly Connect allows you to build innumerable workflows within minutes, click here to sign up for unlimited integrations for free. The following step is to select “WordPress” from the dropdown, then choose the “New Post Published/Updated” option to add WordPress posts to Google Sheets as a row. The following step is to copy the Webhook URL. Next, to integrate WordPress with Pabbly Connect, you have to paste the copied Webhook URL into the account. For that, you must log in to your WordPress account. After logging into your WordPress account, go to the dashboard and click on “Plugins”. Immediately look for WP Webhooks in the plugins section. Now, click on the “Settings” to move further. As soon as you click on the settings option. Then a window will open there click on”Setting” again and then, click on the “Send Data” option. As soon as you click on the “Send Data” option, it will show two options. Select the “Send Data on Post Update” option. Simply scroll down, add the webhook name and URL and then click on the “Add” button. Now, in order to check this WordPress and Google Sheets integration, we will capture the data from WordPress, and for that, we will create a dummy post in WordPress. After adding the webhook URL to your WordPress account, now we will click on the “Capture Webhook Response” button to capture the data from WordPress. Simply add the title of the post and attach the category as well which in our case is “Automation & Integration”. After doing all the changes, hit the “Publish” button. After hitting the “Publish” button, the info will appear on the Pabbly Connect dashboard. Then, click on the “Save” button. To make this WordPress- Google Sheets integration work, you have to choose two actions for your trigger. The first action is to set the filters and the next is to add post details in Google Sheets. Next, we will add the “Filter” to set the conditions for WordPress posts. Select on the “+” icon and then select “Filter”. Now, map “Post status” Equal to “Publish” and category Equal to “Automation Software”. Simply click on the “Save & Send Test Request” button. As you can see we got the API response. Click the “Save” button. Further, click on the “+” icon then select “Google Sheets” and in the choose method option, select ” Add New Row”. After making all the necessary changes, click on the “Connected with Google Sheets” button. Further, it will open the authorization window, for which you have to log in to your Google account. All the sheets in your account will appear on the dropdown. Simply select the sheet, which in our case is “Cognito Forms Entries”. Now, all you have to do is add the necessary field from the drop-down such as for the name, select the name option, and for the email field select the email. Subsequently, after filling in all the details, save the setting and then “Send Test Request” to test the WordPress and Google Sheets integration. Lastly, when you check the Google Sheets, the entered details gets auto-populated in a sheet. Hopefully, now we have cleared all the uncertainty about the automation process. Here, in this post, we learned how to save WordPress post to Google Sheets as row in real-time. All you have to do is follow all the steps listed above and you can connect WordPress to Google Sheets quickly. One can easily avoid repetitive work with the help of automation. And in those situations, software like Pabbly Connect is true salvation that allows unlimited premium applications. So, wait no longer. Go and get your access by signing up for a free account.Step 2: Access Pabbly Connect
Step 3: Workflow for WordPress to Google Sheets Integration
(a) Start with a New Workflow
(b) Name the Workflow
Step 4: Setting Trigger for WordPress to Google Sheets Integration
(a) Select Application you Want to Integrate
(b) Copy the Webhook URL
Step 5: Connecting WordPress to Pabbly Connect
(a) Head to WordPress Plugins Option
(b) Search for WP Webhooks
(c) Click on WP Webhooks Settings
(d) Click on Send Data Option
(e) Choose Send Data on Post Update
(f) Add Webhook URL
Step 6: Publish a Post in WordPress
(a) Capture Webhook Response
(b) Add New Post
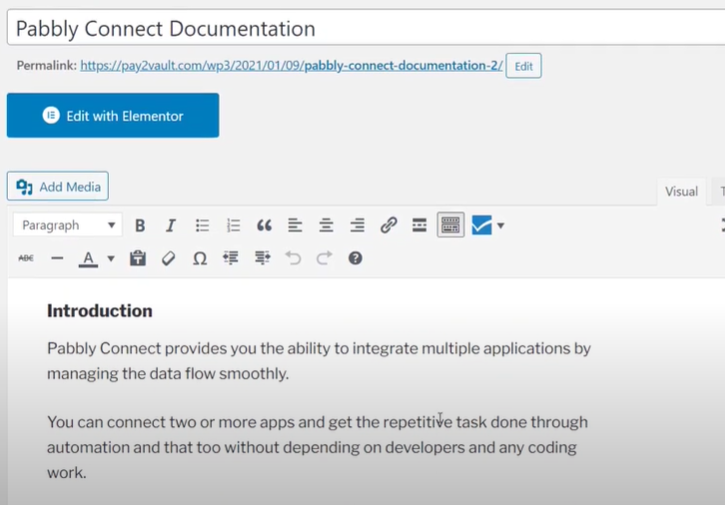
(c) Publish Post
Step 7: Test the Response in Pabbly Connect Dashboard
Step 8: Setting Actions for WordPress to Google Sheets Integration
(a) Select Application you Want to Integrate
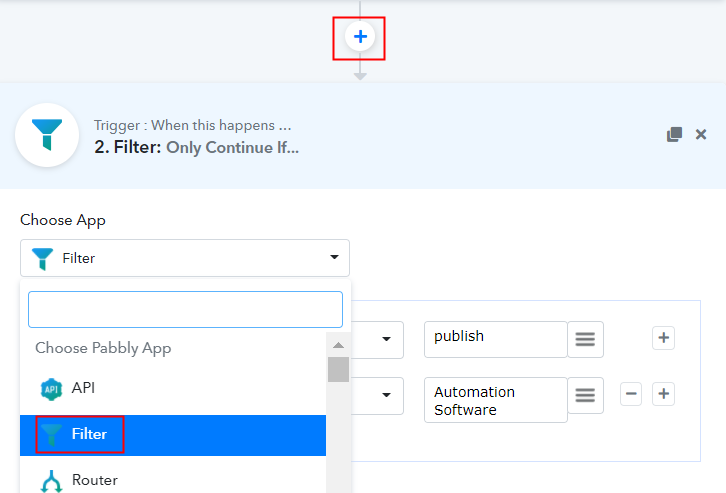
(b) Map the Fields
(c) Save & Send Test Request
(d) Save the API Response
(e) Select Application you Want to Integrate
(f) Click the Connect Button
(g) Map Field Data
(h) Save and Send Test Request
Step 9: Check Response in Google Sheets
Conclusion –
You May Also Like to Read –


