Learn how to automate sending Diwali wishes via SMS using Google Sheets and Make with this detailed tutorial. Perfect for businesses looking to connect with customers! with Pabbly Connect.
Watch Step By Step Video Tutorial Below
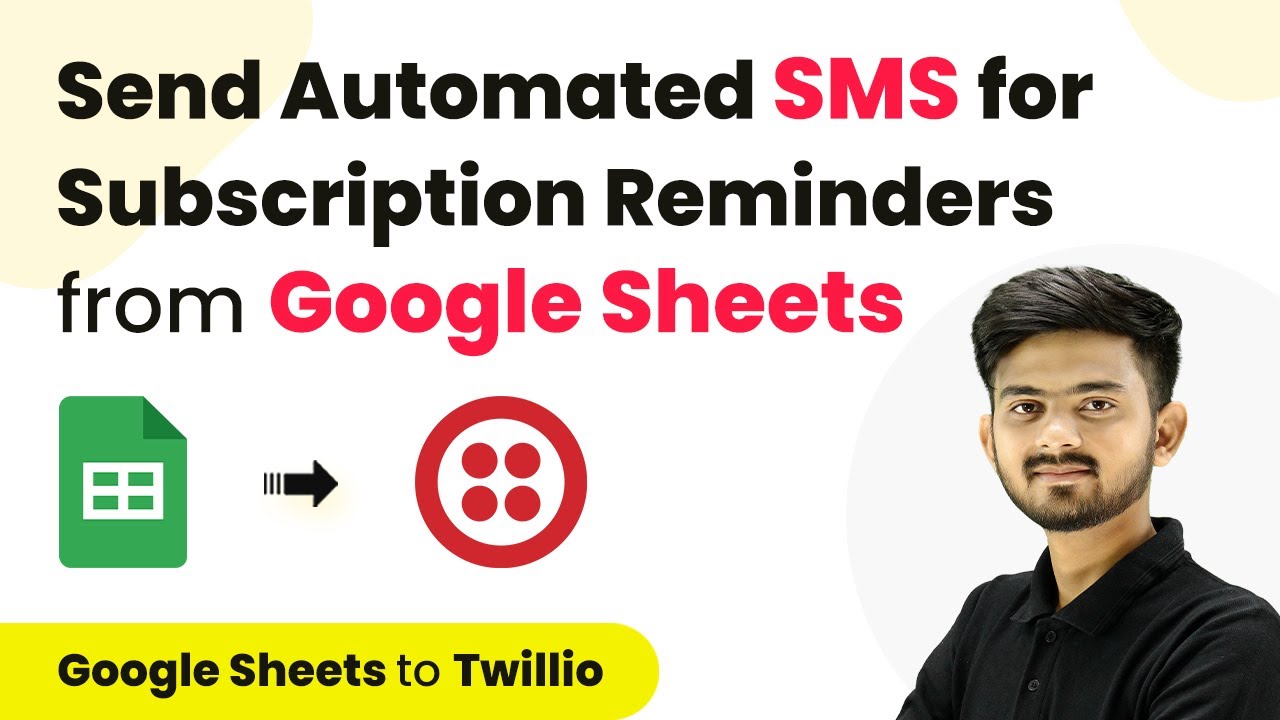
1. Sending Diwali Wishes via SMS Integration
Diwali is a special time for sending wishes to customers via SMS. In this tutorial, we will automate the process of sending Diwali wishes using Google Sheets and Make. The goal is to send personalized messages without manual effort. using Pabbly Connect
We will utilize the integration of Google Sheets, Twilio, and Make to achieve this. This setup will allow you to send SMS messages automatically to your customers, ensuring they receive your Diwali greetings and special offers seamlessly.
2. Setting Up Google Sheets for Customer Details
To begin, we need to set up Google Sheets where all customer details are stored. This includes their names, phone numbers, and email addresses. Make sure your Google Sheets is organized with each customer’s information in separate rows. using Pabbly Connect
- Create a new Google Sheet.
- Label the columns as Name, Phone Number, and Email.
- Enter customer details in the rows below.
After setting up your Google Sheets, you’ll need to ensure that the Twilio SMS integration is ready to send messages based on the data from this sheet. This will be crucial for automating the SMS sending process.
3. Connecting Google Sheets to Make for Automation
To connect Google Sheets to Make, we will use a webhook URL. This URL allows Make to receive data from Google Sheets whenever a new customer row is added. Start by signing into your Make account. using Pabbly Connect
Once logged in, create a new scenario and select Google Sheets as the trigger application. Choose the event ‘New or Updated Spreadsheet Row’ as the trigger event. This setup ensures that whenever a new row is added, Make will take action.
- Copy the webhook URL generated by Make.
- In Google Sheets, go to Extensions > Add-ons > Get Add-ons.
- Search for and install the Pabbly Connect Webhooks add-on.
After installing, paste the webhook URL into the add-on settings and specify the trigger column, which should be the last column containing customer data. This connection will allow automatic data transfer from Google Sheets to Make whenever a new customer is added.
4. Sending SMS Using Twilio and Make
With the connection established, the next step is to set up Twilio to send the SMS messages. In Make, after your Google Sheets trigger, add Twilio as the action application. Choose the action event ‘Send SMS Message’. using Pabbly Connect
To connect Twilio, you will need your Account SID and Auth Token from your Twilio account. Enter these details in Make to authenticate your Twilio account.
Enter the SMS content, including a personalized message for each customer. Map the customer’s name and phone number from Google Sheets into the SMS body. Set the sender number as your Twilio phone number.
Once you have configured the SMS settings, test the action to ensure that messages are sent correctly. This will confirm that your integration between Google Sheets, Twilio, and Make is functioning as intended.
5. Automating the Process for Future Customers
Now that the integration is set up, automating the process is straightforward. Whenever a new customer is added to your Google Sheets, the SMS will be sent automatically without any additional action required from you. using Pabbly Connect
To finalize, go back to Google Sheets and ensure you have the Pabbly Connect Webhooks add-on configured to send all data to Make whenever a new row is added. This setup will ensure that each new customer receives their personalized Diwali wishes and discount offers via SMS.
Click on Extensions > Pabbly Connect Webhooks > Send All Data. Confirm the automation is active and working. Add a new customer to test the entire workflow.
This entire process will allow you to efficiently manage customer communications during the Diwali season, ensuring that no one misses out on your special offers!
Conclusion
Integrating Diwali wishes with SMS using Google Sheets and Make is a powerful way to enhance customer engagement. By automating this process, you ensure timely and personalized communication without manual intervention. This method is perfect for businesses looking to connect with customers during festive seasons.
Thanks for following along with this tutorial! Remember to subscribe to the channel for more helpful content like this.
If you found this guide useful, please consider giving it a thumbs up and sharing it with others who might benefit from it.