How to Build an AI Agent to Automatically Detect and Remove Spam Comments from Facebook Using Pabbly Connect

Learn how to build an AI agent with Pabbly Connect to automatically detect and remove spam comments from your Facebook page. Follow this step-by-step tutorial.

Watch Step By Step Video Tutorial Below


1. Setting Up Pabbly Connect for Spam Detection

To build an AI agent that can automatically detect and remove spam comments from Facebook, we first need to set up Pabbly Connect. Start by creating a free account on Pabbly Connect. This platform will be the backbone of our integration process.

After signing up, log in to your account and navigate to the dashboard. Here, you can create a new workflow by clicking on the ‘Create Workflow’ button. Name your workflow something descriptive, like ‘AI Agent for Comment Spam Detection’. Select the folder where you want to save it and click ‘Create’. This initiates the workflow setup process.


2. Connecting Your Facebook Page with Pabbly Connect

In the newly created workflow, the first step is to connect your Facebook page to Pabbly Connect. Click on the trigger window and select ‘Facebook Pages’ as the app. For the trigger event, choose ‘New Comment’. This setup will allow Pabbly Connect to capture any new comments made on your Facebook page.

  • Choose the Facebook account you want to connect.
  • Select the specific Facebook page, such as ‘Arma Furniture St’.
  • Test the connection to ensure Pabbly Connect is properly linked.

Once connected, Pabbly Connect will wait for a new comment to trigger the workflow. To test this, post a spam comment on your Facebook page. You should see that Pabbly Connect captures the comment details immediately.


3. Sending Comments to AI Platform for Spam Detection

After capturing the spam comment, the next step is to send it to an AI platform for analysis. In this case, we will use OpenAI through Pabbly Connect. Add an action step and select ‘OpenAI’ as the app. Choose the action event ‘Chat GPT’ to process the comment.

To connect OpenAI, you will need to enter your API key. Log in to your OpenAI account, navigate to the API keys section, and create a new secret key. Copy this key and paste it into the Pabbly Connect action step. After saving, select the model you want to use, such as ‘GPT-4 Mini’.

  • Set the prompt for the AI to analyze the comment.
  • Map the comment received from Facebook into the prompt field.
  • Test the action to see if the AI correctly identifies the comment as spam or not.

Once the AI has analyzed the comment, it will return a response indicating whether the comment is spam. This response will be crucial for the next steps in the workflow.


4. Filtering Spam Comments Before Deletion

Now that we have a response from OpenAI, we need to set up a filter within Pabbly Connect. This filter will determine if the workflow should proceed to delete the comment based on whether it was marked as spam. Add a new action step and select ‘Filter’.

In the filter setup, choose the response from OpenAI that indicates whether the comment is spam. Set the condition to check if the response equals ‘spam’. If the condition is true, the workflow will continue to the next step to delete the comment.

By utilizing this filter, Pabbly Connect ensures that only spam comments are acted upon, while legitimate comments are ignored. This step is essential for maintaining the integrity of your Facebook page.


5. Deleting Spam Comments from Facebook

The final step in our workflow is to delete the spam comments identified by the AI. In the action step, select ‘Facebook Comments’ and choose the action event ‘Delete Comment’. Connect your Facebook account again if prompted.

In this step, you will need to map the comment ID from the initial trigger step. This ID is necessary for Pabbly Connect to identify which comment to delete. After mapping the comment ID, test this action to ensure that the spam comment is successfully removed from your Facebook page.

Once you confirm that the spam comment has been deleted, your AI agent is fully functional. This integration allows you to automate the spam detection and removal process effectively using Pabbly Connect.


Conclusion

In this tutorial, we explored how to build an AI agent using Pabbly Connect that automatically detects and removes spam comments from Facebook. By integrating Facebook with OpenAI through Pabbly Connect, we can efficiently manage spam comments and maintain the quality of our online presence. This automation not only saves time but also enhances user experience on your Facebook page.

Ensure you check out Pabbly Connect to create business automation workflows and reduce manual tasks. Pabbly Connect currently offer integration with 2,000+ applications.

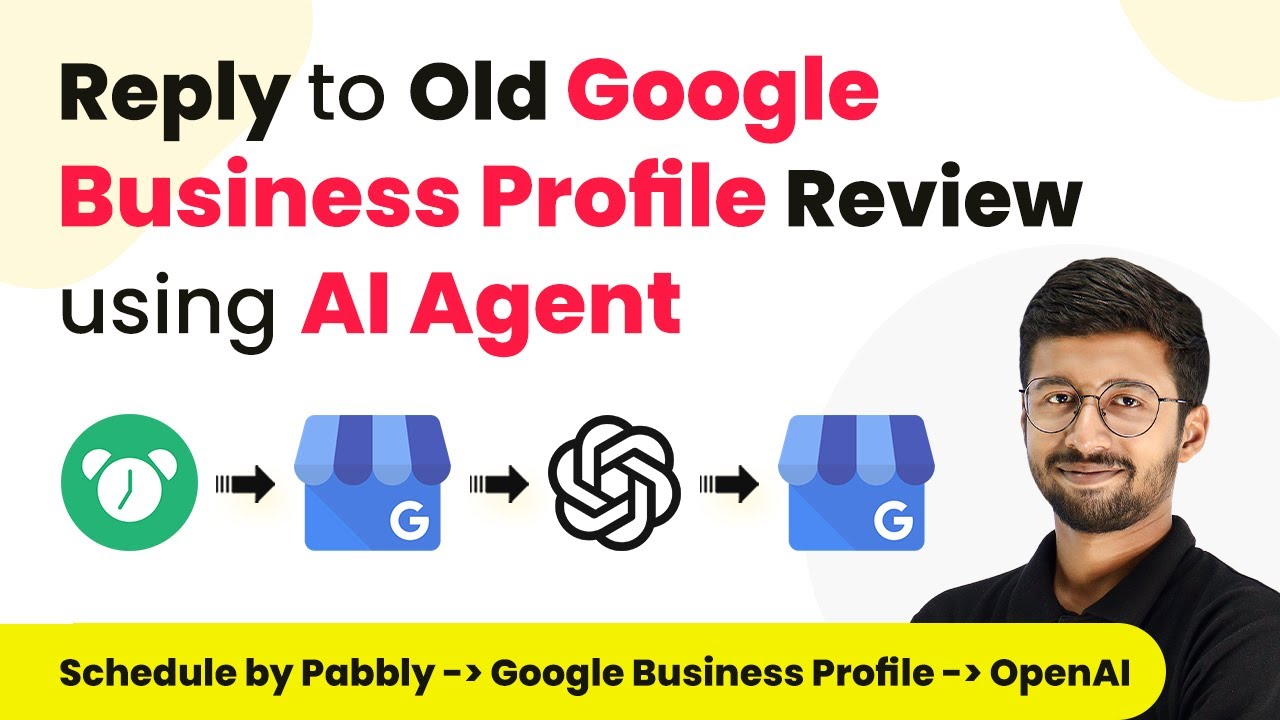
How to Reply to Old Google Business Profile Reviews Using Pabbly Connect

Learn how to automate replies to old Google Business Profile reviews using Pabbly Connect and AI agents. Step-by-step tutorial included. Explore systematic approaches to creating efficient automation solutions that convert technical concepts into practical, implementable instructions.

Watch Step By Step Video Tutorial Below


1. Introduction to Pabbly Connect for Google Business Profile Reviews

In this section, we will explore how to use Pabbly Connect to automate replies to old Google Business Profile reviews. This integration allows you to efficiently manage your reviews without manual intervention. By utilizing Pabbly Connect, you can schedule an AI agent to fetch unreplied reviews every few minutes.

To get started, you need to sign up for a free account on Pabbly Connect. Once you have access to the dashboard, you can create a workflow specifically for replying to reviews. This automated process ensures that no review goes unanswered, enhancing your customer engagement.


2. Creating a Workflow in Pabbly Connect

The first step in setting up your AI agent is to create a new workflow in Pabbly Connect. Click on the ‘Create Workflow’ button and name it something like ‘AI Agent for Google Business Profile Replies’. This name helps you easily identify the workflow later.

  • Click on ‘Create’ to proceed to the workflow interface.
  • Select the trigger event to schedule your workflow at regular intervals.
  • Set the interval to fetch reviews every 10 minutes.

After configuring the trigger, click on ‘Save’ to finalize the setup. This step ensures that your AI agent is set to run at the chosen frequency, fetching unreplied reviews from your Google Business Profile.


3. Fetching Reviews from Google Business Profile

Once your workflow is created, the next step is to fetch unreplied reviews from your Google Business Profile using Pabbly Connect. Search for the Google Business Profile app in the action window and select the ‘Fetch Review’ action event.

Connect your Google Business Profile by clicking on ‘Sign in with Google’ and selecting the appropriate account. Once connected, choose the location and specify that you want to fetch unreplied reviews. Ensure to select the option to ignore rating-only reviews if you want to respond to comments as well.

  • Select the ‘Unreplied’ option to focus only on reviews that need responses.
  • Click on ‘Save and Send Test Request’ to verify the connection.

This will allow you to confirm that the AI agent successfully retrieves the latest unreplied review from your Google Business Profile, setting the stage for generating a response.


4. Generating Replies Using OpenAI

After fetching the reviews, the next step is to generate replies using OpenAI through Pabbly Connect. Add a new action step and select OpenAI as the app. Choose the ‘Chat GPT’ action event to create personalized responses to the reviews.

Connect your OpenAI account by entering the API key. You can obtain this key from your OpenAI dashboard. Once connected, you will need to specify the AI model, typically GPT-3 or GPT-4, and provide a prompt that guides the AI in crafting an appropriate response.

Include the reviewer’s name, star rating, and comment in the prompt. Click ‘Save and Send Test Request’ to generate the reply.

This process allows the AI to create a thoughtful and engaging response based on the review content, ensuring that your replies are both relevant and professional.


5. Posting Replies to Google Business Profile

The final step in the automation process is to post the generated replies back to your Google Business Profile using Pabbly Connect. Add another action step and select Google Business Profile again, this time choosing the ‘Create Reply’ action event.

Use the existing connection from the previous steps to avoid reconnecting. Map the review name and the generated reply content to the respective fields in this action step. This ensures that the correct reply is associated with each review.

Select the appropriate review from the dropdown list. Click ‘Save and Send Test Request’ to post the reply.

After successfully posting, you can refresh your Google Business Profile to see the reply live. This automated system will continue to run at your specified interval, ensuring that all unreplied reviews are addressed promptly.


Conclusion

Using Pabbly Connect, you can effectively automate the process of replying to old Google Business Profile reviews. This integration not only saves time but also enhances customer engagement by ensuring timely responses to feedback. By following the steps outlined in this tutorial, you can set up an AI agent that continuously monitors and replies to reviews with professional and personalized messages.

Ensure you check out Pabbly Connect to create business automation workflows and reduce manual tasks. Pabbly Connect currently offer integration with 2,000+ applications.

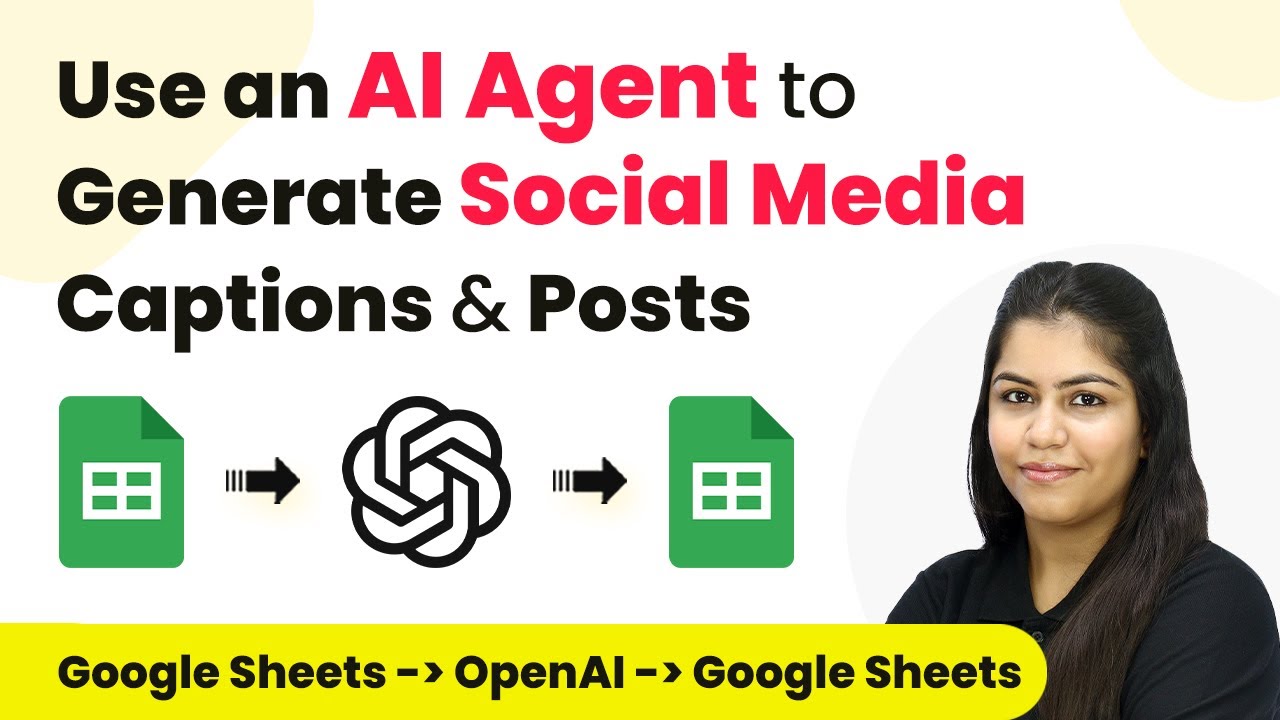
How to Use Pabbly Connect and AI Agent to Generate Social Media Captions

Learn how to use Pabbly Connect to automate social media caption generation with an AI agent. Step-by-step guide to integrating Google Sheets, Facebook, and more.

Watch Step By Step Video Tutorial Below


1. Accessing Pabbly Connect for Automation

To start generating social media captions, you first need to access Pabbly Connect. Open your browser and navigate to the Pabbly Connect website.

Once on the site, you have two options: sign in if you are an existing user or sign up for free if you are new. The free version allows you to explore the application with 100 tasks per month. After logging in, click on the ‘Access Now’ button to enter your Pabbly Connect dashboard.


2. Creating a Workflow in Pabbly Connect

In your Pabbly Connect dashboard, click on the ‘Create Workflow’ button. You will be prompted to name your workflow and choose a folder to save it in. Name your workflow something descriptive, like ‘AI Agent for Social Media Captions’ and select the folder labeled ‘Automations’. using Pabbly Connect

  • Click on ‘Create’ to initiate the workflow.
  • This opens the workflow window where you can set up triggers and actions.
  • Select Google Sheets as your trigger application.

After selecting Google Sheets, choose the trigger event as ‘New or Updated Spreadsheet Row’. This will allow Pabbly Connect to monitor changes in your Google Sheets.


3. Connecting Google Sheets to Pabbly Connect

To connect Google Sheets with Pabbly Connect, you will receive a webhook URL. Copy this URL and open your Google Sheets. Navigate to the ‘Extensions’ menu, select ‘Add-ons’, and then choose ‘Get Add-ons’.

  • Search for the ‘Pabbly Connect Webhooks’ add-on and install it.
  • After installation, refresh your Google Sheets.
  • Go to Extensions > Pabbly Connect Webhooks > Initial Setup.

Paste the copied webhook URL in the setup window and specify the trigger column, which should be the column that will send data to Pabbly Connect. Click on ‘Submit’ to complete the setup.


4. Generating Captions Using AI Agent

Now that Google Sheets is connected, it’s time to set up the action step in Pabbly Connect to generate captions. Select ‘OpenAI’ as the action application and choose ‘Chat GPT’ as the action event.

You will need to connect your OpenAI account by entering your API key. To obtain this key, visit the OpenAI API keys page and create a new secret key. Copy the key and paste it into your Pabbly Connect workflow.

Select the AI model as GPT-4. Enter a prompt detailing your requirements for the caption. Map the content theme and image/video description from the previous step.

Once you have configured the action, click on ‘Save and Send Test Request’ to check if the AI generates the caption successfully.


5. Updating Google Sheets with Generated Captions

Finally, you will add another action step to update your Google Sheets with the generated caption. Select Google Sheets again as the action application and choose ‘Update Cell Value’ as the action event. using Pabbly Connect

Connect your Google Sheets account if you haven’t already, and specify the spreadsheet and sheet name. For the range, enter the column where you want the caption to be updated, and map the row index dynamically so it updates correctly with each new entry.

After mapping the necessary fields, click on ‘Save and Send Test Request’. Check your Google Sheets to confirm that the caption has been successfully added into the specified cell.


Conclusion

In this tutorial, we explored how to use Pabbly Connect to automate the generation of social media captions using an AI agent. By integrating Google Sheets and OpenAI, you can streamline your social media management tasks effectively.

Ensure you check out Pabbly Connect to create business automation workflows and reduce manual tasks. Pabbly Connect currently offer integration with 2,000+ applications.

This automation not only saves time but also ensures that your social media content remains engaging and relevant. Try implementing this automation for your own brand today!

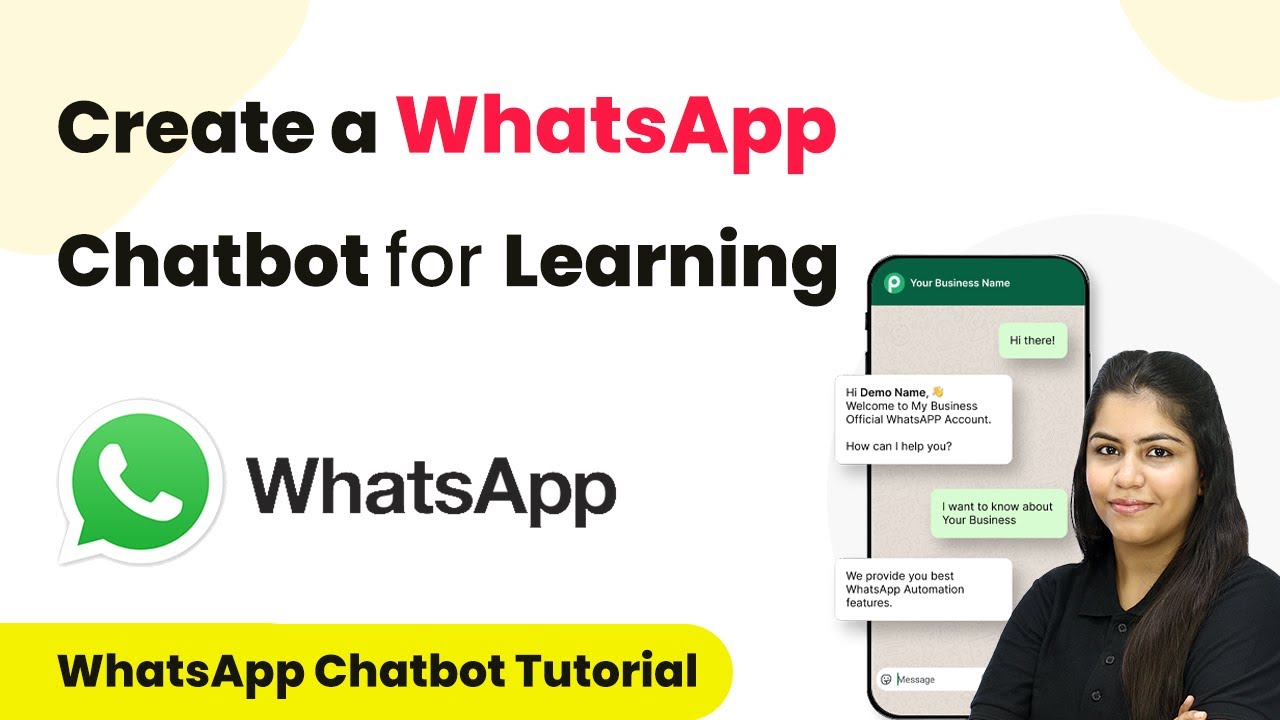
Creating a WhatsApp Chatbot for Learning with Pabbly Chatflow

Learn how to create a WhatsApp chatbot for learning using Pabbly Chatflow to automate student inquiries effectively. Step-by-step guide included! Build conversational workflows that guide visitors toward conversion with dynamic, branching dialogs that respond intelligently to user input.

Watch Step By Step Video Tutorial Below


1. Setting Up Pabbly Chatflow for Your WhatsApp Chatbot

To create a WhatsApp chatbot for learning, you need to start by accessing Pabbly Chatflow. This platform allows you to automate responses to frequently asked questions from students. Begin by logging into your Pabbly Chatflow dashboard.

Once logged in, navigate to the left sidebar and click on the ‘Flows’ option. Here, you will see existing flows. Click on the blue ‘Add Flow’ button to initiate a new flow for your chatbot.


2. Creating Triggers in Pabbly Chatflow

In this section, you will set up triggers that determine when your chatbot responds to user messages. To do this, select the trigger type as ‘Keywords’. This means the chatbot will activate when a user’s message includes specific words. using Pabbly Connect

  • Enter keywords such as ‘hi’, ‘hello’, and ‘hey’.
  • Use Regular Expressions (Rex) to capture variations of messages.
  • Ensure keywords are highlighted in blue to confirm activation.

After entering your keywords, you can enable the toggle button for sensitive case Rex if necessary. This setup ensures that your chatbot responds accurately to various user inquiries.


3. Collecting User Information with Pabbly Chatflow

Next, you will collect essential user information such as names and emails. To do this, drag and drop the ‘Ask Question’ action from the actions menu onto your flow. Connect it to the flow start. using Pabbly Connect

Begin by entering a welcoming message that asks for the user’s name. Set the contact custom field to ‘Full Name’ and specify the format as text. Repeat this process to collect the user’s email address, ensuring you select the email format for validation.

  • First, ask for the user’s name.
  • Second, request the user’s email address.

This step is crucial for personalizing responses and ensuring effective communication with potential students.


4. Providing Course Information with Pabbly Chatflow

After collecting user data, you can provide detailed information about courses. Use the ‘Text Plus Button’ content type to send a message that offers users options such as ‘Course Details’, ‘How to Enroll’, and ‘Live Classes’. using Pabbly Connect

For each option, create a corresponding response. For instance, if a user selects ‘Course Details’, provide comprehensive information about the courses offered. Similarly, prepare responses for the other options, ensuring each one includes buttons for easy navigation.

Add buttons for ‘Contact Details’ and ‘Back to Menu’ for user convenience. Ensure each response is clear and informative.

By structuring your responses this way, you enhance user experience and streamline the information-sharing process.


5. Testing and Launching Your Pabbly Chatflow Chatbot

Once your flow is complete, it’s essential to test it to ensure it functions correctly. Save the flow by naming it appropriately, such as ‘Learning Bot’. Make sure the flow is active by toggling the activation button. using Pabbly Connect

To test, open WhatsApp and send a message containing one of the trigger keywords. The chatbot should respond with a greeting and prompt for the user’s name. Continue the interaction by providing your name and email to see if the chatbot collects the information correctly.

Verify that all user inputs are captured accurately. Check that all provided information is displayed in the contact custom fields.

This testing phase is critical to ensure your chatbot meets user expectations and functions seamlessly.


Conclusion

Creating a WhatsApp chatbot for learning using Pabbly Chatflow streamlines the process of handling student inquiries. By following the steps outlined, you can automate responses, collect vital information, and enhance communication with potential students. Start building your chatbot today and experience the benefits of automation!

Ensure you check out Pabbly Connect to create business automation workflows and reduce manual tasks. Pabbly Connect currently offer integration with 2,000+ applications.

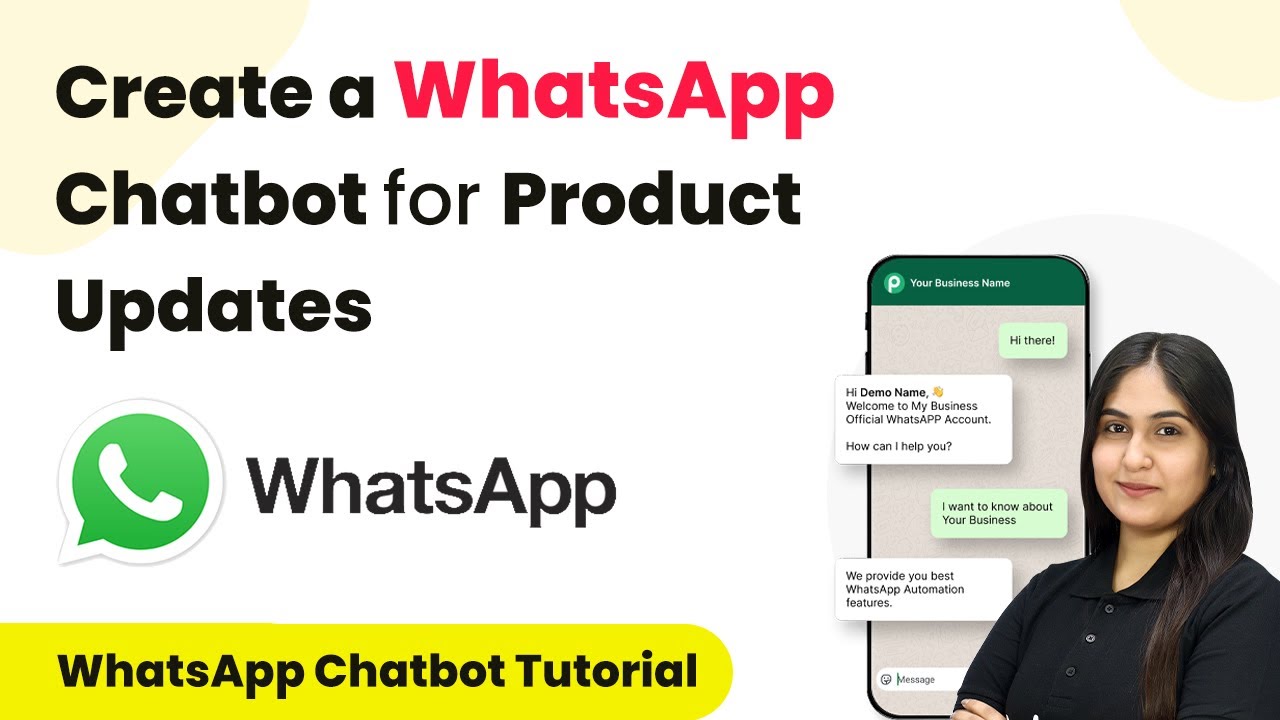
How to Create a WhatsApp Chatbot for Product Updates Using Pabbly Chatflow

Learn how to create a WhatsApp chatbot for product updates using Pabbly Chatflow. Follow our step-by-step guide to automate your product notifications seamlessly! Discover practical methods for designing chat sequences that capture leads, answer questions, and guide users to the next step in your funnel.

Watch Step By Step Video Tutorial Below


1. Introduction to Pabbly Chatflow for WhatsApp Chatbot

Creating a WhatsApp chatbot for product updates is easy with Pabbly Chatflow. This platform allows you to automate customer notifications about new product launches, discounts, and updates seamlessly. Instead of manual messaging, a chatbot can instantly share product details, images, and purchase links, ensuring customers stay informed.

To get started, access your Pabbly Chatflow account. If you don’t have an account yet, you can create one easily. Once logged in, you’ll be greeted with the dashboard, where you can explore various features. The left sidebar contains options to access flows, templates, and other functionalities.


2. Creating a Flow in Pabbly Chatflow

To set up your WhatsApp chatbot, navigate to the flows section in Pabbly Chatflow. Click on the ‘Add Flow’ button located at the top right corner of the screen. This will allow you to create a new flow specifically for your product updates.

  • Click on ‘Add Flow’ to create a new flow.
  • Name your flow (e.g., ‘New Product Launch’).
  • Select a trigger for your flow, such as a template.

Once you’ve named your flow, set up the flow start by selecting the trigger type. For this example, choose the template trigger, as you will be sending a pre-approved message template through your broadcast campaign.


3. Utilizing Templates in Pabbly Chatflow

In Pabbly Chatflow, templates are crucial for creating engaging messages. To access your templates, navigate to the templates window and select the one you’ve created for your product launch. This template should include all relevant product details and a call-to-action.

  • Ensure your template includes product details and images.
  • Add buttons for quick replies like ‘View Details’ and ‘Ask a Question’.
  • Make sure the template is approved before using it.

Once you select your template, configure the quick reply buttons. For example, the ‘View Details’ button can send a message with product specifics, while the ‘Ask a Question’ button can initiate a set of FAQs regarding the product.


4. Finalizing the WhatsApp Chatbot Flow

After setting up your template and quick replies, it’s time to finalize your flow in Pabbly Chatflow. You will need to set responses for each quick reply button. For instance, if a user selects ‘View Details’, your chatbot should respond with product information and a purchase link.

Add a text box for the ‘View Details’ response. Include answers for the questions in the ‘Ask a Question’ section. Upload a product catalog for the ‘Browse More’ option.

By completing these steps, you ensure your WhatsApp chatbot is fully functional and ready to engage with customers automatically. Once you save your flow, you can test its functionality by sending messages to your WhatsApp contacts.


5. Testing Your WhatsApp Chatbot

After creating your WhatsApp chatbot in Pabbly Chatflow, it’s essential to test its functionality. Send a test message to your WhatsApp account to see how the chatbot interacts with users. Check if the quick reply buttons work as intended and if the correct responses are triggered.

For example, if you click on ‘View Details’, the chatbot should respond with product specifics, and if you select ‘Ask a Question’, it should offer relevant FAQs. Testing ensures that your customers will receive accurate information and smooth interactions.

Once you confirm that everything works perfectly, you can officially launch your WhatsApp chatbot for product updates. This automation will save you time and keep your customers informed about your latest offerings.


Conclusion

Creating a WhatsApp chatbot for product updates using Pabbly Chatflow streamlines your communication with customers. By following these detailed steps, you can automate notifications and enhance customer engagement effortlessly. This ensures your customers are always updated about your latest products and offers.

Ensure you check out Pabbly Connect to create business automation workflows and reduce manual tasks. Pabbly Connect currently offer integration with 2,000+ applications.

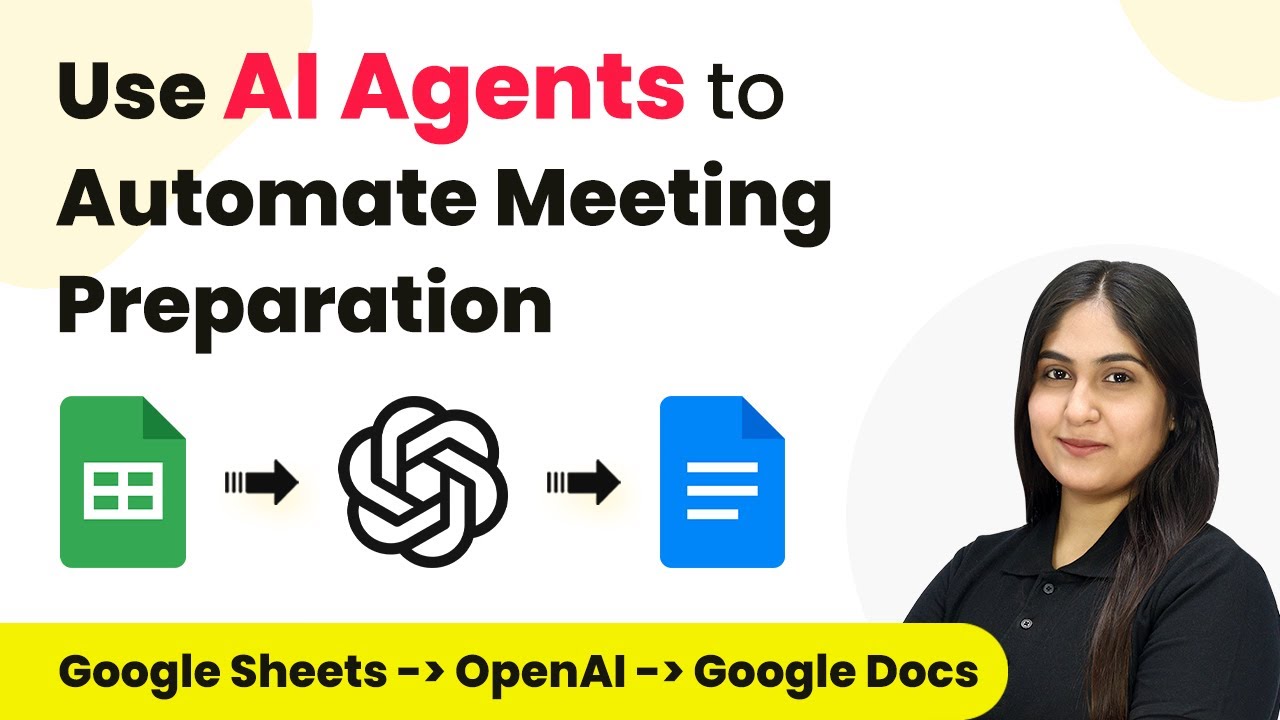
Automate Meeting Preparation with Pabbly Connect: A Step-by-Step Guide

Learn how to automate meeting preparation using Pabbly Connect with Google Sheets and AI agents. Streamline your workflow today! This comprehensive guide reveals exactly how to connect your applications and automate repetitive tasks — accessible for professionals of all technical backgrounds.

Watch Step By Step Video Tutorial Below


1. Accessing Pabbly Connect for Meeting Automation

To start automating meeting preparation, access Pabbly Connect by visiting its homepage. This platform allows you to integrate various applications seamlessly.

Once on the homepage, you will see options to either sign in or sign up. If you are new, click on ‘Sign Up Free’ to create an account and explore the features with 100 free tasks every month.


2. Creating a Workflow in Pabbly Connect

After signing in to Pabbly Connect, you can create a new workflow. Click on the ‘Create Workflow’ button located at the top right corner of the dashboard.

  • Name your workflow, for example, ‘Use AI Agents to Automate Meeting Preparation’.
  • Select a folder to save your workflow.
  • Click on the ‘Create’ button to finalize your workflow setup.

This will set the stage for integrating Google Sheets and other applications for your automated meeting preparation process.


3. Integrating Google Sheets with Pabbly Connect

To automate the meeting preparation, you need to connect Google Sheets with Pabbly Connect. Select Google Sheets as your trigger application and choose the event ‘New or Updated Spreadsheet Row’.

Once you select the trigger event, a webhook URL will be generated. Copy this URL to connect Google Sheets with Pabbly Connect. You will need to install the Pabbly Connect add-on in Google Sheets to complete this integration.

  • Go to Extensions > Add-ons > Get Add-ons in Google Sheets.
  • Search for ‘Pabbly Connect Webhooks’ and install it.
  • After installation, refresh Google Sheets and configure the add-on with the copied webhook URL.

Once this is done, you will have successfully set up Google Sheets to work with Pabbly Connect.


4. Using OpenAI to Generate Meeting Agendas

Next, you will need to integrate OpenAI with Pabbly Connect to generate meeting agendas based on the details provided in Google Sheets. Select OpenAI as the action application and choose the event ‘ChatGPT’.

Connect your OpenAI account by entering the API key obtained from your OpenAI account. After successfully connecting, set up the prompt to generate the meeting agenda using the variables from Google Sheets, such as meeting title, objective, participants, and key topics.

Map the meeting title from Google Sheets to the prompt. Include other relevant details like objectives and participants. Click on ‘Save and Send Test Request’ to verify the integration.

This integration allows Pabbly Connect to automate the generation of meeting agendas, ensuring you are always prepared.


5. Finalizing the Document Creation and Storage

After generating the meeting agenda, the next step is to create a Google Docs document and store the agenda. In Pabbly Connect, select Google Docs as the action application and choose ‘Create a Blank Document’ as the action event.

Connect your Google Docs account and map the meeting title to name the document. After creating the document, add another action step to append the generated meeting agenda into the document.

Select the document ID from the previous step. Map the content generated by OpenAI to insert into the document. Save and send the request to finalize the document creation.

With this, you will have a well-structured document ready for your meeting, all facilitated through Pabbly Connect.


Conclusion

In this tutorial, we explored how to automate meeting preparation using Pabbly Connect with Google Sheets and OpenAI. By following these steps, you can streamline your workflow and ensure you are always prepared for your meetings.

Ensure you check out Pabbly Connect to create business automation workflows and reduce manual tasks. Pabbly Connect currently offer integration with 2,000+ applications.

How to Automate ClickFunnels using Pabbly Connect – Step-by-Step Guide

Learn how to automate ClickFunnels using Pabbly Connect with this detailed step-by-step guide. Streamline your workflows effortlessly! Explore systematic approaches to creating efficient automation solutions that convert technical concepts into practical, implementable instructions.

Watch Step By Step Video Tutorial Below


1. Accessing Pabbly Connect for ClickFunnels Automation

To automate ClickFunnels using Pabbly Connect, you first need to access the Pabbly Connect platform. Visit the Pabbly Connect website and sign in to your account. If you’re a new user, you can sign up for free and receive 100 free tasks every month.

Once logged in, you will see the dashboard displaying all Pabbly applications. Click on the ‘Access Now’ button for Pabbly Connect to proceed. This will take you to the Pabbly Connect dashboard where you can create your workflow.


2. Creating a Workflow in Pabbly Connect

In the Pabbly Connect dashboard, click on the ‘Create Workflow’ button located at the top right corner. You will be prompted to name your workflow. Enter the name as ‘Automate ClickFunnels using Pabbly Connect – Step-by-Step Guide’ and select the folder as workflows.

  • Click on the ‘Create’ button to finalize your workflow setup.
  • You will see two sections: Trigger and Action.
  • The Trigger section captures events while the Action section performs tasks based on those events.

Now that you have created a workflow, you can set up triggers and actions for ClickFunnels. This is essential for automating your processes effectively using Pabbly Connect.


3. Setting Up Triggers for ClickFunnels

To set up a trigger in Pabbly Connect, select ClickFunnels as your trigger application. You will then need to choose a trigger event. The available options include: using Pabbly Connect

  • New Contact Created
  • Contact Updated
  • New Purchase Created

For this tutorial, select the ‘New Contact Created’ event. After selecting the trigger event, you will receive a webhook URL from Pabbly Connect. This URL is essential for connecting ClickFunnels to Pabbly Connect.

Copy the webhook URL and navigate to your ClickFunnels account. Go to the workspace settings and locate the Webhooks option. Here, you can create a new webhook endpoint, paste the copied URL, and configure the necessary event types.


4. Testing the Trigger Connection

After setting up the webhook in ClickFunnels, it’s time to test the connection. To do this, create a new contact in your ClickFunnels account. Fill in the required details such as email, first name, and last name, and then click on the ‘Create Contact’ button.

Once the contact is created, return to your Pabbly Connect dashboard. You should see that the new contact’s details have been captured in the trigger section. This confirms that ClickFunnels is successfully connected to Pabbly Connect.

By successfully capturing the new contact’s information, you can now proceed to set up actions based on this trigger. This allows for seamless automation of your workflows.


5. Setting Up Actions in Pabbly Connect

Now that the trigger is set up, you can configure actions in Pabbly Connect. Select ClickFunnels as your action application and choose the action event, which in this case is ‘Create Contact’.

To build the connection between ClickFunnels and Pabbly Connect, you will need to enter your ClickFunnels token and subdomain. Follow the steps provided in the Pabbly Connect interface to retrieve your token from ClickFunnels.

Navigate to the workspace settings in ClickFunnels. Create a new platform application to generate your token. Copy the token and paste it into the Pabbly Connect action setup.

Finally, map the fields for the new contact using the data captured from the trigger step. This ensures that whenever a new contact is created, the information is automatically populated in ClickFunnels through Pabbly Connect.


Conclusion

In this tutorial, you learned how to automate ClickFunnels using Pabbly Connect effectively. By setting up triggers and actions, you can streamline your workflows and save time. With Pabbly Connect, managing leads and payments becomes effortless, enabling you to focus on growing your business.

Ensure you check out Pabbly Connect to create business automation workflows and reduce manual tasks. Pabbly Connect currently offer integration with 2,000+ applications.

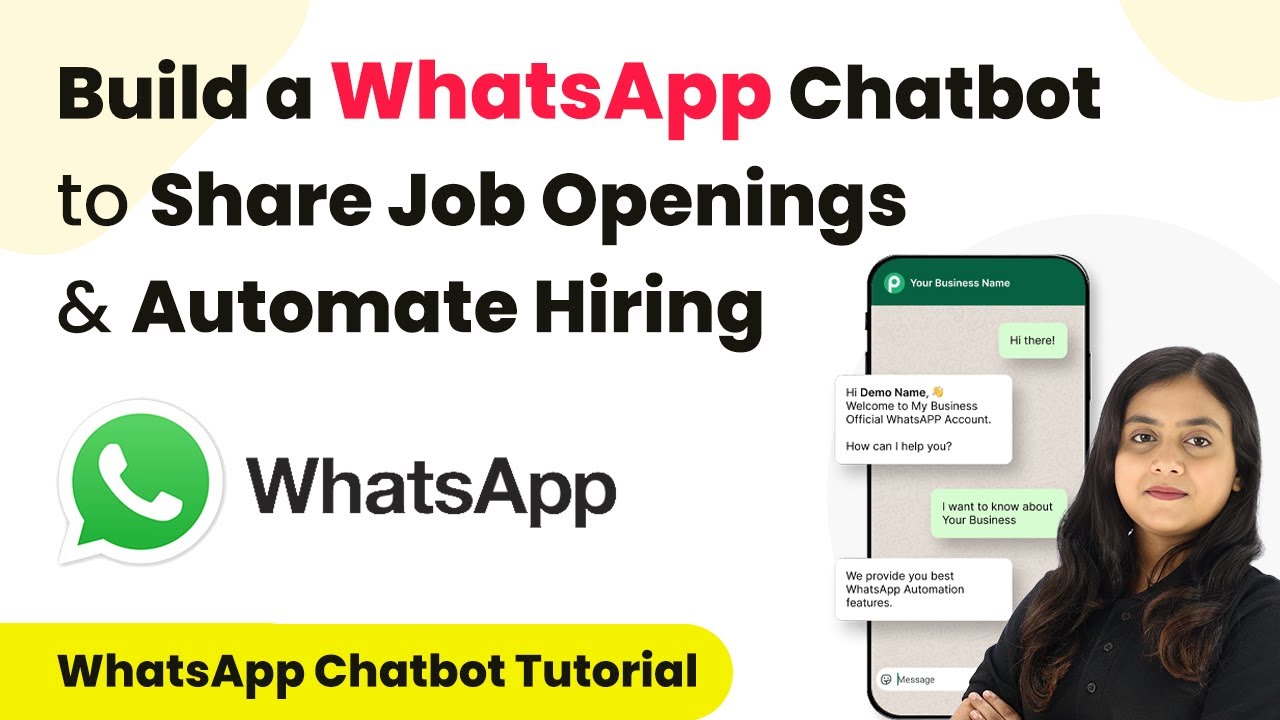
How to Build a WhatsApp Chatbot to Share Job Openings & Automate Hiring with Pabbly Chatflow

Learn how to build a WhatsApp chatbot using Pabbly Chatflow to automate hiring and share job openings effectively. Learn how to create intelligent chat workflows that provide instant customer support while qualifying leads 24/7 without human intervention.

Watch Step By Step Video Tutorial Below


1. Setting Up Pabbly Chatflow for WhatsApp Chatbot

To build a WhatsApp chatbot for sharing job openings, first access Pabbly Chatflow. This platform allows you to create automated workflows that respond to job inquiries efficiently. Start by logging into your Pabbly Chatflow account and navigating to the flow section on the left panel.

Once in the flow section, click the ‘Add Flow’ button in the top right corner. Here, title your flow as ‘WhatsApp Job Info Bot’. This title will help you identify the flow you are creating. After naming your flow, you can begin setting up the keywords and regex patterns that will trigger your chatbot.


2. Configuring Keywords and Regex in Pabbly Chatflow

In this step, you will configure keywords that will trigger the WhatsApp chatbot. Enter keywords such as ‘hello’, ‘hey’, and ‘hi’ that candidates might use to initiate a conversation. This configuration is critical as it determines how the chatbot responds to inquiries.

  • Add keywords like ‘job openings’, ‘apply’, and ‘hiring’.
  • Enable regex to match various patterns candidates may use.
  • Toggle the regex button on for sensitive regex patterns.

This setup ensures that your Pabbly Chatflow bot will respond accurately to various inquiries related to job openings. After entering the necessary keywords and regex, you can proceed to the next steps of your flow.


3. Asking for Candidate Information via Pabbly Chatflow

Once your keywords are set, the next step is to ask candidates for their full name and email address. Use the ‘Ask Question’ action in Pabbly Chatflow to prompt candidates for their names. This information is essential for personalizing responses.

To do this, drag the ‘Ask Question’ action into your flow and enter a message like, ‘Hi, welcome to Innovate Tech! May I know your full name?’ Ensure to create a custom field for the full name to store this information. After collecting the name, ask for their email address using a similar action.


4. Providing Job Details and Options with Pabbly Chatflow

After gathering candidate information, you can provide options for candidates to view job openings, apply for a job, or contact HR. Use the ‘Text Button’ action in Pabbly Chatflow to create these options. Each button will lead to different flows based on the candidate’s selection.

  • Create buttons labeled ‘View Job Openings’, ‘Apply for a Job’, and ‘Contact HR’.
  • Connect each button to its respective action in the flow.
  • Ensure each button sends relevant information based on the selection.

Using Pabbly Chatflow, you can easily manage these interactions, ensuring candidates receive timely and relevant information regarding job openings.


5. Testing and Launching the WhatsApp Chatbot

After completing the setup, it’s essential to test the WhatsApp chatbot to ensure it functions correctly. Use your WhatsApp number to send a message to the bot, such as ‘Hello, I want to know about the job openings in your company’. This will trigger the flow you have created in Pabbly Chatflow.

Once the bot responds, you should see prompts for your full name and email address, followed by the options to view job openings or apply for a job. This testing phase helps you verify that all elements are working as intended, providing a seamless experience for candidates.


Conclusion

Creating a WhatsApp chatbot using Pabbly Chatflow allows businesses to streamline their hiring processes and improve candidate engagement. This automation not only saves time but also enhances the overall experience for job seekers. By following the steps outlined in this tutorial, anyone can set up an efficient job info bot.

Ensure you check out Pabbly Connect to create business automation workflows and reduce manual tasks. Pabbly Connect currently offer integration with 2,000+ applications.

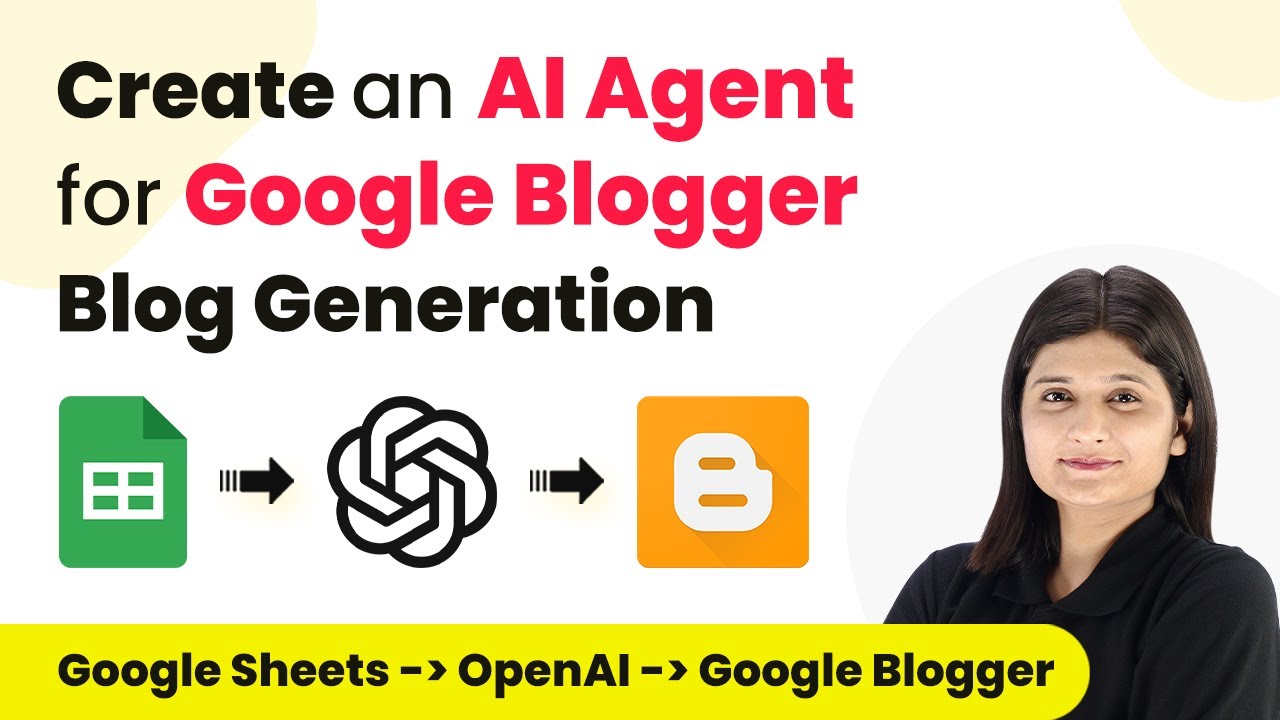
How to Create an AI Agent for Google Blogger Blog Generation Using Pabbly Connect

Learn how to create an AI agent for Google Blogger blog generation using Pabbly Connect. Step-by-step tutorial on integrating Google Sheets and OpenAI for automated blog posts.

Watch Step By Step Video Tutorial Below


1. Accessing Pabbly Connect for Google Blogger Blog Generation

To create an AI agent for Google Blogger blog generation, the first step is to access Pabbly Connect. Begin by navigating to the Pabbly Connect website and signing in to your account. If you are a new user, you can sign up for free, which includes 100 tasks monthly.

Once logged in, you will be directed to the Pabbly Connect dashboard. Here, you can manage all your workflows. Click on the Pabbly Connect icon to start creating a new workflow for your blog generation project.


2. Creating a Workflow in Pabbly Connect

To set up the workflow, click on the Pabbly Connect dashboard and select the option to create a new workflow. This will initiate the process of defining your automation. The first step is to set a trigger, which will start the workflow every time a new title and keyword are added to your Google Sheets.

  • Select Google Sheets as the trigger application.
  • Choose the trigger event as ‘New Row’.
  • Connect your Google Sheets account to Pabbly Connect.

After setting up the trigger, test it to ensure that it can successfully pull data from your Google Sheets. This step is crucial as it confirms that your Pabbly Connect workflow is correctly linked to your Google Sheets data.


3. Integrating OpenAI with Pabbly Connect

Next, you will integrate OpenAI as your AI agent to generate blog content. In the workflow, select OpenAI as the action application. This integration allows you to leverage AI for creating engaging blog posts based on the titles and keywords you input.

To set up this integration, you need to enter your OpenAI API key into Pabbly Connect. Ensure you have created an API key from the OpenAI platform. After entering the key, select the model you want to use for generating content, such as GPT-3 or GPT-4.


4. Creating Blog Posts in Google Blogger

Once your AI agent is set up, the next step is to create the blog post in Google Blogger. In this step, you will configure another action in your Pabbly Connect workflow to send the generated content to your Blogger account.

  • Select Google Blogger as the next action application.
  • Choose the action event as ‘Create Post’.
  • Connect your Google Blogger account to Pabbly Connect.

Map the title and content generated by OpenAI to the respective fields in Google Blogger. This mapping ensures that the right data is sent to create a new blog post. Finally, test this action to confirm that the blog post is created successfully in your Blogger account.


5. Testing and Automating the Process

After setting up the entire workflow in Pabbly Connect, conducting a test run is essential. Add a new title and keyword to your Google Sheets to trigger the workflow. Monitor the process to ensure that the AI generates the content and that it is posted on your Google Blogger account without any issues.

Once confirmed, your automation is complete. You can now regularly add titles and keywords to your Google Sheets, and the entire process from generation to posting will run automatically, enhancing your blogging efficiency.

Conclusion

This guide summarizes the key points and helps you understand the essential features and benefits of using this tool.

Ensure you check out Pabbly Connect to create business automation workflows and reduce manual tasks. Pabbly Connect currently offer integration with 2,000+ applications.


In conclusion, using Pabbly Connect to create an AI agent for Google Blogger blog generation streamlines your blogging process. This integration allows for efficient content creation and posting, saving you time and effort.

Automate Social Media Posting Using Pabbly Connect and AI Agent

Learn how to automate social media posting using Pabbly Connect with Google Sheets and AI tools like OpenAI. Step-by-step guide included! Build sophisticated automated workflows in less time than you think. This guide translates complex integrations into straightforward steps for immediate implementation.

Watch Step By Step Video Tutorial Below


1. Setting Up Pabbly Connect for Social Media Automation

To automate social media posting using Pabbly Connect, you first need to access the platform. Visit the Pabbly website and sign in to your account. If you are a new user, you can sign up for free, which gives you access to 100 tasks monthly.

Once logged in, navigate to the Pabbly Connect dashboard. Here, you can create a new workflow to connect various applications. Click on the ‘Create Workflow’ button, name your workflow, and select the folder where you want to save it.


2. Creating the Workflow to Automate Posting

Now that you have set up Pabbly Connect, it’s time to create a workflow that connects Google Sheets and your social media platforms. For this, you will need to set a trigger event. In this case, the trigger will be when a new row is added to your Google Sheets.

  • Select Google Sheets as your trigger application.
  • Choose the trigger event as ‘New Row’.
  • Connect your Google account to Pabbly Connect.

After setting up the trigger, you will need to test it to ensure that Pabbly Connect can successfully capture data from the Google Sheet. Once the test is successful, you can proceed to the next step of setting up actions.


3. Adding AI Agent for Content Generation

The next step involves integrating an AI agent to generate content for your social media posts. In this workflow, you will use OpenAI as your action application. This will allow you to automate the creation of engaging captions based on the data input from Google Sheets.

  • Select OpenAI as your action application.
  • Choose the action event as ‘Generate Content’.
  • Connect your OpenAI account to Pabbly Connect.

Once connected, you will need to set up the prompt that the AI will use to generate the content. Ensure that the prompt is engaging and relevant to your audience. This step is crucial as it determines the quality of the content that will be posted on your social media platforms.


4. Posting to Social Media Platforms

After generating content using the AI agent, the final step is to post it to your desired social media platforms. In this case, you will use Facebook as your main platform for posting. You can also integrate other platforms like Instagram, Twitter, and LinkedIn using Pabbly Connect.

Select Facebook Pages as your action application and choose the action event as ‘Create Post’. Connect your Facebook account to Pabbly Connect and select the page where you want the post to appear.


5. Conclusion: Streamlining Your Social Media Strategy with Pabbly Connect

Using Pabbly Connect to automate social media posting significantly enhances your online presence. By integrating Google Sheets, an AI agent, and social media platforms, you can streamline your posting strategy and save valuable time.

Ensure you check out Pabbly Connect to create business automation workflows and reduce manual tasks. Pabbly Connect currently offer integration with 2,000+ applications.

Check out Pabbly Connect – Automate your business workflows effortlessly! Sign Up Free – Start your journey with ease! 10,000+ Video Tutorials – Learn step by step! Join Pabbly Facebook Group – Connect with 21,000+ like minded people!
With just a few simple steps, you can ensure that your social media accounts remain active and engaging without the need for constant manual updates. Start automating your social media today with Pabbly Connect!