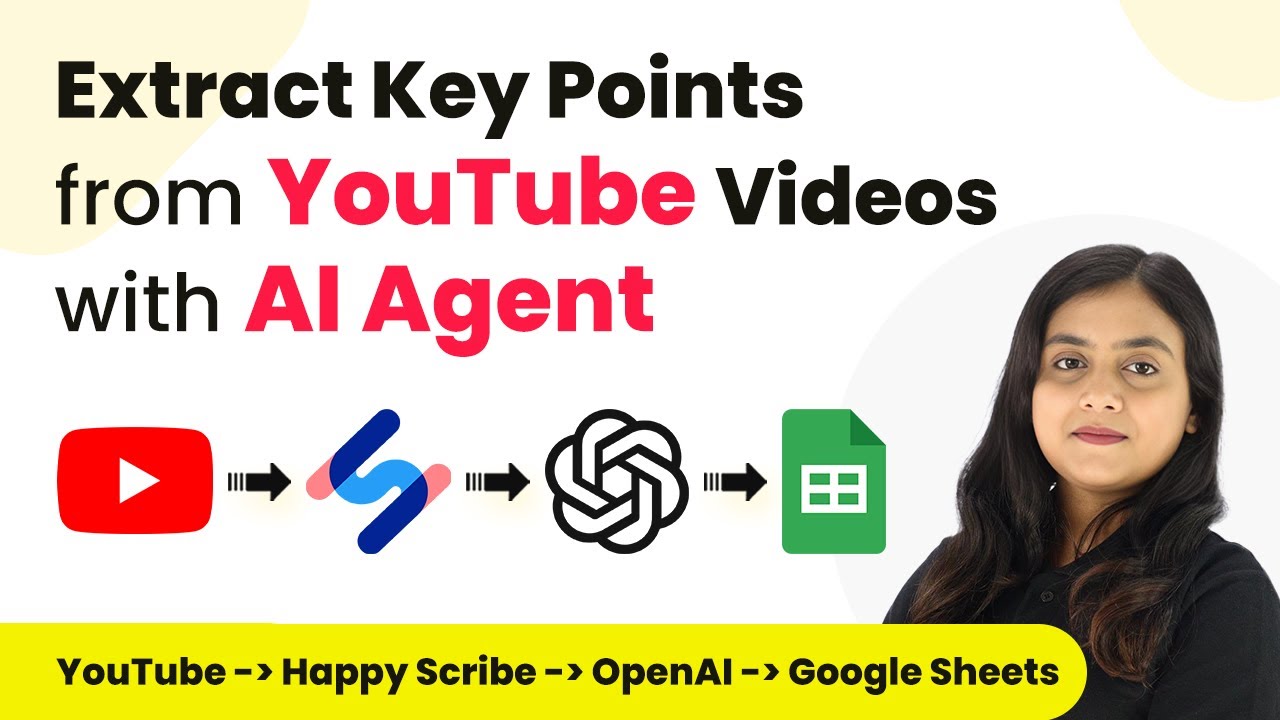
Extract Key Points from YouTube Videos with Pabbly Connect: A Step-by-Step Guide

Learn how to extract key points from YouTube videos using Pabbly Connect. This detailed tutorial covers integration with Google Sheets, Facebook, and more. Build sophisticated automated workflows in less time than you think. This guide translates complex integrations into straightforward steps for immediate implementation.

Watch Step By Step Video Tutorial Below


1. Accessing Pabbly Connect for Integration

To extract key points from YouTube videos, start by accessing Pabbly Connect. This platform enables you to automate the process efficiently. Visit the Pabbly Connect website and sign in to your account. If you are a new user, you can sign up for free, which includes 100 free tasks each month.

After logging in, you will see the dashboard displaying various Pabbly applications. From this interface, select Pabbly Connect by clicking the ‘Access Now’ button. This action will take you to the Pabbly Connect dashboard where you can create a new workflow specifically for extracting key points from YouTube videos.


2. Creating a Workflow in Pabbly Connect

Once you are in the Pabbly Connect dashboard, the next step is to create a workflow. Click on the ‘Create Workflow’ button located in the top right corner. A dialog box will prompt you to name your workflow and select a folder for organization. Name your workflow ‘AI Agent to Extract Key Points from YouTube Videos’ and choose a relevant folder.

  • Click on ‘Create’ to finalize the setup of your workflow.
  • You will now see two windows: one for the trigger and another for the action.

In this workflow, the trigger will capture when a new video is uploaded to your YouTube channel. This setup is crucial as it initiates the automation process, allowing Pabbly Connect to fetch the necessary data from YouTube.


3. Setting Up the Trigger for YouTube

Now that your workflow is created, it’s time to set up the trigger. Select YouTube as your trigger application and choose the event ‘New Video in Channel’. This event ensures that every time you upload a video, the trigger activates, capturing the video URL and other details.

Click on the ‘Connect’ button to establish a connection with your YouTube account. You can either add a new connection or select an existing one. After granting the necessary permissions, select the channel from which you want to capture the video details. This action allows Pabbly Connect to monitor your YouTube uploads effectively.


4. Transcribing Video Content with Happy Scribe

After setting up the trigger, the next step is to transcribe the video content. For this, you will need to add an action step and choose Happy Scribe as the application. The action event should be set to ‘Create Transcription’. This integration allows Pabbly Connect to automatically generate a transcription of your uploaded video.

To connect Happy Scribe, you will need to input your API key and organization ID. After successfully connecting, map the video title and URL to the respective fields in the transcription setup. This ensures that the transcription generated corresponds accurately to the video content.

  • Select the language of the video from the options provided.
  • Ensure to add a delay in the workflow to allow time for the transcription process to complete.

After setting up these details, click on ‘Save and Send Test Request’ to initiate the transcription. Once the transcription is created, you can proceed to the next step in your workflow.


5. Exporting and Retrieving Transcriptions

Once the transcription is successfully created, you will need to export it. Add another action step in your workflow and select Happy Scribe again, this time with the action event set to ‘Create Export’. This function allows you to export the transcription in your desired format, such as PDF.

After connecting to Happy Scribe, map the transcription ID received from the previous step to the export action. This mapping ensures that you are exporting the correct transcription. Finally, retrieve the export by adding another action step, selecting Happy Scribe, and choosing the event ‘Retrieve Export’. This step completes the process of extracting key points from your video.

With the transcription now exported, you can use this content to generate summaries and key points, effectively utilizing the capabilities of Pabbly Connect to streamline your content creation process.


Conclusion

In summary, using Pabbly Connect to automate the extraction of key points from YouTube videos can significantly enhance your content strategy. By integrating YouTube, Happy Scribe, and Google Sheets, you can efficiently manage and repurpose your video content. This process not only saves time but also increases engagement across multiple platforms.

Ensure you check out Pabbly Connect to create business automation workflows and reduce manual tasks. Pabbly Connect currently offer integration with 2,000+ applications.

Automate Personalized Video Creation with Pabbly Connect and AI Agents

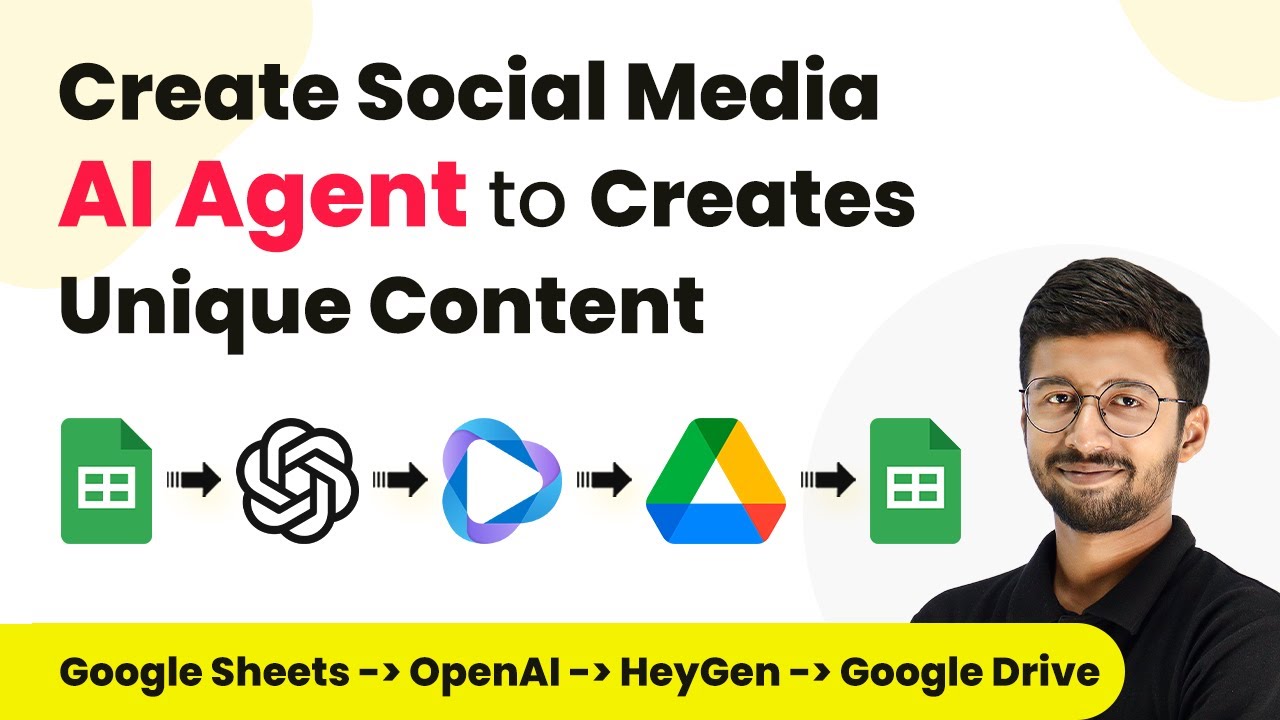
Learn how to automate personalized video creation using Pabbly Connect, AI Agent, and Google Sheets to streamline your video production process. This comprehensive guide reveals exactly how to connect your applications and automate repetitive tasks — accessible for professionals of all technical backgrounds.

Watch Step By Step Video Tutorial Below


1. Accessing Pabbly Connect for Video Automation

To start automating personalized video creation, you need to access Pabbly Connect. First, create your free account by signing up through the provided link. Once you log in, you will be directed to the Pabbly Connect dashboard.

On the dashboard, click on the ‘Create Workflow’ button. You will need to name your workflow; for example, ‘AI Agent for Video Creation’. Select the appropriate folder in your Pabbly account where you want this workflow to be saved and click ‘Create’. This sets the stage for integrating various applications through Pabbly Connect.


2. Setting Up Google Sheets Integration with Pabbly Connect

The first step in your workflow is to connect Google Sheets with Pabbly Connect. In the trigger step, select Google Sheets and choose the trigger event as ‘New or Updated Spreadsheet Row’. This allows the workflow to respond whenever a new row is added or updated.

  • Select your Google Sheet containing video topics.
  • Copy the webhook URL provided by Pabbly Connect.
  • Install the Pabbly Connect Webhooks add-on in Google Sheets.

After installing, go to Extensions > Pabbly Connect Webhooks > Initial Setup. Paste the webhook URL and select the trigger column. This setup ensures that any new data added to your Google Sheet triggers the workflow in Pabbly Connect.


3. Creating the AI Agent to Generate Video Scripts

With the Google Sheets integration complete, the next step is to create an AI agent using Pabbly Connect. After the trigger, add a filter to check the status of the entry. If the status is set to ‘Generate’, the workflow will continue; otherwise, it will halt.

Next, add an action step to connect to OpenAI. Choose OpenAI and set the action event as ‘Chat GPT’. Enter your OpenAI API key to connect your account. Specify the AI model you want to use, for instance, GPT-4 mini, and create a prompt that instructs OpenAI to generate a script based on the topic from your Google Sheet.


4. Generating and Uploading the Video with Hijen

After generating the script using OpenAI, the next step is to send this script to Hijen to create the video. In Pabbly Connect, add an action step for Hijen and select ‘Create an Avatar Video’. Connect your Hijen account by entering the API token.

In this step, you’ll also map the video attributes such as avatar ID, style, and dimensions. After configuring these settings, click ‘Save and Send Test Request’ to generate the video. Following this, add a delay of 10 minutes to allow Hijen to process the video creation.


5. Finalizing the Workflow and Updating Google Sheets

Once the video is generated, you will retrieve the video ID and URL from Hijen within Pabbly Connect. Add another action step for Google Drive to upload the video file. Ensure to map the video URL and specify the folder ID where the video should be uploaded.

Finally, update your Google Sheet with the video link. Add another action step for Google Sheets, selecting ‘Update Row’ or ‘Update Cell Value’. Map the row index and the video link to ensure the correct entry is updated with the video URL.


Conclusion

By following this detailed tutorial, you can effectively automate personalized video creation using Pabbly Connect. This integration streamlines the entire process from generating video scripts to uploading the final product, enhancing your productivity and creativity.

Ensure you check out Pabbly Connect to create business automation workflows and reduce manual tasks. Pabbly Connect currently offer integration with 2,000+ applications.

Using Pabbly Connect to Automate YouTube Script Creation for Product Launches

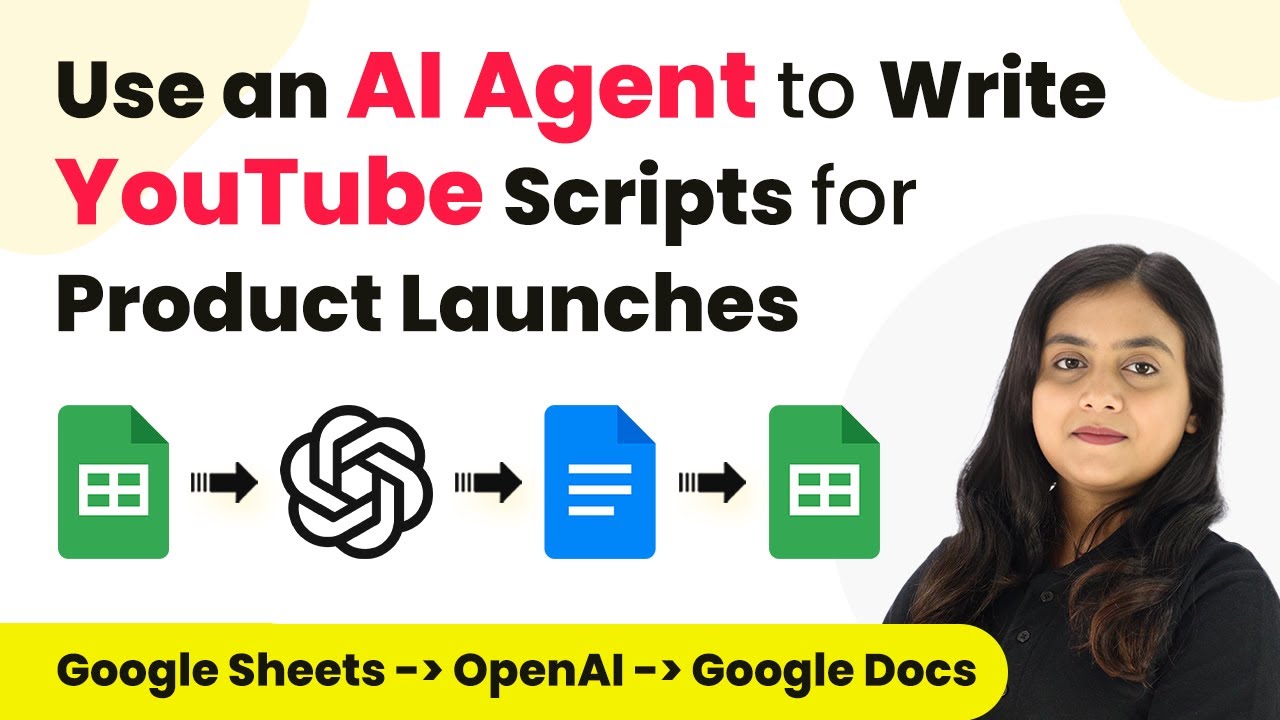
Learn how to use Pabbly Connect to automate the creation of YouTube scripts for product launches using Google Sheets and Google Docs. Revolutionize your productivity approach with just a few strategic clicks. Uncover professional methods for connecting applications and creating workflows that reclaim hours of your week.

Watch Step By Step Video Tutorial Below


1. Setting Up Pabbly Connect for Automation

To automate the process of writing YouTube scripts for product launches, we start by using Pabbly Connect. First, navigate to the Pabbly Connect website and log into your account or sign up for a free trial if you are a new user. Once logged in, you will be taken to the Pabbly Connect dashboard.

Here, click on the ‘Create Workflow’ button located in the top right corner. A dialog box will appear asking for a workflow name and folder selection. Enter a name like ‘AI Agent to Write YouTube Scripts for Product Launches’ and choose an appropriate folder to save your workflow. Finally, click on the ‘Create’ button to proceed.


2. Triggering Automation with Google Sheets

The next step involves setting up the trigger for our automation, which will be done using Google Sheets. In Pabbly Connect, select Google Sheets as your trigger application. The event you want to choose is ‘New or Updated Spreadsheet Row’. This will allow you to capture data whenever a new product entry is made in your spreadsheet.

After selecting Google Sheets, Pabbly Connect will generate a webhook URL. Copy this URL as it will be used to connect your Google Sheets to Pabbly Connect. Now, log into your Google Sheets and follow these steps to set up the connection:

  • Go to Extensions > Add-ons > Get Add-ons.
  • Search for ‘Pabbly Connect Webhooks’ and install it.
  • After installation, refresh your spreadsheet and go to Extensions > Pabbly Connect Webhooks > Initial Setup.

In the Initial Setup dialog, paste the webhook URL into the designated field and specify the trigger column, which should be the final data column (e.g., Column F for keywords). Click ‘Submit’ to finalize the setup. Ensure you enable the ‘Send on Event’ option so that new data entries trigger the webhook.


3. Generating the YouTube Script Using AI Agent

With the trigger set up, the next step is to generate the YouTube script using an AI agent. For this, you will select OpenAI as the action application in Pabbly Connect. The action event to choose is ‘ChatGPT’. Click on the ‘Connect’ button, and either create a new connection or select an existing one.

When creating a new connection, you will need an API token from OpenAI. Follow the prompts to generate a new secret key in your OpenAI account and paste it into the token field in Pabbly Connect. Once connected, you will specify the AI model (e.g., GPT-4) and set up the prompt for the script generation.

  • Define the product name and description in the prompt.
  • Include keywords that will be used in the script.
  • Specify any formatting requirements, such as avoiding headings or symbols.

After setting up the prompt, click on ‘Send Test Request’ to generate the script. You should receive a response containing the generated script content.


4. Creating a Document in Google Docs

Now that you have the script generated by the AI agent, the next step is to create a Google Docs document to store this script. In Pabbly Connect, add another action step and select Google Docs as the application. Choose the action event ‘Create Document from Template’.

Connect your Google Docs account by signing in and granting necessary permissions. Select the template you want to use (e.g., ‘YouTube Script Template’) and specify the new document’s name by mapping the product name and adding a suffix like ‘YouTube Script’. Choose the folder where the document will be saved in your Google Drive.

Map the dynamic fields in your template for product name, keywords, and script content. Click on ‘Save and Send Test Request’ to create the document. Check your Google Drive to confirm the document has been created.

Once the document is created, you will receive a document ID as confirmation.


5. Sharing the Document and Updating Google Sheets

After creating the Google Docs document, you will want to share it with your team. In Pabbly Connect, add another action step and select Google Drive. The action event will be ‘Share a File with Anyone’. Connect your Google Drive account if not already connected.

For the file ID, map the document ID received from the previous step. This will allow you to make the document accessible to anyone with the link. Click ‘Save and Send Test Request’ to execute this step. You should receive a confirmation response indicating that the document is now shareable.

Check the document in Google Drive to ensure it is set to ‘Anyone with the link can view’. Update your Google Sheets with the link to the shared document.

To update Google Sheets, add another action step, select Google Sheets, and choose ‘Update Row’ as the action event. Map the necessary fields, including the link to the document, to keep a record of all scripts generated.


Conclusion

In this tutorial, we explored how to use Pabbly Connect to automate the process of creating YouTube scripts for product launches. By integrating Google Sheets, OpenAI, Google Docs, and Google Drive, we streamlined the workflow, saving time and ensuring consistency in script quality. This efficient setup allows brands to focus on their core activities while maintaining a robust content creation process.

Ensure you check out Pabbly Connect to create business automation workflows and reduce manual tasks. Pabbly Connect currently offer integration with 2,000+ applications.

How to Build a WhatsApp Chatbot Using Pabbly Chatflow for Customer Support

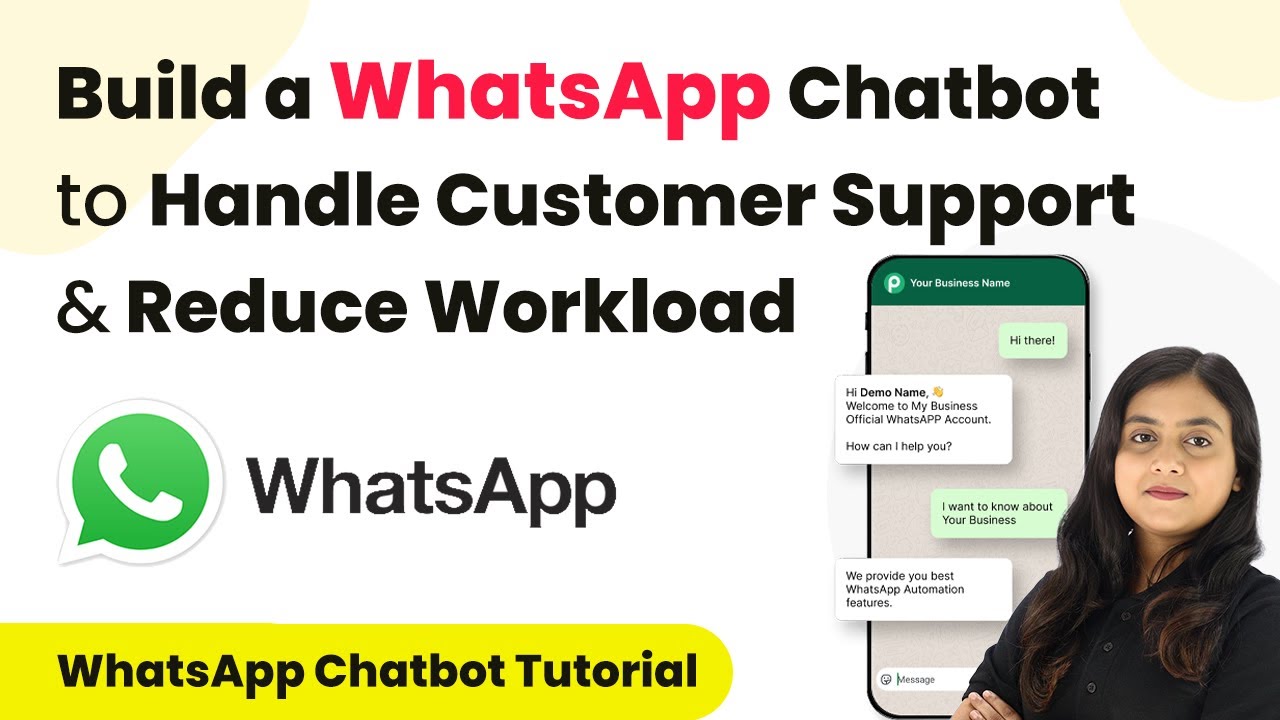
Learn how to build a WhatsApp chatbot using Pabbly Chatflow to handle customer support and reduce workload effectively. Learn step-by-step how to create, test, and optimize chatbots that enhance customer experience while reducing support workload.

Watch Step By Step Video Tutorial Below


1. Introduction to Pabbly Chatflow for WhatsApp Integration

In this section, we will explore how to use Pabbly Chatflow to create a WhatsApp chatbot for customer support. Pabbly Chatflow is a powerful tool that enables businesses to automate responses to customer queries, thereby reducing workload significantly.

To start, you need to access Pabbly Chatflow and navigate to the flow section. This is where you will create a new flow dedicated to handling customer inquiries effectively. Here are the steps to get started:

  • Log into your Pabbly Chatflow account.
  • Navigate to the ‘Flows’ section on the left panel.
  • Click on the ‘Add Flow’ button to start creating your chatbot.

Once you create the flow, you can name it something like ‘Customer Support Bot’ to easily identify its purpose. This initial setup is crucial for organizing your chatbot’s functions.


2. Setting Up Chatbot Triggers in Pabbly Chatflow

After naming your flow, the next step is to set up triggers that will activate the chatbot. Triggers are essential for responding to customer messages. With Pabbly Chatflow, you can define keywords that will initiate the conversation.

For example, if a customer sends messages like ‘hello’ or ‘help,’ your chatbot needs to recognize these as triggers. You will enter these keywords in the trigger section, allowing the bot to respond appropriately. Here’s how to set the triggers:

  • In the flow builder, find the ‘Trigger’ section and add keywords such as ‘hello’ and ‘hi’.
  • You can also set regex patterns for more complex queries related to orders or payments.
  • Enable the regex toggle if you want to utilize regex matching for triggers.

Setting these triggers correctly ensures that your chatbot can respond to a wide range of customer inquiries, streamlining the support process.


3. Asking for Customer Details Using Pabbly Chatflow

Once the chatbot is triggered, it’s important to gather necessary customer details to provide personalized support. Using Pabbly Chatflow, you can ask customers for their full name and email address.

To do this, you will drag the ‘Ask Question’ action from the left panel into your flow. You will customize the question to prompt the customer for their name and email. Here’s how to set this up:

Add a question asking, ‘May I know your full name, please?’ Create custom fields in Pabbly Chatflow for storing this information. Connect the question step to the subsequent steps in your flow to keep the conversation going.

By gathering these details, you can ensure that the chatbot provides a more tailored response, enhancing customer satisfaction.


4. Providing Informative Responses with Pabbly Chatflow

After collecting customer details, your WhatsApp chatbot should provide informative responses based on the customer’s queries. Using Pabbly Chatflow, you can set up buttons for different inquiry categories such as order info, payments, and refunds.

Each button will lead to a specific response that addresses common customer questions. For instance, if a customer selects the ‘Order Info’ button, you can display messages regarding order tracking and delivery times. Here’s how to implement this:

Create buttons for options like ‘Order Info’, ‘Payments and Refunds’, and ‘Contact Support’. For each button, link it to a message containing relevant information. Ensure the responses are clear and provide actionable steps for the customer.

This structured response system not only helps customers find answers quickly but also reduces the workload on your support team.


5. Testing and Launching Your WhatsApp Chatbot with Pabbly Chatflow

Once you have built your chatbot, it’s crucial to test it to ensure it functions correctly. With Pabbly Chatflow, you can simulate customer interactions to verify that the bot responds as expected.

To test your chatbot, send a message through WhatsApp and observe the responses. Here’s how to do it:

Send a test message like ‘I want to know about payment methods’. Check if the chatbot responds correctly with the gathered customer information. Review the conversation in the inbox section of Pabbly Chatflow to analyze customer interactions.

By thoroughly testing your chatbot, you can ensure it meets customer needs and enhances their experience, ultimately leading to better support and reduced workload.


Conclusion

Creating a WhatsApp chatbot using Pabbly Chatflow allows businesses to handle customer support efficiently and reduce workload significantly. By automating responses and gathering customer details, companies can provide quick and effective assistance, enhancing overall customer satisfaction.

Ensure you check out Pabbly Connect to create business automation workflows and reduce manual tasks. Pabbly Connect currently offer integration with 2,000+ applications.

How to Use Pabbly Connect to Find High-Ranking YouTube Keywords

Learn how to utilize Pabbly Connect for integrating Google Sheets and OpenAI to find high-ranking YouTube keywords automatically. Learn to create powerful connections between your critical applications without requiring specialized programming knowledge or extensive technical background.

Watch Step By Step Video Tutorial Below


1. Accessing Pabbly Connect for YouTube Keyword Generation

To begin using Pabbly Connect for generating high-ranking YouTube keywords, start by accessing the Pabbly Connect homepage. You can do this by navigating to the URL Pabbly.com/connect/inina/ in your browser. Here, you will find options to either sign in or sign up for a free account.

If you are a new user, click on the ‘Sign Up Free’ button to create an account, which provides you with 100 free tasks every month. Existing users should simply sign in to access the dashboard and start creating workflows.


2. Creating a Workflow in Pabbly Connect

Once you are signed into Pabbly Connect, the next step is to create a new workflow. Click on the ‘Create Workflow’ button located in the top right corner of the dashboard. When prompted, name your workflow something descriptive like ‘Use AI Agents to Find High Ranking YouTube Keywords’.

  • Select a folder to save your workflow.
  • Choose a descriptive name for easy identification.

After naming your workflow, click on the ‘Create’ button to proceed. You will then be directed to the workflow setup screen where you can define triggers and actions for your automation.


3. Setting Up Trigger with Google Sheets

In this step, you will set up a trigger using Google Sheets within Pabbly Connect. Select Google Sheets as your trigger application and choose the event as ‘New or Updated Spreadsheet Rows’. This ensures that whenever new video details are added to your Google Sheets, the workflow is activated.

After selecting the trigger event, you will receive a webhook URL. Copy this URL, as it will be used to connect your Google Sheets with Pabbly Connect.

  • Open your Google Sheets and install the Pabbly Connect Webhooks add-on.
  • Go to Extensions > Pabbly Connect Webhooks > Initial Setup.

Paste the copied webhook URL into the provided field and set the trigger column as the final data column where you will enter your video details. Click on ‘Submit’ to finalize the setup.


4. Connecting OpenAI to Generate Keywords

Now that your Google Sheets is connected to Pabbly Connect, the next step is to integrate OpenAI. Select OpenAI as your action application and set the action event to ‘Chat GPT’. This will allow you to generate high-ranking keywords based on the details you provide.

To establish this connection, click on ‘Connect’, and if prompted, enter your OpenAI API key. You can generate a new API key from your OpenAI account under the API keys section. After entering the key, click ‘Save’ to successfully connect OpenAI with Pabbly Connect.

Select the AI model you want to use, such as GPT-4. Enter the prompt that includes the video topic and target audience.

Make sure to map the video title and target audience from the previous step to dynamically insert this data into your prompt. Click on ‘Save and Send Request’ to generate the keywords.


5. Updating Google Sheets with Generated Keywords

After successfully generating high-ranking keywords using OpenAI, the final step is to update your Google Sheets with the new keywords. In Pabbly Connect, add another action step and select Google Sheets again, this time choosing the action event as ‘Update a Cell Value’.

Connect your Google Sheets account once more, and select the spreadsheet and sheet where the keywords should be updated. For the range, specify the column and row index where the keywords will be inserted. Map the generated keywords from the previous step into the value field.

Ensure the column name corresponds to where you want the keywords placed. Click ‘Save and Send Request’ to finalize the update.

Once completed, check your Google Sheets to see the newly generated high-ranking keywords populated in the specified column. This confirms that your automation is working seamlessly with Pabbly Connect.


Conclusion

In this tutorial, we explored how to use Pabbly Connect to automate the process of finding high-ranking YouTube keywords using Google Sheets and OpenAI. By following the steps outlined, you can enhance your video visibility and reach your target audience more effectively. This integration not only saves time but also boosts your content’s discoverability on YouTube.

Ensure you check out Pabbly Connect to create business automation workflows and reduce manual tasks. Pabbly Connect currently offer integration with 2,000+ applications.

How to Build a WhatsApp Chatbot to Automate Holiday & Special Occasion Greetings Using Pabbly Chatflow

Learn how to create a WhatsApp chatbot using Pabbly Chatflow to automate holiday and special occasion greetings for your customers. Master conversational marketing with practical techniques for creating chatbots that engage visitors at exactly the right moment in their journey.

Watch Step By Step Video Tutorial Below


1. Introduction to Pabbly Chatflow for WhatsApp Chatbot

In this section, we will introduce Pabbly Chatflow and its capabilities for creating a WhatsApp chatbot. Pabbly Chatflow is a powerful tool that allows businesses to automate communication via WhatsApp, enhancing customer engagement during holidays and special occasions.

Using Pabbly Chatflow, users can set up personalized greetings and automate responses, ensuring that clients receive timely and relevant messages. This not only saves time but also strengthens customer relationships, making it an essential tool for any business owner.


2. Setting Up Your WhatsApp Chatbot Using Pabbly Chatflow

To begin setting up your WhatsApp chatbot, log into your Pabbly Chatflow account and navigate to the ‘Flows’ section. Here, you can create a new flow specifically for sending holiday greetings. Click on the ‘Add a Flow’ button to start.

  • Click on ‘Add a Flow’ to create a new flow.
  • Name your flow (e.g., ‘Holiday Greetings’).
  • Select the trigger for your flow, which will be the template for your greetings.

After naming your flow, you will be prompted to select a trigger. Choose the appropriate message template you have created in Pabbly Chatflow for holiday greetings. This template will serve as the starting point for your automated messages.


3. Creating the Message Template in Pabbly Chatflow

In this section, we will create a message template in Pabbly Chatflow that will be sent to customers during holidays. This template is crucial as it sets the tone for your greetings and offers.

To create the message template, navigate to the templates section in Pabbly Chatflow. Here, you can design your message, including greetings and offers. Ensure that the template is approved before using it in your flow.

  • Design your message with personalized greetings.
  • Include quick reply buttons for options like ‘Holiday Deals’ and ‘Gift Ideas’.
  • Save and approve your message template in Pabbly Chatflow.

Once your template is ready, you can link it to your flow, ensuring that customers receive this message when they initiate contact.


4. Automating the Greeting Process with Pabbly Chatflow

Now that you have your message template set up, it’s time to automate the greeting process using Pabbly Chatflow. This involves creating a flow that triggers based on customer interactions.

In the flow builder, connect the message template to the trigger you set up earlier. This will ensure that whenever a customer sends a message, they receive your holiday greeting automatically.

Connect the message template to the trigger in your flow. Set up conditions to determine how customers interact with the greeting. Test the flow to ensure it works as intended before going live.

By automating this process, you can ensure that all customers receive timely greetings without manual effort, allowing you to focus on other aspects of your business.


5. Testing and Launching Your WhatsApp Chatbot

The final step in this process is to test and launch your WhatsApp chatbot using Pabbly Chatflow. This is crucial to ensure everything is functioning correctly before sending out greetings to your customers.

Once you have set up your flow, run a test by sending a message to your WhatsApp number. Check if you receive the greeting and if the quick reply buttons function as expected.

Send a test message to your WhatsApp to check the flow. Ensure quick replies lead to the correct automated responses. Make adjustments as necessary based on test results.

After successful testing, you can officially launch your WhatsApp chatbot to start sending holiday greetings to your customers automatically. This integration through Pabbly Chatflow will enhance your customer engagement significantly.


Conclusion

By following this tutorial, you have successfully learned how to build a WhatsApp chatbot using Pabbly Chatflow to automate holiday and special occasion greetings. This process not only saves time but also improves customer relationships by providing timely and personalized messages. Start using Pabbly Chatflow today to enhance your business communication!

Ensure you check out Pabbly Connect to create business automation workflows and reduce manual tasks. Pabbly Connect currently offer integration with 2,000+ applications.

How to Generate & Post LinkedIn Content Using Pabbly Connect

Learn how to automate LinkedIn content posting using Pabbly Connect, integrating Google Sheets and OpenAI for seamless content generation. Discover hidden automation capabilities within your existing tools. This guide shows you how to connect your essential applications and permanently eliminate redundant manual processes.

Watch Step By Step Video Tutorial Below


1. Accessing Pabbly Connect for LinkedIn Automation

To begin automating your LinkedIn content, access Pabbly Connect by signing into your account. If you are new to Pabbly, you can sign up for a free account, which allows you to perform up to 100 tasks monthly.

Once logged in, navigate to the Pabbly Connect dashboard where you will find all your workflows. Here, you can create a new workflow specifically for generating and posting LinkedIn content.


2. Creating a Workflow in Pabbly Connect

In this section, you will create a workflow that connects Google Sheets and LinkedIn through Pabbly Connect. Click on the ‘Create Workflow’ button and name your workflow appropriately.

  • Select Google Sheets as your trigger application.
  • Choose the event as ‘New Spreadsheet Row’.
  • Connect your Google account to Pabbly Connect.

After setting up the trigger, you need to configure the action step. This involves selecting LinkedIn as the action application and defining the action event as ‘Create Share Update’. This step ensures that the content generated from Google Sheets will be posted on LinkedIn.


3. Setting Up Google Sheets for Content Ideas

Next, you will set up your Google Sheets to store content ideas. In your Google Sheets, create a column for your content ideas and another for keywords that will help generate relevant posts. using Pabbly Connect

  • Label the first column as ‘Content Ideas’.
  • Label the second column as ‘Keywords’.
  • Enter your content ideas and keywords in their respective columns.

Once your Google Sheets are set up, any new entry in the specified column will trigger Pabbly Connect to generate a post for LinkedIn. This automation saves time and ensures consistent posting.


4. Integrating OpenAI with Pabbly Connect

To generate engaging content, integrate OpenAI with Pabbly Connect. Choose OpenAI as your action application and select the event ‘Generate Text’. This will allow you to create a post based on the content ideas from Google Sheets.

You’ll need to provide a prompt to OpenAI that references the content idea and keywords. This prompt will guide the AI in generating relevant content for your LinkedIn posts. Make sure to map the fields correctly to ensure the data flows seamlessly from Google Sheets to OpenAI.


5. Posting Generated Content on LinkedIn

Finally, configure the last action in your Pabbly Connect workflow to post the generated content on LinkedIn. Select LinkedIn as the action application and choose ‘Create Share Update’ as the event. using Pabbly Connect

Map the fields from OpenAI to LinkedIn, ensuring the generated text and any images are included in your post. After setting everything up, test the workflow to ensure that new content ideas from Google Sheets are successfully posted on your LinkedIn profile.


Conclusion

In this tutorial, we explored how to automate the process of generating and posting LinkedIn content using Pabbly Connect. By integrating Google Sheets and OpenAI, you can streamline your content creation process, ensuring consistent and engaging posts on LinkedIn.

Ensure you check out Pabbly Connect to create business automation workflows and reduce manual tasks. Pabbly Connect currently offer integration with 2,000+ applications.

How to Send WhatsApp Messages to IndiaMART Leads Using Pabbly Connect

Learn how to send WhatsApp messages to IndiaMART leads using Pabbly Connect. Follow this detailed tutorial for seamless integration and automation. Transform complex automation concepts into accessible, actionable steps that eliminate unnecessary manual work while maximizing existing application capabilities.

Watch Step By Step Video Tutorial Below


1. Accessing Pabbly Connect for WhatsApp Integration

To send WhatsApp messages to IndiaMART leads, you need to access Pabbly Connect. Start by visiting the Pabbly website and signing in to your account. If you are new, you can sign up for free to explore the features.

Once logged in, navigate to the Pabbly Connect dashboard. Here, you can create a new workflow specifically for sending WhatsApp messages to your leads. This automation will streamline your communication process.


2. Creating a New Workflow in Pabbly Connect

In this section, you will create a new workflow in Pabbly Connect. Click on the ‘Create Workflow’ button and name your workflow as ‘Send WhatsApp Messages to IndiaMART Leads’. Next, select the folder where you want to save this workflow.

  • Click on ‘Create’ to finalize the workflow setup.
  • You will see two boxes appear: one for the trigger and one for the action.
  • Choose ‘IndiaMART’ as the trigger application.

After selecting the trigger application, you will set it to activate when a new lead or inquiry is received from IndiaMART. This ensures that every time you get a new inquiry, a WhatsApp message will automatically be sent to that lead.


3. Setting Up IndiaMART as the Trigger Application

To set up IndiaMART as the trigger application, select the appropriate event that indicates a new lead. In this case, it will be ‘New Lead’. Next, Pabbly Connect will provide you with a webhook URL that you need to integrate into your IndiaMART account.

Log into your IndiaMART account and navigate to the settings where you can find the API or webhook settings. Here, you will paste the webhook URL provided by Pabbly Connect. This connection allows IndiaMART to send data to Pabbly whenever a new lead is generated.


4. Sending WhatsApp Messages Using Pabbly Connect

Once the trigger is set up, the next step is to send a WhatsApp message to the lead. For this, you will use the action application, which is Pabbly Chatflow. Choose ‘Send Template Message’ as the action event. This action will enable you to send a predefined message template to your leads.

  • Map the recipient’s mobile number from the IndiaMART lead response to the WhatsApp message action.
  • Ensure the number is formatted correctly without the ‘+’ sign.
  • Select the message template you created for your leads.

After mapping the fields, save the workflow. Now, whenever a new inquiry is received from IndiaMART, a WhatsApp message will be automatically sent to the lead, enhancing your response time and customer engagement.


5. Testing the Integration and Final Steps

After setting up the workflow in Pabbly Connect, it’s essential to test the integration. To do this, submit a test inquiry through your IndiaMART account. Check if the inquiry triggers the WhatsApp message as expected.

If the message is received successfully, your integration is complete. You can now manage your leads efficiently with automated WhatsApp messaging. This setup not only saves time but also improves customer satisfaction by providing prompt responses.


Conclusion

In this tutorial, we explored how to send WhatsApp messages to IndiaMART leads using Pabbly Connect. By automating this process, you can enhance your dropshipping service and ensure timely communication with your leads. Implementing this integration will streamline your operations and improve customer engagement.

Ensure you check out Pabbly Connect to create business automation workflows and reduce manual tasks. Pabbly Connect currently offer integration with 2,000+ applications.

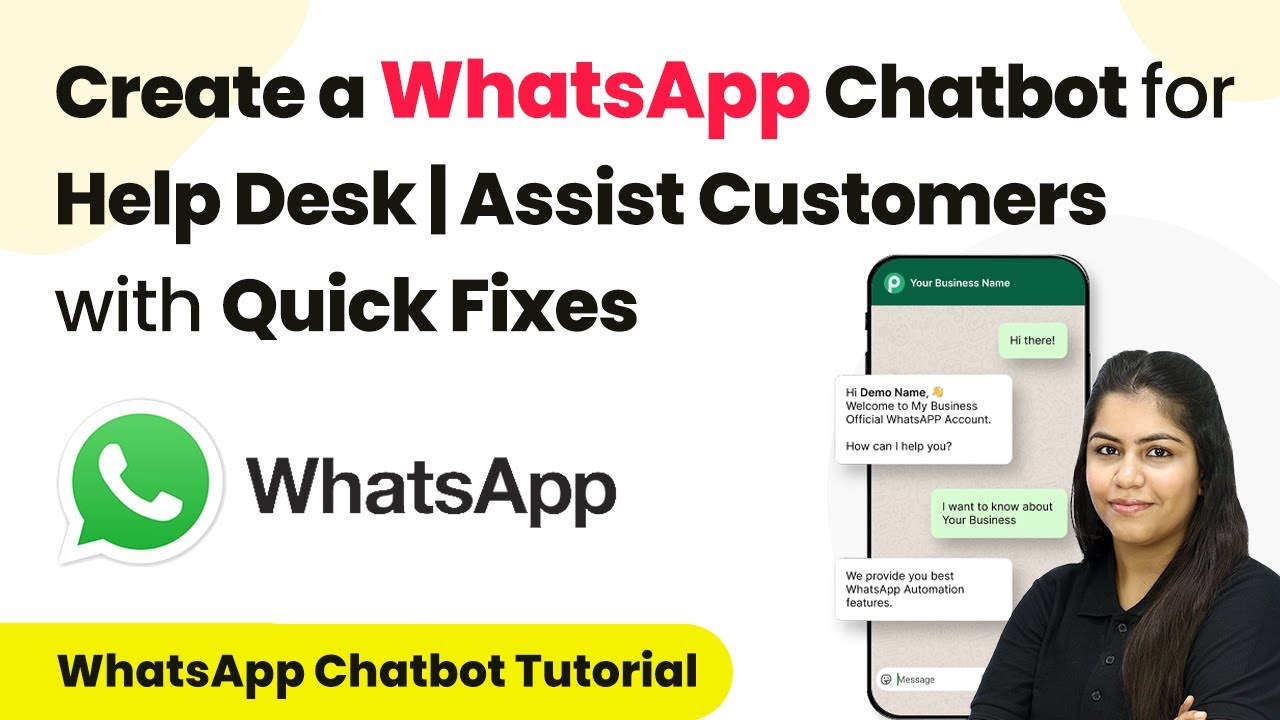
Creating a WhatsApp Chatbot for Help Desk with Pabbly Chatflow

Learn how to create a WhatsApp Chatbot for Help Desk using Pabbly Chatflow to assist customers with quick fixes efficiently. Build conversational workflows that guide visitors toward conversion with dynamic, branching dialogs that respond intelligently to user input.

Watch Step By Step Video Tutorial Below


1. Introduction to Pabbly Chatflow for WhatsApp Chatbot

In this section, we will explore how to create a WhatsApp Chatbot for Help Desk using Pabbly Chatflow. This automation tool allows businesses to manage customer queries efficiently and effectively. By integrating Pabbly Chatflow with WhatsApp, you can automate responses to frequently asked questions, improving customer satisfaction and reducing response time.

To start, log into your Pabbly Chatflow account and navigate to the dashboard. Here, you can begin setting up your chatbot to assist customers with quick fixes. This process will enable you to handle common inquiries like order tracking, password resets, and more without manual intervention.


2. Creating a New Flow in Pabbly Chatflow

To create a new flow in Pabbly Chatflow, locate the ‘Flows’ option on the left sidebar of your dashboard. Click on the ‘Add Flow’ button located in the top right corner. This action opens a new window where you can set the trigger for your chatbot.

  • Select the trigger type as ‘Keywords’.
  • Enter common keywords such as ‘hey’, ‘hello’, and ‘hi’.
  • Use Regular Expressions (regex) for more complex keyword matching.

By using regex, you can capture various user inputs that relate to customer support queries. Ensure that your keywords are highlighted in blue after entering them, indicating they are successfully added. This setup will trigger the chatbot to respond when users send messages containing these keywords.


3. Configuring Questions in Pabbly Chatflow

Next, we will configure the chatbot to ask for the customer’s name and email address. In Pabbly Chatflow, drag and drop the ‘Ask Question’ action and connect it with the trigger you just set up. The chatbot will prompt users with a message like ‘Hello, thank you for reaching out to our support team. Can you please share your full name?’.

For the response format, select the ‘Contact Custom Field’ option and choose ‘Full Name’. Set the format to text and define the number of attempts allowed. Following this, repeat the process to ask for the customer’s email address, ensuring that the email is collected properly for future follow-ups.


4. Providing Options for User Assistance

Once the chatbot has collected the user’s name and email, it’s time to provide options for assistance. In this step, you will drag and drop another ‘Ask Question’ action to present the user with options like ‘Reset Password’, ‘Unlock Account’, and ‘Track Order’. Each option will be represented by buttons in the chatbot interface. using Pabbly Connect

  • Set up button texts with a maximum of 20 characters.
  • Connect each button to a corresponding response message.
  • Ensure each response provides detailed instructions or options to talk to support.

This structure allows the chatbot to efficiently guide users through their queries, providing quick fixes and directing them to a live agent when necessary. Each option enhances user experience by offering immediate solutions.


5. Testing Your WhatsApp Chatbot Flow

After configuring all the necessary components, it’s crucial to test your WhatsApp Chatbot created with Pabbly Chatflow. Open WhatsApp and send a message that includes one of the keywords you set up earlier, such as ‘hey’ or ‘I forgot my password’. The chatbot should respond with a prompt for the user’s full name.

Continue testing by following through the options provided by the chatbot. Ensure that each button leads to the correct response and that the chatbot effectively assists users with their queries. You can review conversations in the Pabbly Chatflow inbox to ensure that customer details are being captured correctly without manual input.


Conclusion

In this tutorial, we explored how to create a WhatsApp Chatbot for Help Desk using Pabbly Chatflow. By automating responses to common customer queries, businesses can enhance customer support efficiency. This setup not only reduces response times but also improves customer satisfaction with quick fixes and seamless assistance.

Ensure you check out Pabbly Connect to create business automation workflows and reduce manual tasks. Pabbly Connect currently offer integration with 2,000+ applications.

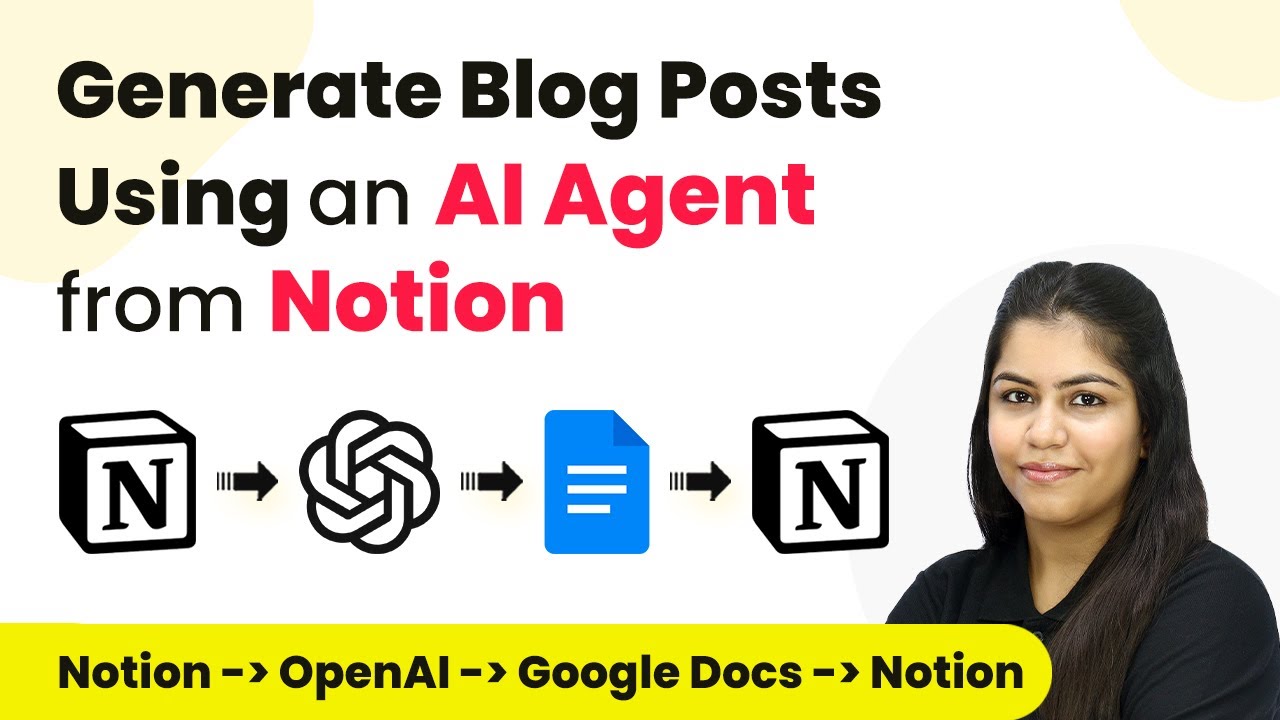
How to Generate Blog Posts Using an AI Agent from Notion with Pabbly Connect

Learn how to automate blog post generation from Notion using Pabbly Connect with OpenAI integration. Step-by-step tutorial included. Navigate the automation landscape confidently with clear, structured guidance suitable for professionals regardless of prior technical experience.

Watch Step By Step Video Tutorial Below


1. Access Pabbly Connect for Blog Post Automation

To begin generating blog posts using an AI agent from Notion, first, access Pabbly Connect. This powerful automation platform allows you to connect various applications seamlessly.

Open your web browser and navigate to Pabbly Connect by searching for ‘Pabbly.com/connect’. Once on the landing page, you’ll see options to sign in or sign up for free. If you’re a new user, click on the ‘Sign Up for Free’ button to explore the platform’s features, including a hundred free tasks each month.


2. Create a Workflow in Pabbly Connect

After signing in, you will be directed to the Pabbly dashboard. Click on the ‘Create Workflow’ button to begin setting up your automation for generating blog posts. Name your workflow something descriptive, such as ‘Generate Blog Post Using AI Agent from Notion’. using Pabbly Connect

Once you have named your workflow, you will enter the workflow window. In this window, you will set up your trigger and action. Triggers initiate the workflow, while actions are the tasks performed as a result. To start, select Notion as your trigger application.


3. Set Up Notion as the Trigger Application

For the trigger event in Pabbly Connect, select ‘New Database Item’. This event will monitor your Notion database for any new entries. Next, you will need to connect your Notion account to Pabbly Connect.

  • Click on ‘Connect’ and then choose ‘Add New Connection’.
  • Authorize Pabbly Connect by selecting the page you want to grant access to.
  • Allow access to complete the connection process.

Once connected, select the appropriate database ID from your Notion account. After saving and sending a test request, Pabbly Connect will capture the latest data from your Notion database.


4. Integrate OpenAI to Generate Blog Content

With Notion set as the trigger, the next step is to add an action to generate the blog post using an AI agent. Search for ‘OpenAI’ in Pabbly Connect and select it as your action application.

Choose the action event ‘Chat GPT’ to utilize OpenAI’s capabilities. If you have not previously connected your OpenAI account, you will need to create a new connection by entering your API key from the OpenAI API keys page. After connecting, select the AI model, such as GPT-4, and set up your prompt for blog generation.


5. Add Generated Content to Google Docs

Now that your blog content is generated, the next step is to add it to Google Docs. In Pabbly Connect, select Google Docs as your action application and choose the action event ‘Create a Blank Document’.

  • Connect your Google Docs account if you haven’t already done so.
  • Map the document title to the blog title generated by OpenAI.
  • Send a test request to confirm the document is created successfully.

After creating the document, add another action step to append the generated blog content into the document. Select ‘Append a Paragraph to a Document’ in Google Docs and map the content from the OpenAI response.


Conclusion

In this tutorial, we demonstrated how to automate the process of generating blog posts using an AI agent from Notion with the help of Pabbly Connect. By integrating Notion, OpenAI, and Google Docs, you can streamline your content creation workflow, saving time and effort.

Ensure you check out Pabbly Connect to create business automation workflows and reduce manual tasks. Pabbly Connect currently offer integration with 2,000+ applications.